Creating plaids with gelli plate printing

In my previous post on learning to gelli print I shared how to print using stencils and shapes. Today I’m sharing how to create plaids, which I think is one of my favourite approaches so far. As with gelli plate printing generally, it’s quite random - so if you’re a perfectionist or like things measured exactly this may not be the craft for you. However, if you’re happy to go with the flow and see how things turn out, then I think you’ll love it.

I ended up with three plaid designs from the class which I’m sharing here, but this is something I will try again as it’s great to see how it’s going to turn out.

To create plaids you need more paper

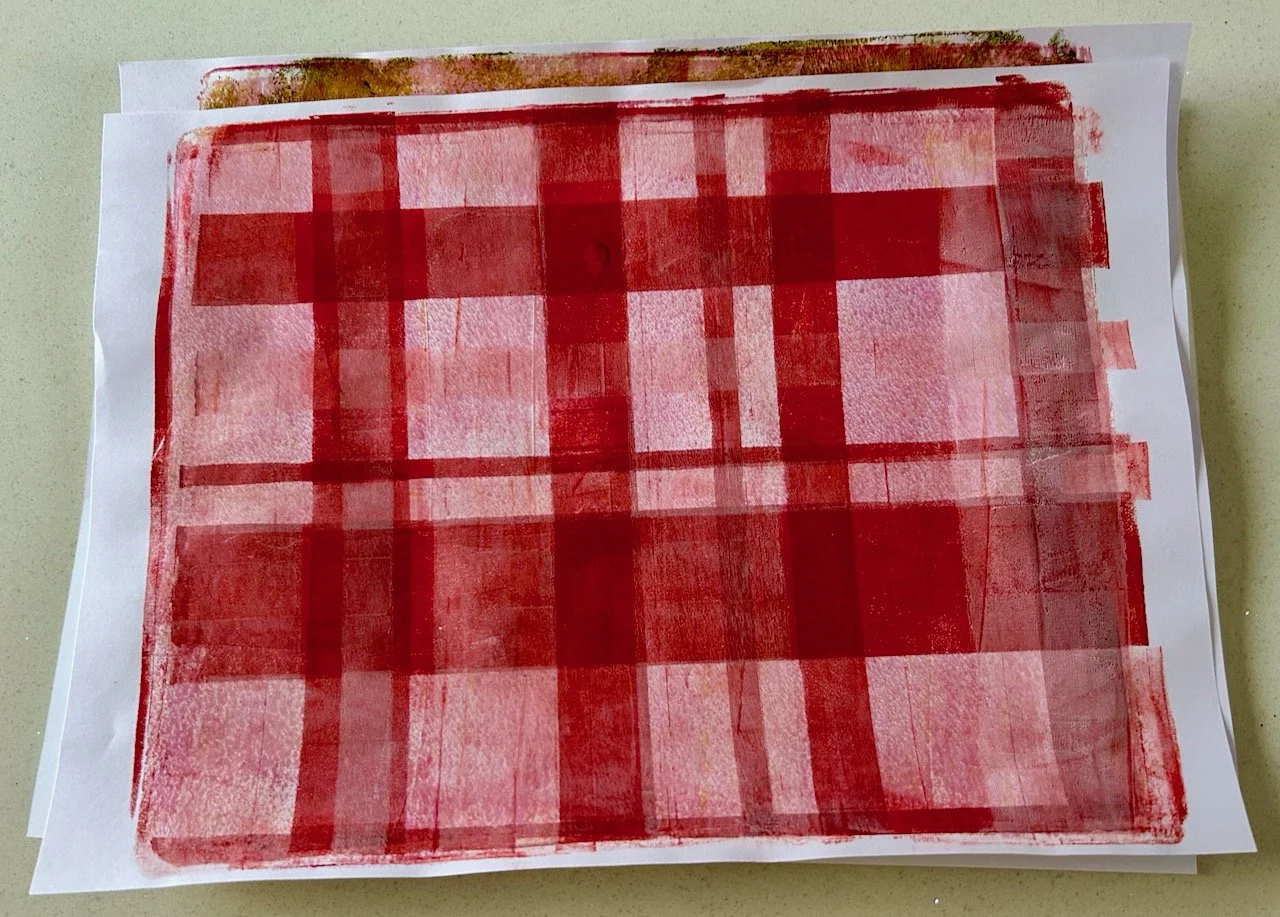
It’s simple really, but you need to cut lengths of paper in the width you want, or varying widths to create your horizontal and vertical stripes. First you work the ‘stripes’ one way, and then the other, laying them on the gelli plate and working quickly as is the gelli printing way, so that your thin layer of paint doesn’t dry on the plate.

The results can be pretty spectacular, and you can reuse the extra strips of paper as many times as you need to to get the design you’re after. And even when that’s done, the strips of paper will be covered in their own unique colours and can be used for example in card making - the possibilities are endless.

Red and pink plaid created with gelli plate printing

Though that’s the danger I’ve found with gelli plate printing - I’m keeping more and more pieces with the view that I could use those ‘one day’ - a bit like you do, or well I do anyway, when cutting out fabric. And how small is too small, well one thing’s for sure and I think they’re probably different sizes for fabric and paper, just don’t get me to commit to what that is for either of them!

Experimenting with colours

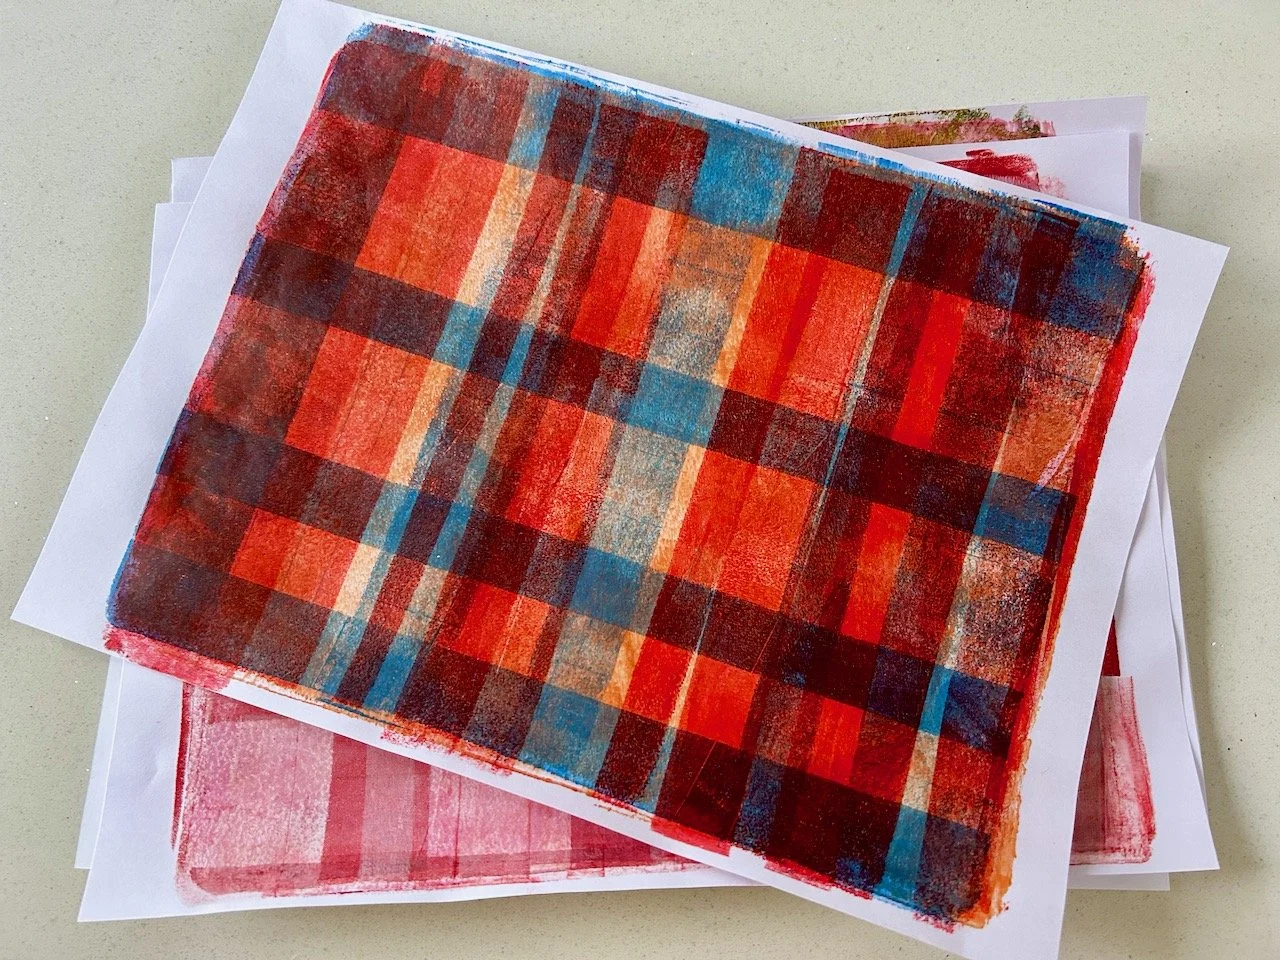
You only have to Google ‘colour wheel’ to discover the theories and relationships between colour, and how you can use primary, secondary and tertiary colours, and I’m not about to explain that here, you’ll be pleased to know. But after trying the complementary colours above, I wanted to try something bolder for my next print - and I think the blue works with the reds and oranges, don’t you?

Orange, red and blue working well (despite how it sounds) for another gelli plate printing plaid

Using up those misprints

This is a great way to use, or reuse those prints which didn’t quite work the first time as you’re printing over the top adding more paint and therefore more interest as you go.

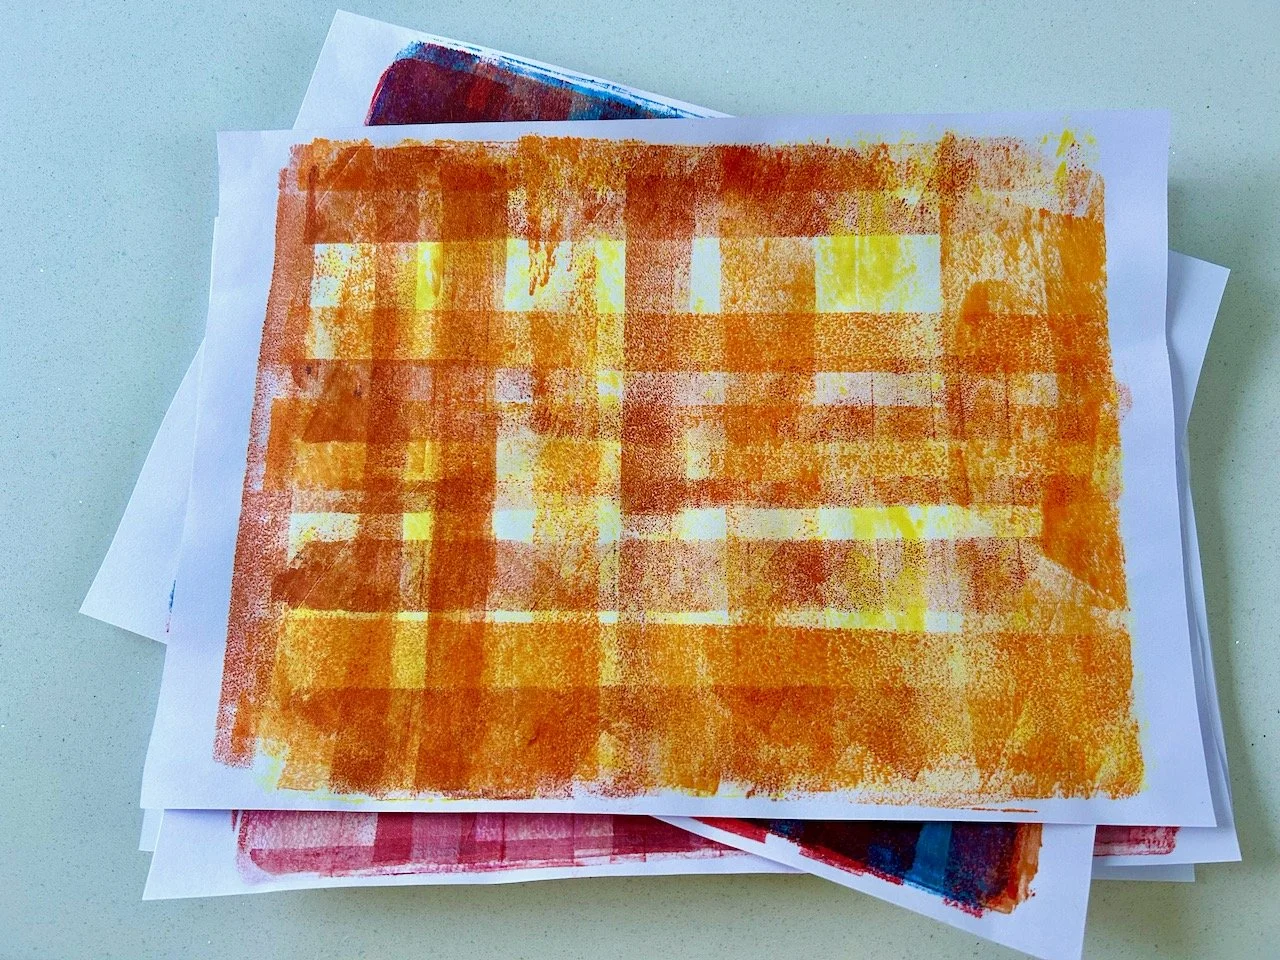
In the image below my starting point was a very patchy yellow print, but by adding vertical and horizontal stripes in reds and oranges I’ve created a pattern that I really like for it’s ‘distressed’ look, and which I know I’ll find plenty of uses for in my paper crafting days ahead.

A more distressed plaid with less full coverage using yellow, orange and rust coloured paint

Here I’ve only scratched the surface of the many, many combinations and patterns this technique can create - but as a taster I think you can see that it’s one that’s intriguing and has the potential for further exploration when I set up my gelli plate at home.

Yes I succumbed and bought my own gelli plate - it was inevitable really wasn’t it?

Learning to love my overlocker

At the start of the year I acquired an overlocker - thanks mum - but had little idea of how to use it. While I have all the manuals, I figured it would be easier to book myself onto a workshop to learn all about it - and to remove some of the Fear.

So I did just that and a couple of weekends ago I headed off to Mansfield for the first time - I didn’t see much of Mansfield apart from the one way system, but I’m sure I’ll be back to have a proper look at more than that at some point. My destination for the workshop was Sally Twinkles (aka Sewing Direct) for a workshop led by Tracey Symonds, who was a semi-finalist in series 4 of the Great British Sewing Bee.

After navigating the one way system more than once I got my bearings, found a car park, parked up and dashed over the road with my machine. Once settled I realised that the other workshop participants had their overlocker already threaded - but that at least meant Tracey had a machine she could demo on and I learnt where the threads should go first hand.

My first learning was that the four cones of thread were split into two for needles and two for the loopers - using four different colours for these meant it was easy to track what was doing what, and while mine are mostly pastels I quite like the idea of using different colours. The spool furthest right seems to determine which colour is on show, as long as you’re set up right.

A large part of the workshop was ‘to overcome the Fear’ - and the fear was real!

Tracey had us all testing our machine’s capabilities on different fabrics, encouraging us all to make a note of the settings for each so that once we knew and noted it down, we at least had a starting point - which makes a lot of sense.

We were overlocking, gathering, doing rolled and lettuce hems and flatlock seams like, well not like we’d only just learnt that’s for sure - and all the time building confidence, and reducing the fear. Tracey was a brilliant teacher - as you’d expect, she’s a retired teacher - though I think I was her problem child for the session! She was unflustered though and her ability to switch between the various makes and machines we had brought with and offer expert advice on each was impressive.

I left the workshop with my examples, which for me were an achievement. However I recognise that the pictures here may seem a little underwhelming, but believe me I wouldn’t have tried half of this had I sat alone with the manuals.

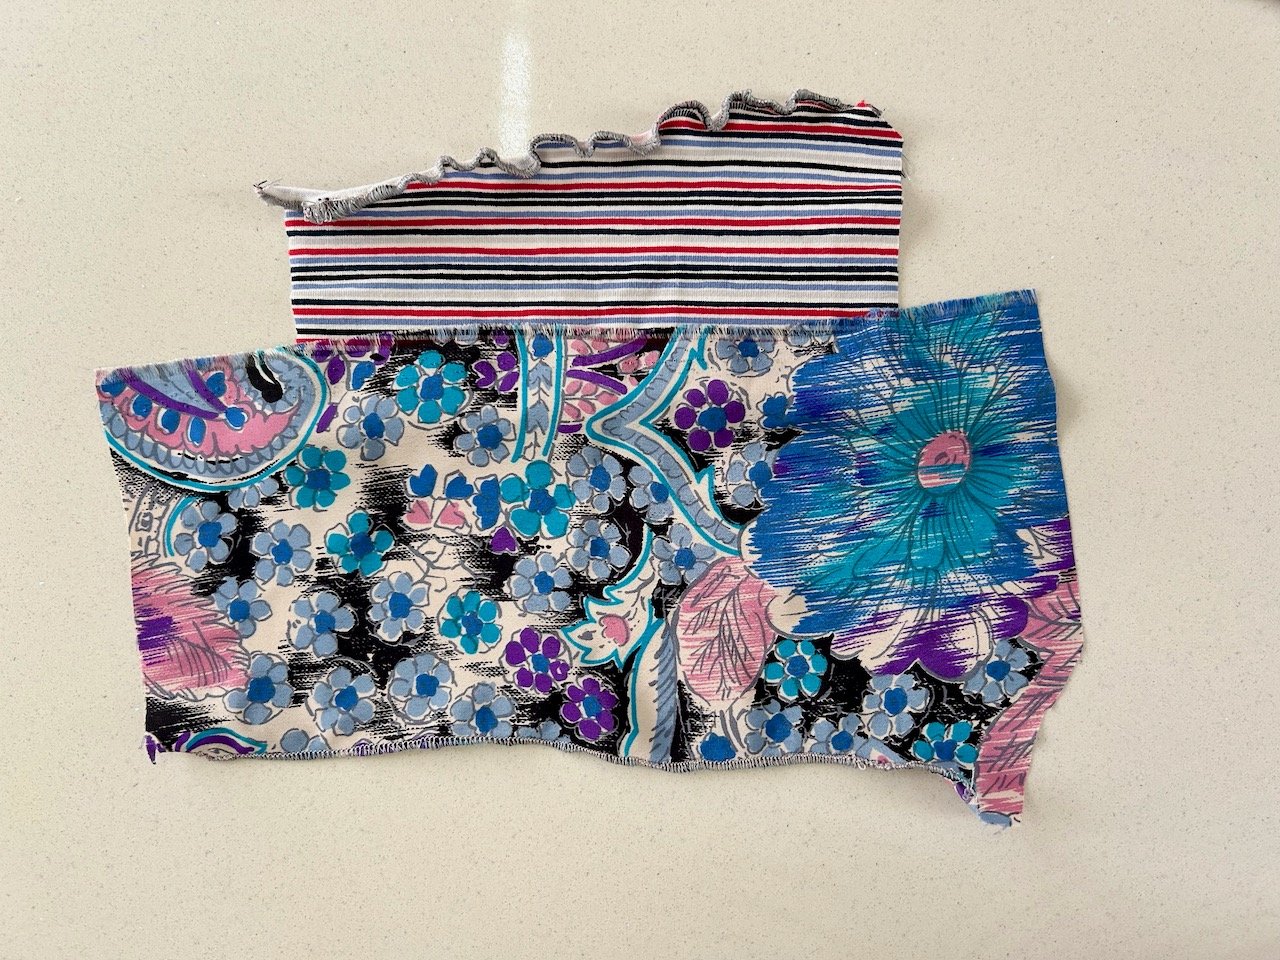
OVERLOCKING ON WOVENS (GREEN), GATHERING (FLOWERY MATERIAL) AND OVERLOCKING ON KNITS (STRIPED)

HEMS: LETTUCE (STRIPED) AND ROLLED (FLOWERY)

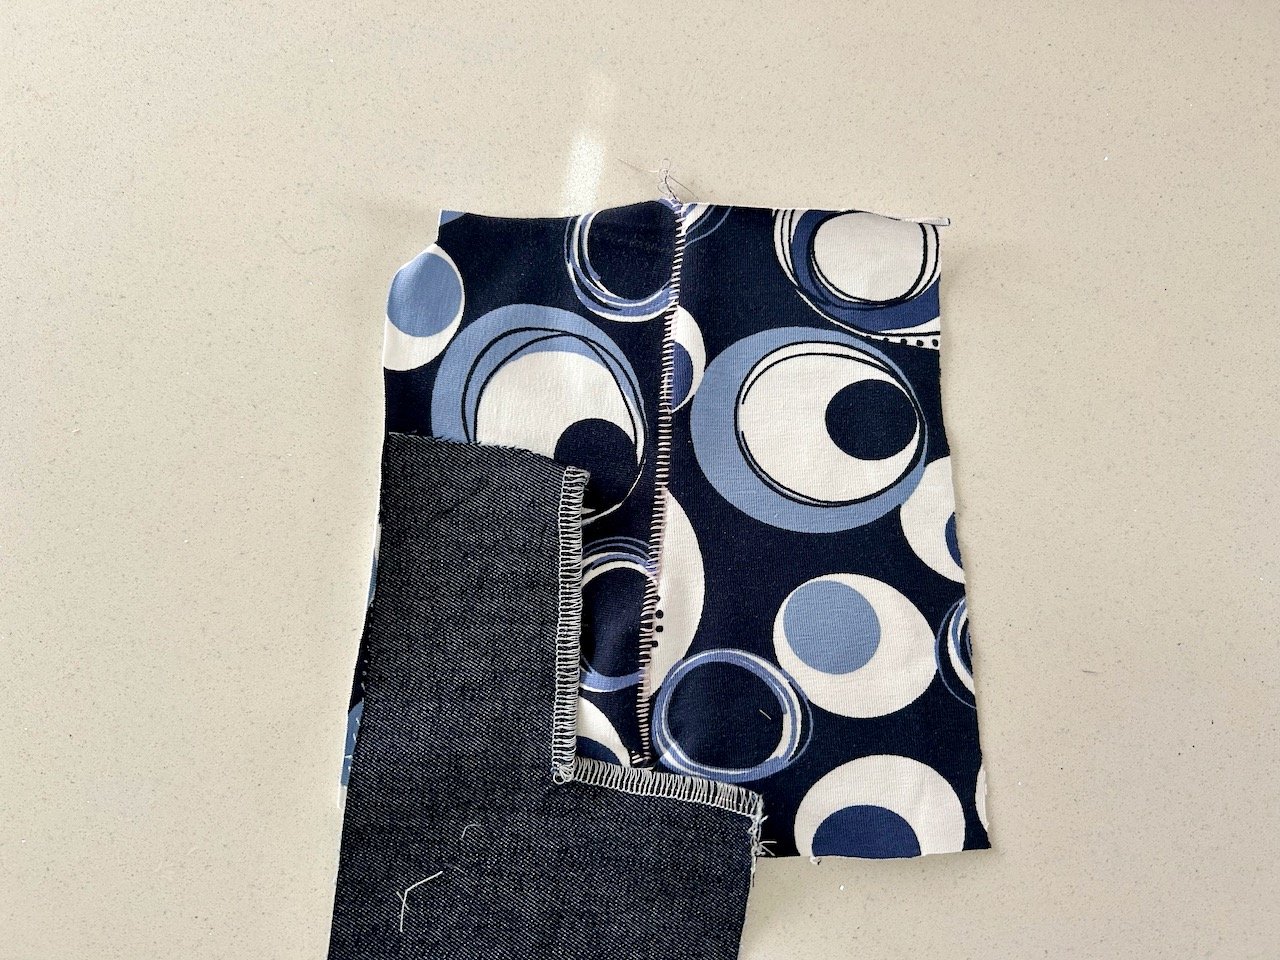
FLATLOCK SEAM (CIRCLES) AND OVERLOCKING A CORNER (DENIM)

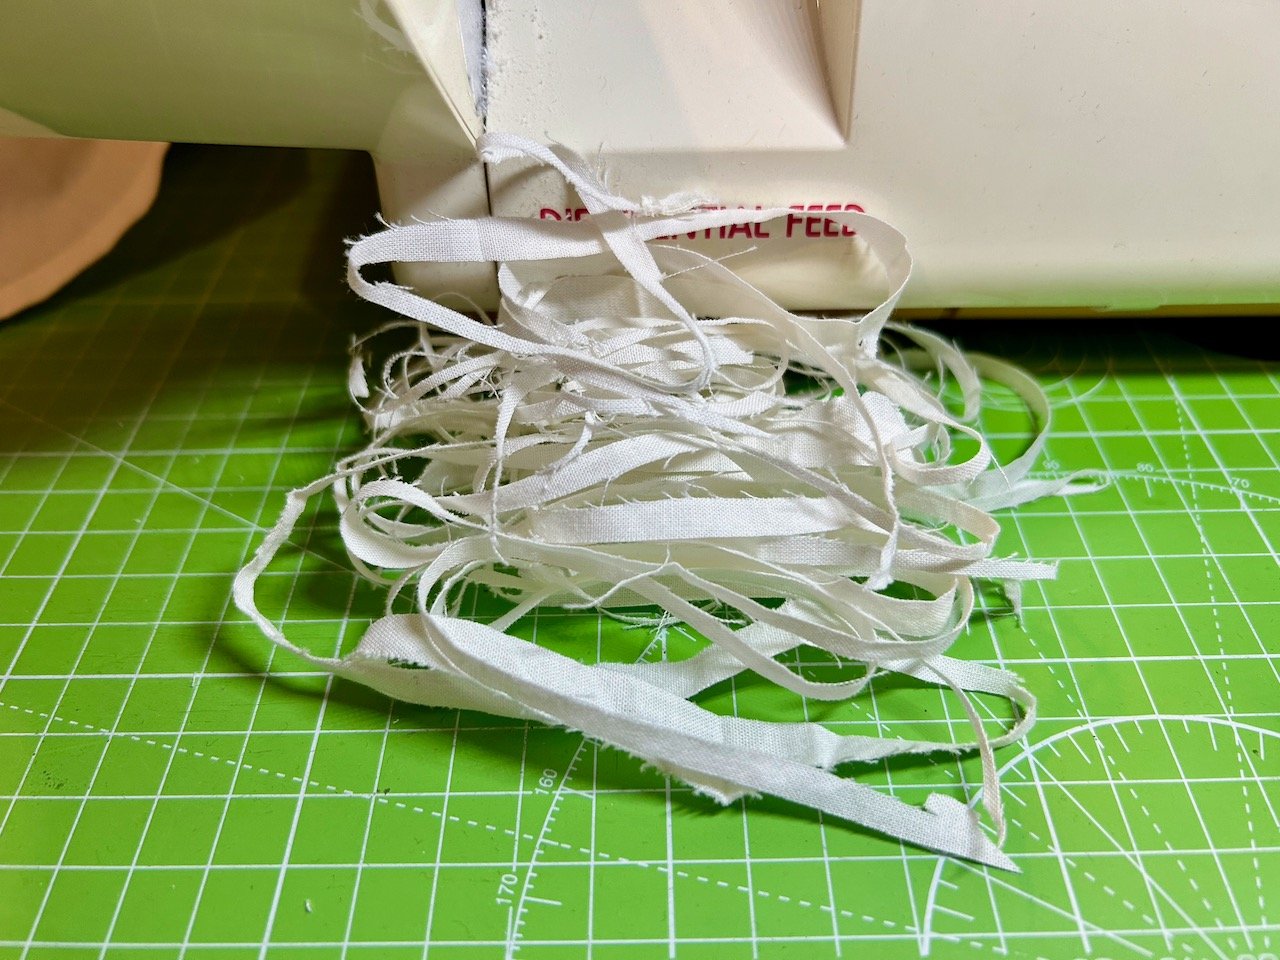
Of course part of the reason there’s not much to show is that the overlocker trims as it goes, so as I went over and over the lengths of fabric my previous attempts were chopped off. Most were binned but some have the potential for use in collages, but I’ve yet to play further with that.

My other key learnings from the workshop, which I’m including here to remind me, were:

  • Chain before starting, and chain at the end - it’s much easier to have a length of overlocked stitching at each end of the fabric, and it saves the machine eating the thread - which means it saves rethreading!

  • The fourth spool is the colour you’ll see the most, so unless you’re very particular you can probably just change this one, however neutrals may work with many fabrics, test it first. Cream and grey are less harsh than white and black, and therefore could be more versatile.

  • Deal with the ends, or they will come undone eventually. If you’re not overlocking at right angles then either zigzag over them using the sewing machine or thread back through with a large sewing needle.

  • No pins near an overlocker ever.

  • For the overlocked corners, move the fabric so it’s in a straight line and though there’ll be some loops which don’t catch, you’ll hardly notice them.

Trying it at home

I knew that if I didn’t try it at home fairly soon afterwards then the workshop would have been a waste of time. So the next day I set it up in my craft room, checked nothing had moved on the journey home and set about trying it for myself. I’m glad I did as even though I’d checked it one of the tension loops had spat out its thread, and my loops were a bit irregular.

But I fixed it - yay! That’s how good the workshop was!

Edging the valance

Then I could set about edging the material for one of my next projects. I’ve signed up for an Indian Block Print & Stitch class and needed to take along some fabric to print on, and they suggested old bedding would be fine. Which is good, as I’ve plenty of that - and when I was sorting out the towels to add to my new bathroom cupboard shelves, I found an old valance sheet which I hadn’t used for years.

Like most valance sheets it was a wotsit to iron, even though it has box pleats rather than frills. So it was repurposed - I cut the frill off, ironed it and set to it with my overlocker.

using my overlocker at home - looking down on the machine, 3 spools are visible along with a ruffle of fabric coming out of the machine, with the edge overlocked
A pile of trimmings cut off by the machine
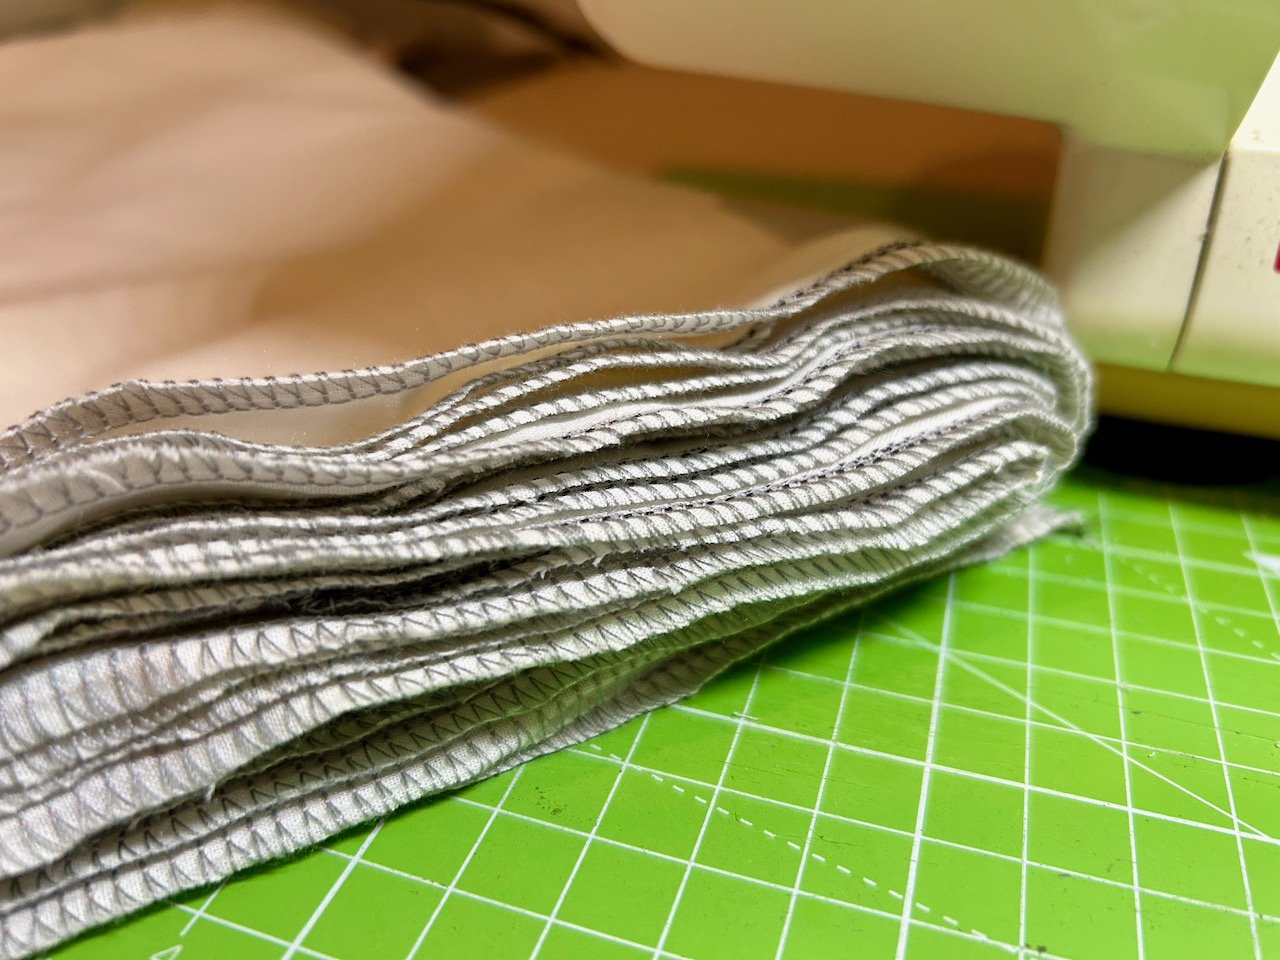
A folded overlocked length of material ready for one of my next projects

It was a long old piece of overlocking, but it served two purposes - proving to myself I can do this at home, and readying for some future projects. Don’t you just love it when things come together like that?

So if you’ve got an overlocker in your cupboard that you just don’t love (yet) then I can’t recommend highly enough booking yourself on a workshop and finding out what it can do - I bet you surprise yourself, just like I did!

Eleven

Today I’ve been blogging for eleven years - and I’m not quite sure where the time has gone.

As you’ll know this space has changed name in the past year, but I’m still keeping my original starting date as my ‘blog birthday’ as that’s when it all started for me back in 2013. I’m sure lots of things have changed since then too, more than I can probably remember!

But as part of my blog birthday tradition, I thought I’d give it a go - so here’s eleven things that have changed for me since I started blogging:

  1. Where I blog: I started off using a free Blogger blog with one of the inbuilt templates. I soon outgrew the inbuilt template though, and learnt enough html to make changes to its look and feel and feel a bit more like the Life at 139a home that I changed from back in the summer. I relatively quickly decided to move away from the Blogger platform, and to move to my own url, which I did with Squarespace. Then last summer following our house move I updated that url to the one I’m using today, so quite a journey.

  2. Where I live: that’s the other big change you’ll know about already. After growing up and living in London we’ve escaped to the country. We left our house of twenty one years - 139a - and moved to Nottinghamshire. I’ve still plenty to share about our new house, and our move!

  3. Where I work: again a big change, as I am no longer working having taken early retirement in 2022. But even before that I left my job of nearly thirty years in the City in 2014 taking some time out before working locally in Greenwich for six years.

  4. My name! While I was working I continued to use my maiden name, but used my married name for non-work related things. That was the plan anyway, and quite often I’d forget which led to MOH regularly asking what name I was using that day! Since I’m no longer working I’m using my married name more and more, though it’s still taking some getting used to - even after sixteen years of marriage (seventeen this year) I feel I’m always surprised when I answer to my married name in the doctors!

  5. What I blog about: one of the reasons for starting my blog was to share updates on the work to update our house in London, once that completed though I still found plenty to share especially visits to gardens and our own garden, again starting with the work we undertook shaping the grass and then to monthly updates. It’s almost as if it’s come a full circle now though, with a new house and plenty of projects to come.

  6. Getting my craft on: back in 2013 I was a lapsed crafter having tried many crafts over the years. Life was busy and there was little time to craft back then, but now crafting is a much bigger part of time and more regularly, especially as I’ve now got a dedicated space for crafting - so different to having my craft materials across several rooms of the house (though MOH might legitimately comment that that hasn’t really changed!)

  7. Blogging: it’s changed quite a lot, or perhaps I don’t have the same time or energy for blogging groups, blogging circles or blogging events - though I suspect the latter may have been scuppered initially by Covid, and then more recently by reduced budgets. However, I think that’s ok, things move on. Quite a few bloggers I got to know back in those early days have stopped writing their blog, but it’s great to still keep up with many of them. I do a lot less brand work and when I do I’m even more choosy than I was before!

  8. How I use my social channels: this also relates to how blogging has changed, but also to how social media has also changed. I now rarely use X and my blog’s Facebook page has lapsed (even though I renamed it back in the summer) and I share fewer and fewer of my blog posts on my social channels. Where I previously resisted using Instagram stories, these are probably now the social channel I use the most - I think that also reflects how life, and how we use technology has also changed.

  9. PoCoLo, the weekly linky I co-host: I started to co-host the linky back in 2016, and since 2019 I’ve co-hosted PoCoLo with Suzanne from Chicken Ruby. The linky itself has changed as we no longer include the Blogger Showcase element, as quite honestly we didn’t have people wanting to share information this way. As I said, things change but there is still a community of people who join in each week, and we both love to host each week.

    Ermm… now I’m struggling.

    Clearly so many things in the world around us have changed and I’d need a much longer list to cover off those. So instead I’m finishing my list with three things that haven’t changed quite so much, if at all.

  10. Clearly MOH has been here all along, and I’m grateful for that obviously - though occasionally he still finds things out when people we know in real life ask him about posts on my blog. He really should read here more often, but he’s not much of one for things online!

  11. And you, I’m grateful for everyone that reads my blog - whether you dip in every now and again, or more regularly. It really wouldn’t be the same place without you!

Thank you for being here, and for being part of my online space and community.