


A while back I bought some wrought iron garden chairs on eBay and knew they needed a bit of TLC. I also knew that I didn't want to repaint them white either, but I wasn't sure which colour to choose. We already had an old iron table in Antibes Green - another eBay purchase which needs some work - and I was keen to keep the table the same colour, but was struggling to find the colour I needed and I absolutely refused to go the Hammerite route. I mean there's nothing wrong with Hammerite but i) they didn't have the colour I wanted and ii) I still wanted the table to retain its character, and some of its rust much to MOH's dismay.
Anyway I've discovered that Annie Sloan's chalk paint comes in exactly the colour I want and although I haven't bought it yet, or started to tackle the table I knew that whatever I did with the chairs, they had to match the table I was planning. When I saw that Farrow & Ball had a new yellow colour in their range I went to investigate. It is a bright yellow and has the fab name: Yellowcake - so with a name that includes two of my favourite things I was sold!
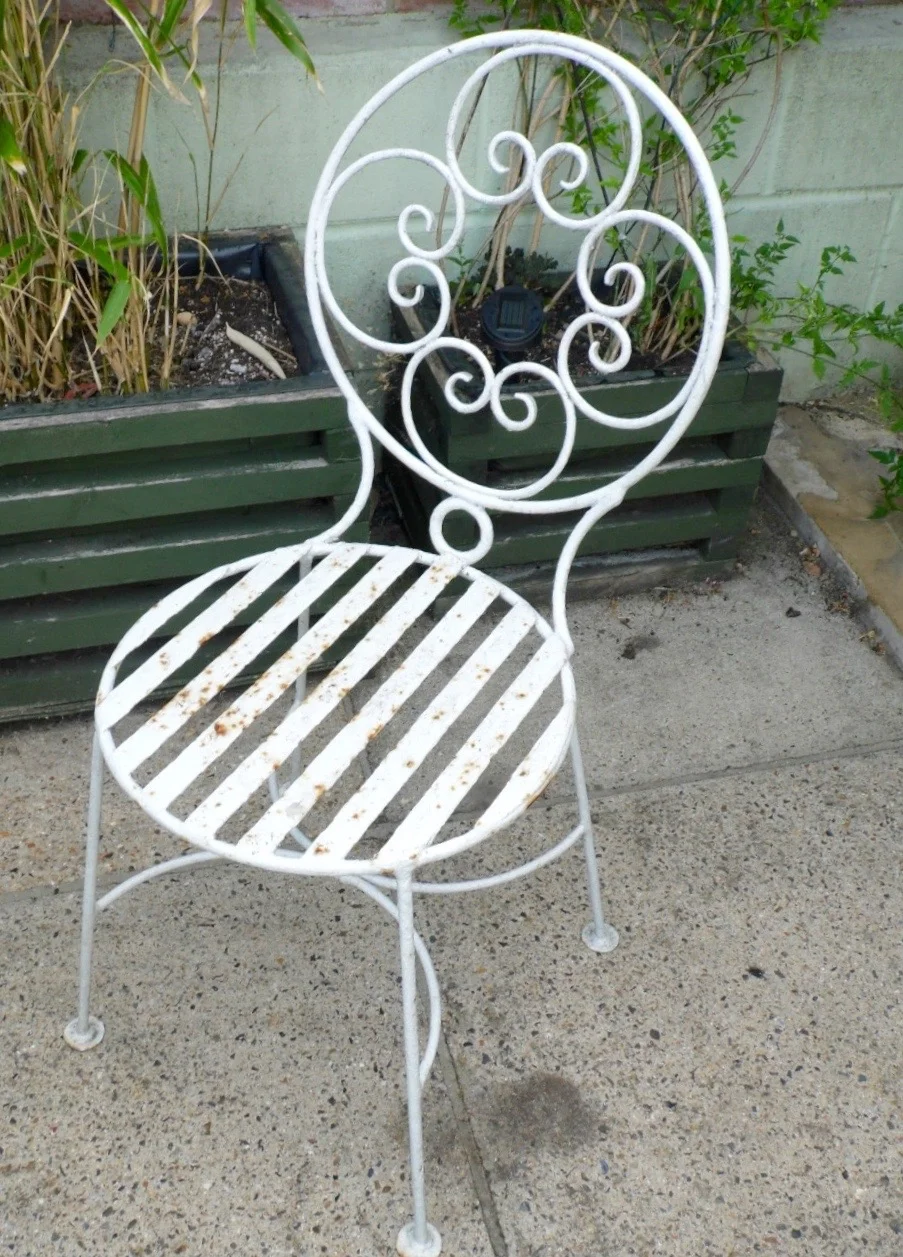
THE EBAY PICTURE
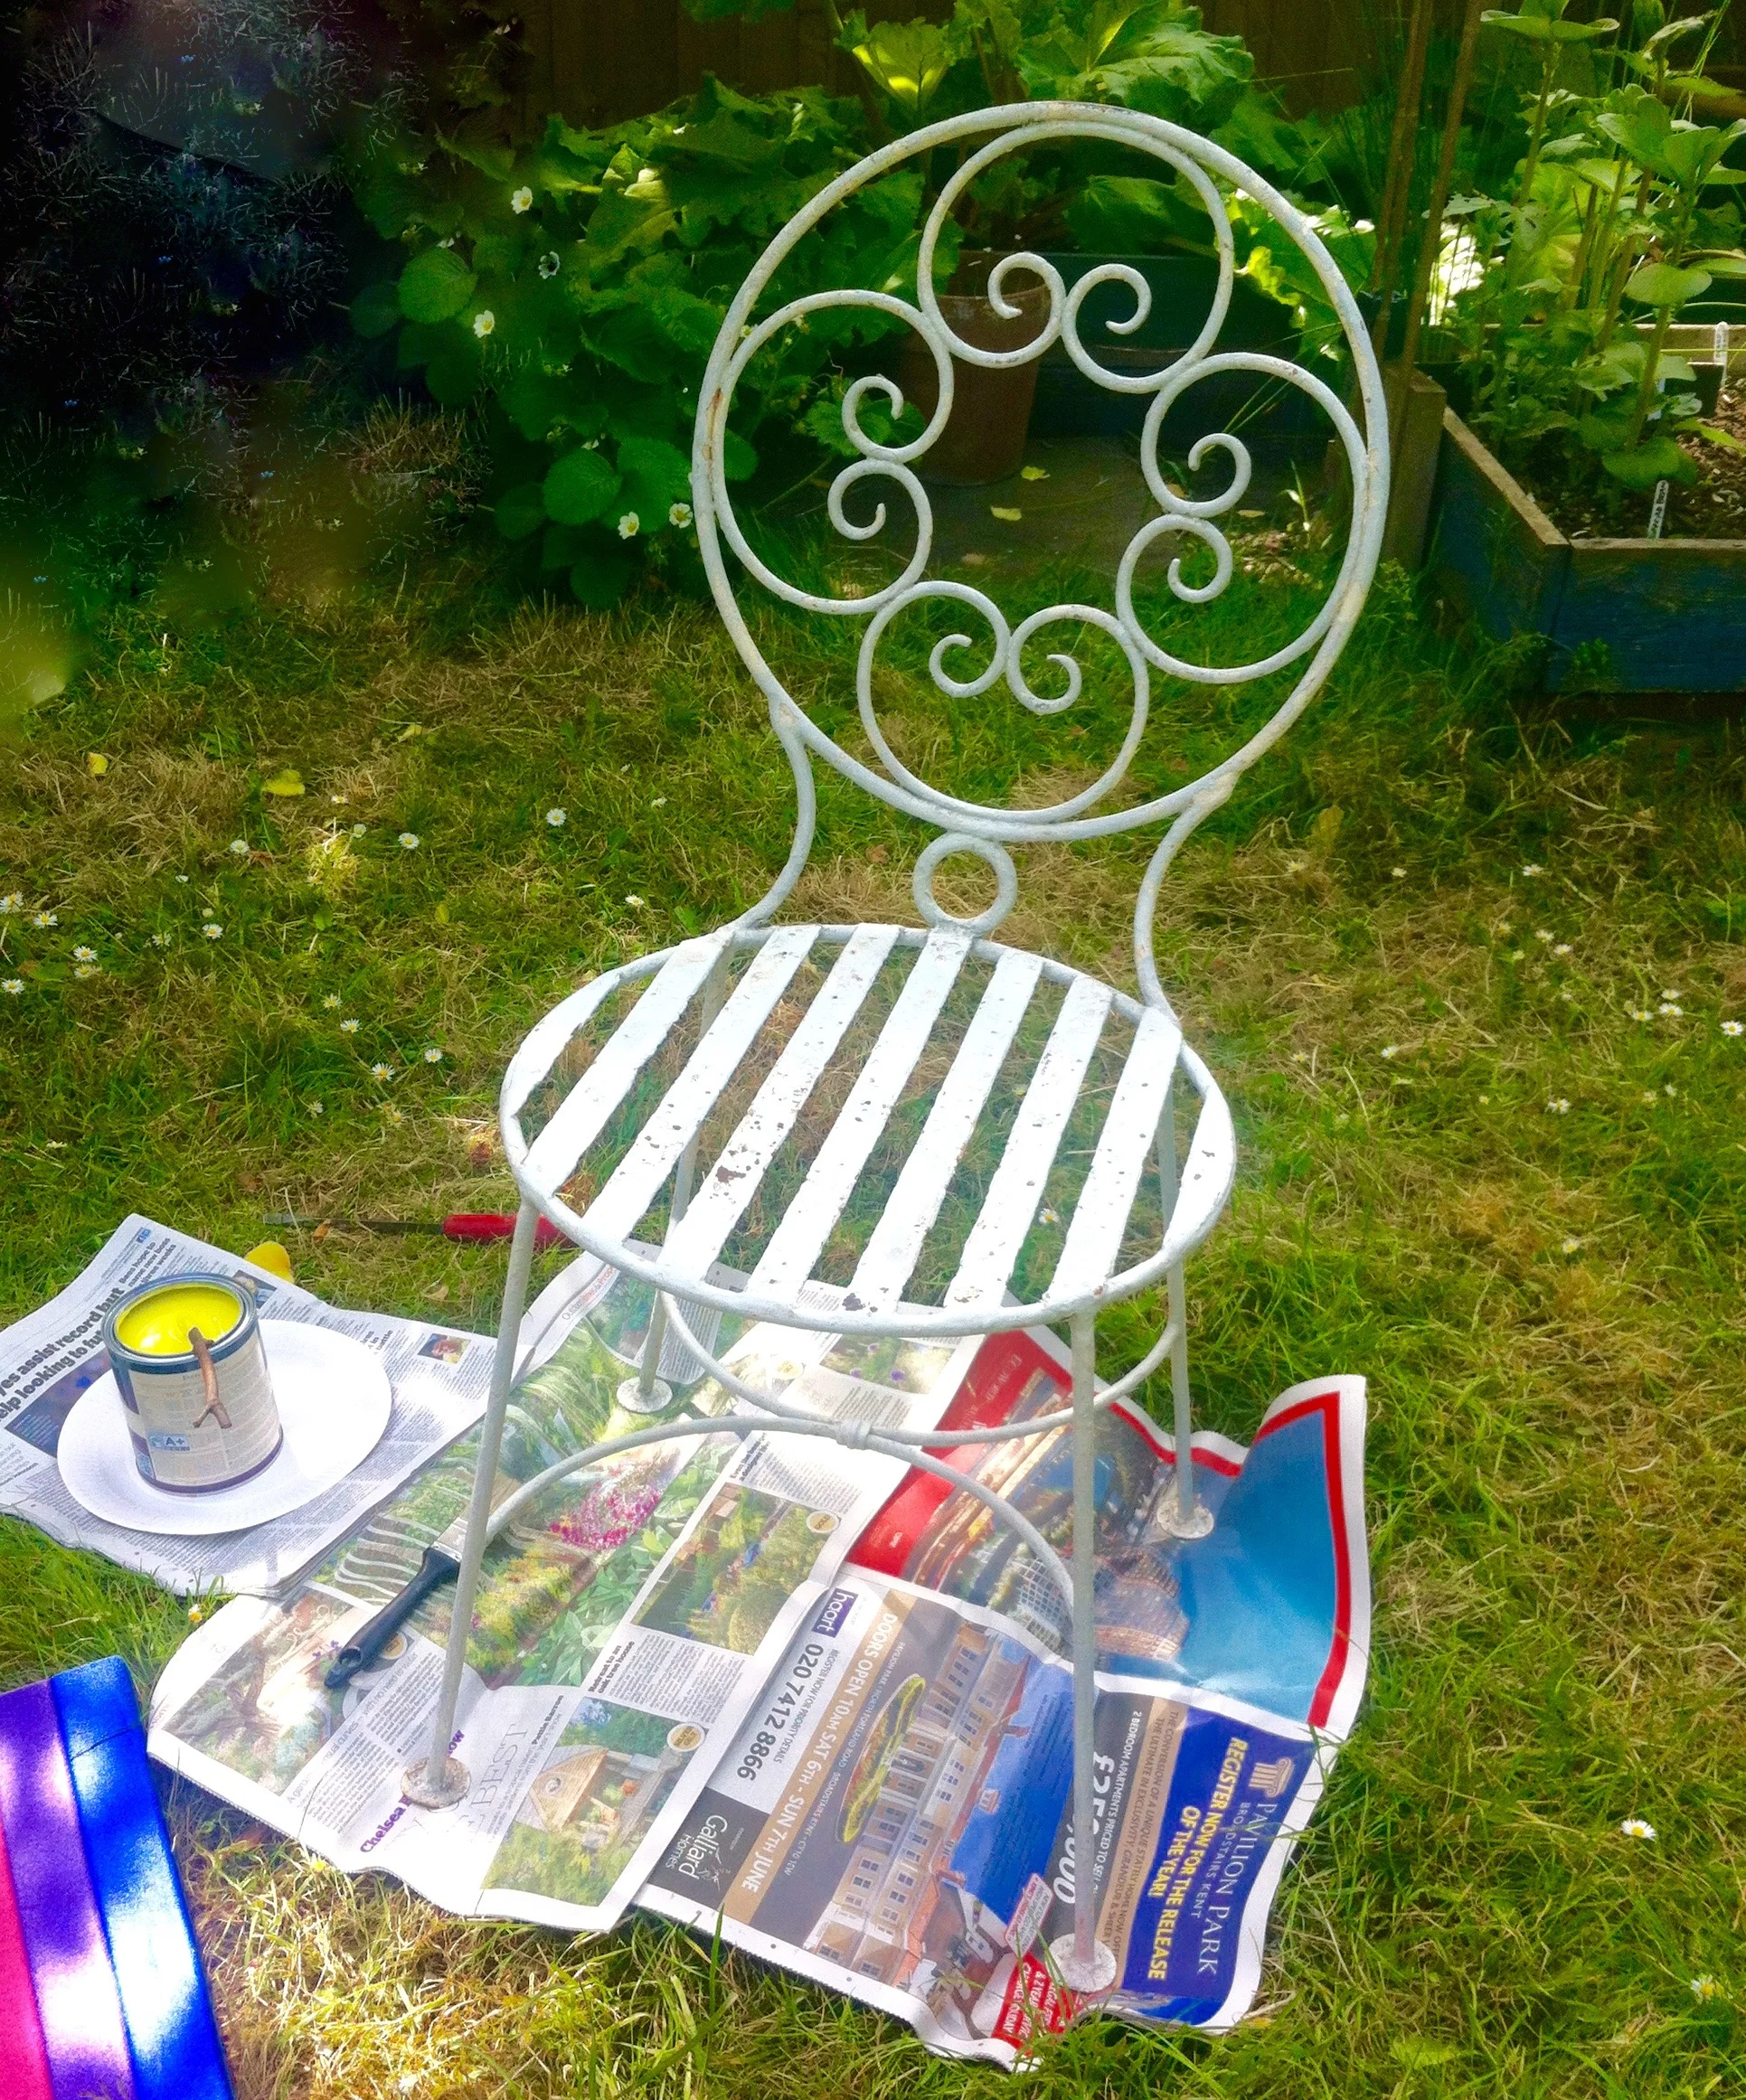
GETTING READY TO PAINT

STIRRING THE PAINT: YELLOWCAKE

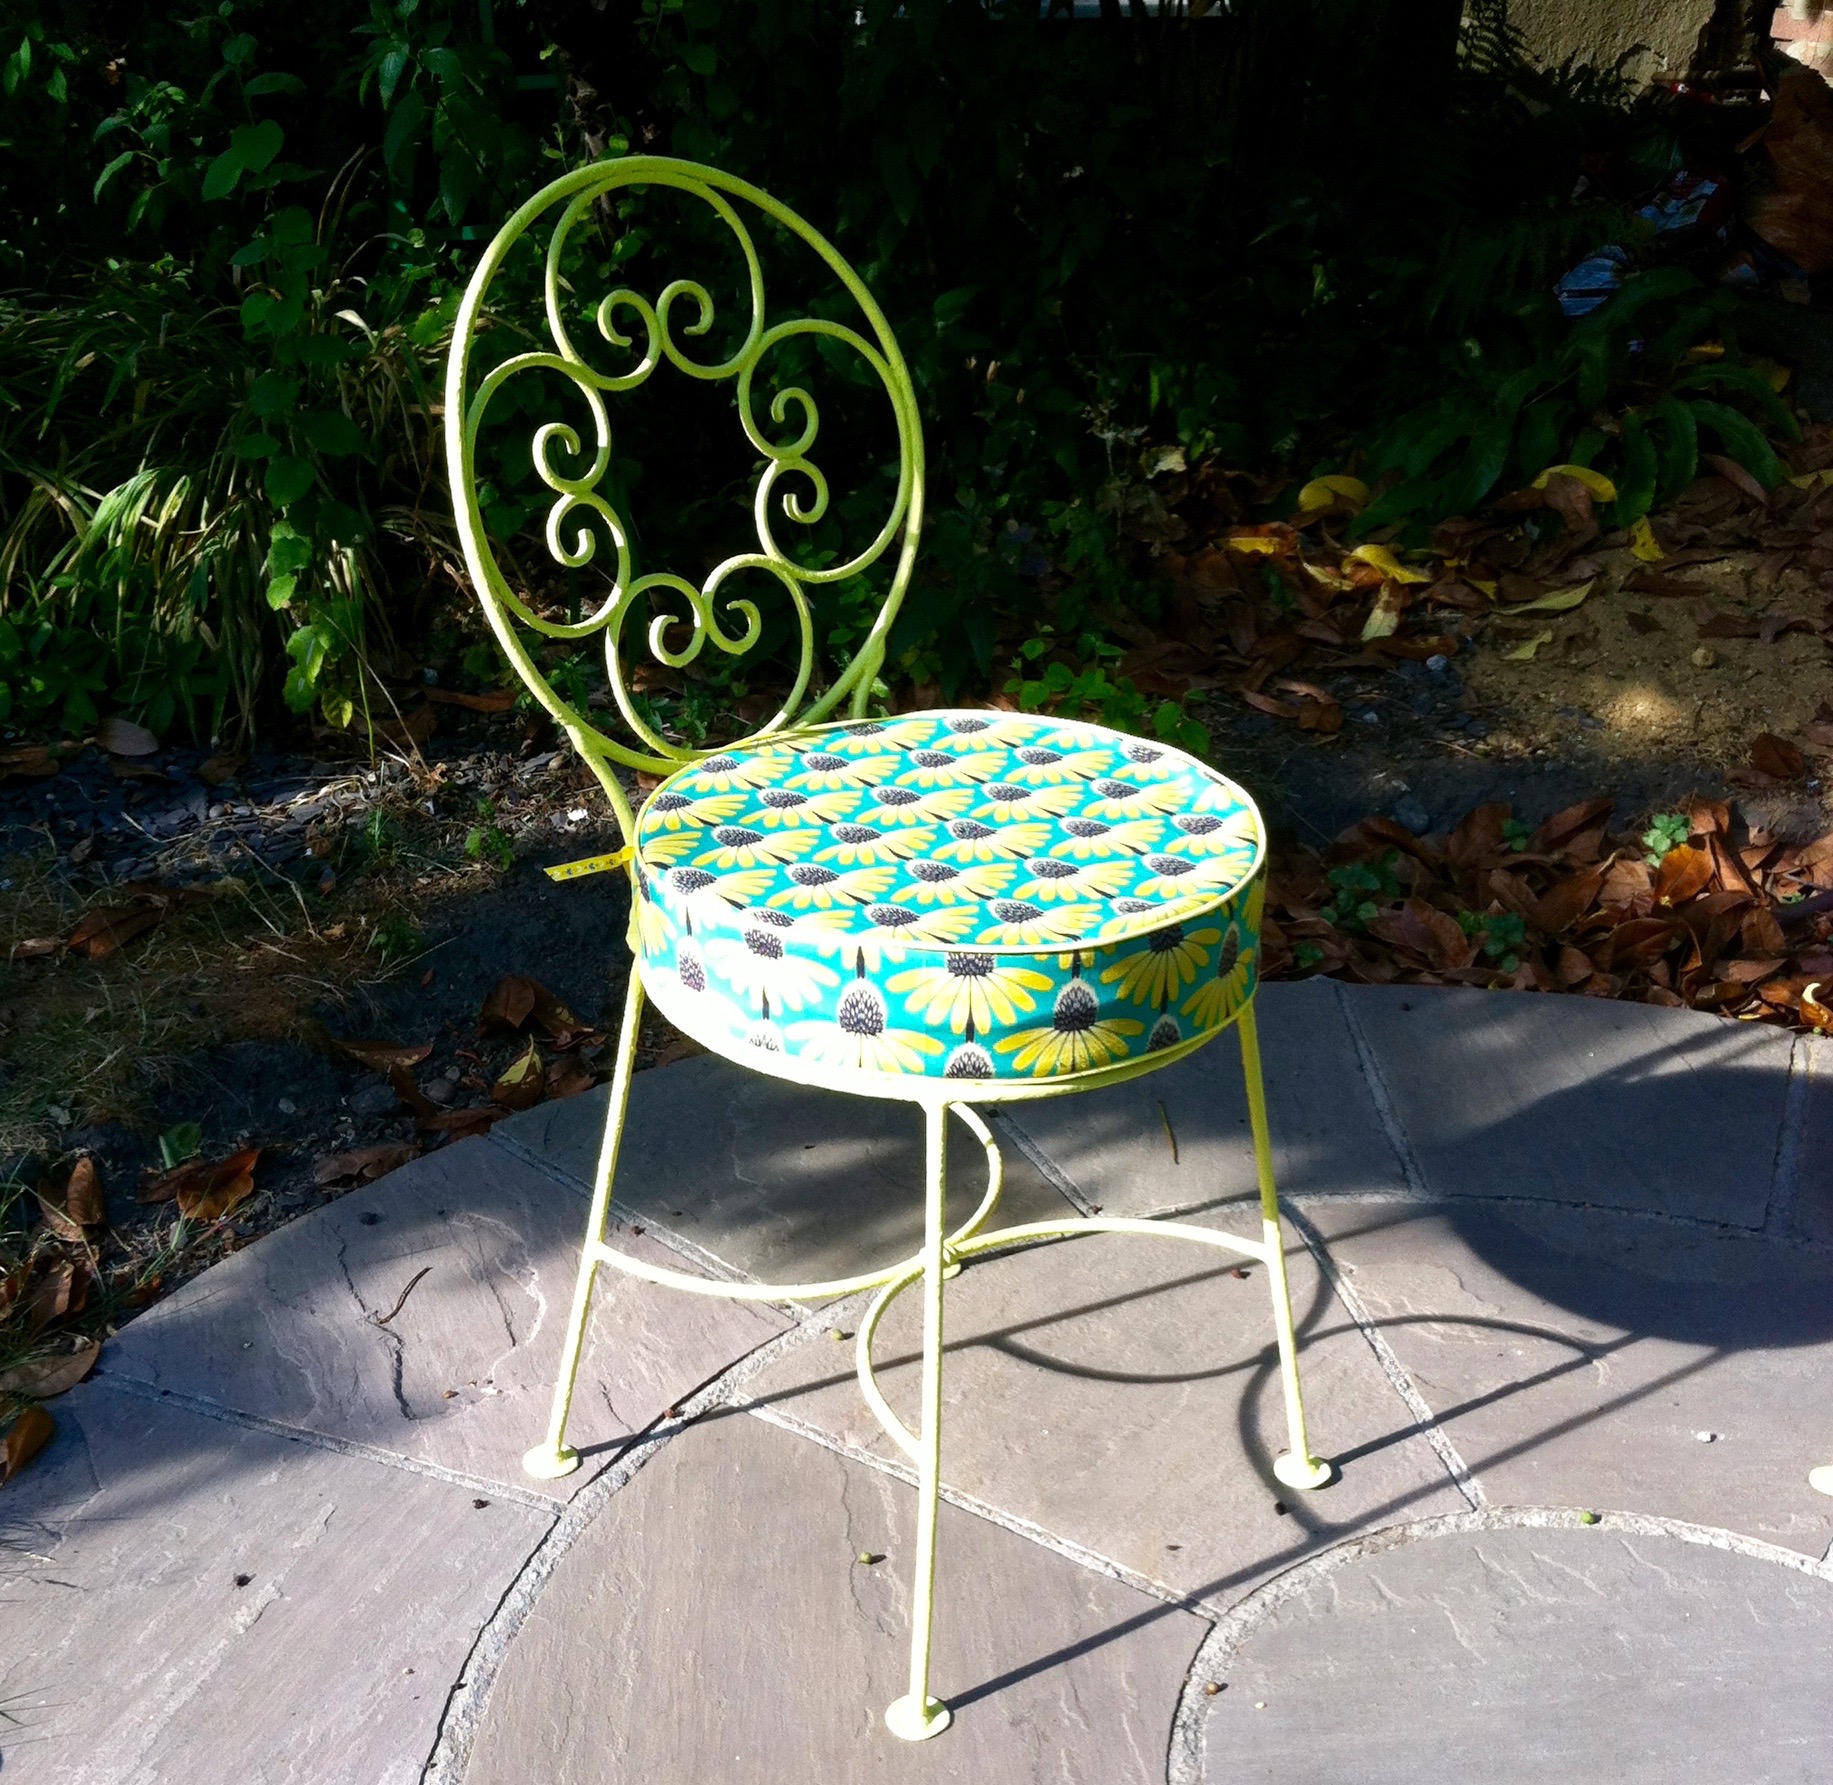
YELLOW!
Before any painting could start the chairs needed to be rubbed down and a rust treatment applied and MOH set about this with gusto. I think he'd rather I'd bought new chairs as there was "years and years of paint on these" but I was less keen. So painting them became my job, so paint them I did.
Bright yellow. Yellowcake yellow.
In fact they're not as yellow as I'd hoped! But I am pleased with them. I like that they're bright and cheery and I don't mind that the paint finish isn't smooth as a new chair would be. And most of all I like them because they're yellow and quite unexpected!
They're the sort of garden chairs that need a cushion and when I saw this material I knew it was perfect for my pre-loved chairs. So I bought some quizzing the lady in John Lewis about how much I'd need and checking my instinct on how to make the cushions I had in my mind - you know the sort, the sort with neat piped edges. I had it in my mind that I'd make these cushions and overlooked the fact that I'd never done anything quite like this...
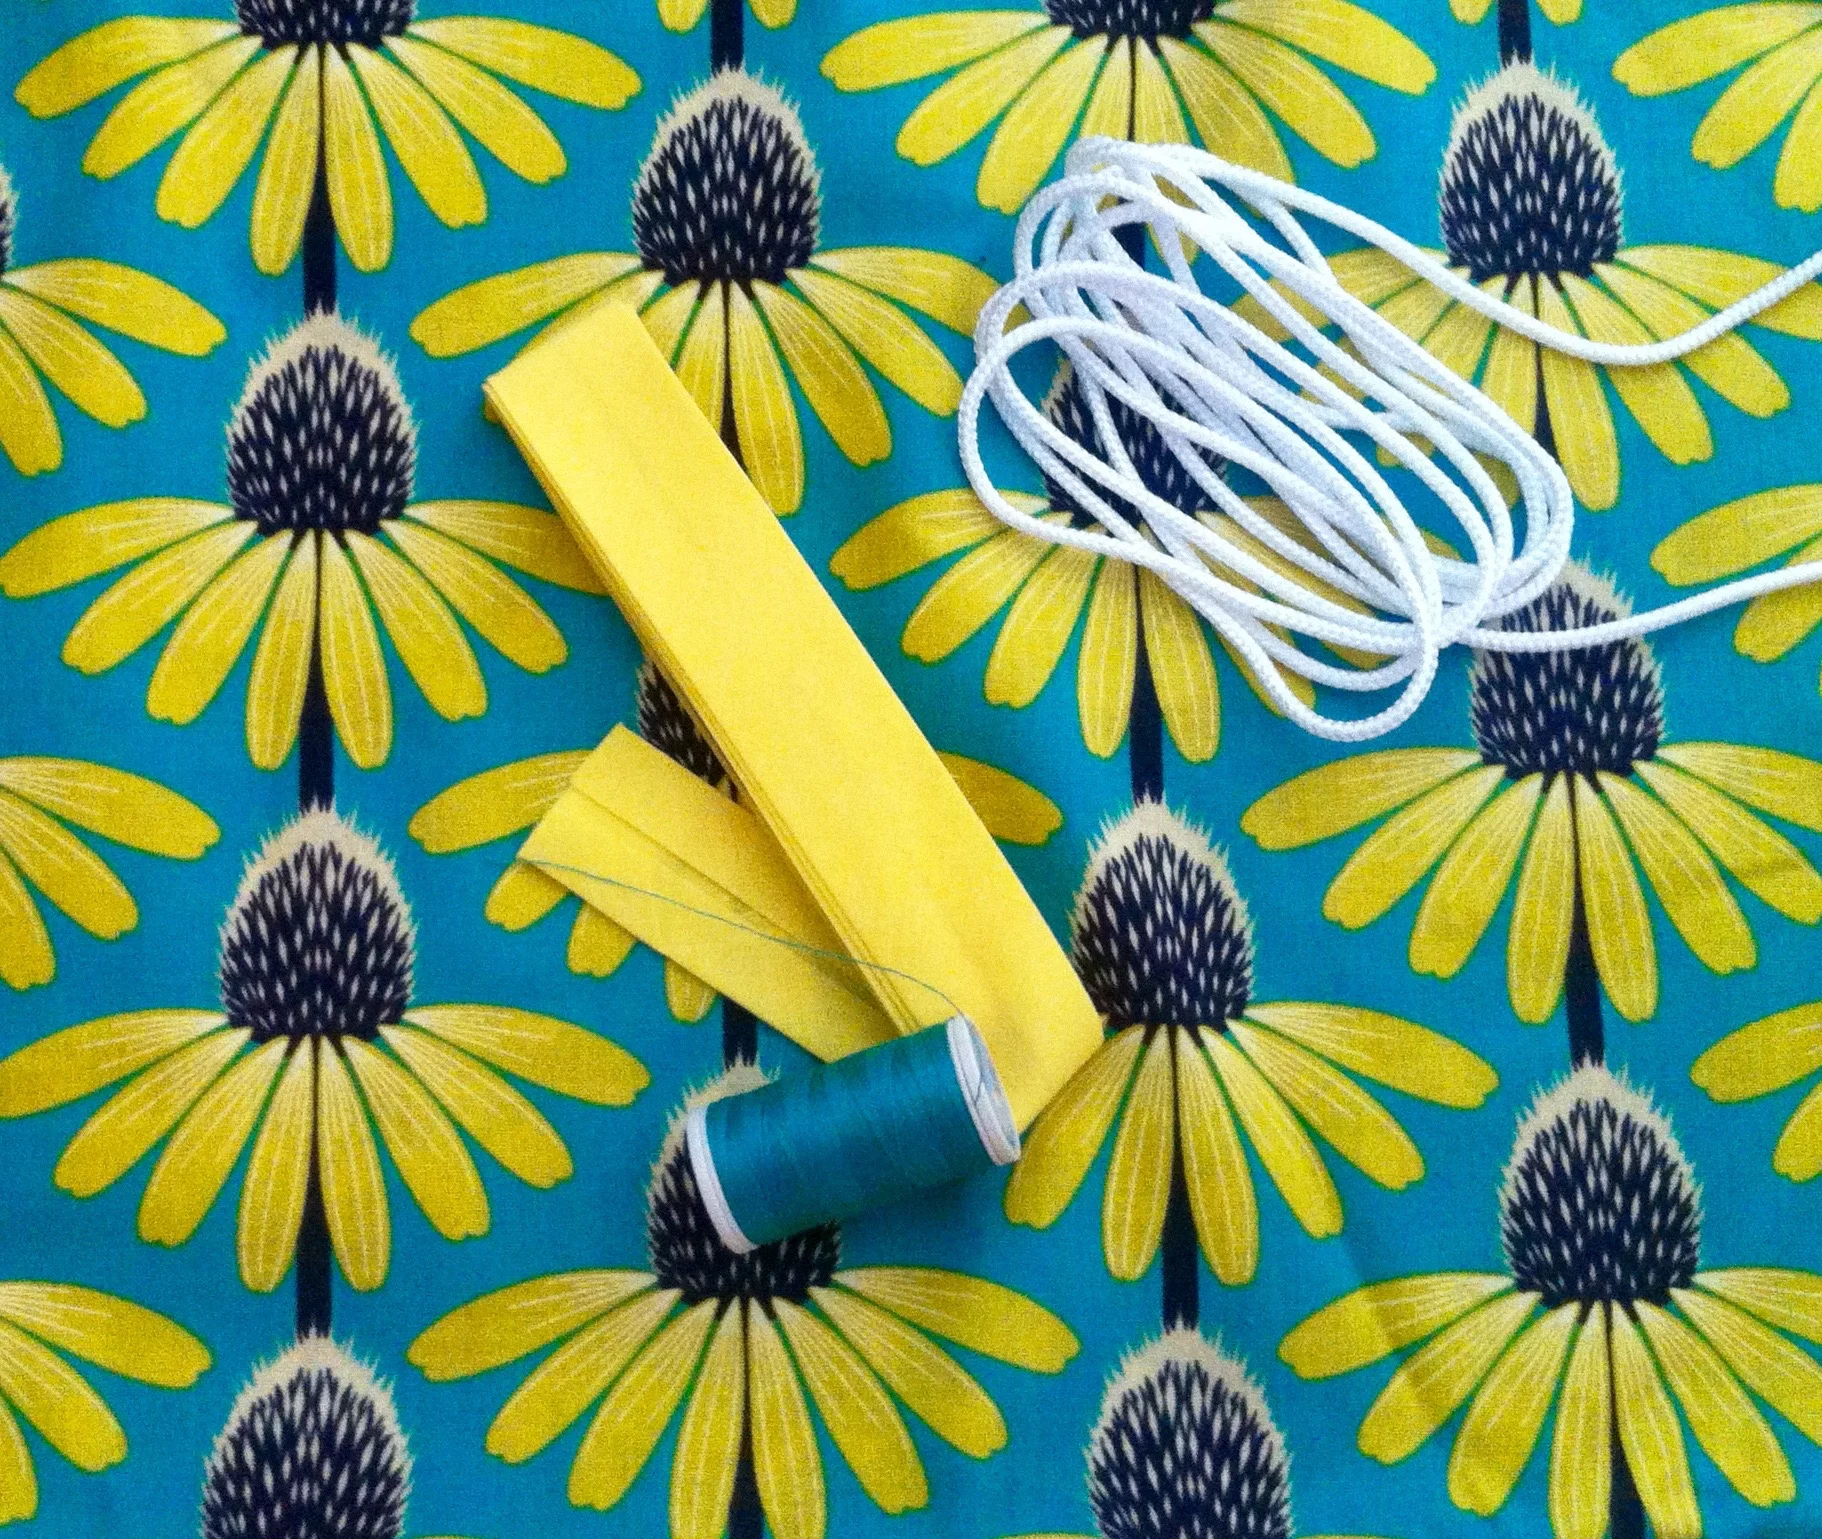
So with foam inners that were cut to fit the seat of the chair I was running out of excuses so I set about finding a tutorial on how to sew the piping and get sewing.

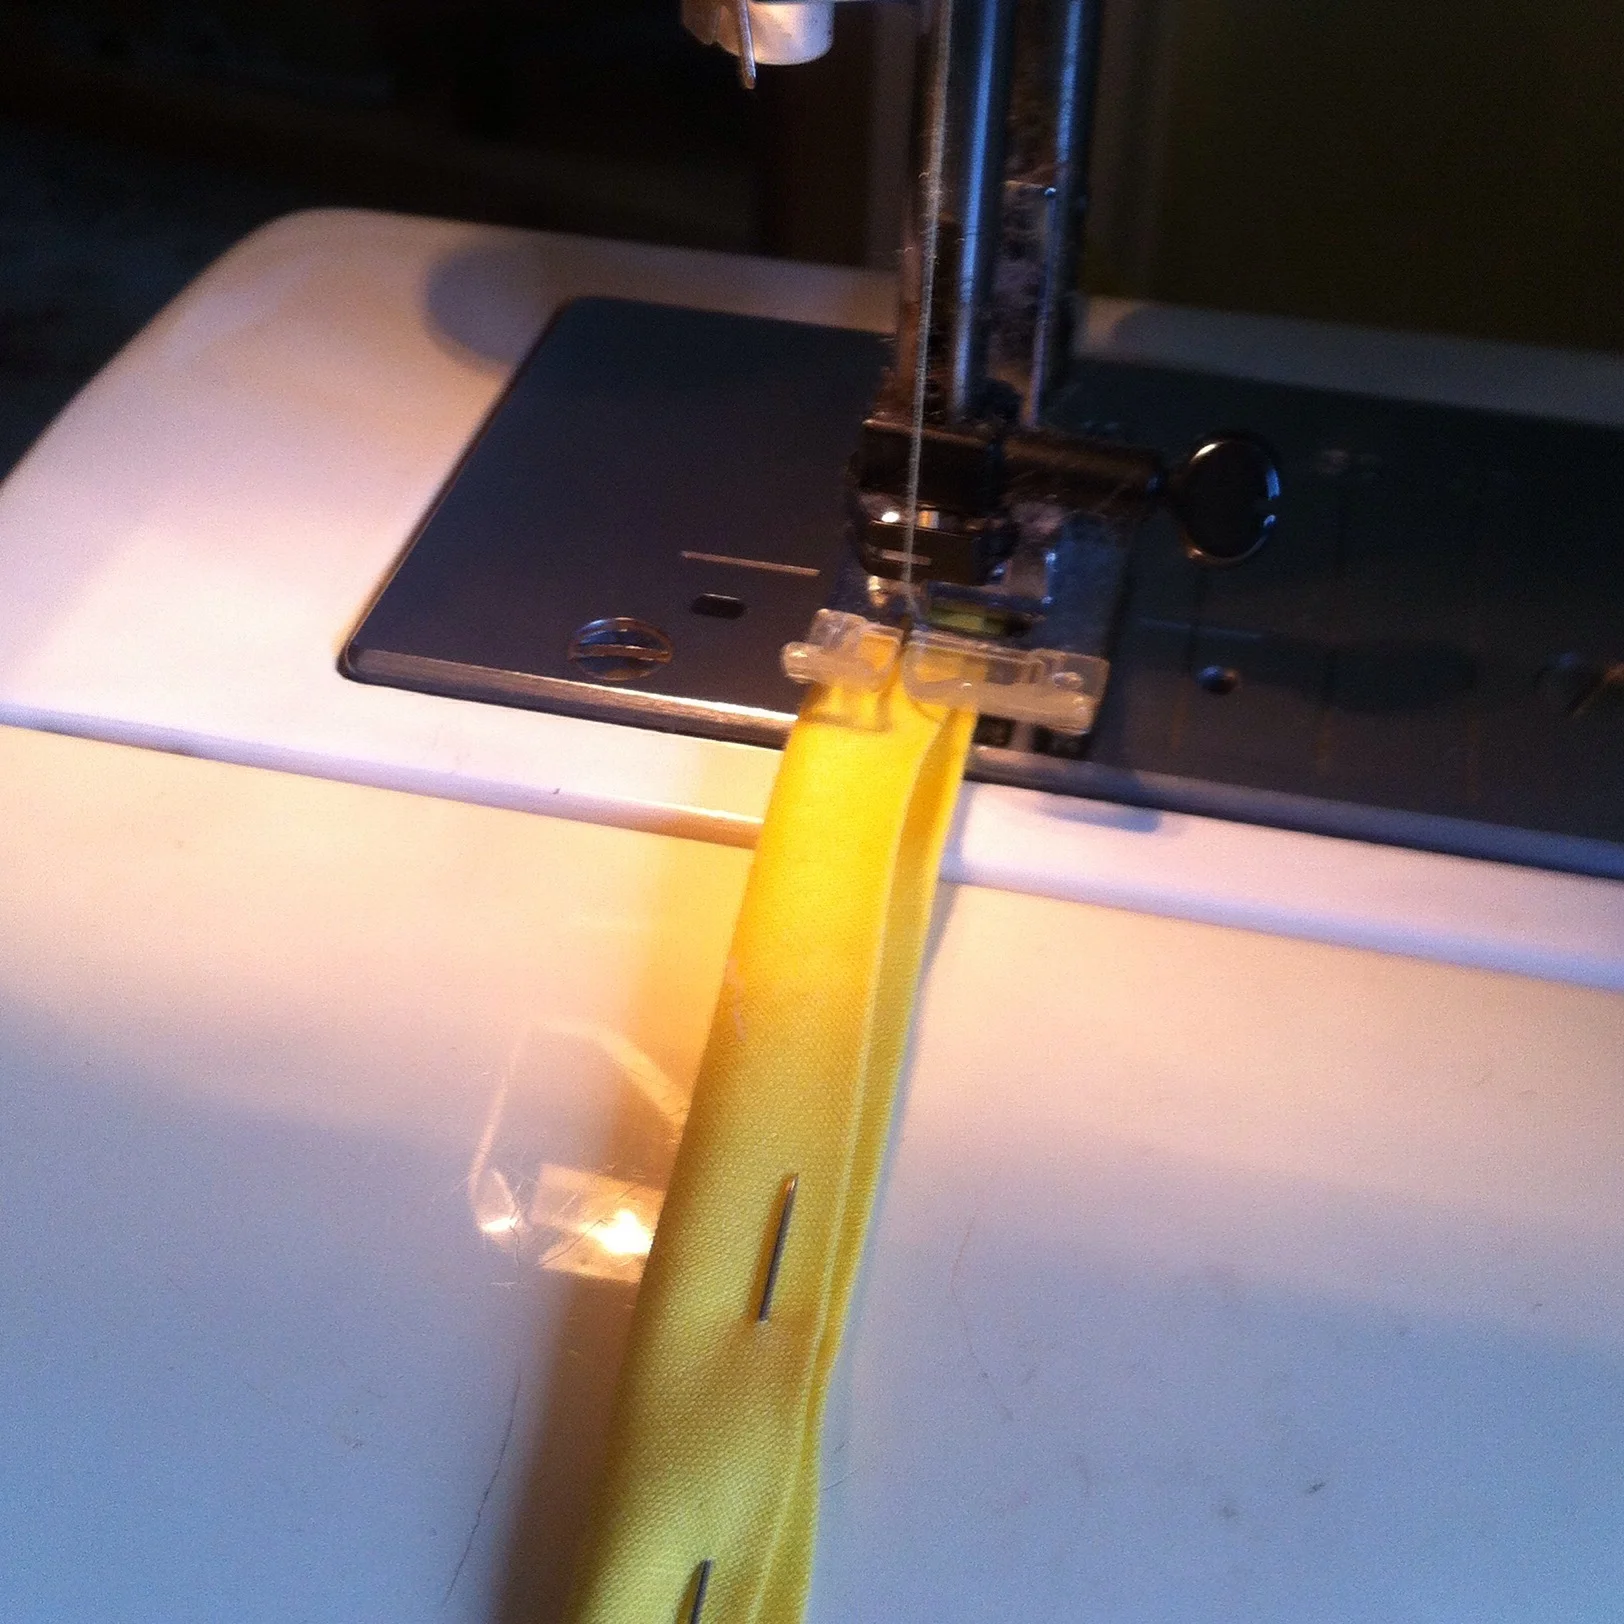
It turned out the lady in John Lewis was right when she said she wasn't much of a sewer as I've more material than I needed - which I don't mind as it's lovely - but quickly ran out of bias binding so came to a halt until more supplies arrived. It was quite a timely pause as it gave me time to work out how to do the next bit and to get some tips from my dressmaker mum.

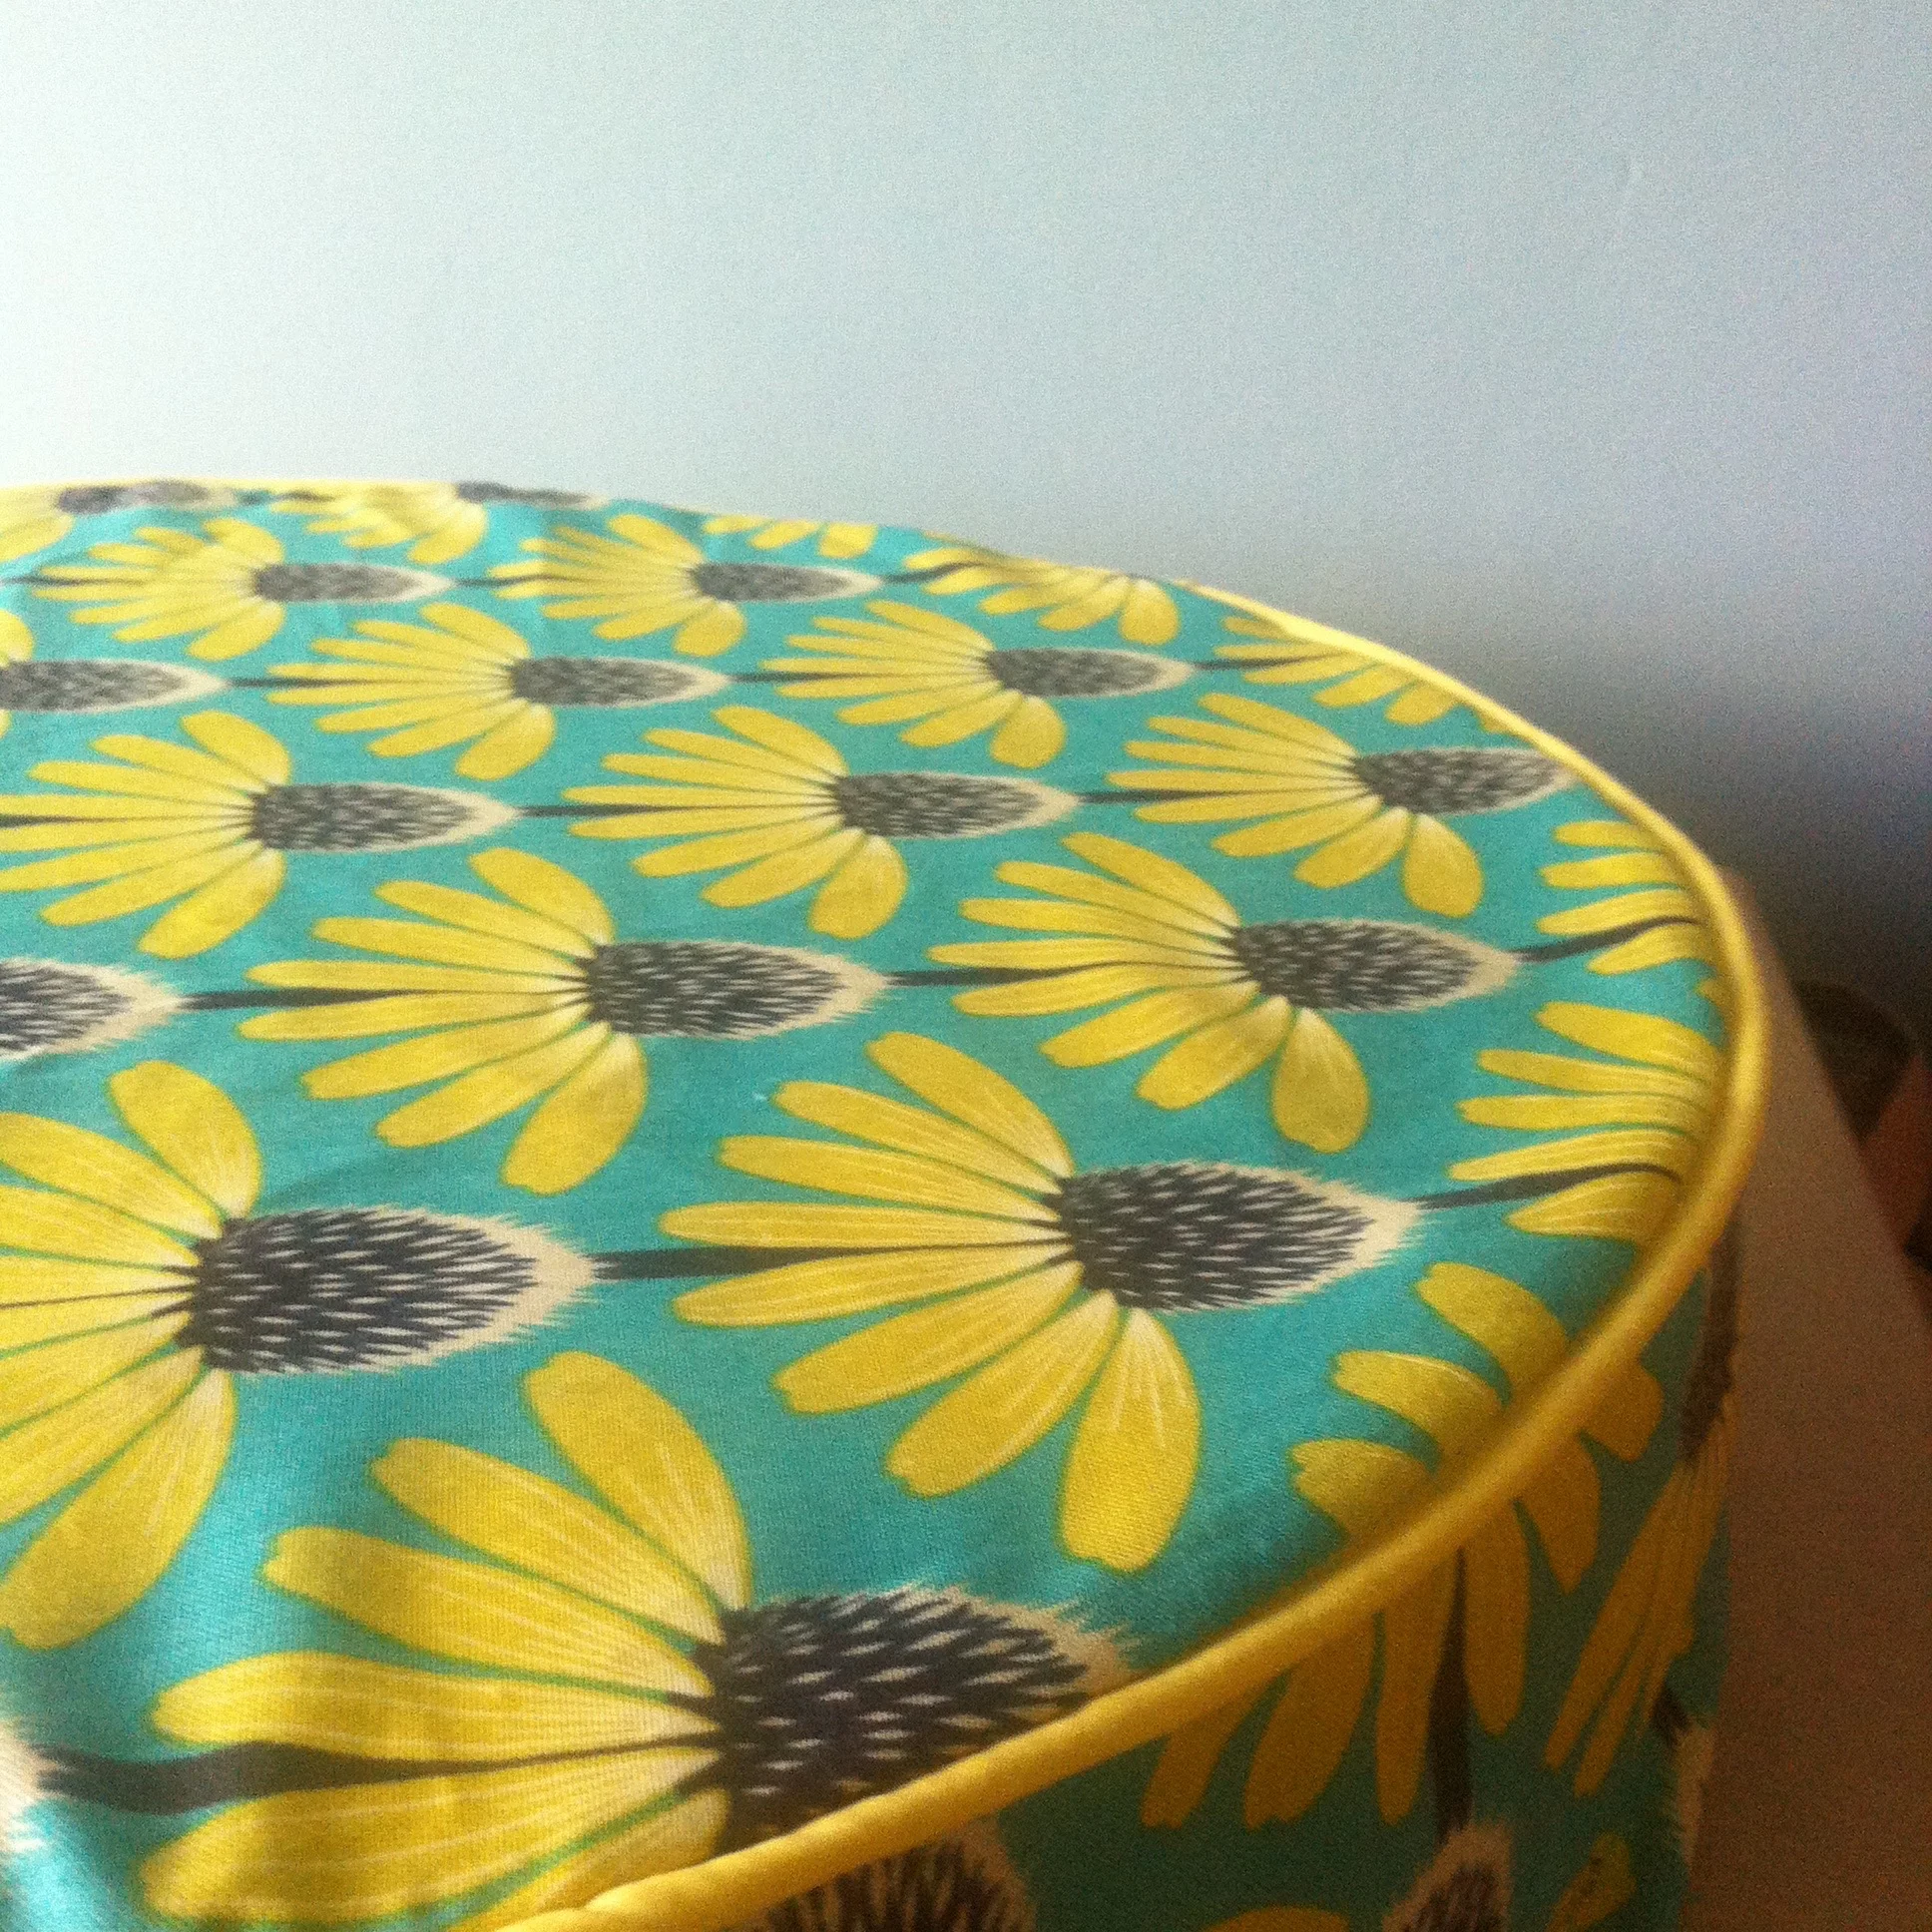
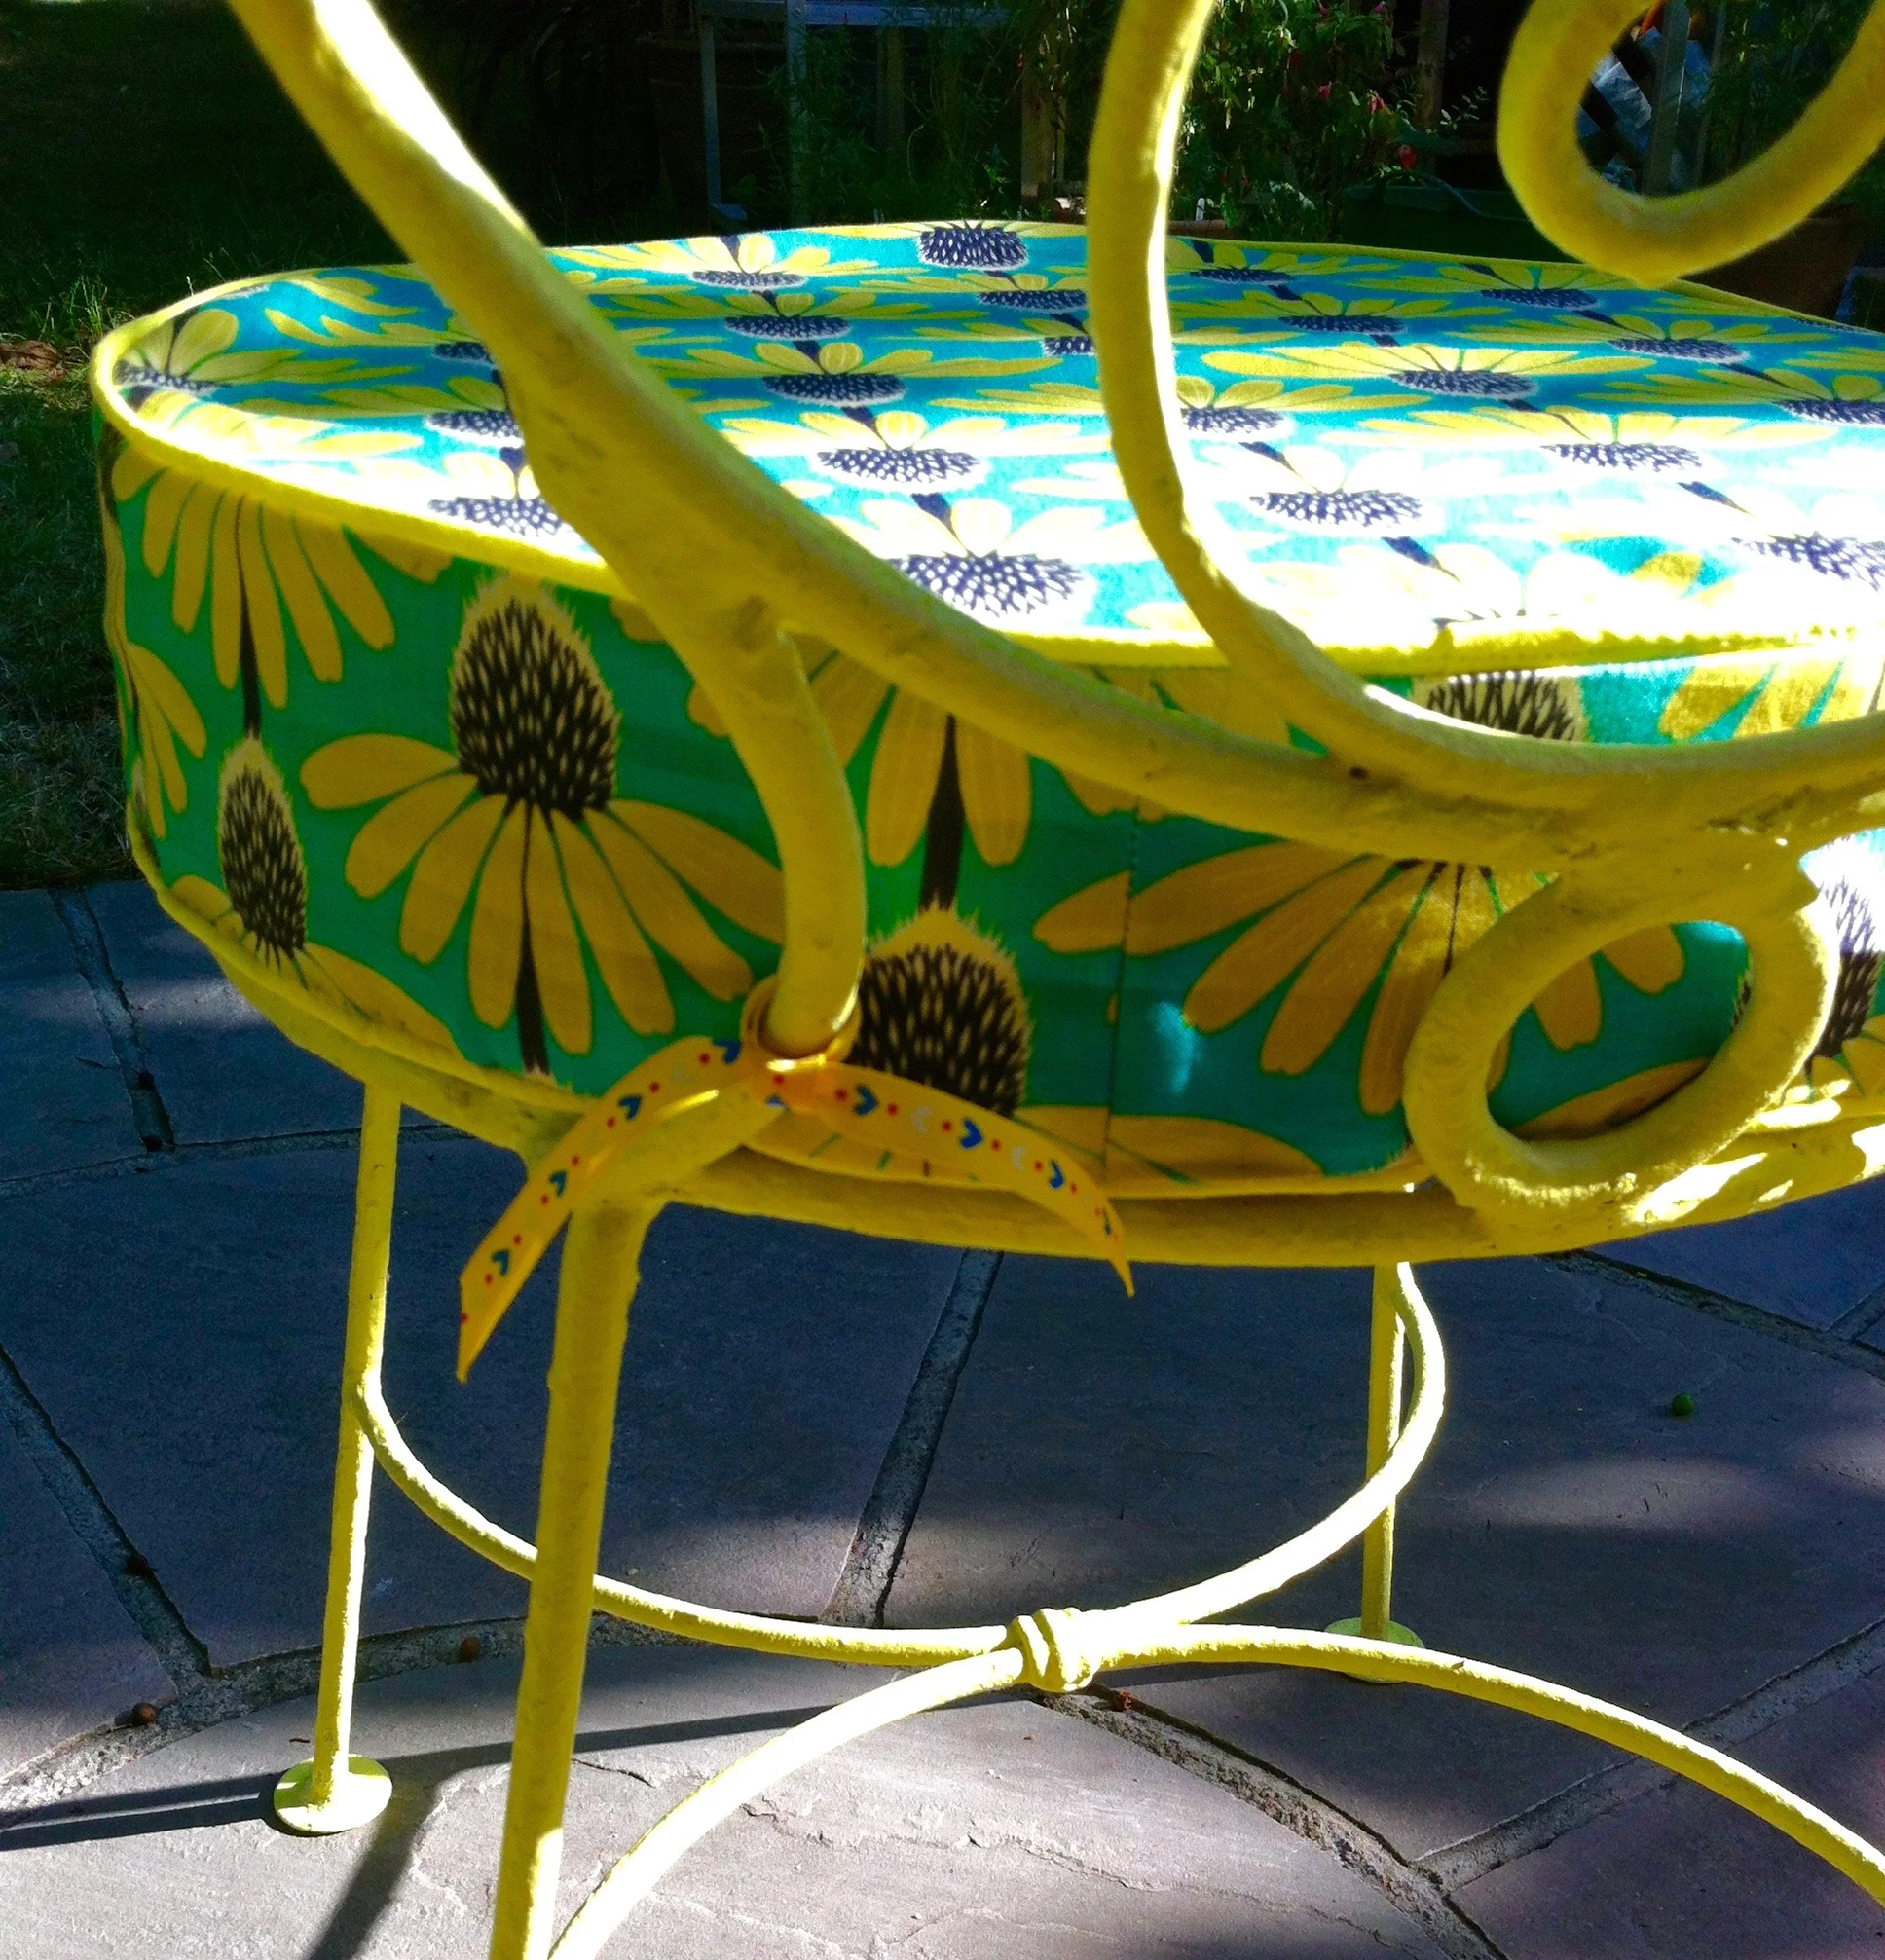
When the additional bias binding arrived I was flying and both cushions are now complete:

I added ribbon ties to the back of the cushions. I considered making ties from the bias binding but then remembered I had this grosgrain ribbon with the same yellow and liked the contrast it gives.

And here they both are together
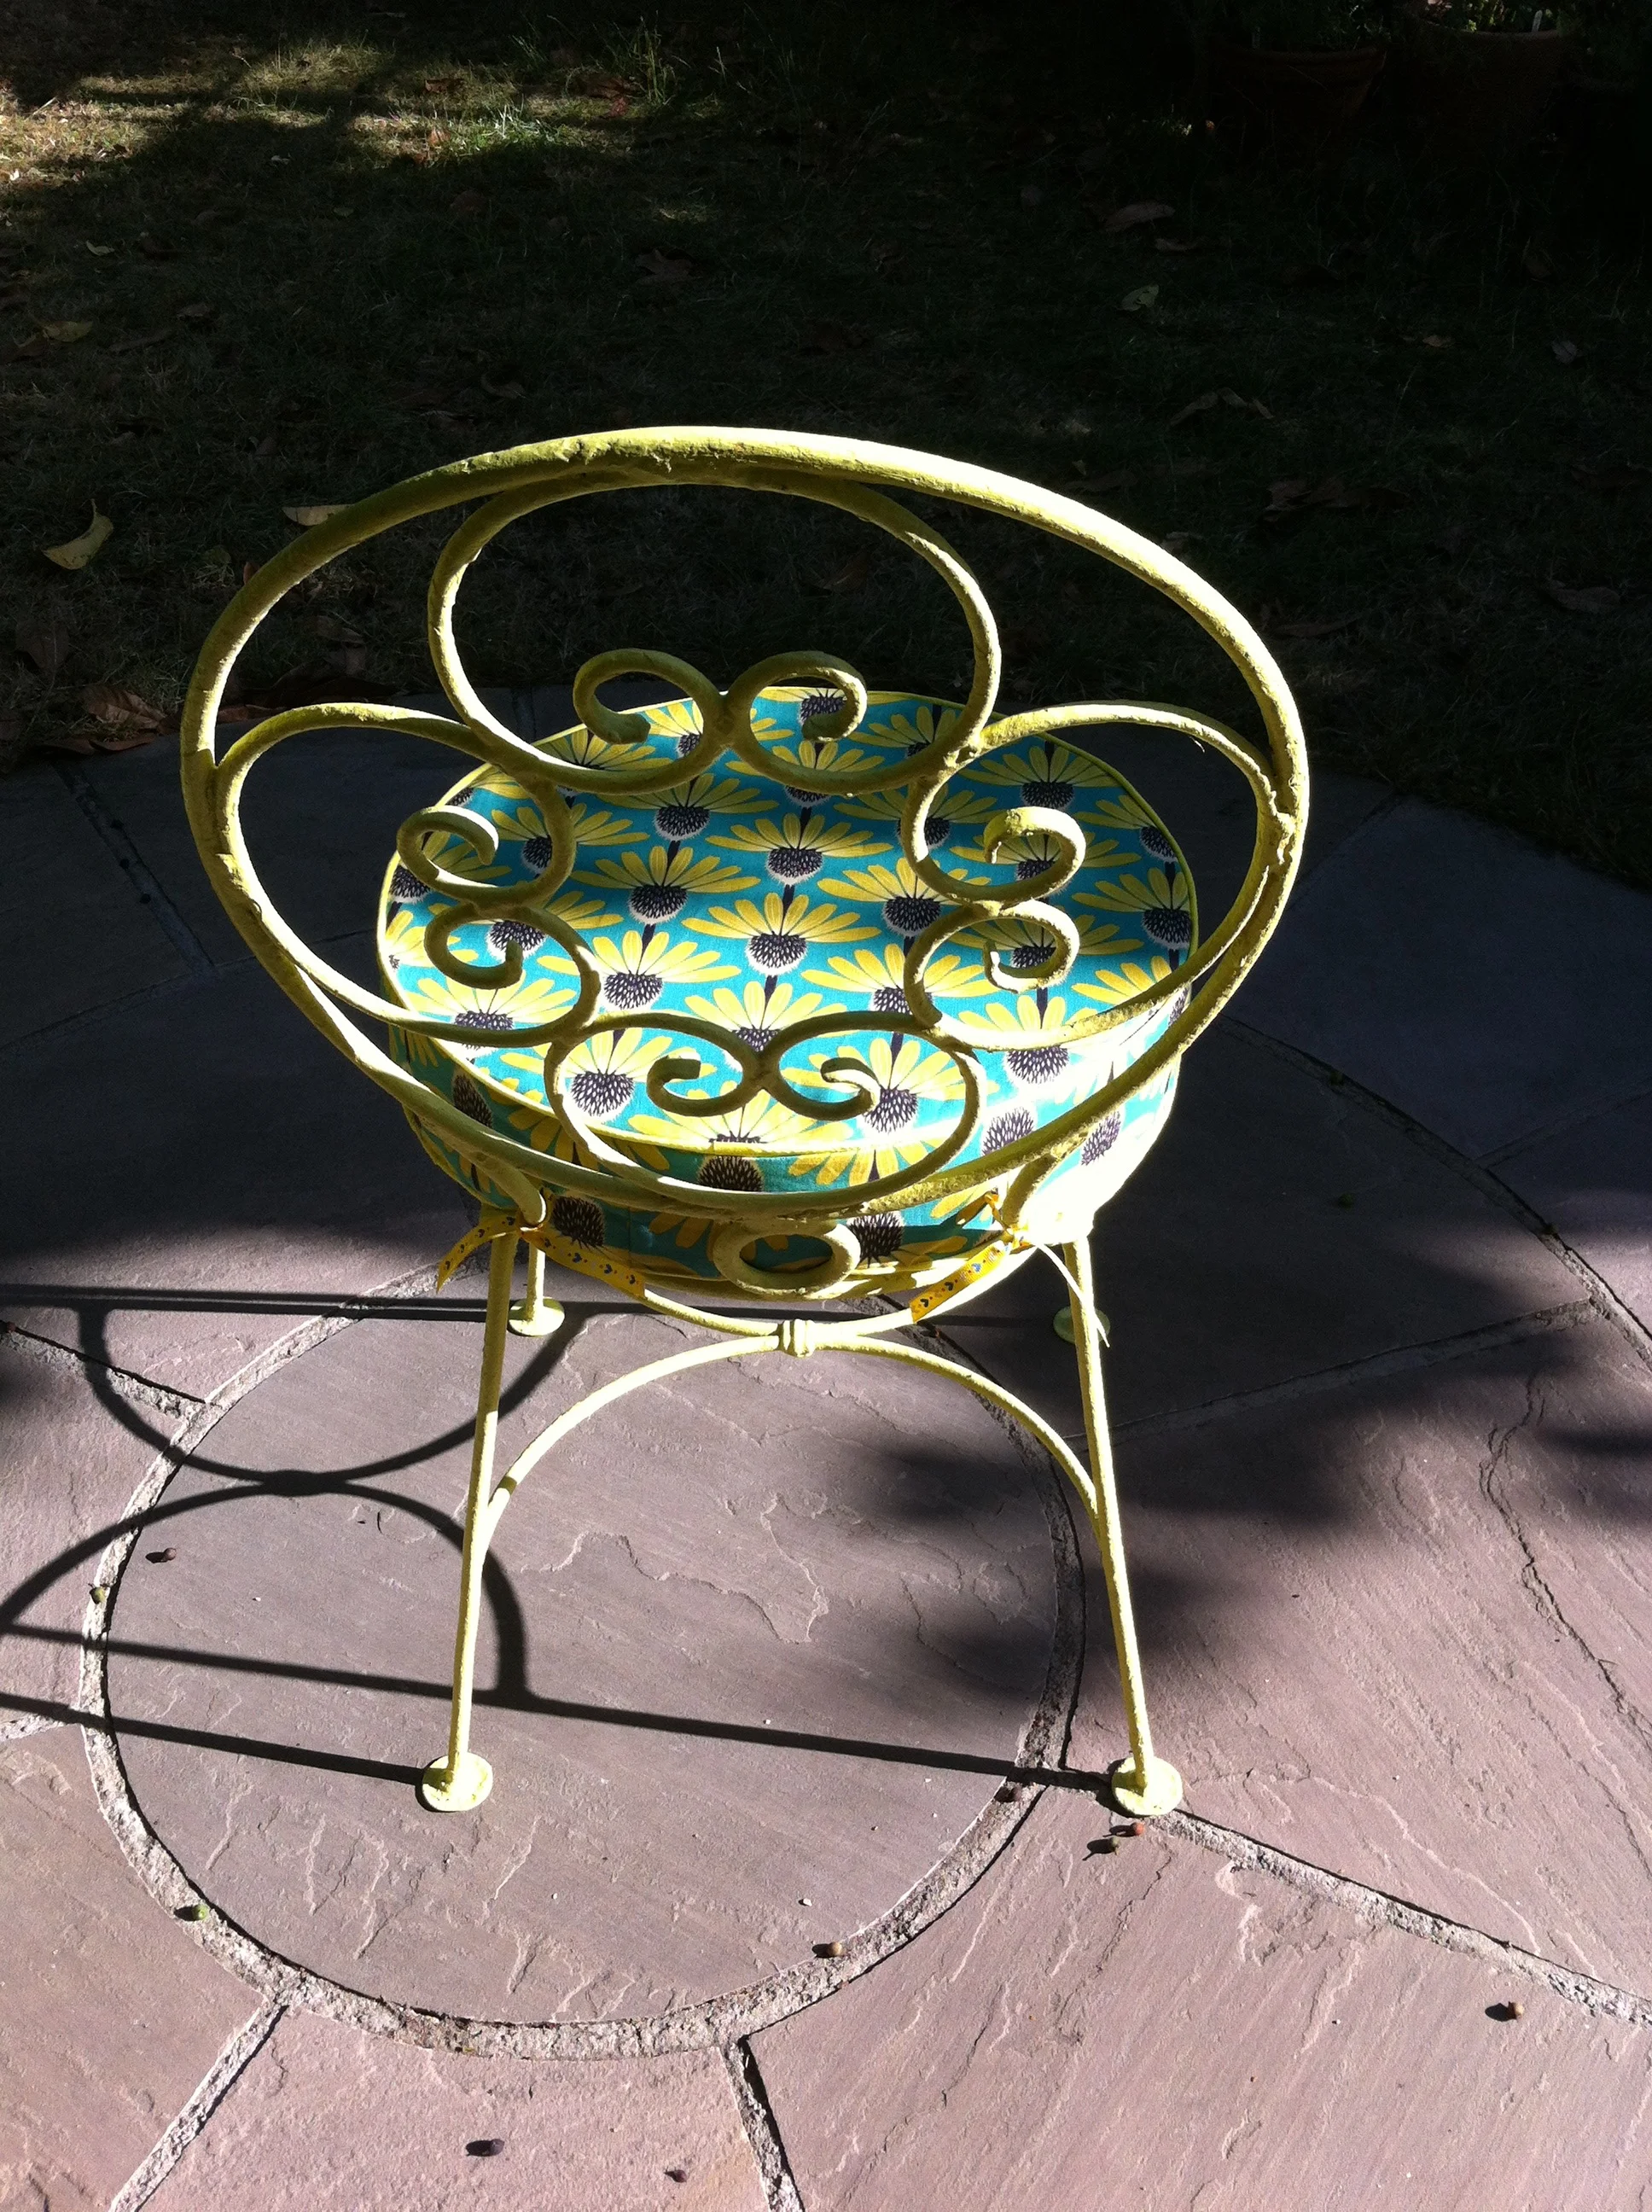


I'm really pleased with how both the chairs and the cushions turned out, and they look great at the end of our garden. They're comfy too - now I just need to get the French table sorted, and perhaps a smaller side table for everyday use, as it's always nice to have somewhere to my gin and tonic (or cup of tea!)
