


Today me, my blog and our spare bedroom have been featured on Wayfair, the online home store, in their Inspiration section - see How to Adhere Wall Stickers Like a Pro. Below is an image of the finished room, to see how I stuck the wall art, pop over to Wayfair.

It was quite a job getting the room looking so good. Not only had it become our dumping ground for just about everything, there was also a box we hadn't unpacked since we moved in nearly thirteen years ago (whoops!) and we'd had a bit of a leak above the window. Yes the leak was on our middle floor, but it's all fixed now thankfully - but it did leave us with an unsightly corner.
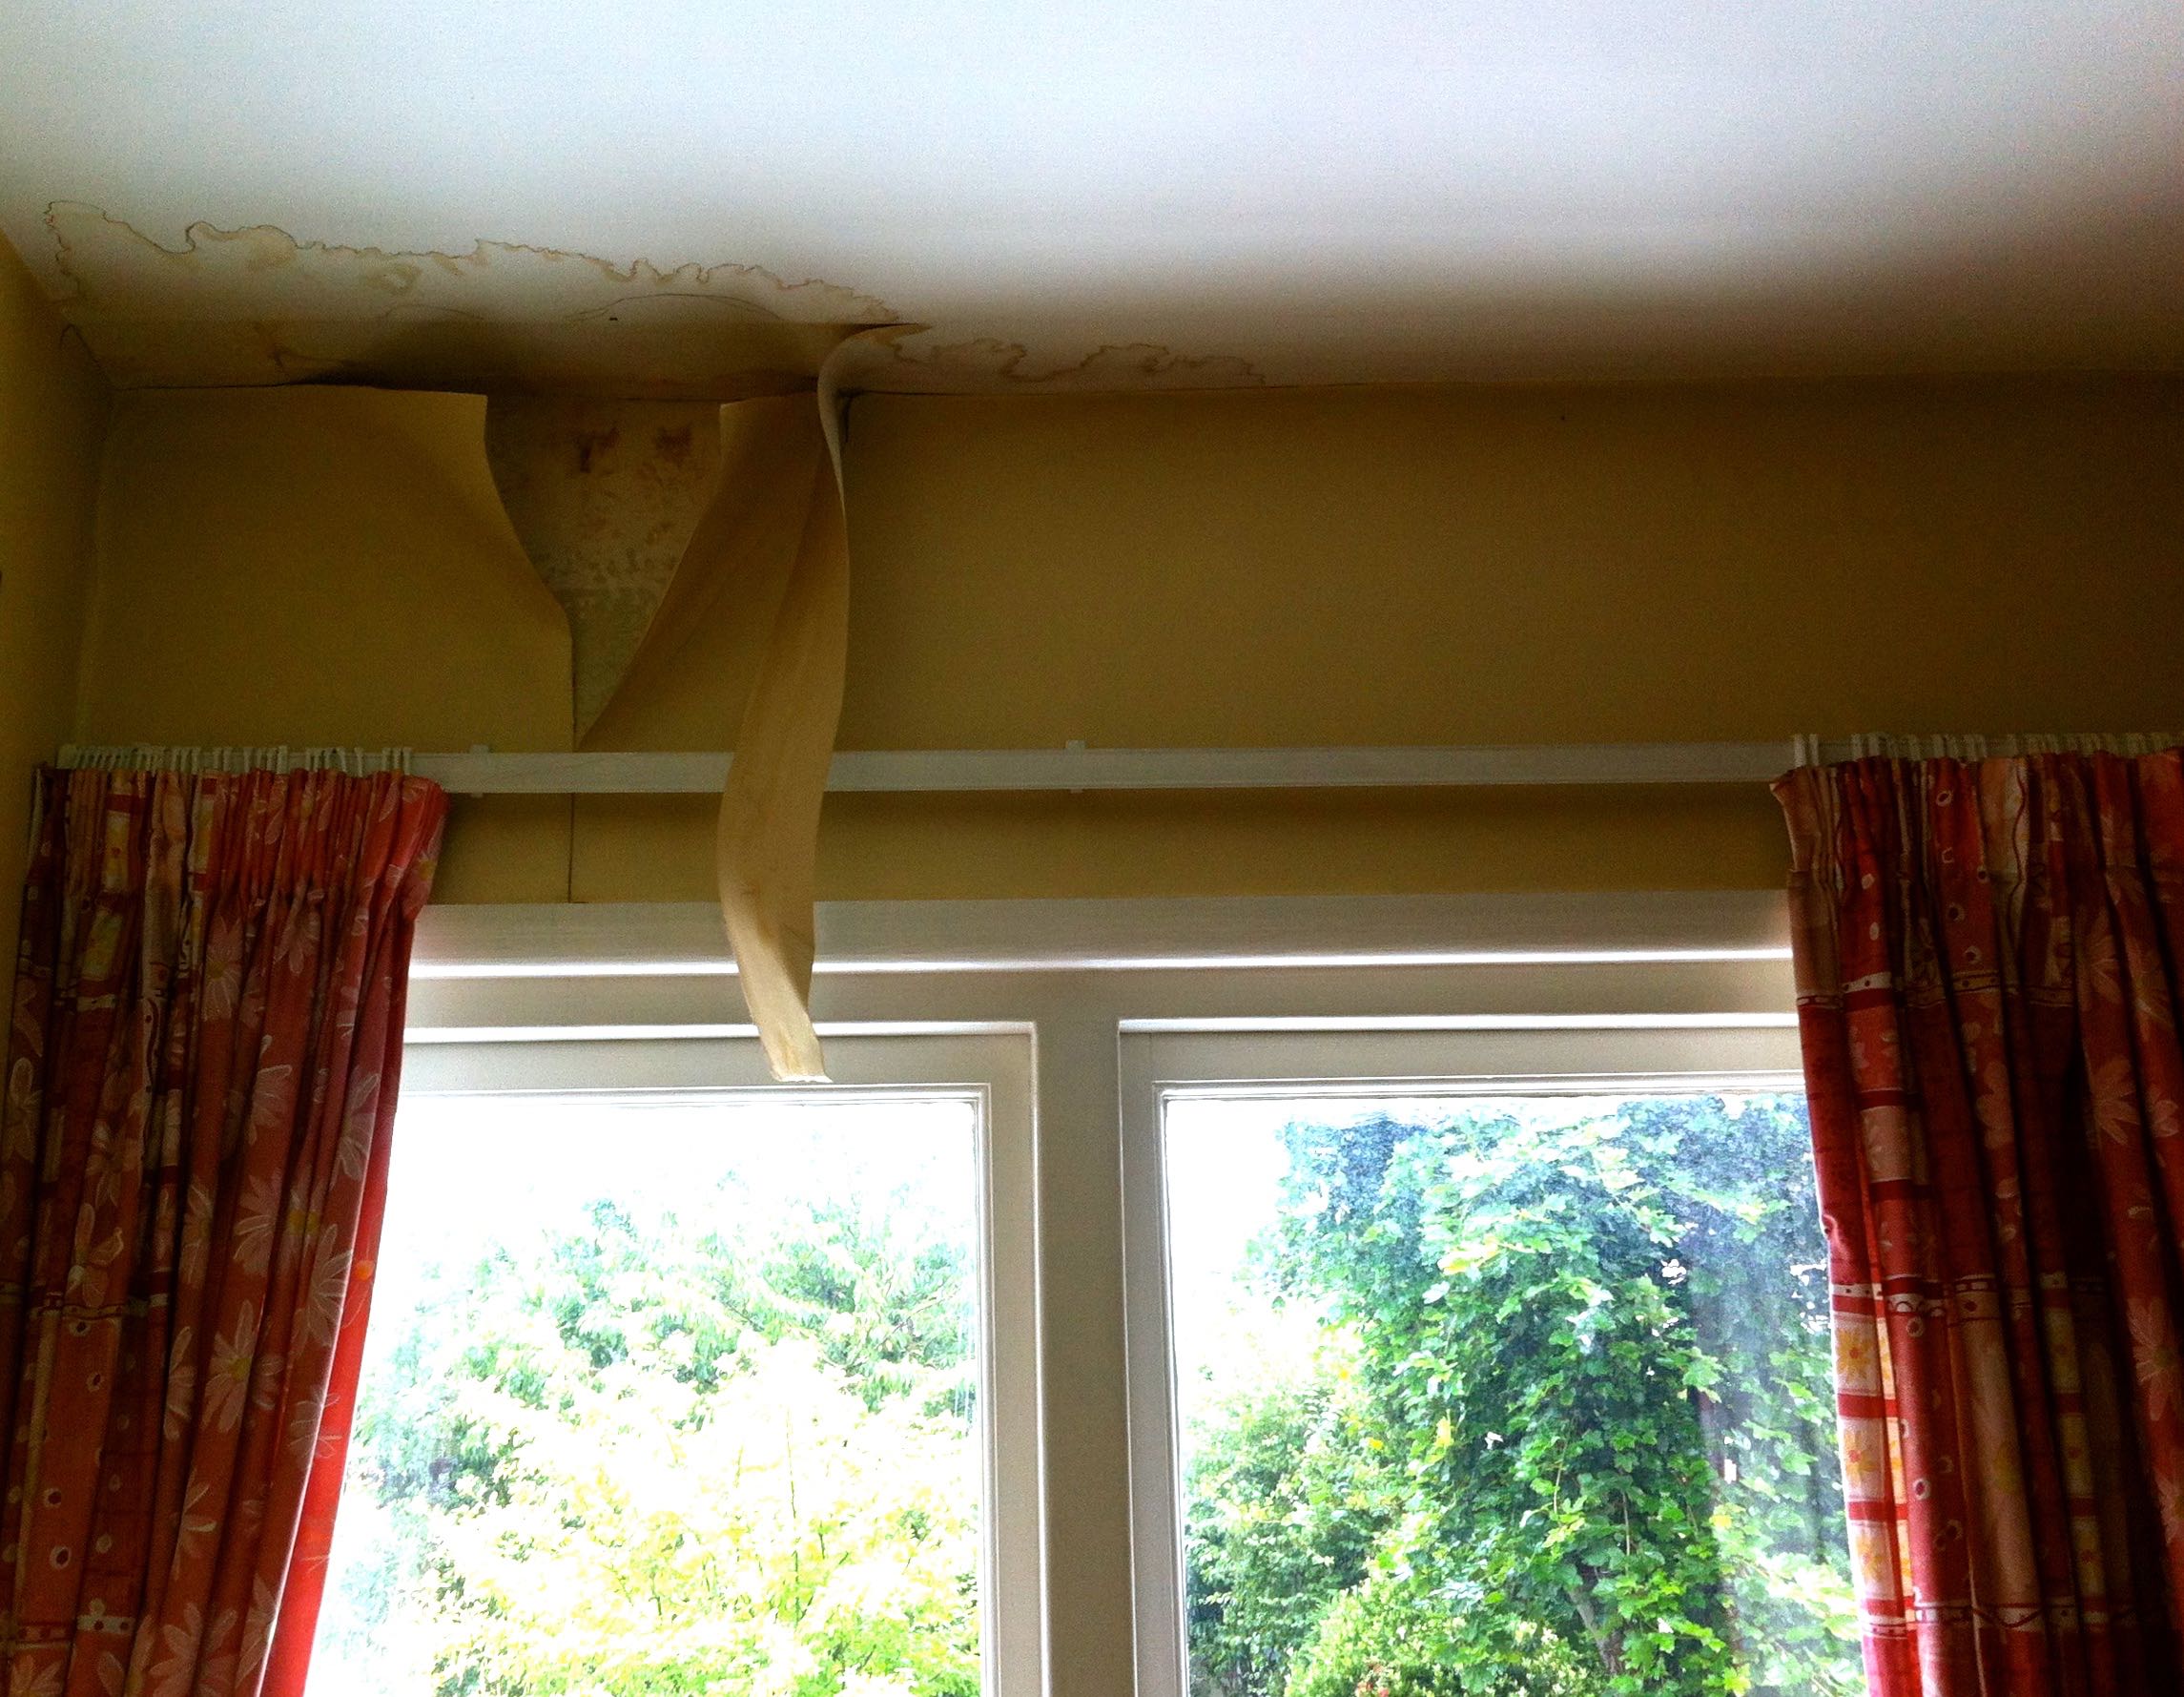
OUR UNSIGHTLY CORNER!
Those curtains too had to go - they were hung when we moved in, and had come from my bedroom in my last house. You'll remember we got a lovely wooden venetian blind to replace them. Much, much smarter!

Even with the wallpaper repaired there was still a way to go to get the whole room looking fabulous, and we also had to tackle the floor. We decided to go for sanded floorboards, so it was out with the carpet, the hardboard and the gripper rods.


Thankfully the floorboards weren't too bad and I spent a few hours pulling out all the tacks before the professional sanders came in. When they left, this is what our floor looked like:

What an improvement.
With the floor done and dried MOH's job was to add beading between the floor and the gap in the skirting board - a tricky cutting exercise with so many corners in one room. It took him most of one Saturday morning to complete - and in that time I'd painted three walls and done the seemingly never-ending job of cutting in, in Farrow & Ball's Skimming Stone. It's a colour we have throughout the house. This works for us as it brings continuity as you move through our rooms and it also means we have less tins of paint to store in the shed!

The fourth wall - and the largest by far - is painted in Farrow & Ball's Dove Grey, which we've also used in our bedroom on three walls (in there we have wallpaper on the largest wall). With the painting completed it was time for the bit I was looking forward to, adding the wall stickers.
Here they are with MOH's 40th anniversary Naim posters which I had framed by Bernie at Bromley Picture Framing. He did a great job - at short notice too - and I'm really pleased with them and I'd go there again, especially for large pictures. We had planned to use IKEA frames and bought the Stromsby variety. However they aren't truly A1 size and so there was an uneven border of white showing around the edges, and then there was the small matter of not being able to get them to hang on the wall!

Seriously, one evening we spent more time than I ever thought possible trying to hang a very large picture on a single screw, which we discovered barely fitted the hole in the fitting. Neither of us were convinced it was safe, even if we managed to get all three up on the wall - and it was a big if. And after trying to hang one picture for at least two hours, we gave up!
With the now custom-framed pictures hung (much more easily too), now it was time to unbox and start assembling the maze of cardboard boxes we'd stuffed into my Clio on the Friday night. We bought four Kallax units, a couple of drawer inserts and twelve door units. Let me tell you that's a lot of assembling. Each unit has twelve storage compartments - we joined a 4x2 and a 2x2 together, more on that another day though. One unit is for MOH's records, our DVDs and some tools. The other one has been dedicated to shoes - mostly mine and it's glorious!

So that's our spare bedroom done - and another room ticked off the list. What dou you think?
Thank you to Wayfair who provided the wall art stickers for this project.