


In my first post on Getting started with Gelli Plate Printing I shared the basic equipment needed and my first prints using single and two colours, here I’m going to share how using stencils and masks can bring even more texture and interest. These bring another dimension to the prints, and endless possibilities.
I already have a number of stencils, which I’m keen to try out in this new craft that’s quickly becoming one I can’t see stopping anytime soon. I’ve purchased my own gelli plate and brayer online as this is a craft that has so much potential, and is fun to do and thankfully isn’t that messy either (which is always a bonus).
Using stencils
The possibilities are endless, as are the colour combinations. It’s also easy to get two prints from the same stencil and paint application, as long as you work relatively quickly and don’t let the paint dry. I chose to use a thin plastic reusable stencil with a flowery pattern. The first two images below show the first and second prints using a single paint application, and how they differ; the third image shows a final feint print to remove the paint that remained on the gelli plate.
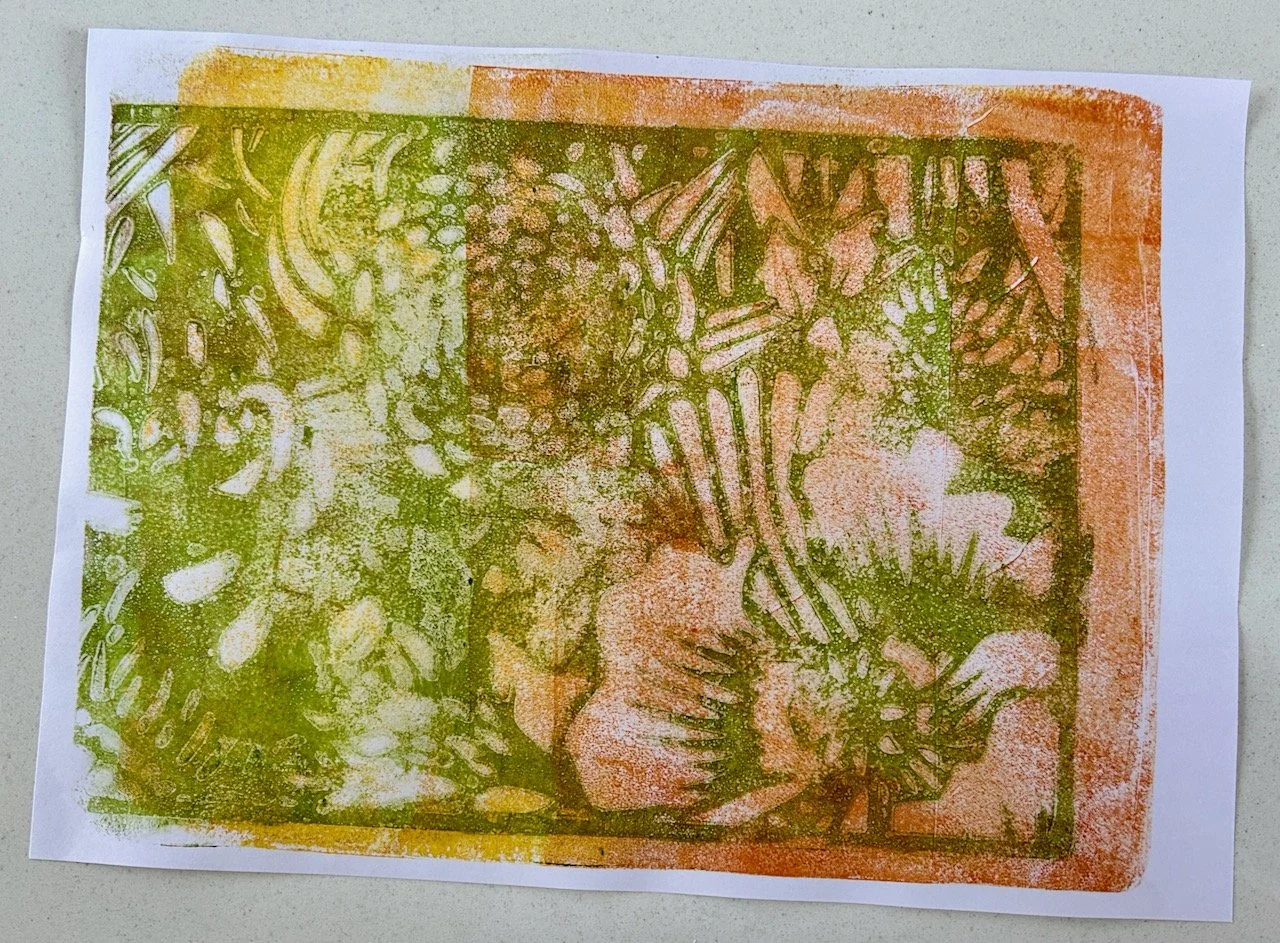

In some ways the second print is my favourite, but I know that all of them will be useful - and used - in my future papercraft crafts.
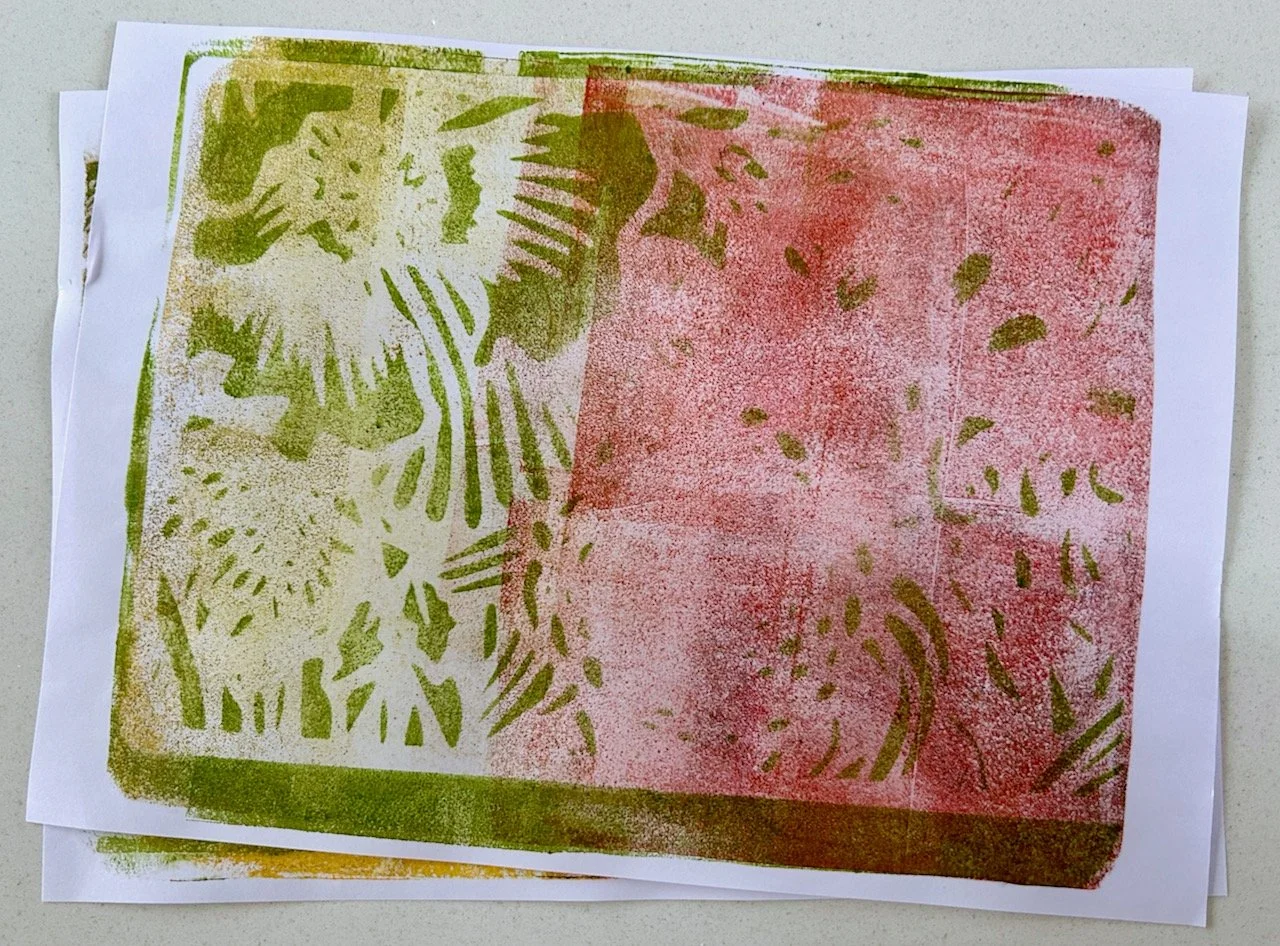
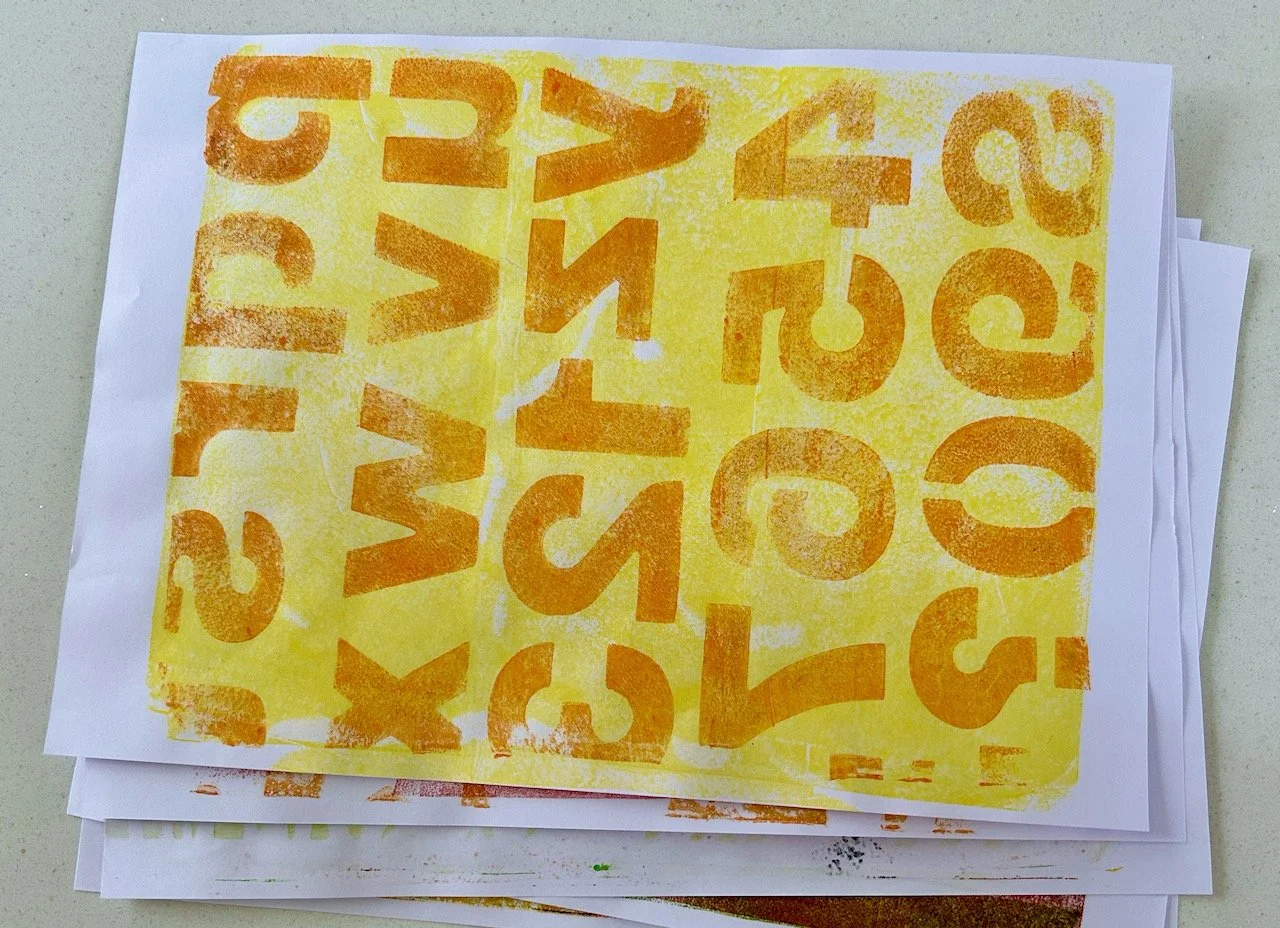
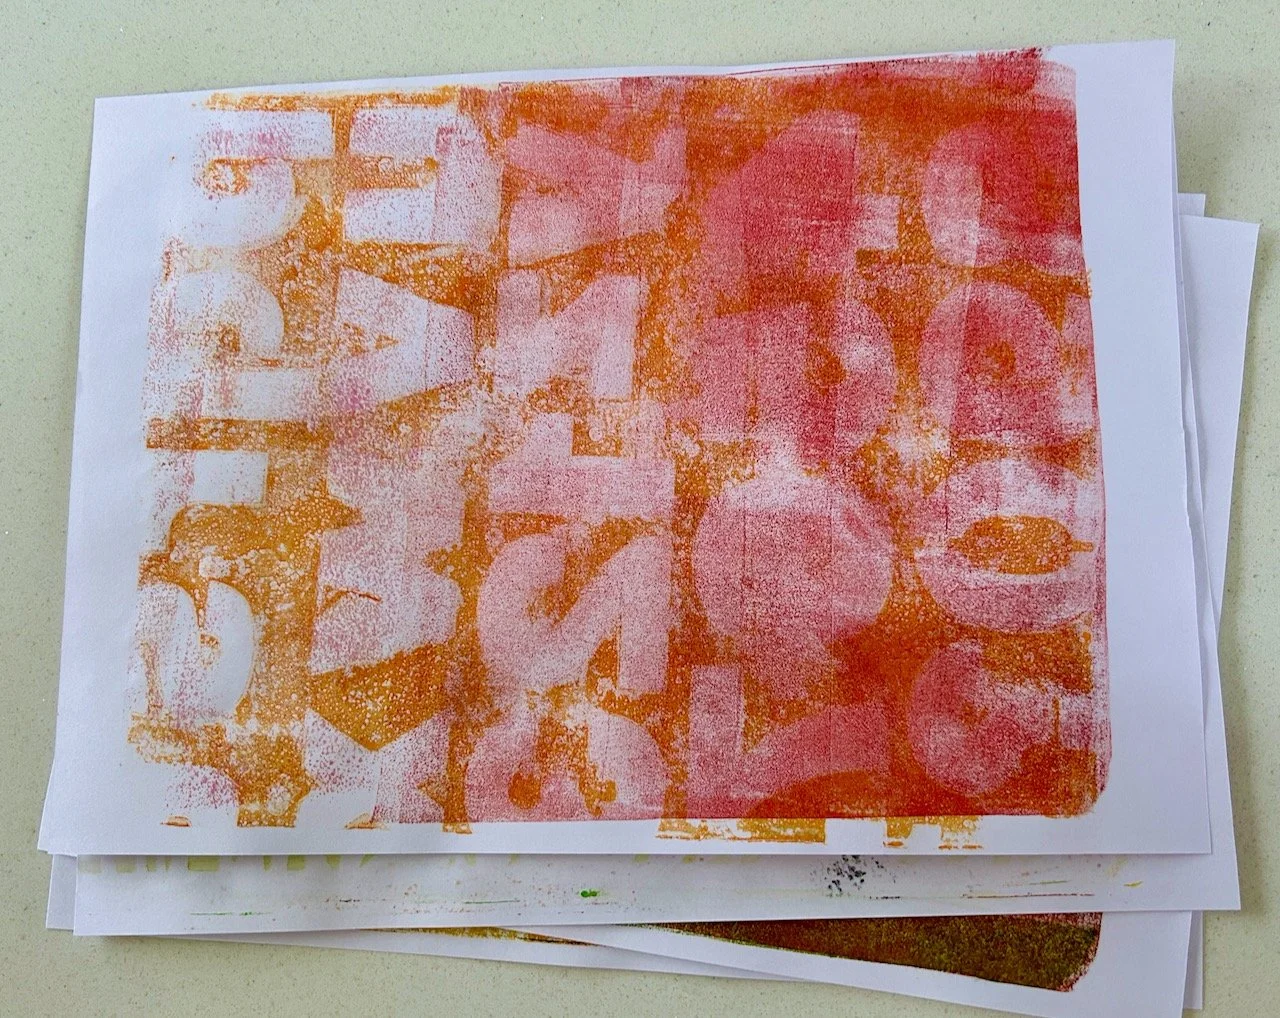
I also tried an alphabet and number stencil. I didn’t reverse this as partly this was a test of the process, but also it’s not text that needs to be read, however if that wasn’t the case the stencil will need to be reversed to avoid the mirror effect. Again I pulled two prints from a single paint application, and the softer second print is definitely my favourite of the two.
Using masks
Another technique that we tried on the course was cutting out shapes to mask areas. I cut simple blob-like circles and leaf type shapes for this. I liked the results of this less than the stencils above, but I think my choice of shapes and colours also contributed to that.
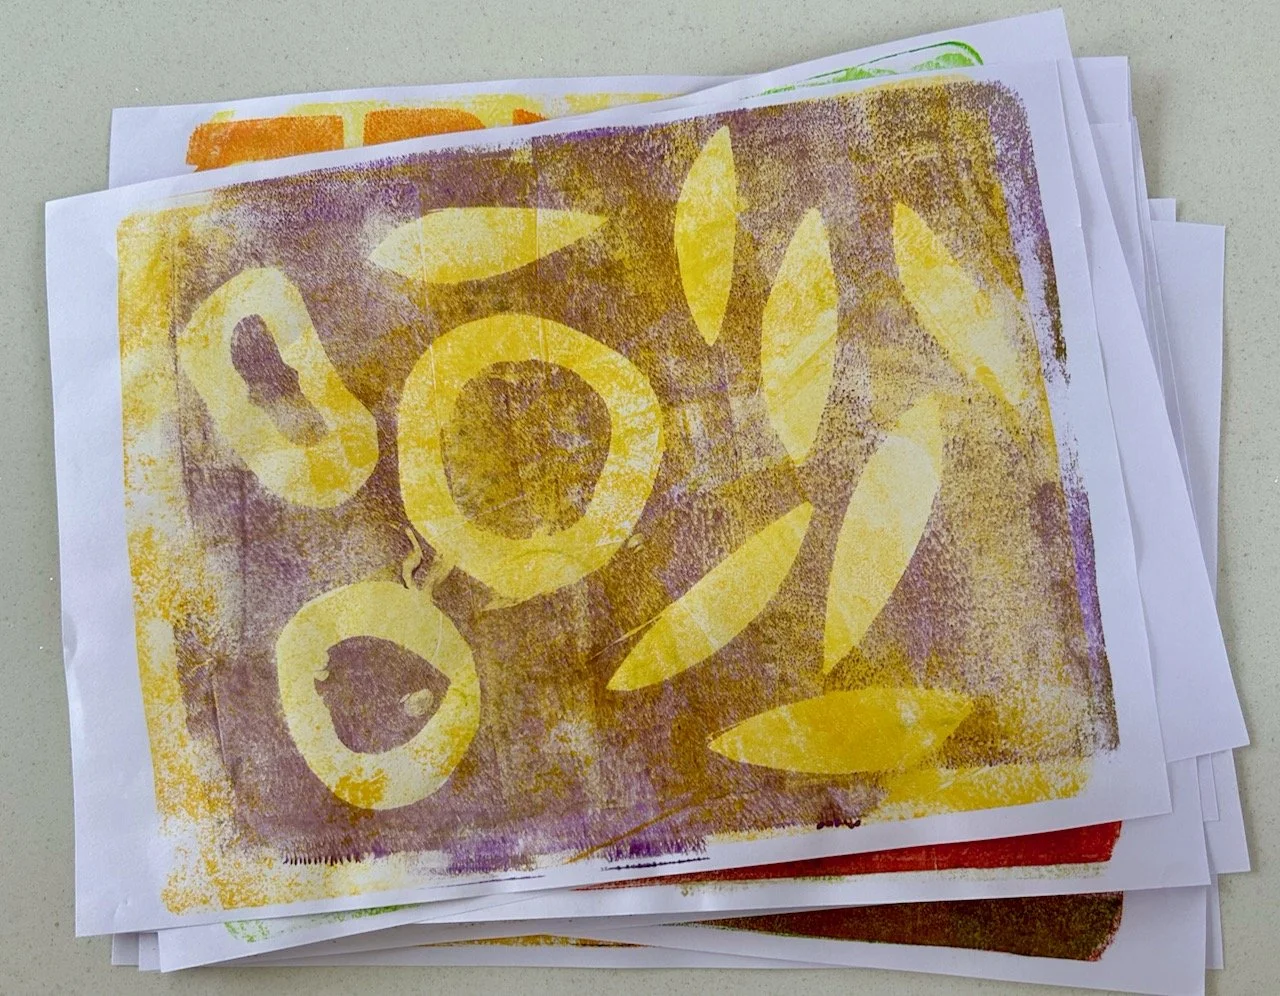
Unlike using stencils the second pull using the same paint application didn’t really add anything, the outline shape was too feint to keep. But all was not lost as the beauty of gelli plate printing is that you can reuse prints that don’t quite work out.
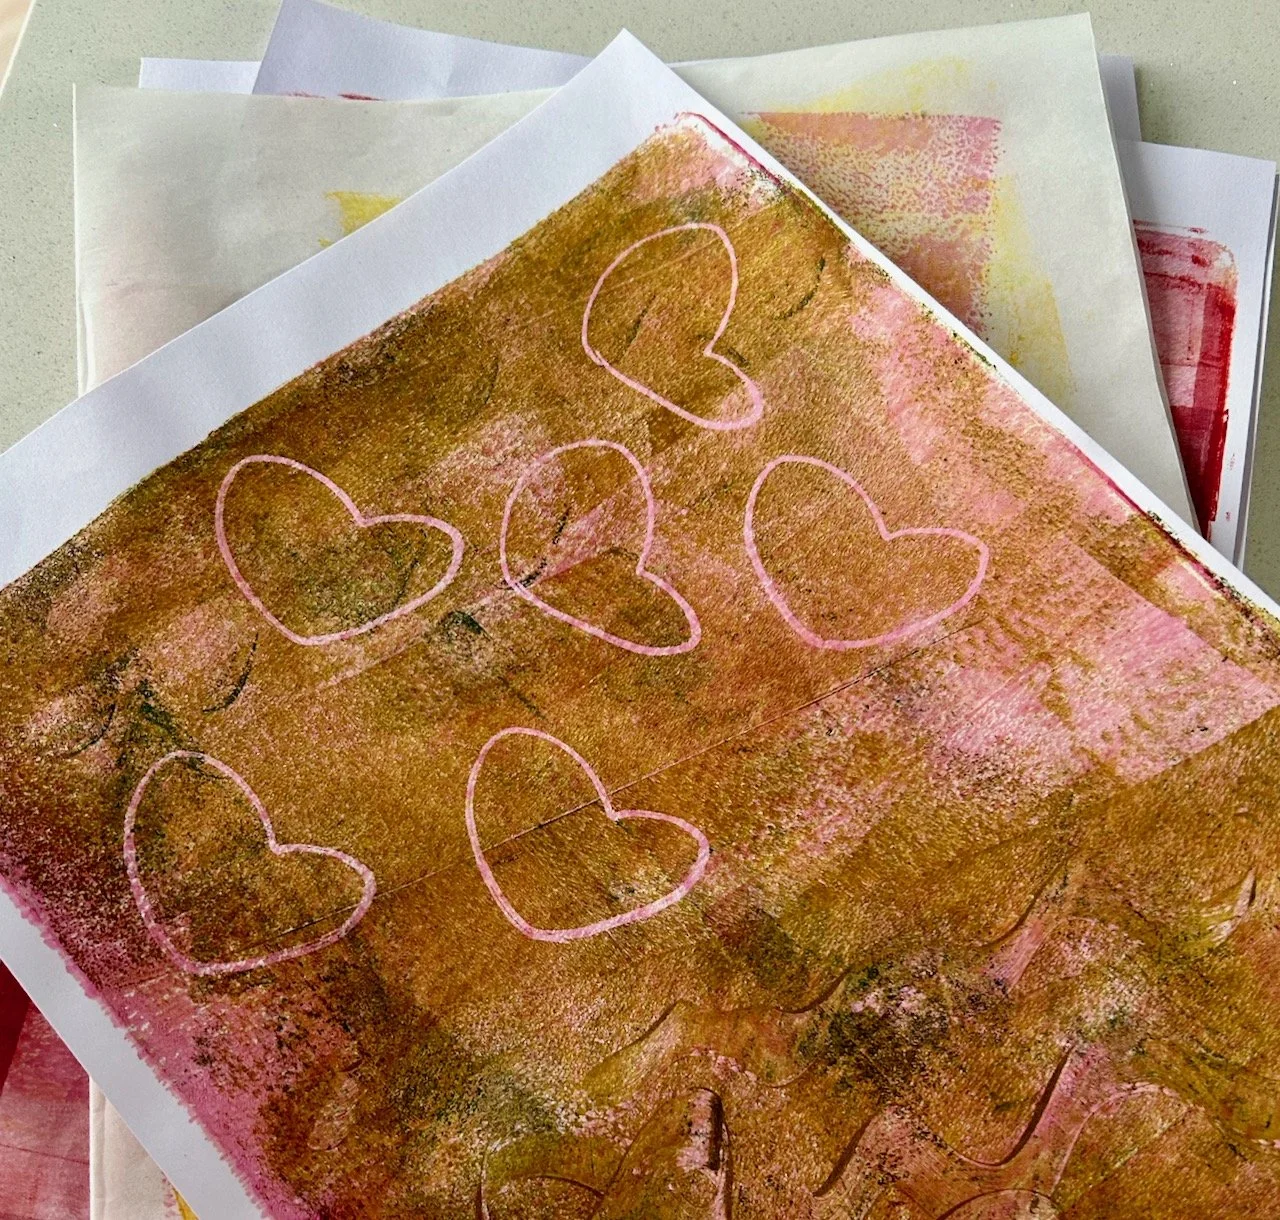
Using other items
This is where your imagination can run riot. In the image below the hearts are made from a squished toilet roll - and I think they work pretty well. On the right hand side of the hearts I used a plastic glue spreader to make swirls in the paint (care: do this gently to avoid damaging the gelli plate), I think this has potential and it’s something I want to try again but perhaps with more advance thought on what shapes to try.
I also want to try using bubble wrap, scrunched up foil and paper and especially leaves. I don’t know how successful these will be, but half the fun will be experimenting. I’m sure there are many more things I can try - perhaps some lace too - and many that I haven’t thought of yet, but are no doubt lurking in my craft room somewhere!
The worst that can happen is that I’ll end up with textured papers that I can use in collages and in card making. How can that be a bad thing?