


In front of me where the materials I'd need to start my sign. I'd already thought about potential designs and while I knew there'd be some templates available to choose from on the night, I hankered after some neon lettering. Ever since we started to think about redecorating, yes all the way back to 2013, I'd wanted an "eat" sign next to the table. I also wanted letters to spell "cook" in the kitchen and I decoupaged my own, but the eat was - or has been - sadly lacking.

And while Becci, the instructor and soon-to-be-kit-releaser, said lettering was more complicated and unlikely to be completed in an evening, she did say it was entirely possible. I was umming and ahhing but decided nothing ventured nothing gained and decided to stick with my eat.

Then came my first challenge. To draw my design. In front of me was an A3 piece of paper, and the heart on the back was for it I changed my mind and chickened out and decided to go for something simpler. It was hard to draw the lettering so large, and that's without tackling the trickiest part of the t. But with some perseverance it was starting to look how I'd hoped.
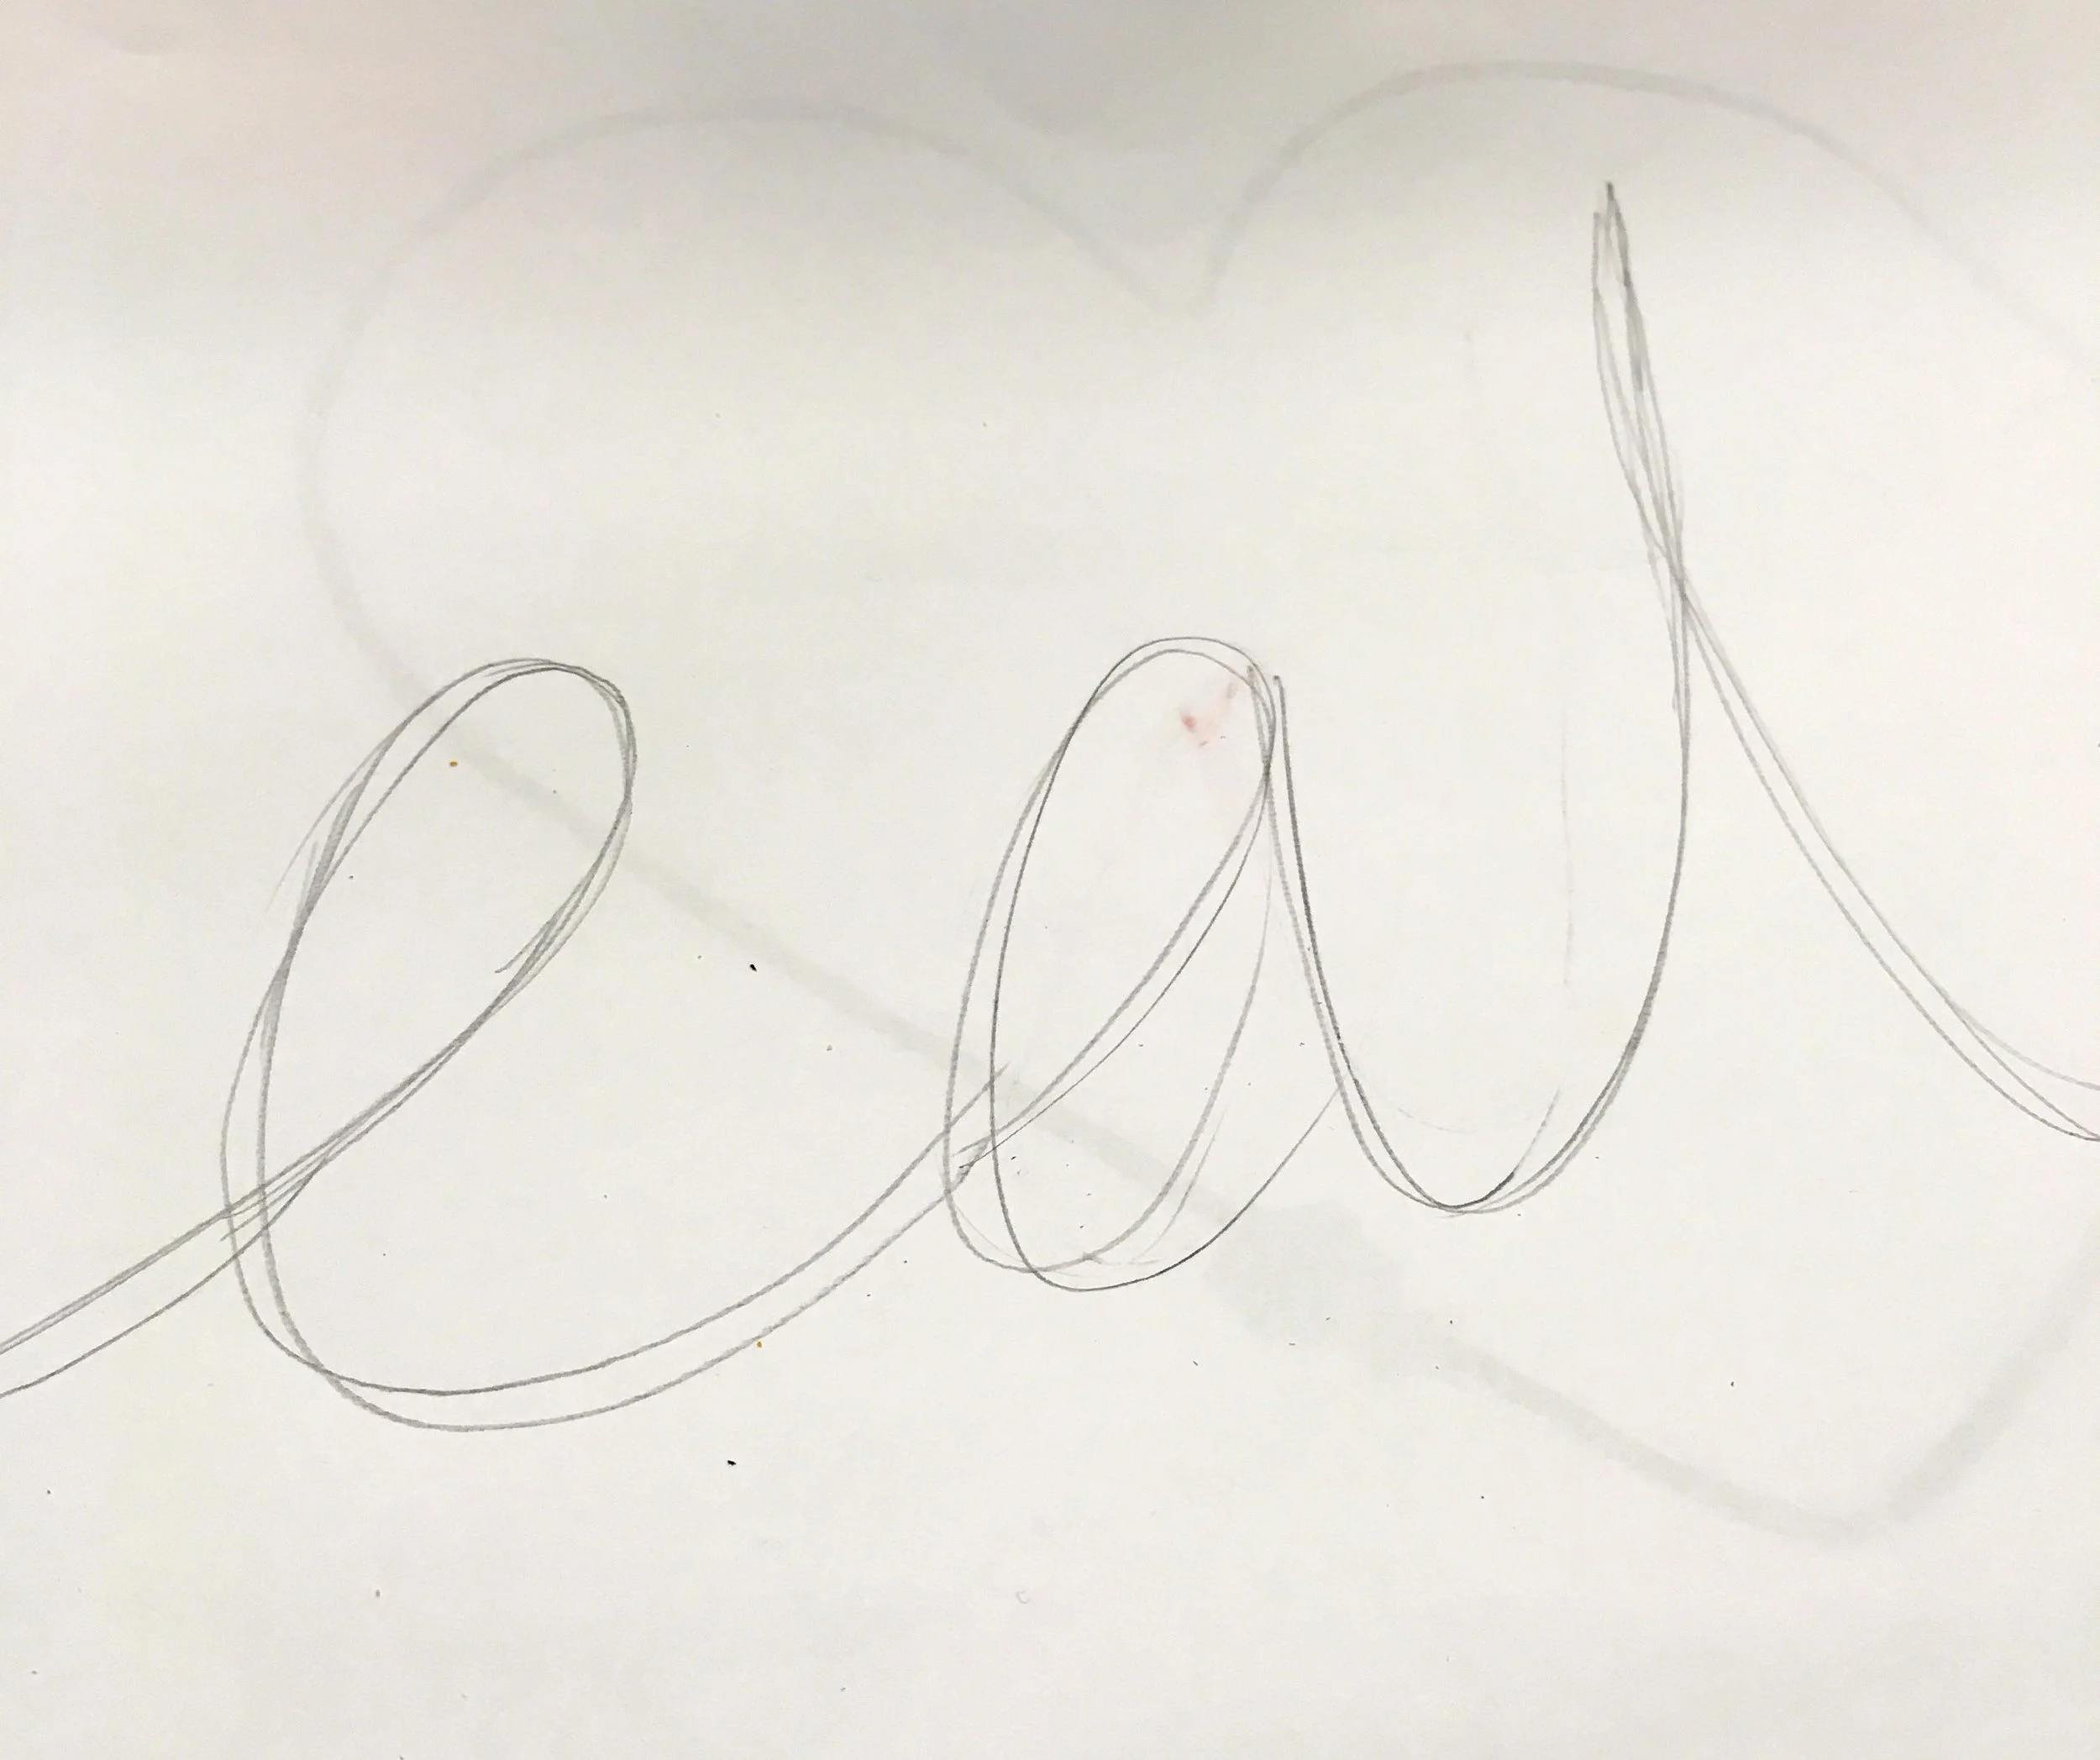
For the cross of the t, I needed to do it in one fluid movement, hence the trickiness. I decided to approach it more in a flower shaped design and to squeeze it into shape as I went. With my design mostly there, I took the aluminum wire and bent that into shape, sticking it to the paper and mostly to the design using masking tape.

As you can see the t was starting to look less petal shaped and more t-like, thanks to the pliers. I was rather pleased with myself and ready to move to the next phase.

And next was the neon bit. Well actually electroluminescent wire. As you've probably already worked out I chose blue, but there's also a pink version. And I know some of you will be shocked by that, but I think blue will go better with our decor, so it's a small sacrifice. I'd rather we used this, because I was already convinced this was going to be a fun addition to our decor.
The magic in this step is invisible thread. I was pleased though that I had a navy skirt on is it meant that there was no hiding place for it on my lap. Well, once I round the end of the new reel anyway. That proved problematic for more than just me, so I didn't feel quite so bad. The electroluminescent wire is tied to the aluminium wire using the thread in a series of knots. And for mine, they're almost every two centimetres, so that's a lot of knotting, and that's why I didn't get to finish my design on the night.

It was a lot of knotting and to start with I was all fingers and thumbs. But my fingers (and thumbs) soon got the hang of the movement and it wasn't long before it was almost second nature. And actually quite calming and therapeutic as often crafts can be, especially when they're going well. I could quite easily see how Becci says she manages to do this while sitting in front of the TV. I'm not quite at that level of comfortableness with it, but it's not unattainable.
While I didn't get the whole design knotted, I did get through my trickiest letter and skipped ahead to the next step, and that's securing the knots. And for that we used the craft staple of PVA glue. I was keen to secure my knots so all of my good work didn't, quite literally, come undone on the way home.

And for that it was covering the knots and both wires in glue. I think I might have been a little too liberal with mine, but as PVA glue dries clear once I'd smoothed it out a bit, it was going to be fine. The glue will also bind both wires together and give the form a little, well more rigidity. And while it looks messy in the photo above I've since trimmed the ends of my knots and it's hard to see where they are.
But what I, and everyone else in the class, was keen to see was how our designs would look in the dark. So with the battery packs attached, out when the lights and on cue we turned on our neon artwork.

Pretty impressive, huh?
A look down the table and you can see I wasn't the only one impressed with my evening's work. Next to me there was a sign of "joy" - wasn't it right that we were seated together? - and there were many more off-piste and off-template designs that evening.

So I left with my eat sign safely tucked away in a pizza box - I loved the idea of this - and clutching the instructions and invisible thread so I can make progress at home. Of course, I haven't yet, but I will. We're off to Norfolk in a week or two and I know that my eat is coming with me then.
And when it's done I'll work out the next bit, on how to get it where I want it to be. You can make your sign so it hangs on the wall or so it's part of a frame and neither really appeal to me as I'd much prefer to have it freestanding. I know that won't be possible because it is just the thickness of a wire, but I'm trying to invent some kind of stand in my head to make it work. I've a plan - and hopefully a cunning one - and if that works, I'll reveal all when I show you my completed sign.
But in the meantime I've got some knotting to do...
* Thanks to the London Craft Club and Makers and Friends for inviting me along to try my hand at a new craft, and to Becci from EllBie Co for being a patient instructor. I had a great evening and think you would love it too.