


Adam Ross Fabrics are a new fabric retailer based in Birmingham who are "looking to bring quality back to the British clothing industry". And they believe you shouldn't have to compromise on the quality of the fabric you use. There's fabrics for fashion and interior design on their site and unsurprisingly they sell to both of these customers.
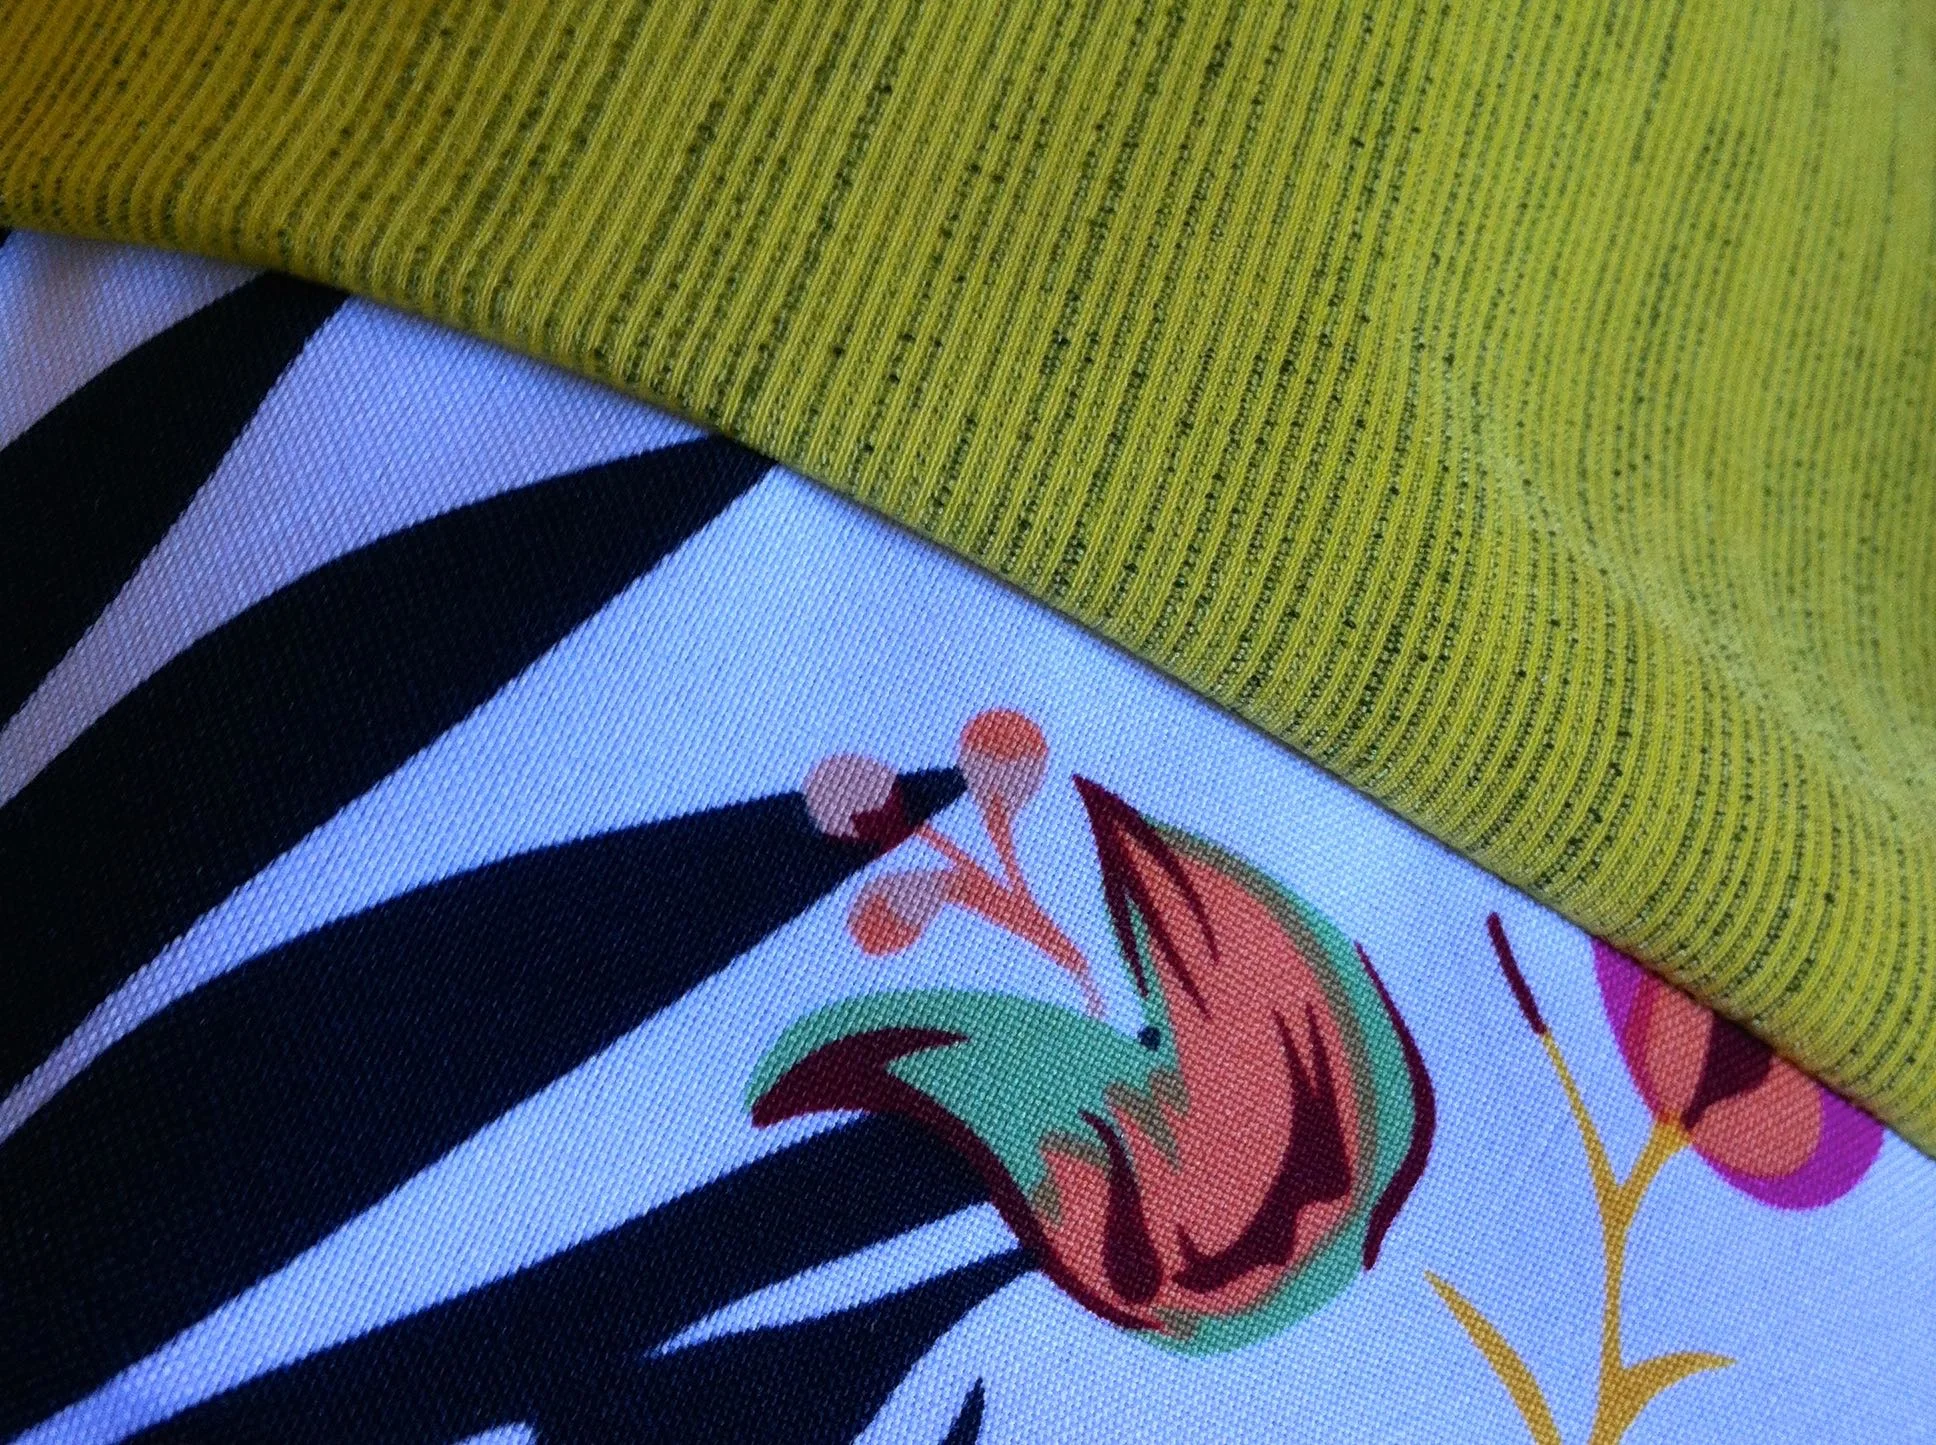
I've not ordered fabric before online, so I was keen to see how it would work out. On the website you can shop by material type so if you're after a velvet or a chiffon then head straight to those sections; you can also shop by colour which was great for me as once I'd found my bold flower material I was after a zingy plain to go with it, and doesn't the lime green go well?
If you're not sure what material type you want then there's a helpful description in each section to help you identify what you need.
My fabric - which was quick to arrive was just as I expected it to be and I immediately loved the colours. I'd planned to make a tote bag, and I'd pinned this two-tone fabric tote bag by Make It & Love It ages ago - so it was the ideal time to be one of those pinners who acted on their pins, and make this bag.
Making the tote bag
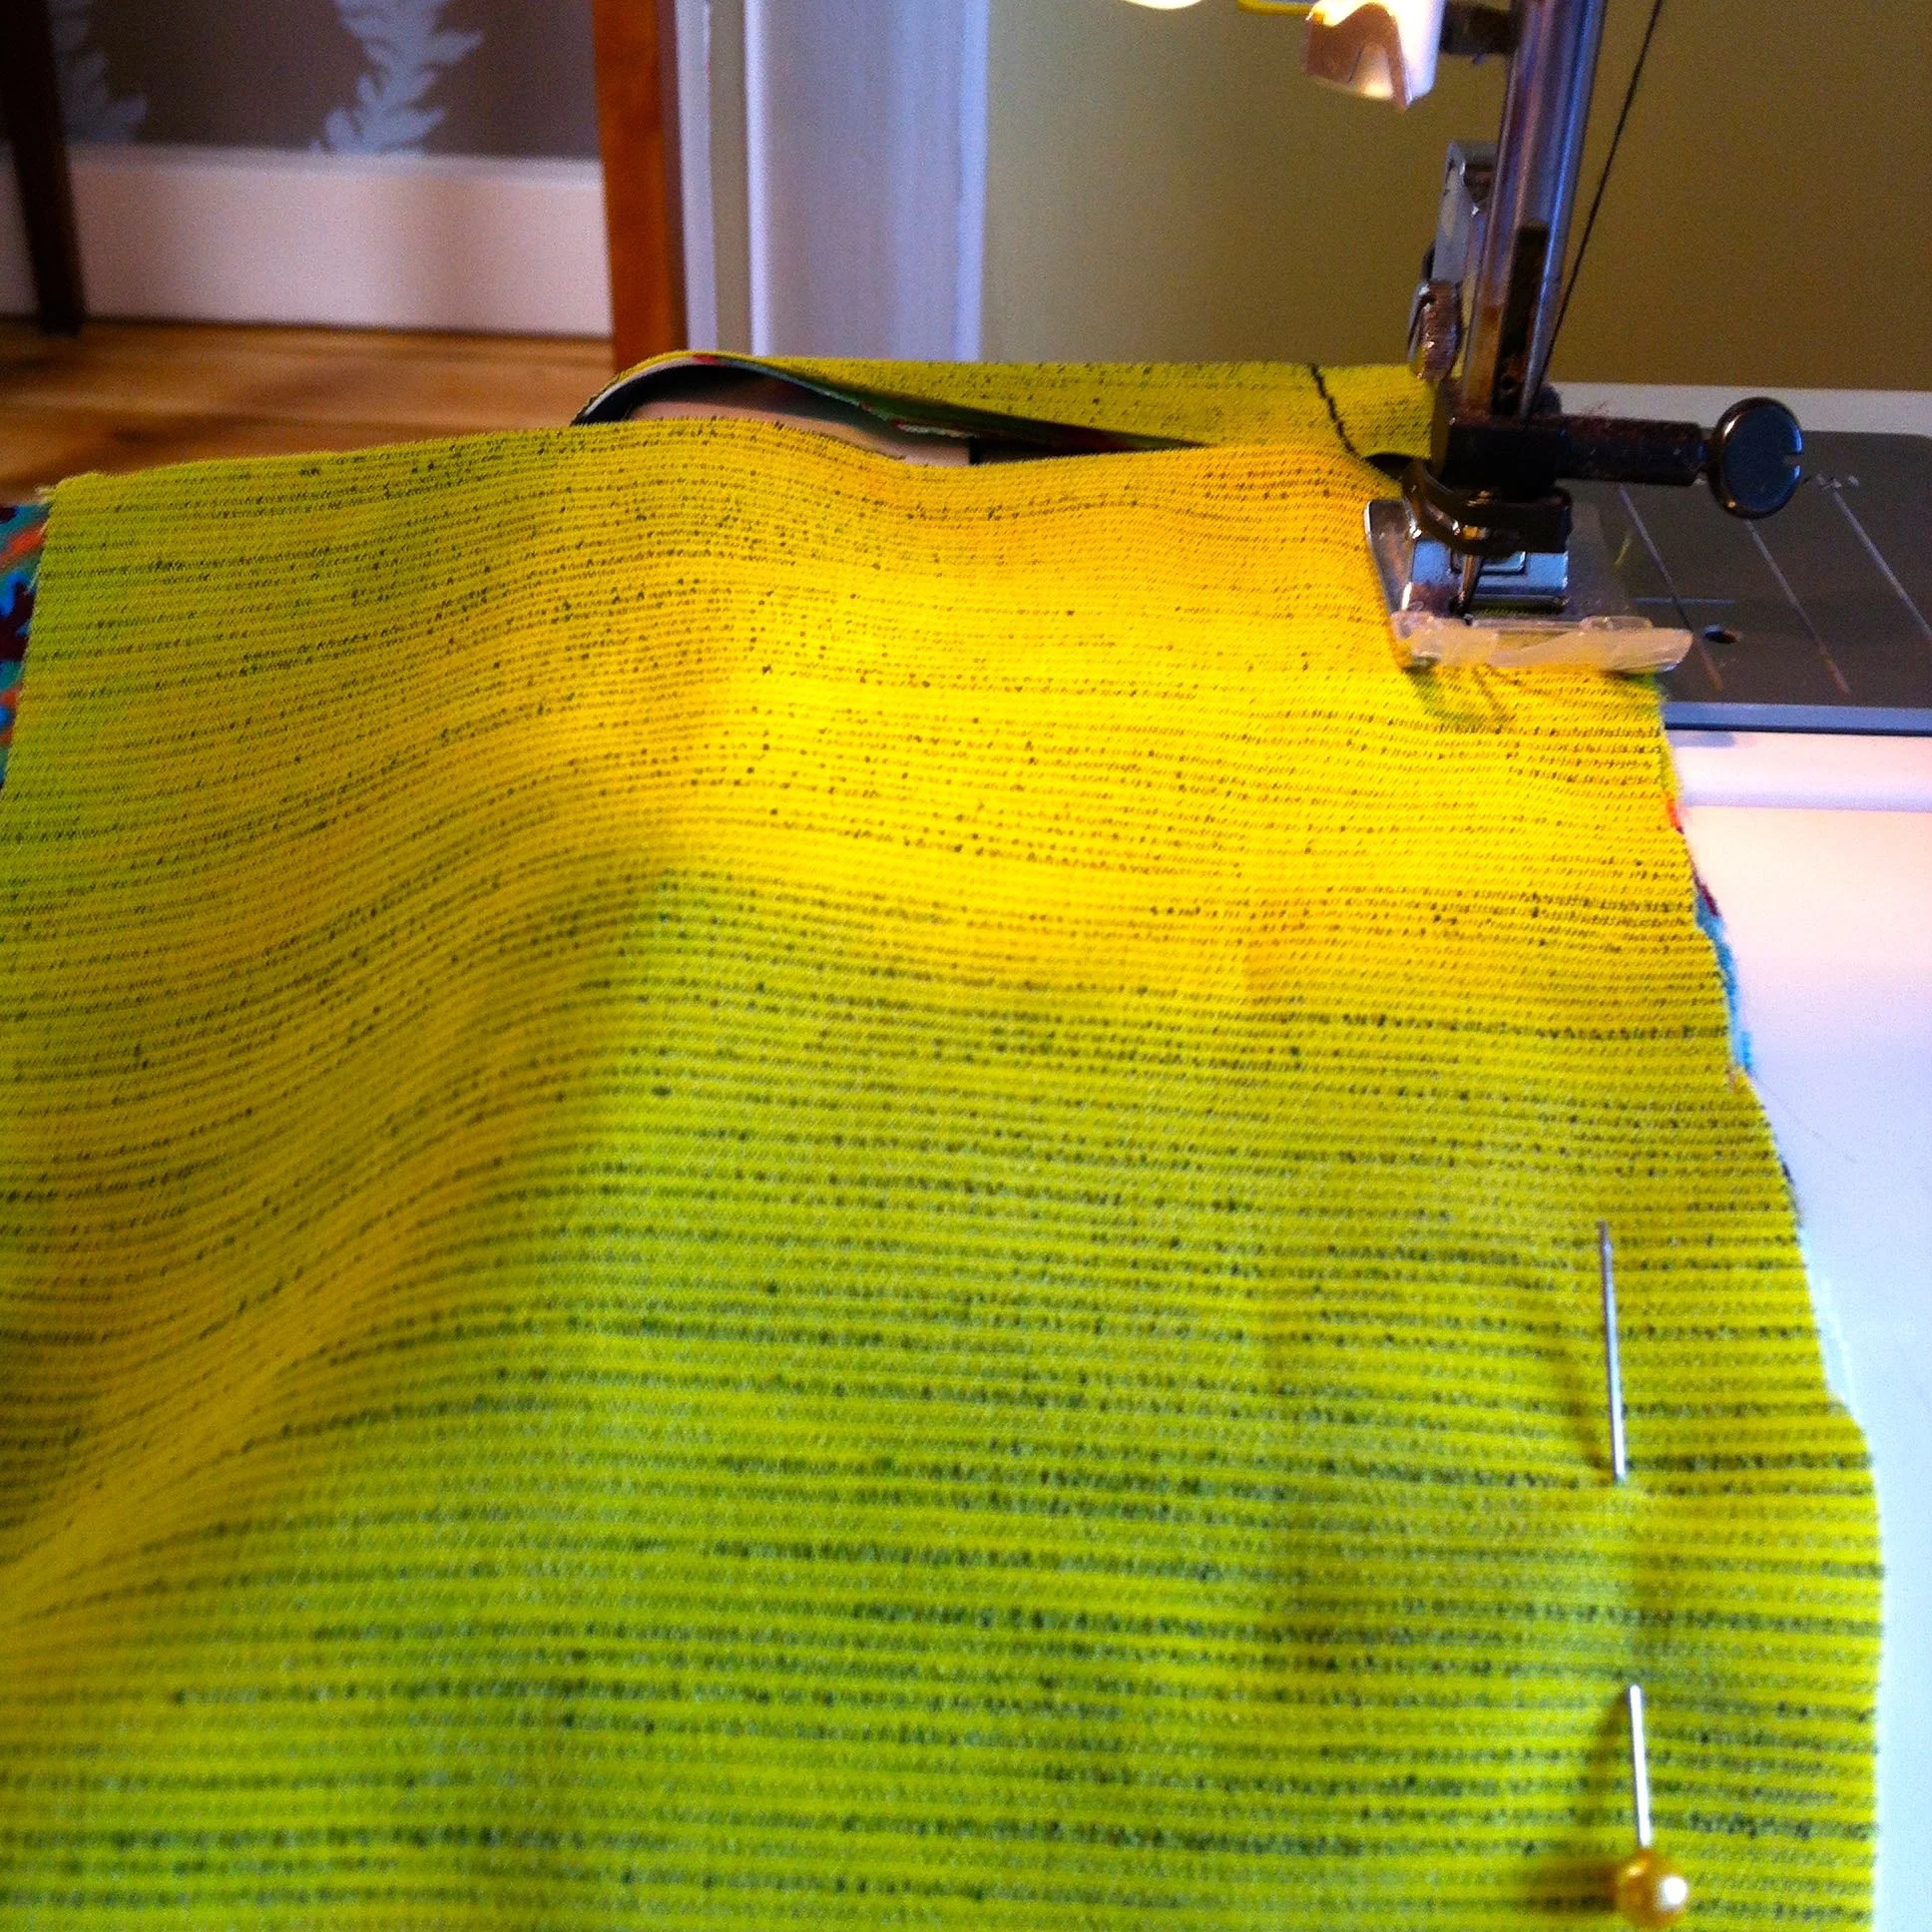
Following the instructions on Ashley's blog I joined the two fabrics which form the outer part of the bag.
And I couldn't help but sneak a look at what they would look like together.
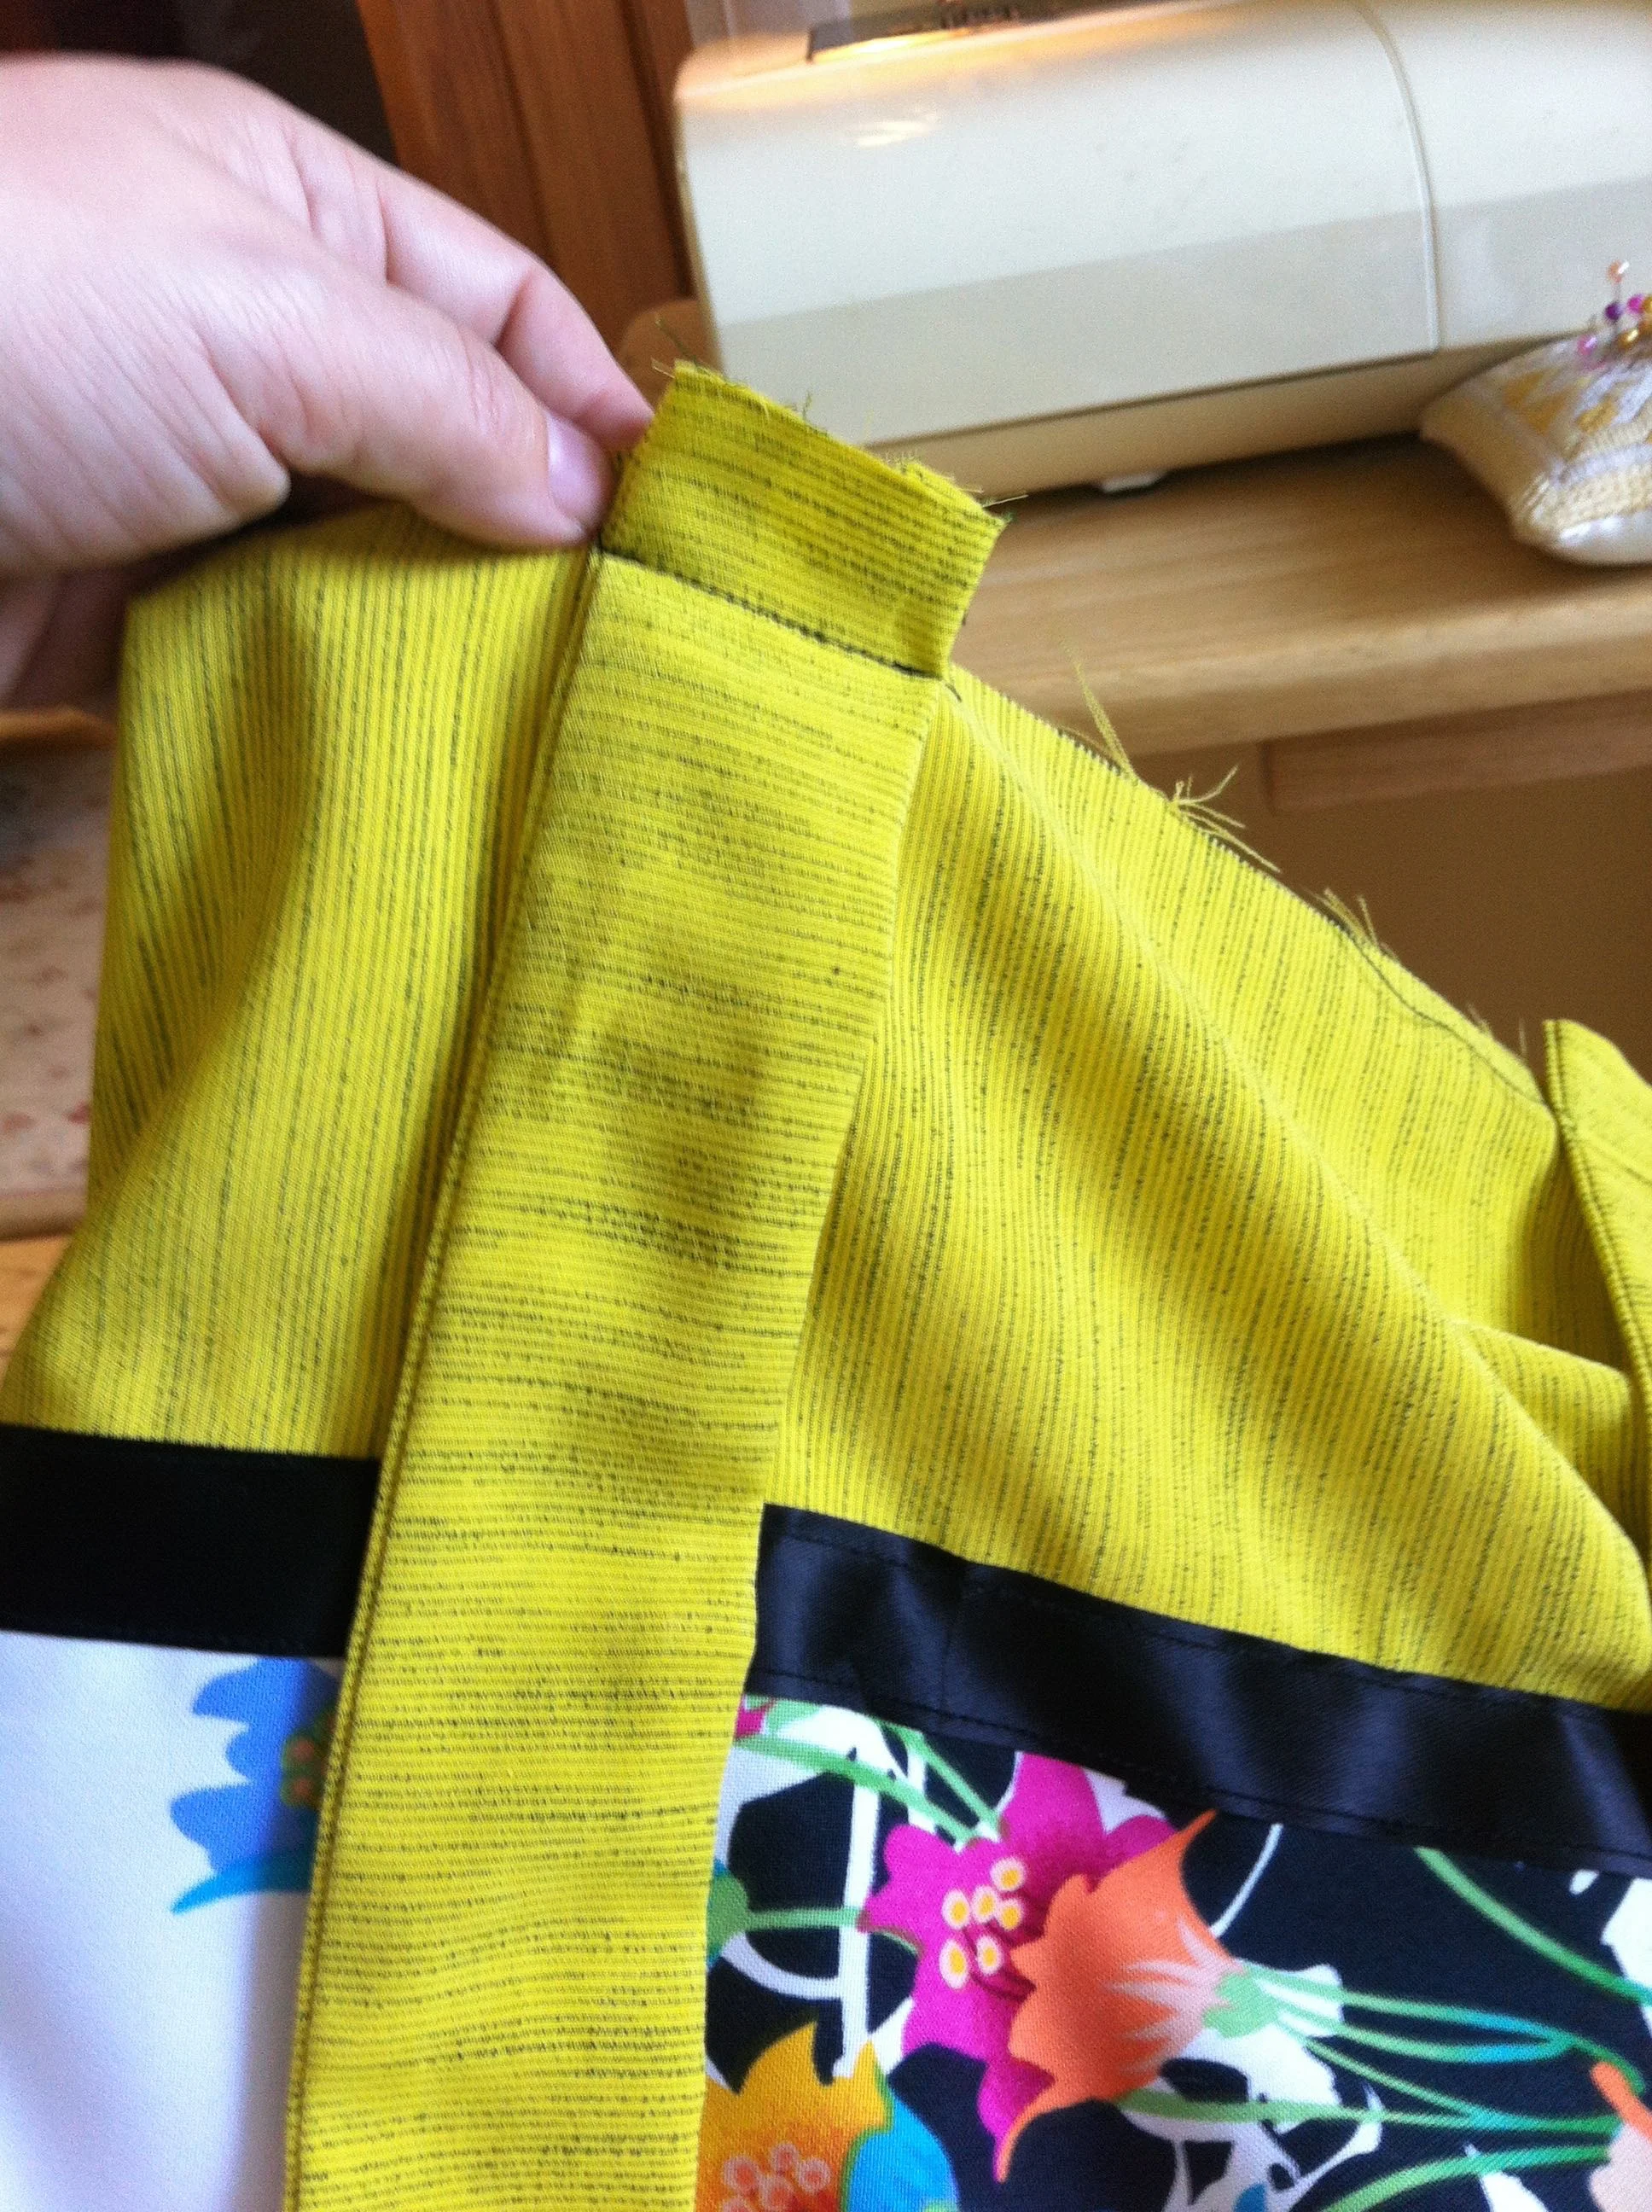
Then it was time to pin the ribbon in place before sewing it top and bottom.
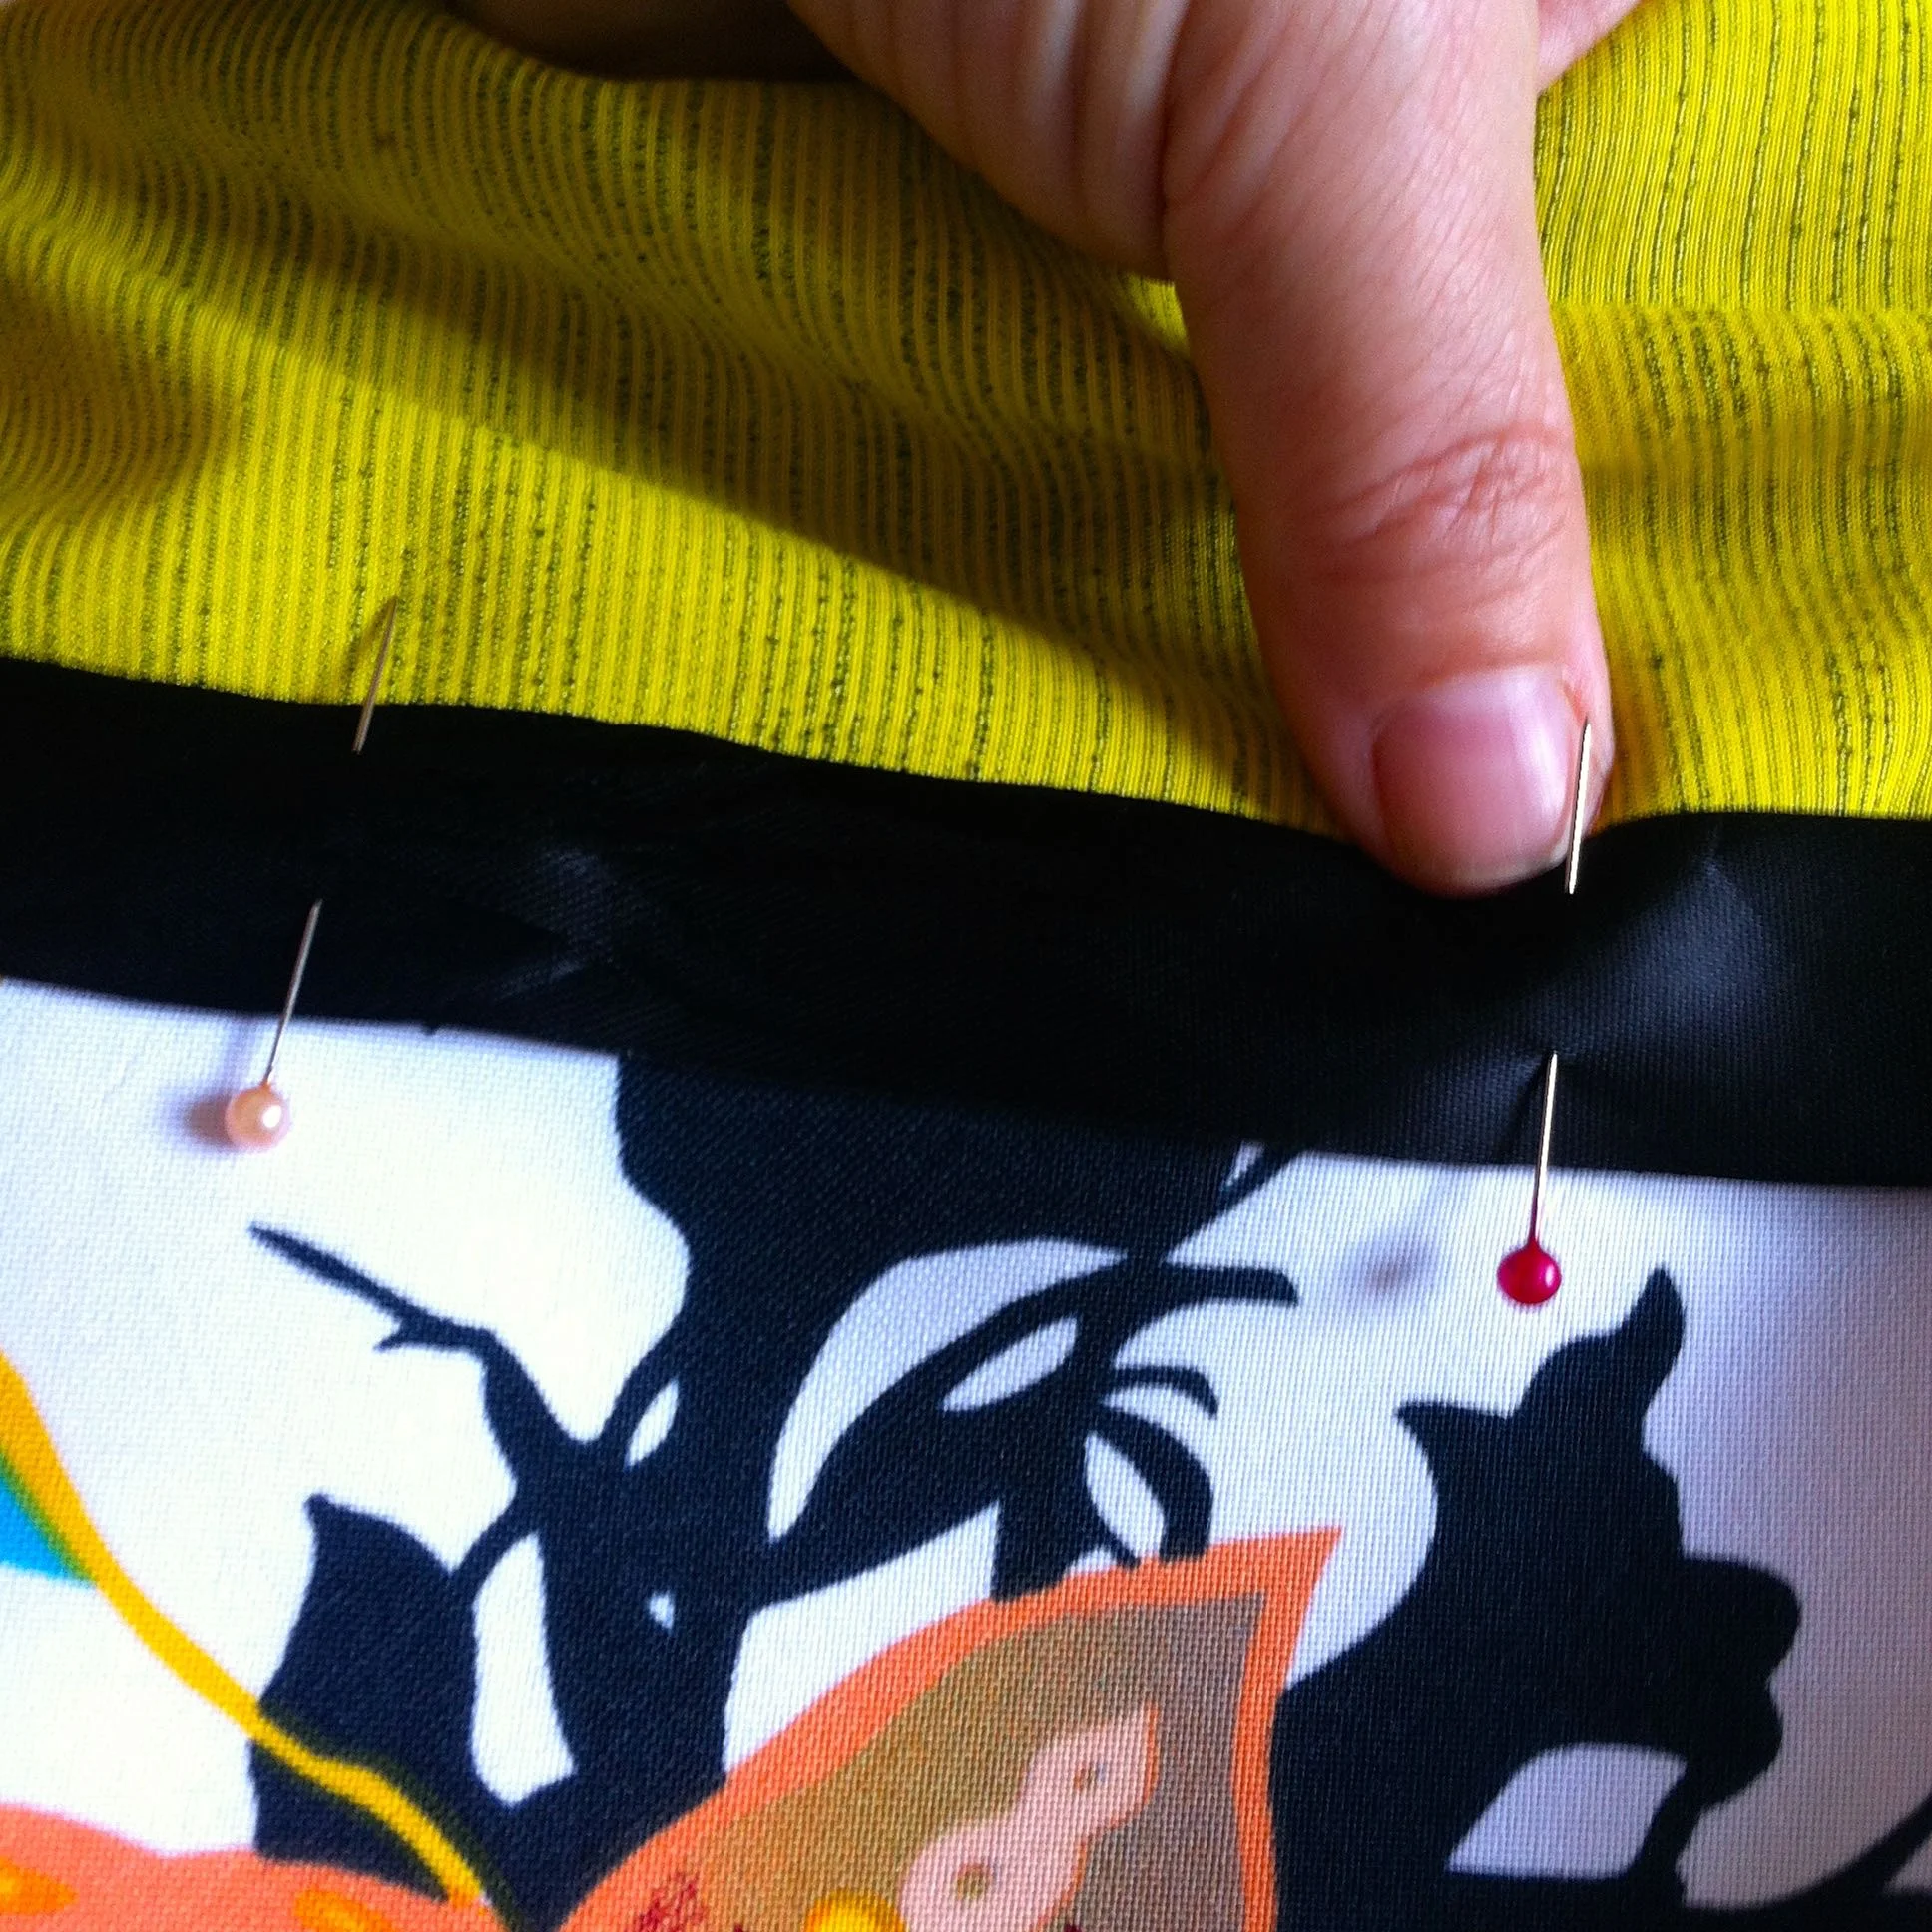
Next it was joining those two pieces together, to actually start to form the bag.
Then came the bit that I was less sure of. It's purpose was to square off the bottom enabling the bag to stand up on its own when packed, and to make it easier to pack too. I almost left this bit out, but then I figured it out and it was back in again. So I wiggled the seams together and measured before sewing a line perpendicular to the seams. It sounded wrong, but it worked!
I repeated all of the above with the lining fabric and hurriedly read on to see what was next.

Handles, that's what. I'd forgotten how dull turning out a tube can be, but a bag needs handles so it had to be done. With them the right way round and pressed, they were attached to the bag.
The lining and outer fabrics were joined together leaving an inch hole. The next step was one of those "I'm not sure that's going to work" moments, as the instructions said to turn the bag inside out by pulling the outside from the in, through this little hole.

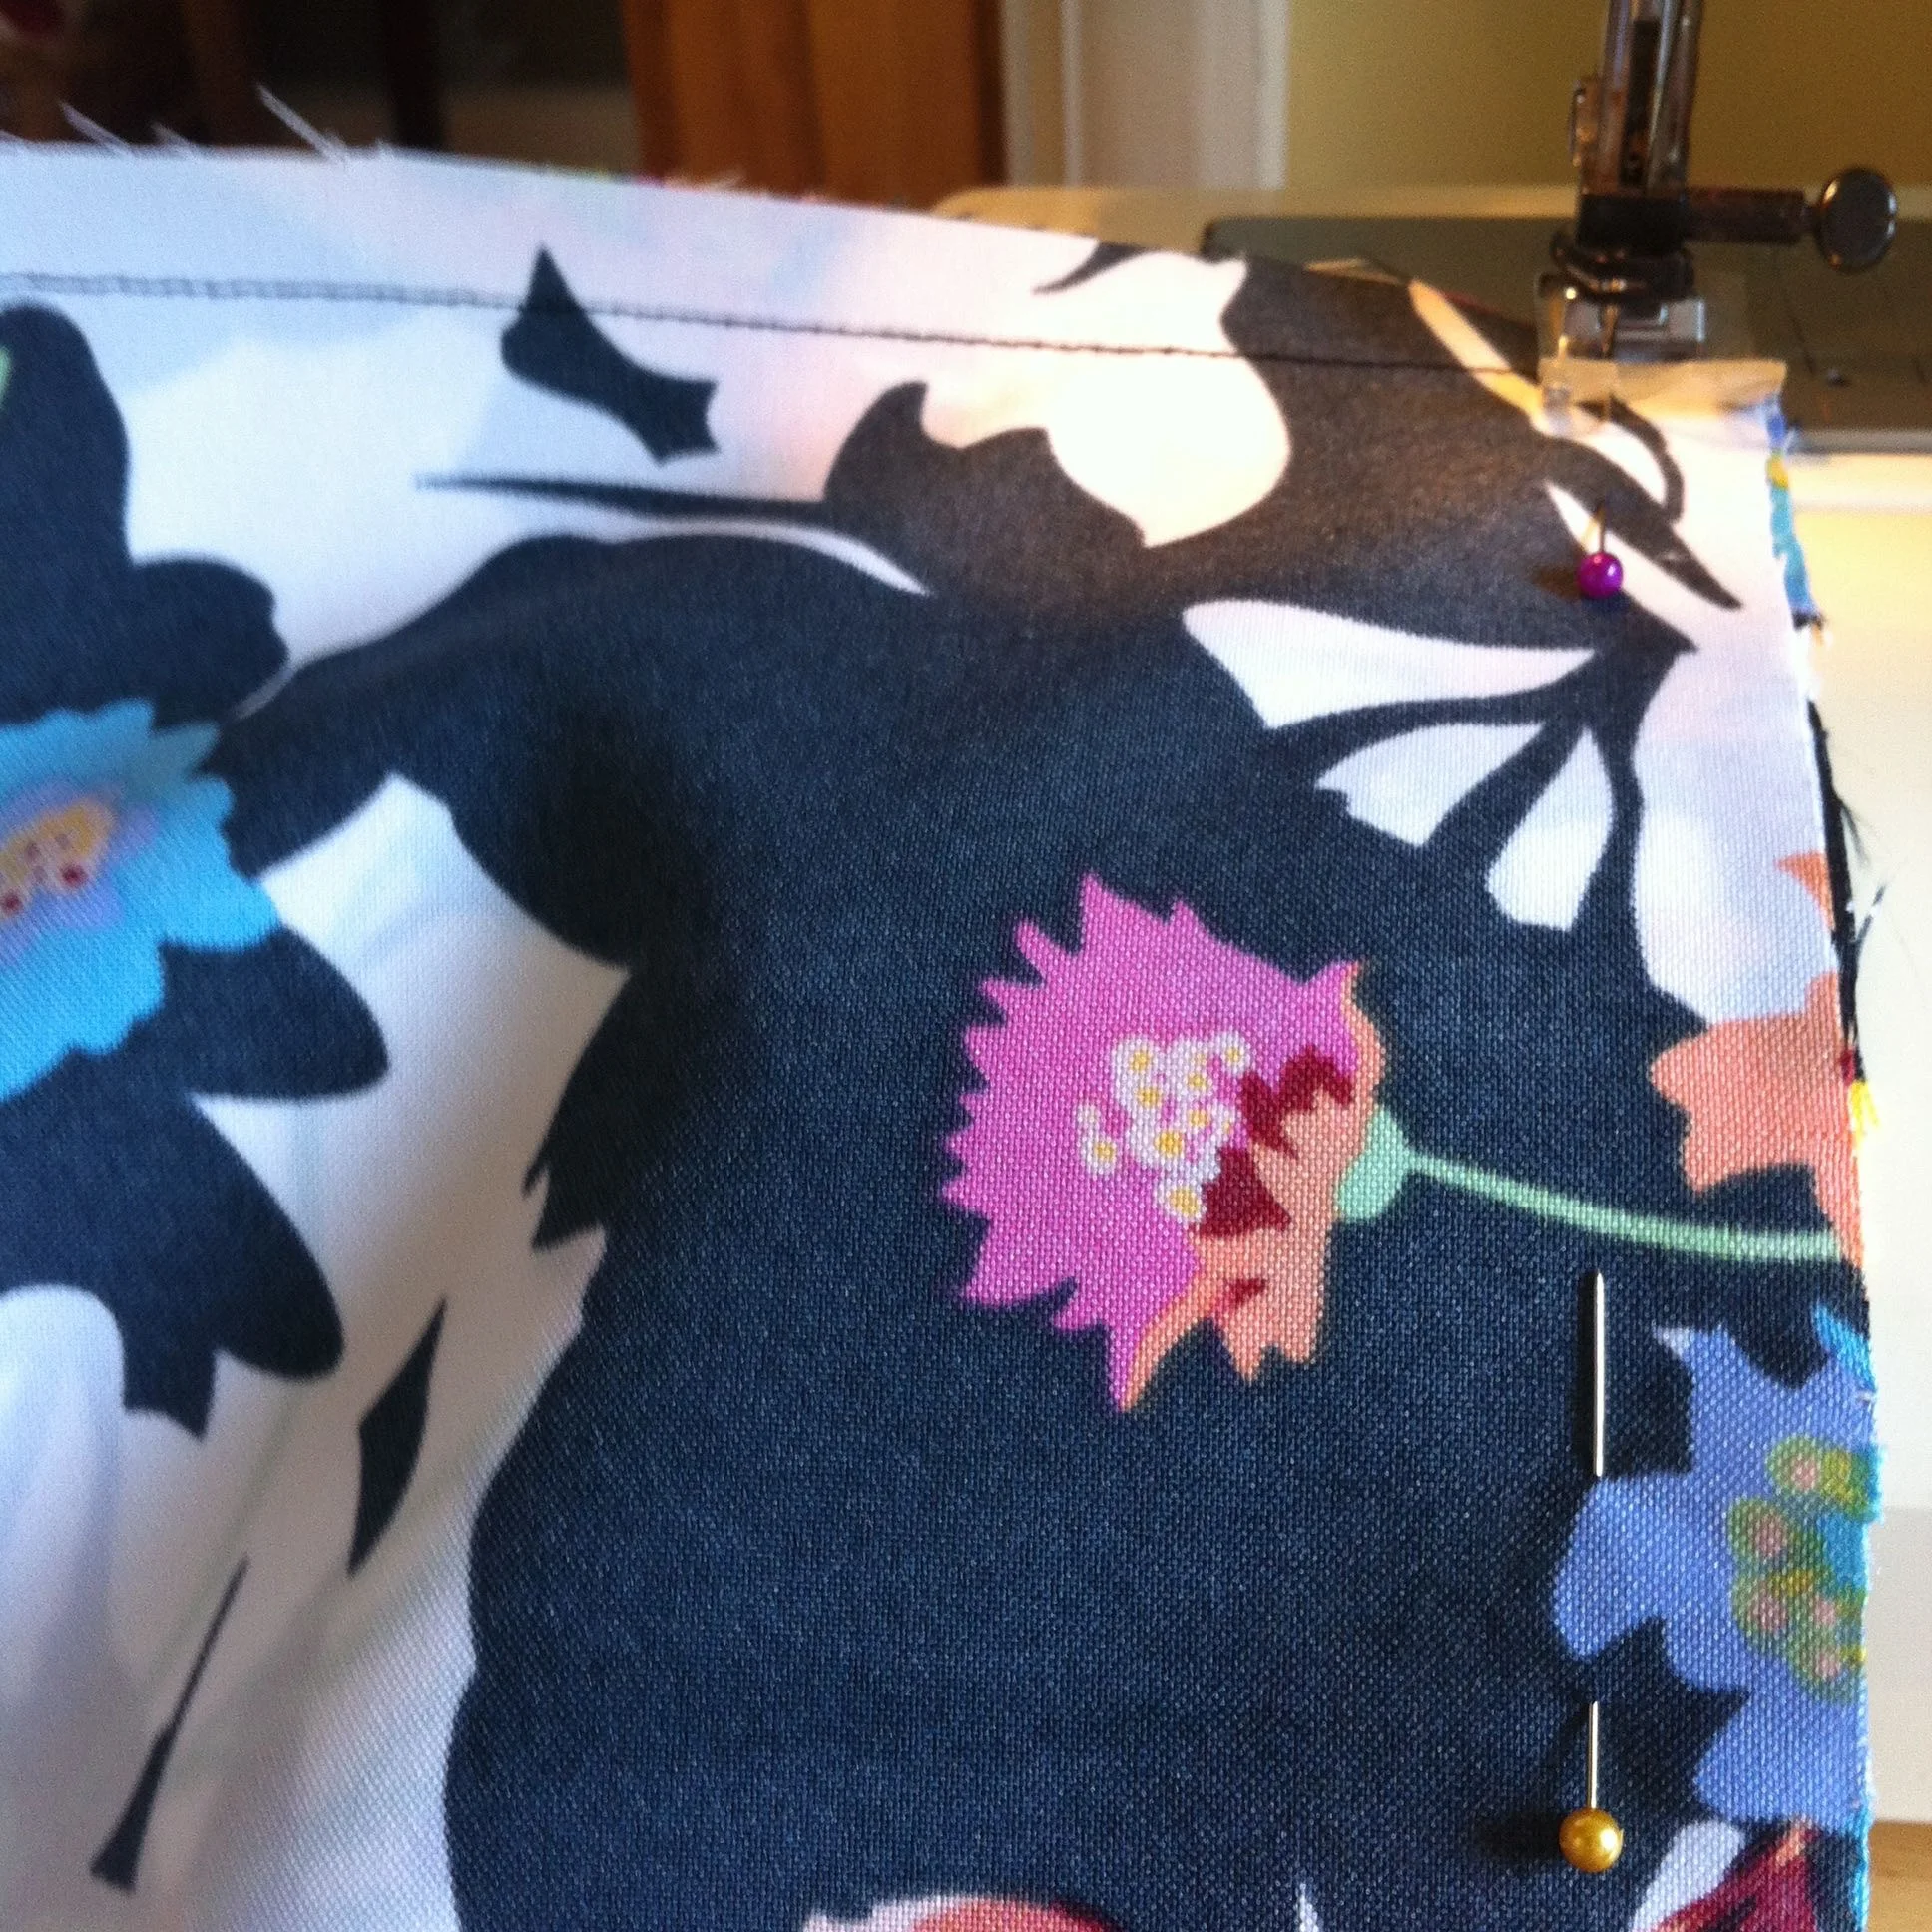
But of course it worked and soon I was adding a round of top stitching close to the edge of the bag, and adding some support rectangles to the handles.

With my sewing now looking like an actual bag - I stopped for a minor celebration!
I didn't mention before, that although I can sew I'm not a confident sewer so when I sew something that looks like it's supposed too then I'm amazed! Especially with this bag as for once I was following a pattern, not like when I decided to tackle some round seat covers with piping for the garden chairs, hey?!
So the only thing left to do was to add a bow. So once more I was rummaging through my ribbon stores and when I found this black grosgrain ribbon with a cream trim to it I just knew it was the one to finish my bag. And doesn't it?
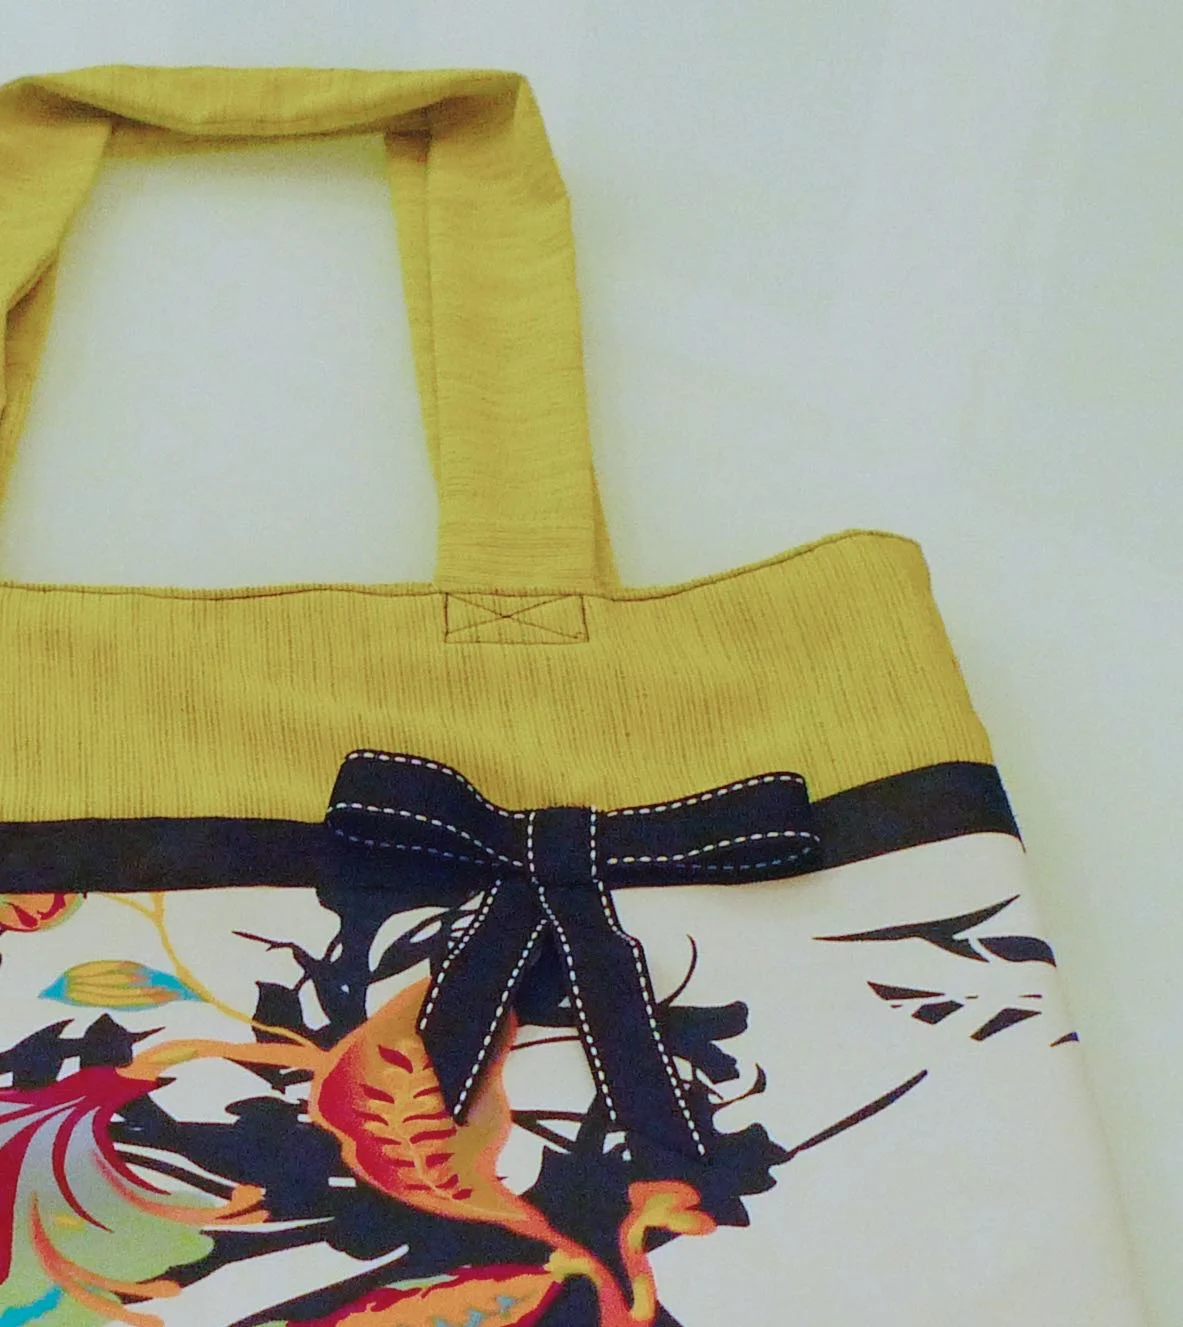
So now I have a new bag. One that I'm pleased with and very tempted to sneak into my panniers when we head off to France, because well even a cycling girl's gotta look chic in France haven't they?
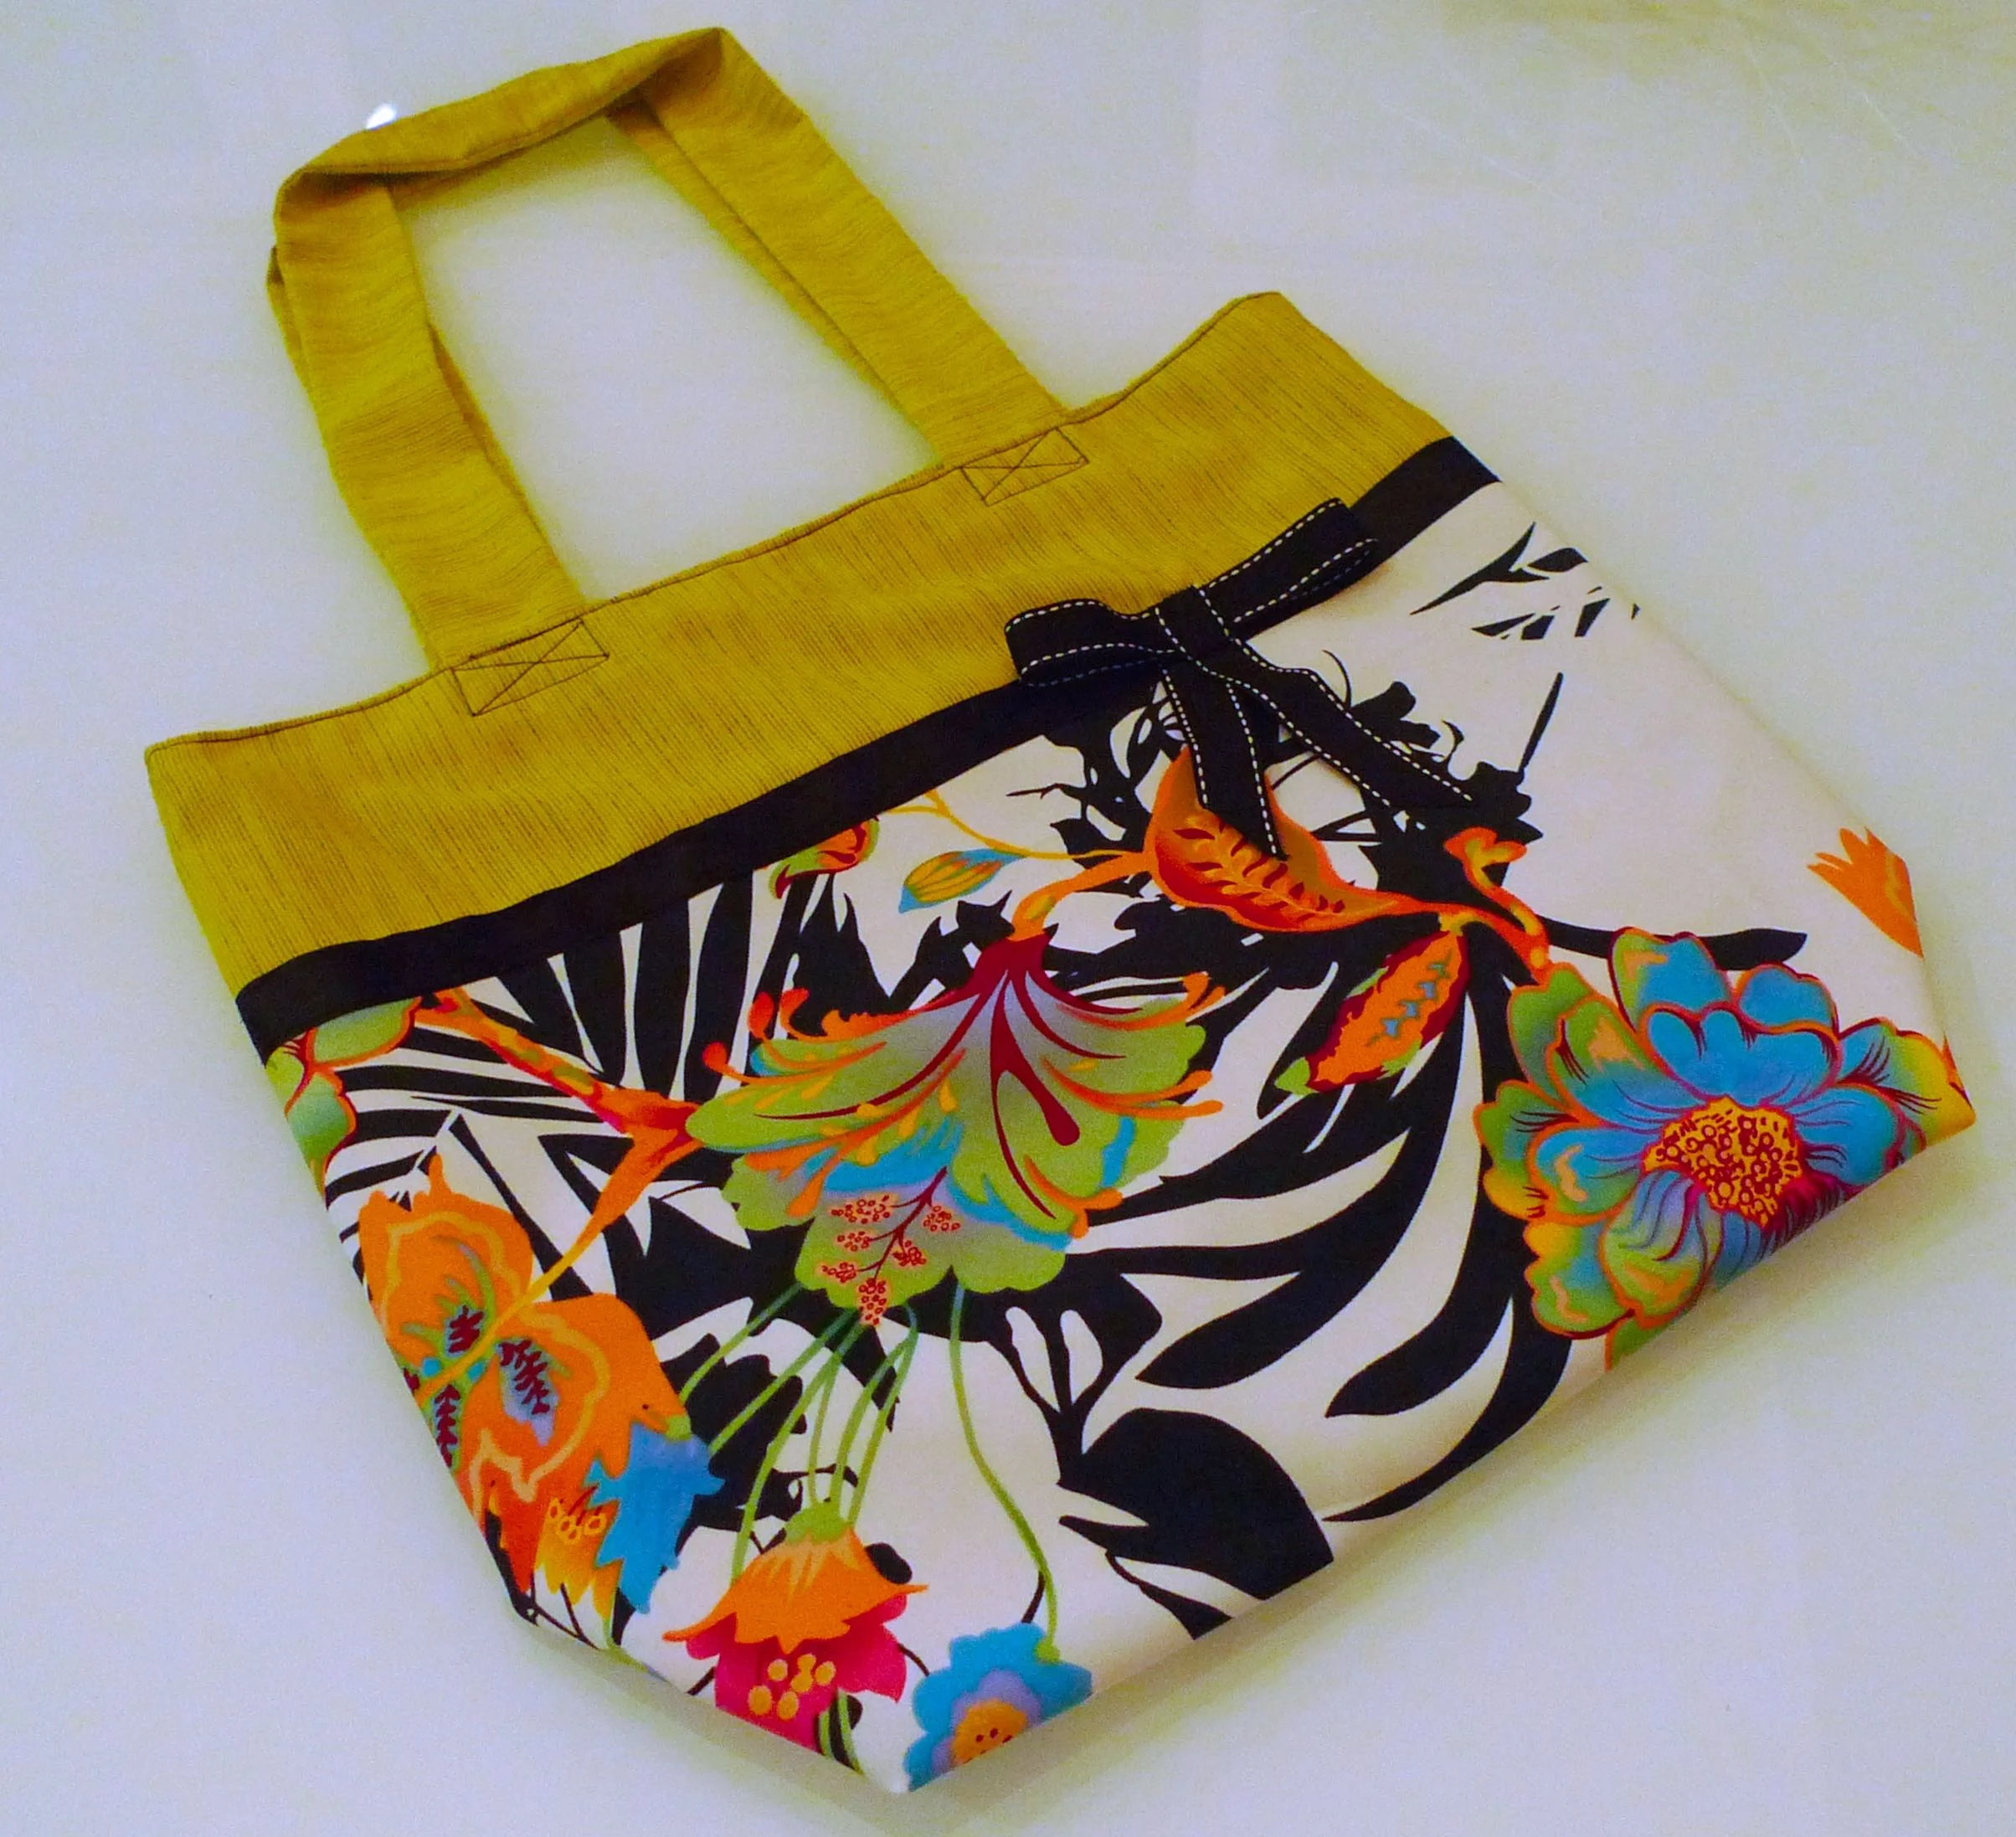
It's quite different to Ashley's beautiful bags and I love the bright zingy colours. I've been collecting one or two more bag ideas over on Pinterest so do pop along there to see more.
