


I’m getting into this wreath making - and even though I made my latest wreath at the start of December as a Christmas wreath, I’m not ready to let it go yet so it’s be renamed my Winter wreath! I think that’s ok, don’t you?
For this workshop I headed over to a village outside Grantham meeting up my SIL for us each to make a wreath for our front doors (or in my case, as before, my back door!). I hadn’t realised the workshop was to be hosted in a private house and so struggled to find where I was supposed to be. Luckily though I stumbled upon a villager who was also attending and helped me, I’m so glad she did as it was a brilliant evening hosted by Chloe Jonason, along with expert wreath advice from Sarah at Sage and Satin Floral, who we discovered during the course of the evening lives in the same village as my SIL. A small world indeed.
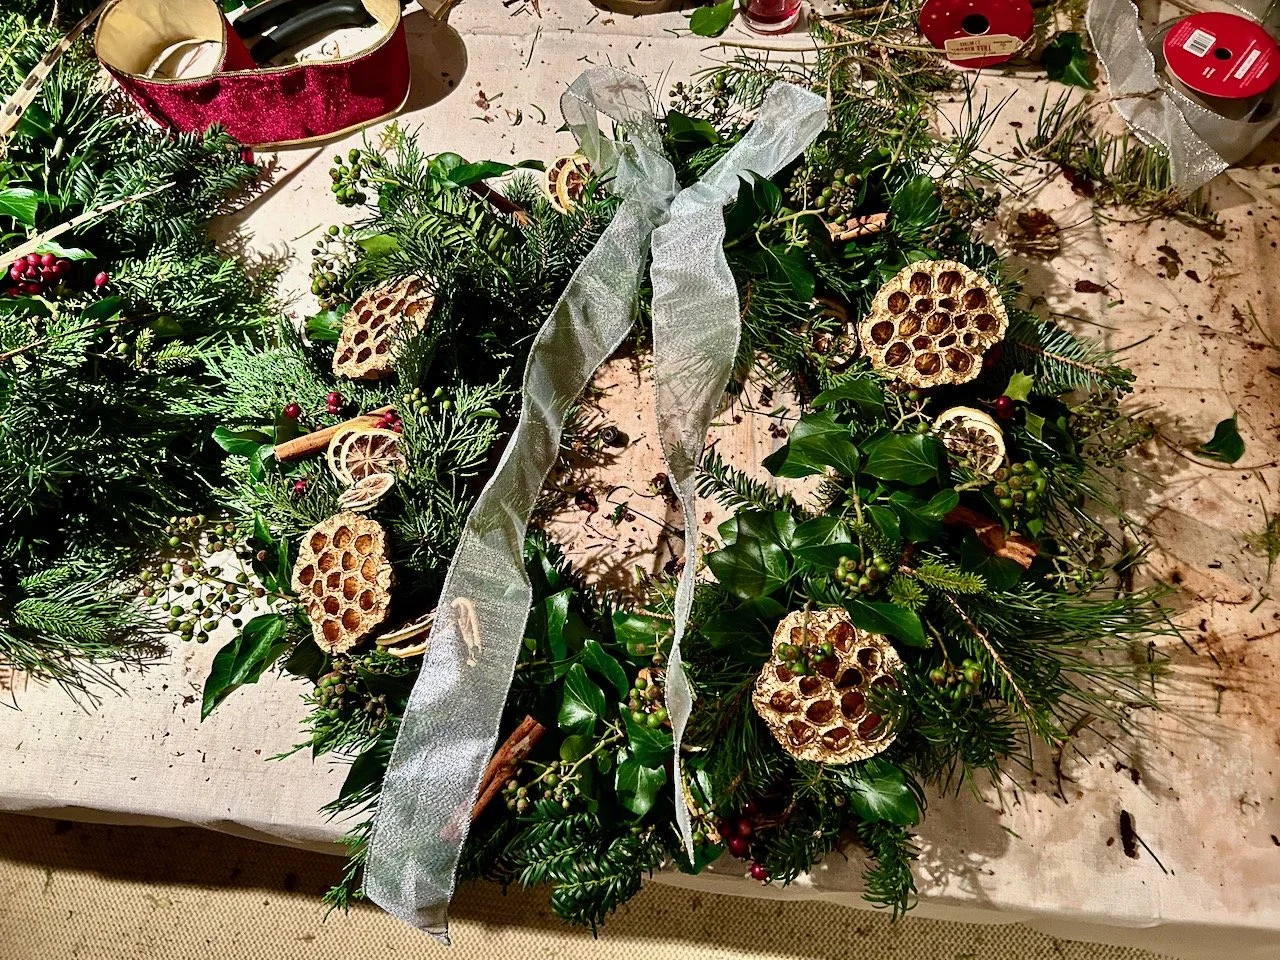
But anyway, wreath making - entering into a room set up for the workshop with a large table in the middle and wreaths complete with moss laid out ready for easily 15 of us, with a huge pile of greenery in the centre of the table made quite an impact. The lebkuchen and mulled wine on arrival, and throughout the evening were also very much welcomed, though with a drive ahead of me in inclement weather the lebkuchen were very much more my thing!
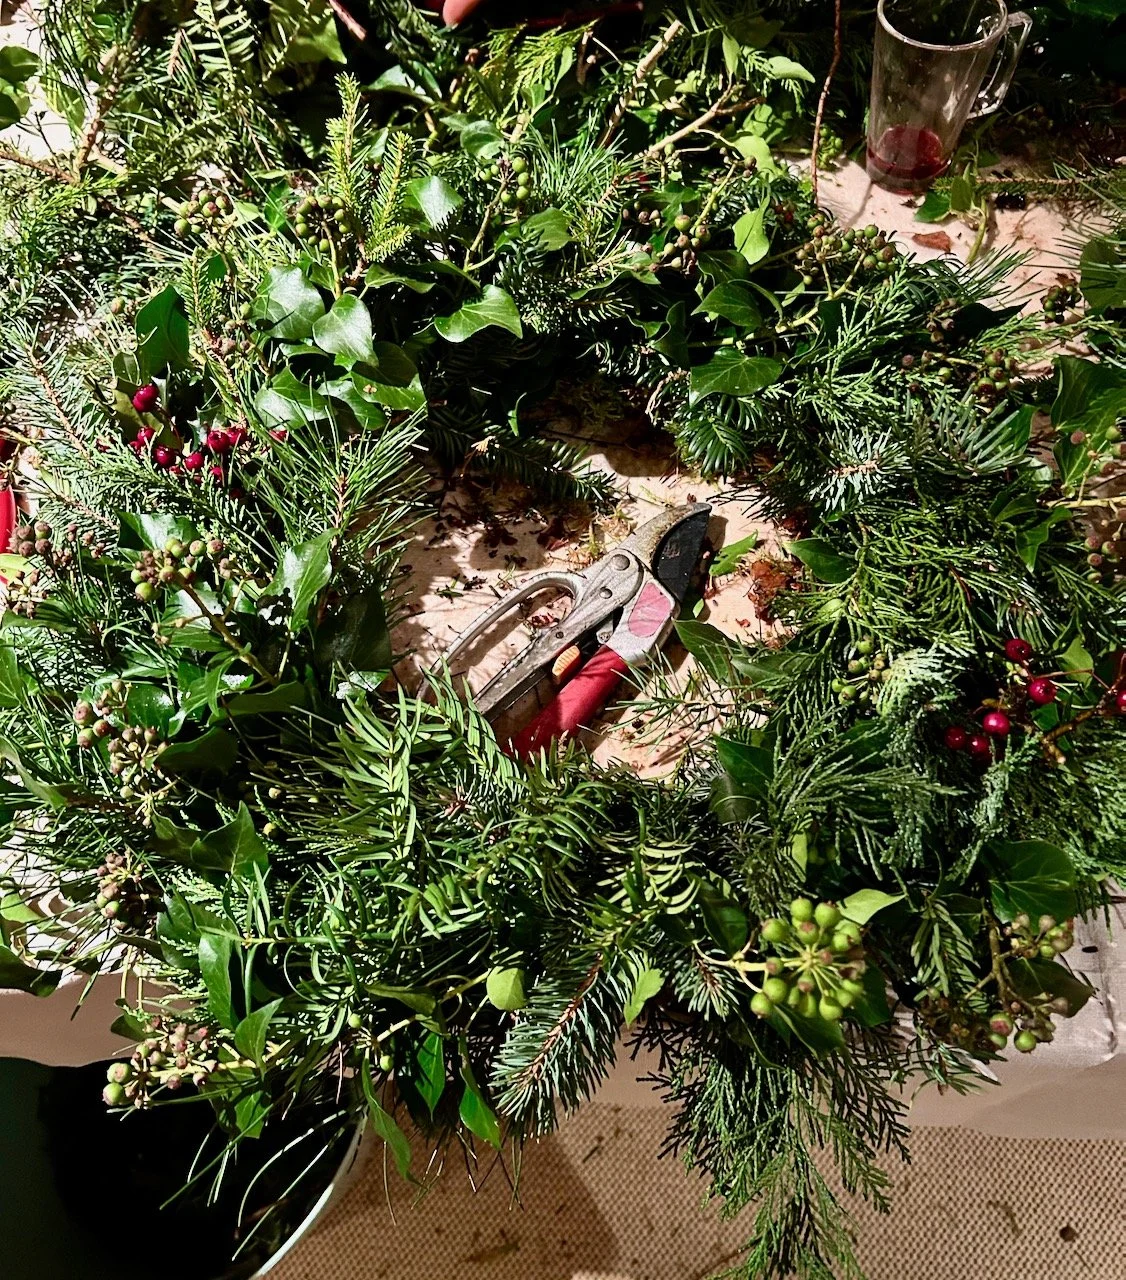
HOW IT STARTED…
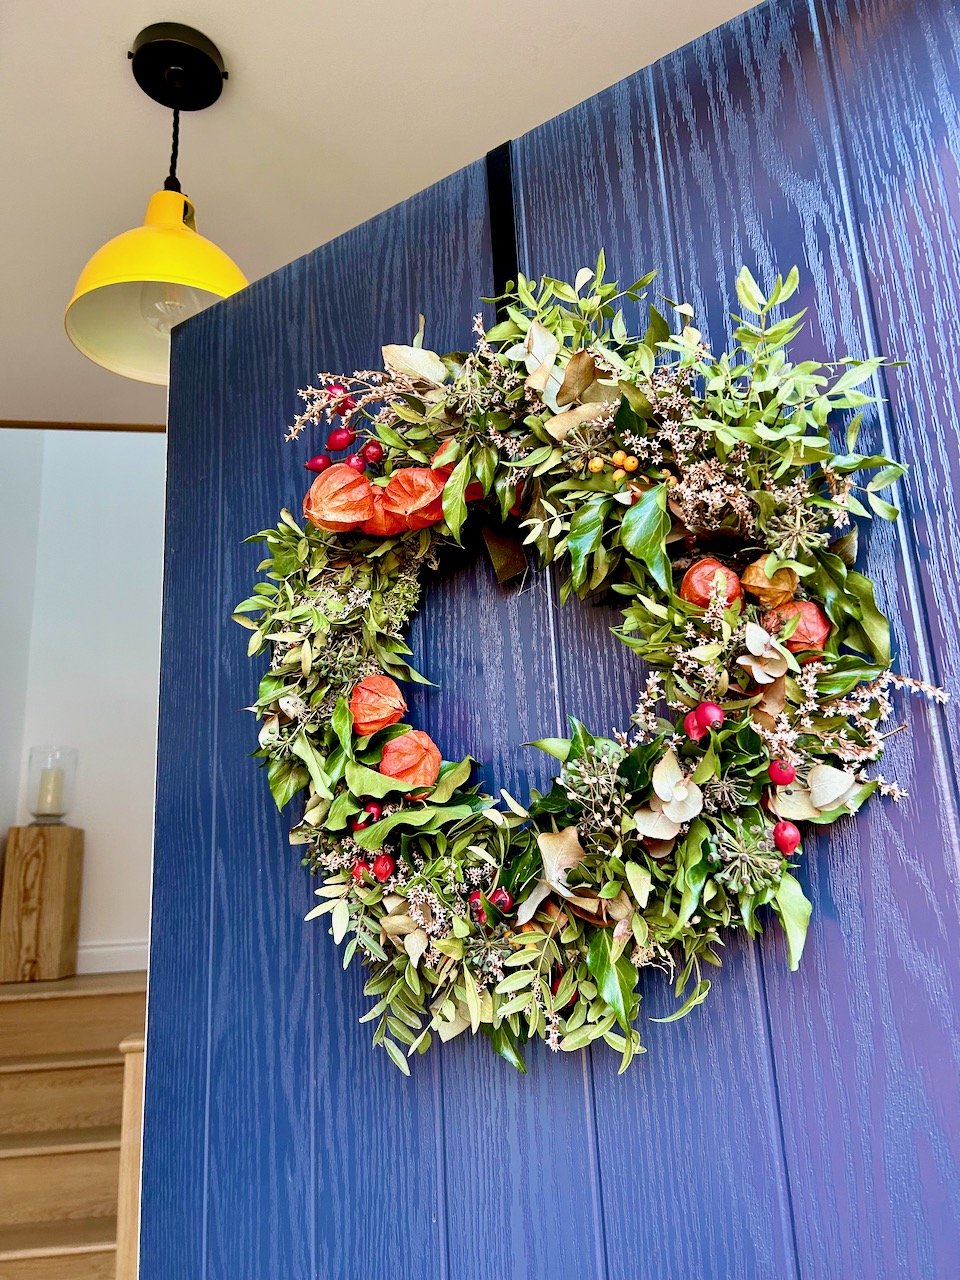
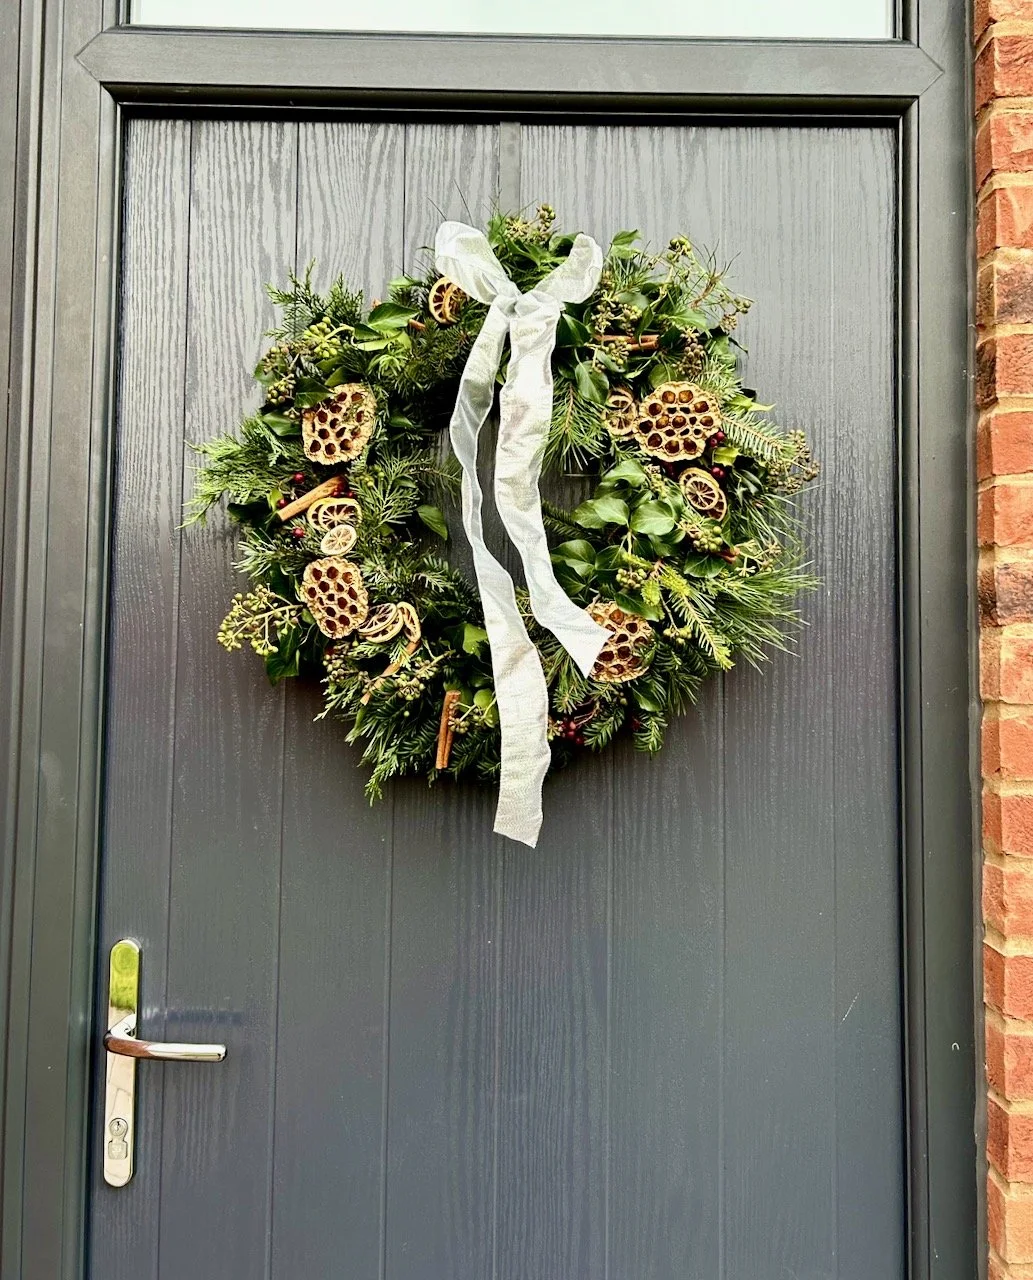
HOW IT ENDED…
Compared to my autumn wreath, this one has more decorations on which feels right for a more Christmassy effort - and it was good to learn how to wire these and attach them to the wreath. I’ve had one casualty - a cinnamon stick on our doorstep - which I’m quite impressed with, and used a very similar technique on my repurposed autumn wreath. Which reminds me I need to retrieve those pine cones and dry those before someone thoughtfully adds them to our brown bin…
Learning from my previous workshop, this time I had prepared my boot for the wreath’s journey home with a large piece of plastic and instead of moving it into the garage overnight, I left it in the boot! It was fine. In fact I didn’t hang it on my back door the next day either as I needed to make plans for storing the autumn wreath, and it was still fine. It’s still going strong and we’ve definitely had some weather in the last month or so, so I’ve also learnt that wreaths are pretty resilient.
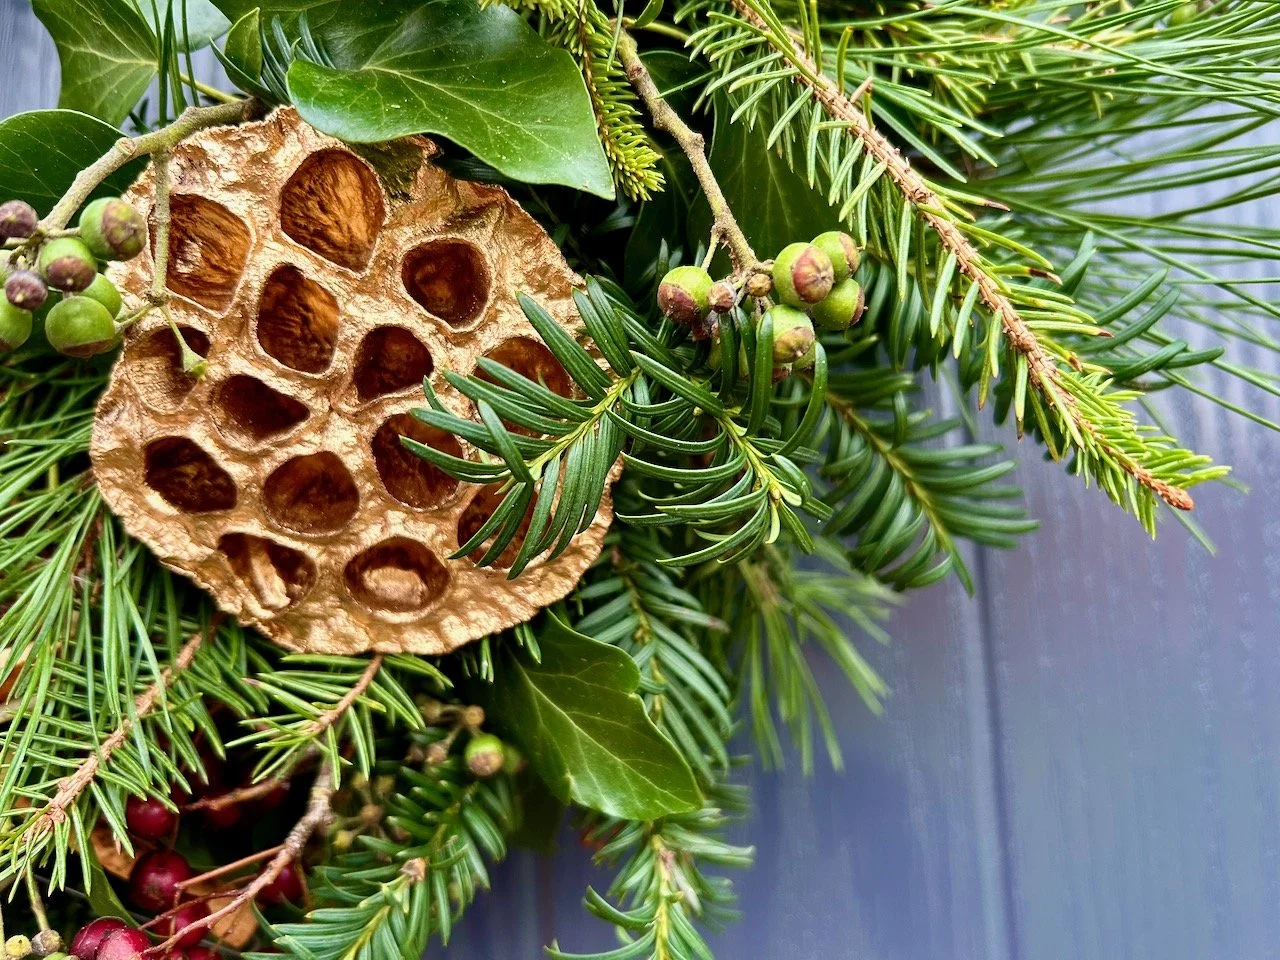
It was only when I hung it on the door though, that I realised that my golden lotus flowers could have signified the Five Gold Rings from the 12 Days of Christmas, if only I’d thought to add another at the bottom. Never mind, it’s something to bear in mind for a future wreath, and as you’d expect I plan to remove the decorations, dry and store them for future use.
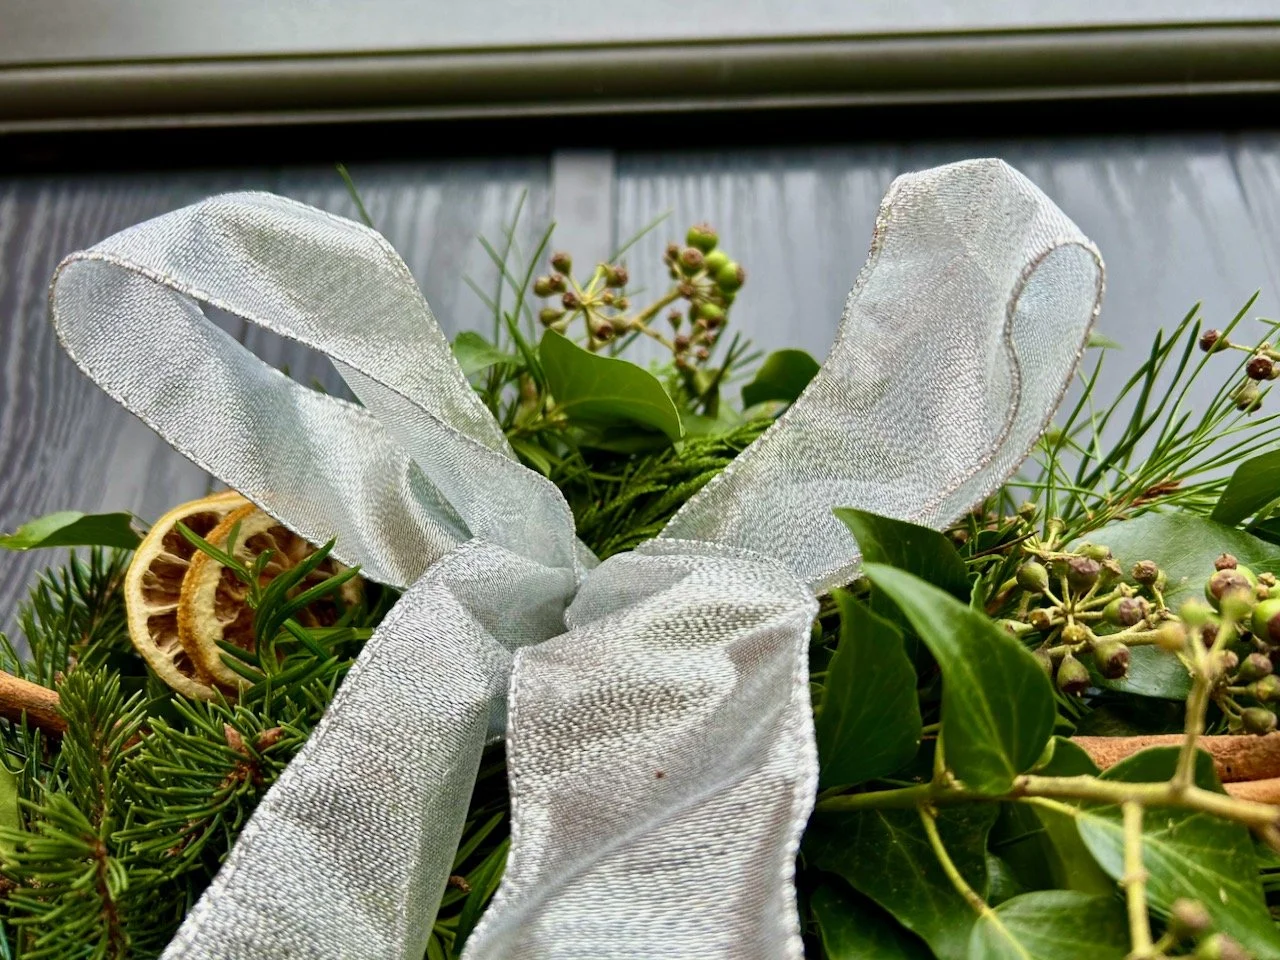
But in the meantime, enjoy a few more pictures of my newly renamed Winter wreath - I’ll let you know how long it hangs around for, and if there’s a replacement (though I’m pretty sure there will be one!)


Wreath making is definitely a skill I’m pleased I’ve added to my repertoire, and I’m pretty sure I’ll be scouring my garden for plants to use in future wreaths, as well as looking for places locally to forage materials, as my garden is unlikely to keep up with my new wreath habit for a little while yet!