Embroidered sunflowers

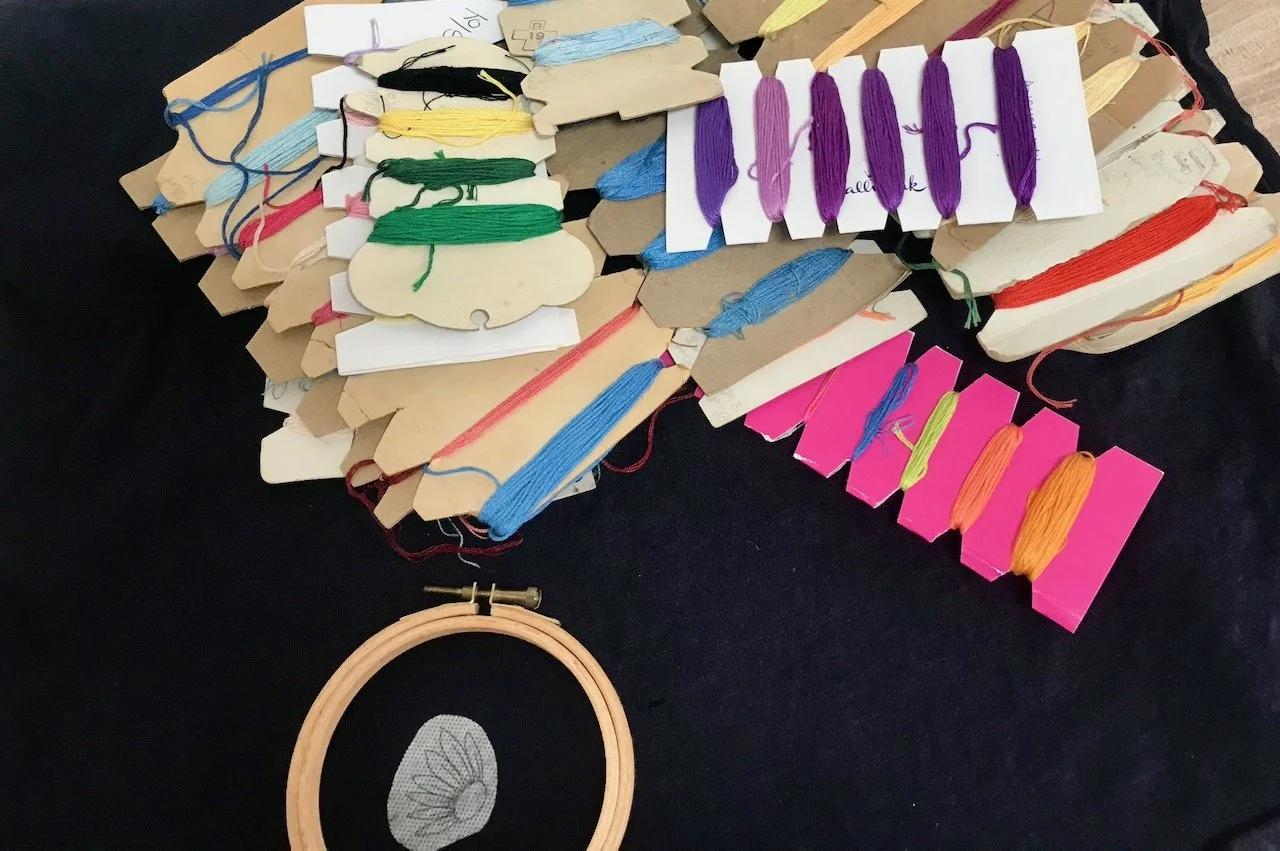
Another craft post, I guess my craft room is paying dividends! Though in fairness these stick & stitch embroidery patches were a pre-move purchase from BlackbirdnBloom on Etsy. I bought them, along with some bee patches, to use to embroider over those annoying holes you get in some t-shirts, but what with everything going on I didn’t get around to doing anything more than popping them into my sewing box. I knew that I had enough embroidery threads in varying colours and even better, I knew where these where now that I’d unpacked in the new house.

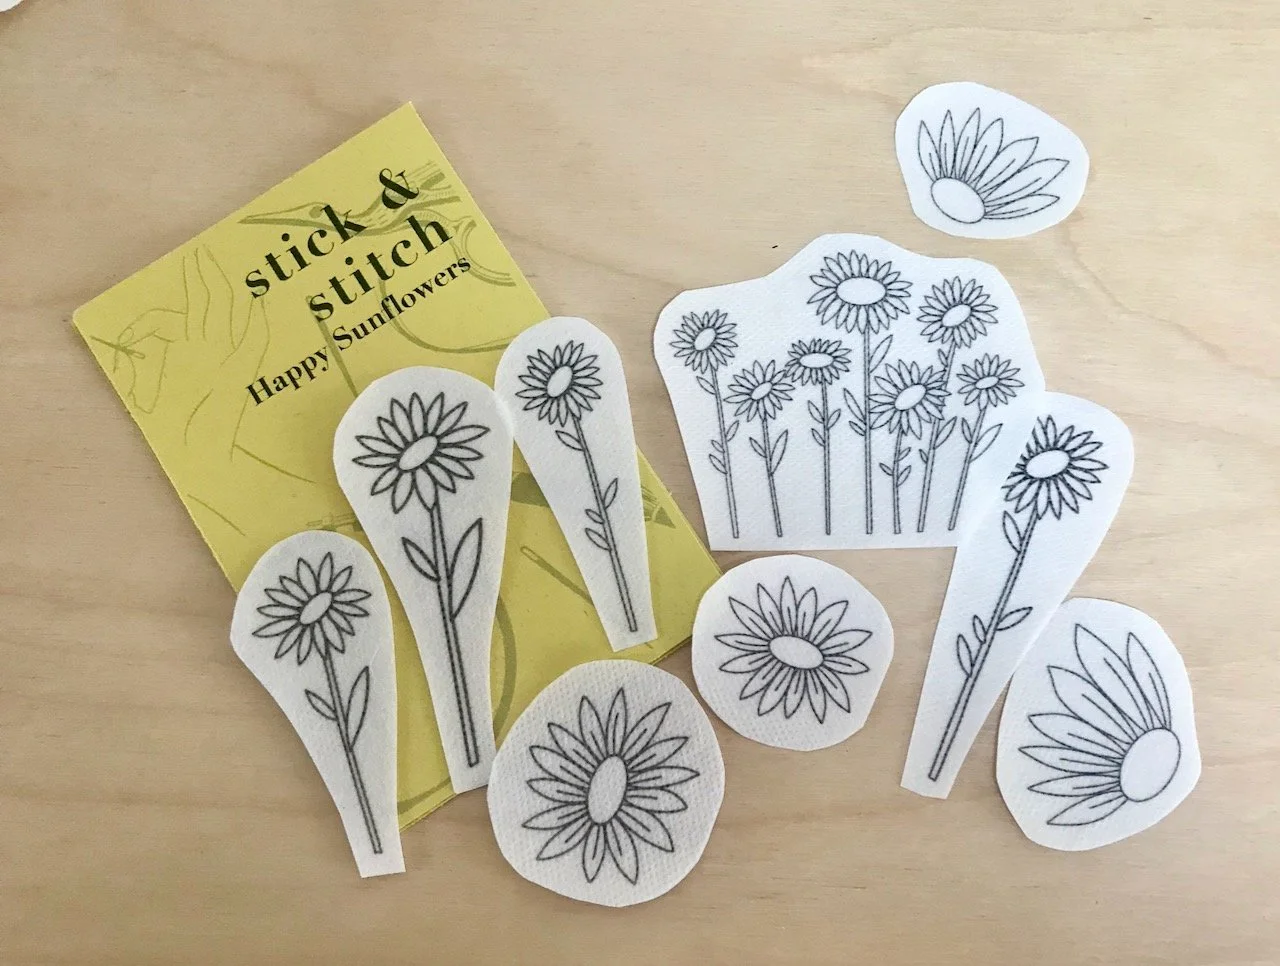
They’re easy to use too, all I needed to do to get started was work out where I wanted the designs and what colours to use.

Two sunflower patches stuck on a navy blue t shirt - covering holes
Choosing colours - from many enbroidery threads wound around cardboard

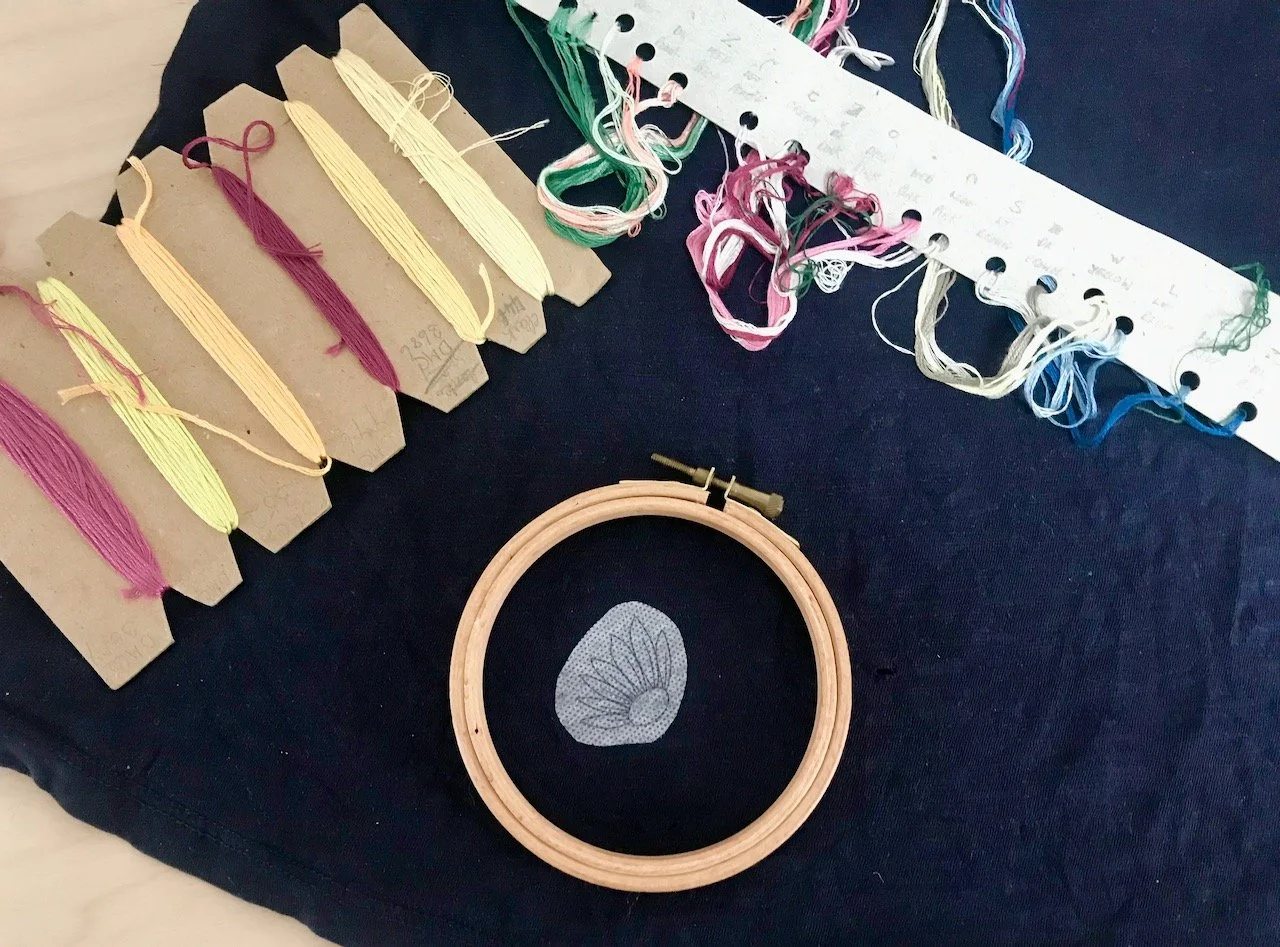
And while sunflowers are traditionally yellow and brown, I opted for the card with the dusky pinks and pale yellows (I told you in my recent crochet post that they’re my go to colours!), and then quickly realised that my choice was also probably influenced by my top!

Deciding on a colour pallete of muted yellows and dusky pinks
My chosen colours *may* have been influenced by the top I'm wearing - yeap, the same colours

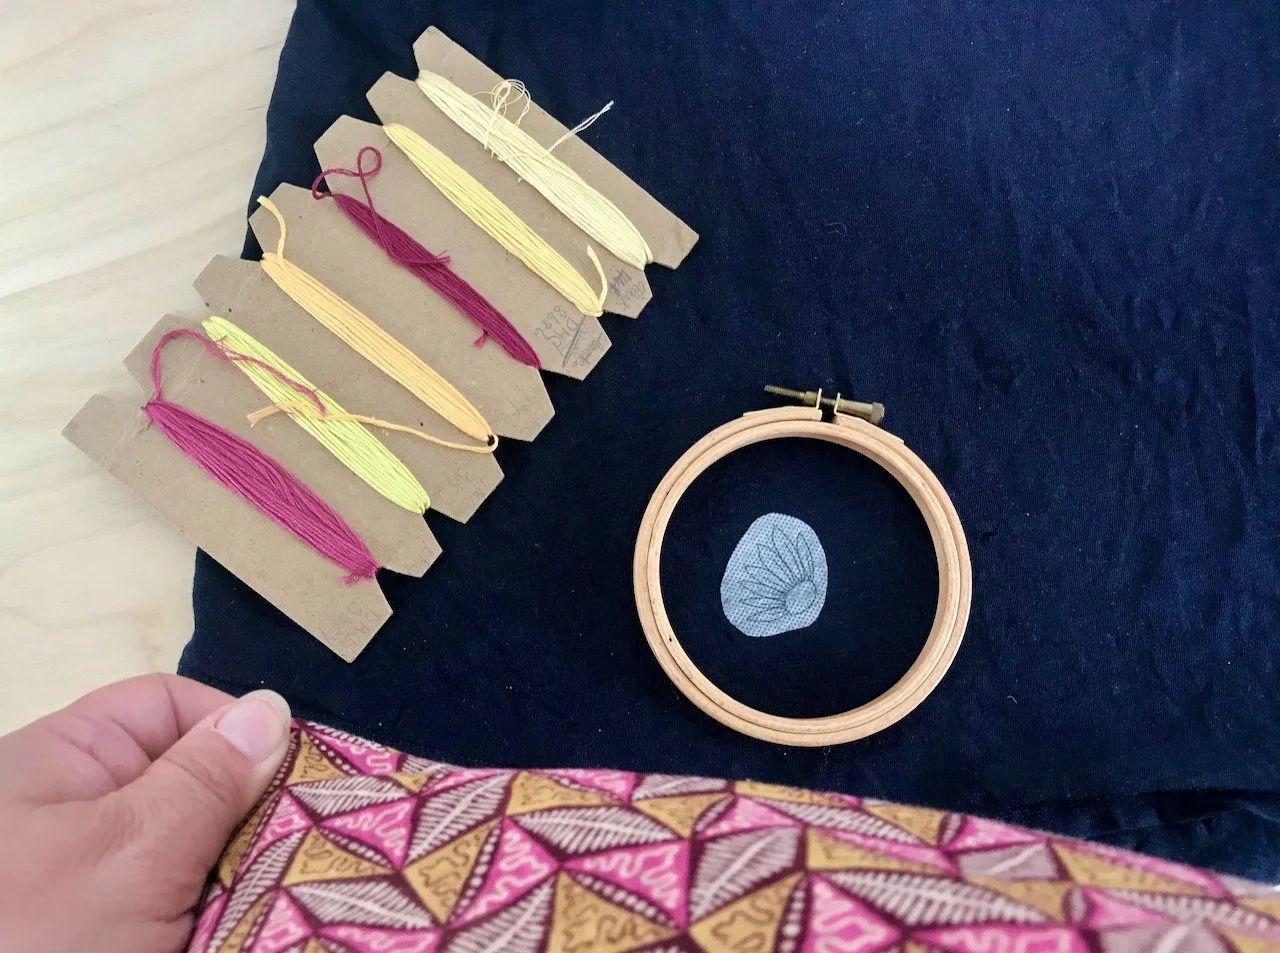
But anyway, the embroidery finally started.

Starting embroidering the petals with deep burgundys through to dusky pinks

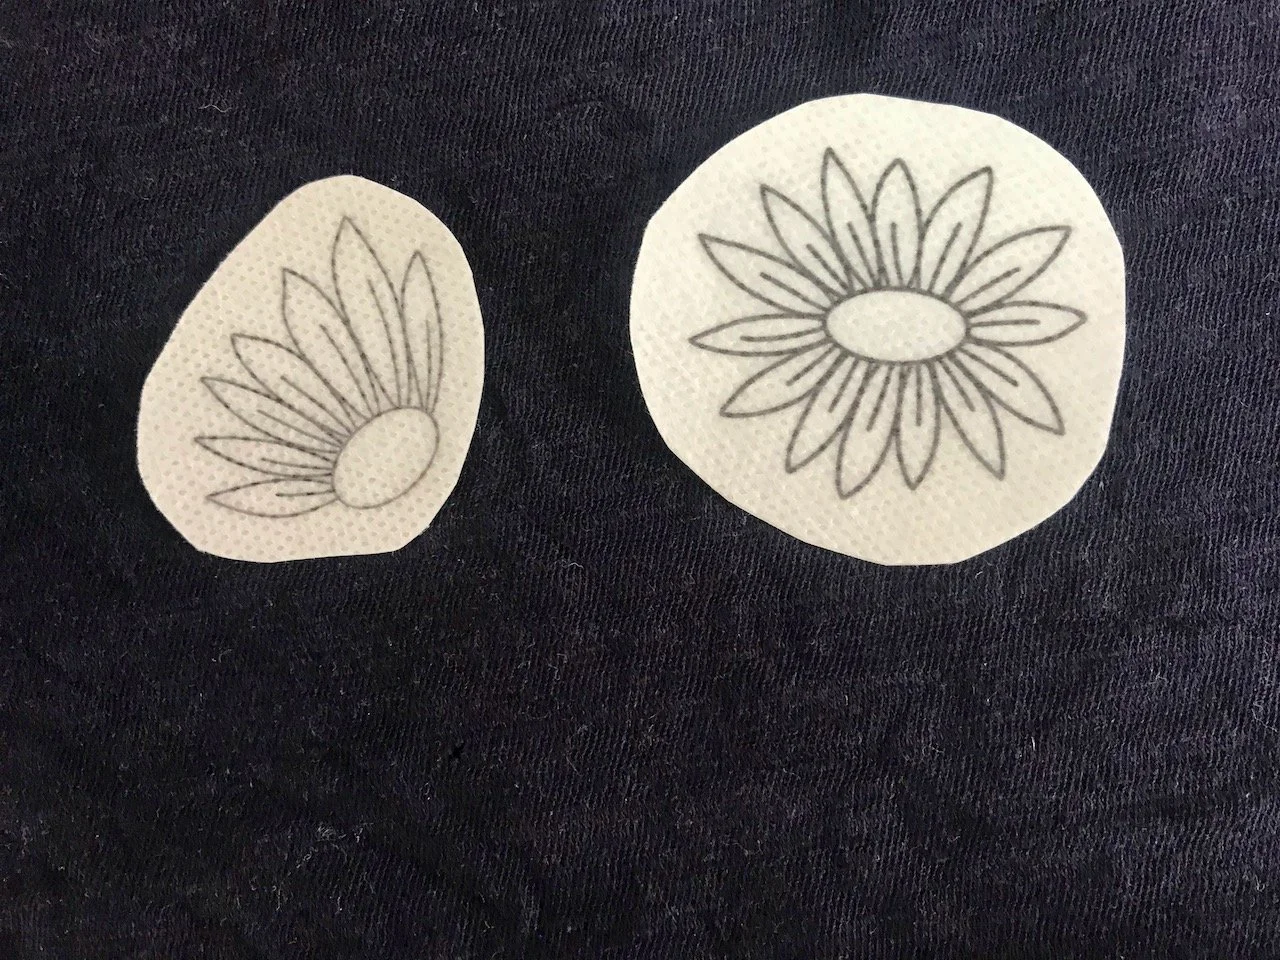
As ever I decided to improvise, with the colours, the blending and pretty much everything else. I also got braver with this as I went along, likening the embroidery thread to colouring helped a lot, and I think the effort was worth it.

Making progress - three completed sunflowers - with the template sticky material around them

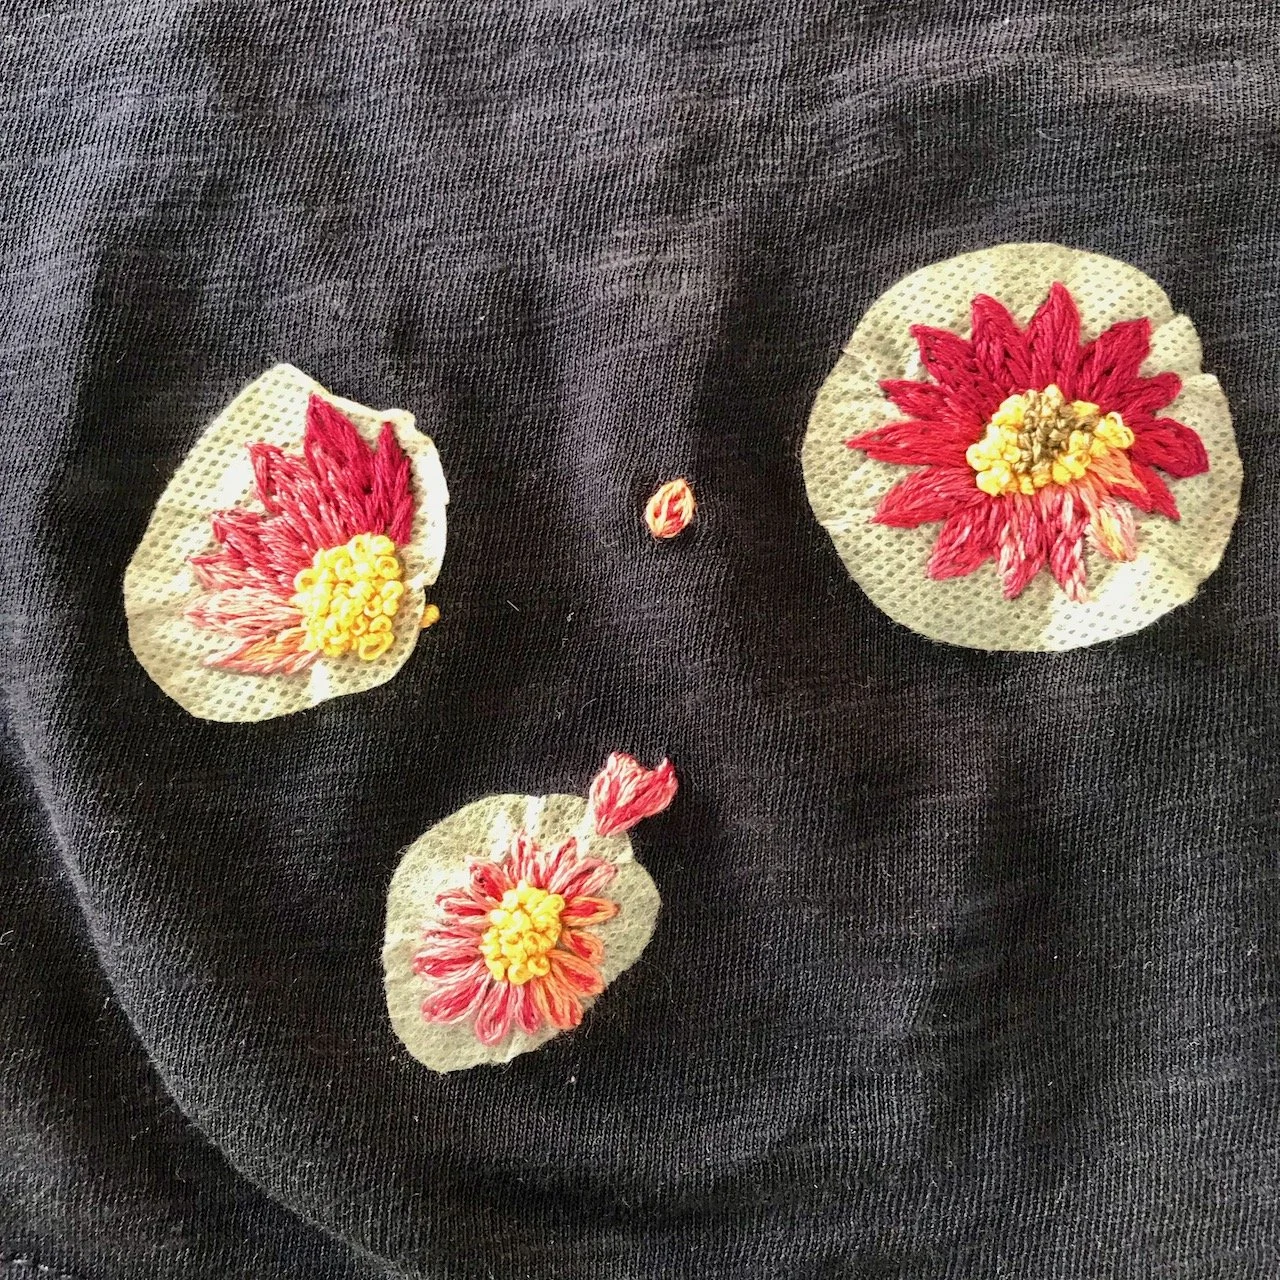
Once the embroidery covering the small annoying holes was complete, it was time to wash off the excess patch.

It was magic. Cold water and a very small amount of rubbing and the white surrounds easily disappeared.

Washing off the template material in cold water - starting to reveal the finished embroidery

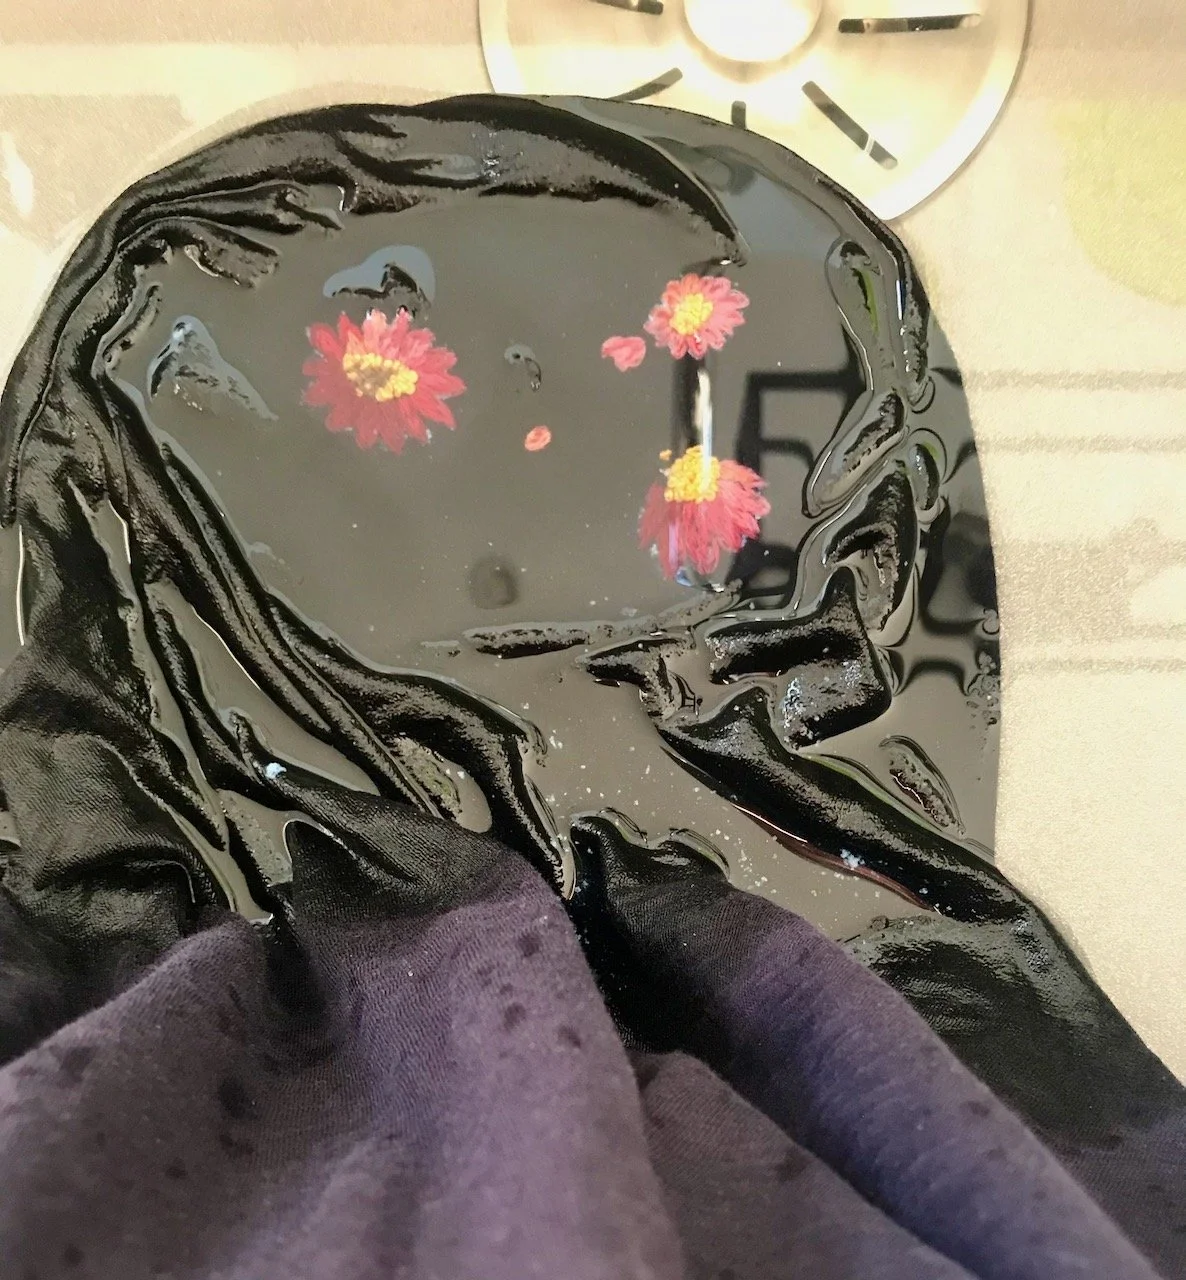
I think the photos look much more dramatic when it’s wet!

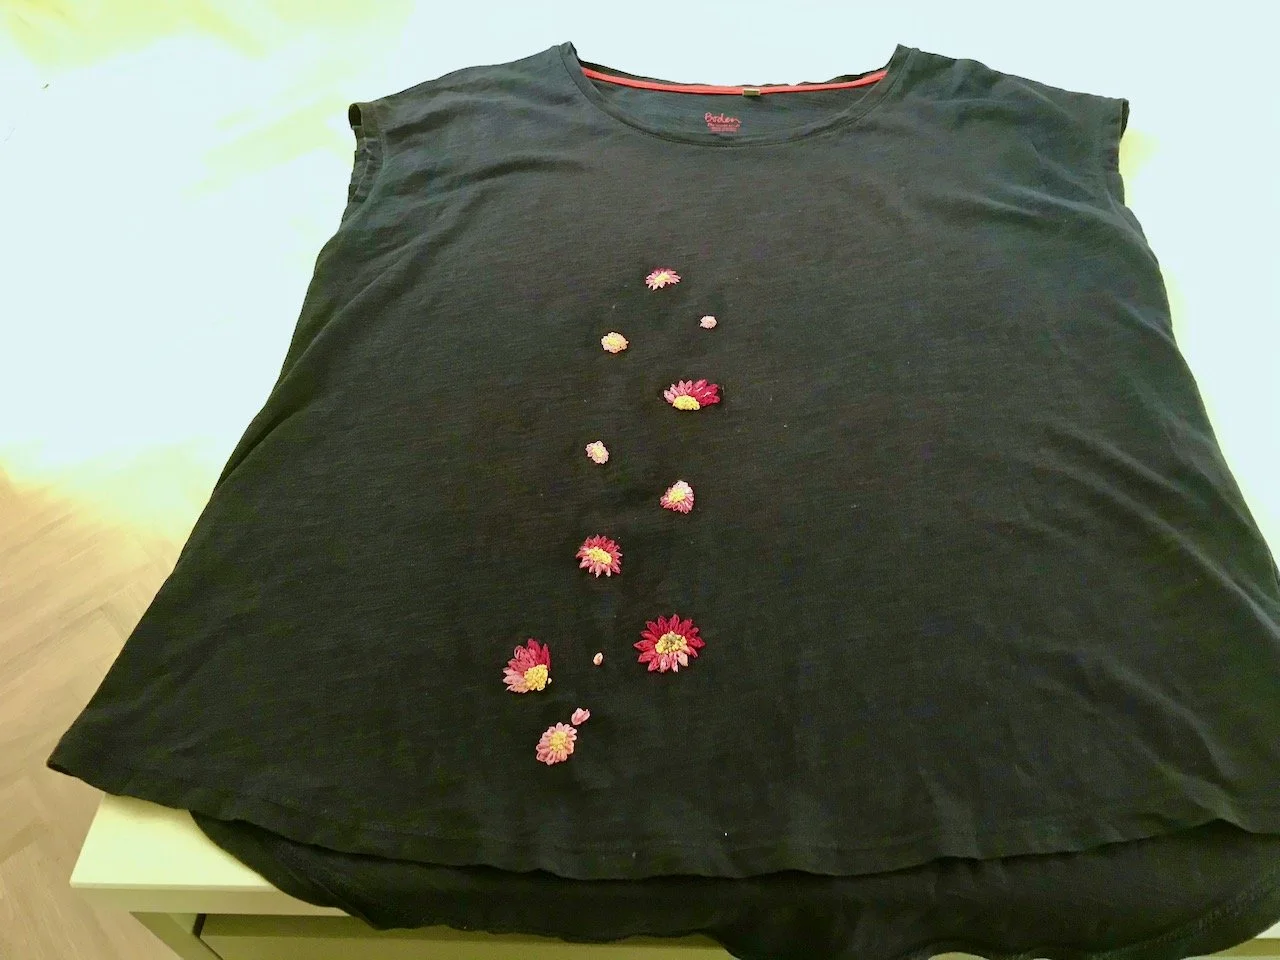
Anyway, after trying my top on to admire my embroidery skills, I decided to add more embroidery, and not just to cover the holes. Before I could back out I stuck the design in place and got my needle out again, sewing more flowers up towards the neck, but off centre - I’ve a thing for things being a bit skew-whiff, to me it’s much more pleasing.

The t shirt laid out to show the embroidered sunflowers which have now migrated up the top (I liked them so much)

And I’m really pleased with the results, though less pleased with my attempts to photograph them. In fact the navy blue top wasn’t photographing at all well, so there was nothing else for it but a mirror selfie.

Me wearing the top- it was too hard to get a photo not wearing it - I've worn it out and no one asked if it was home made - result!

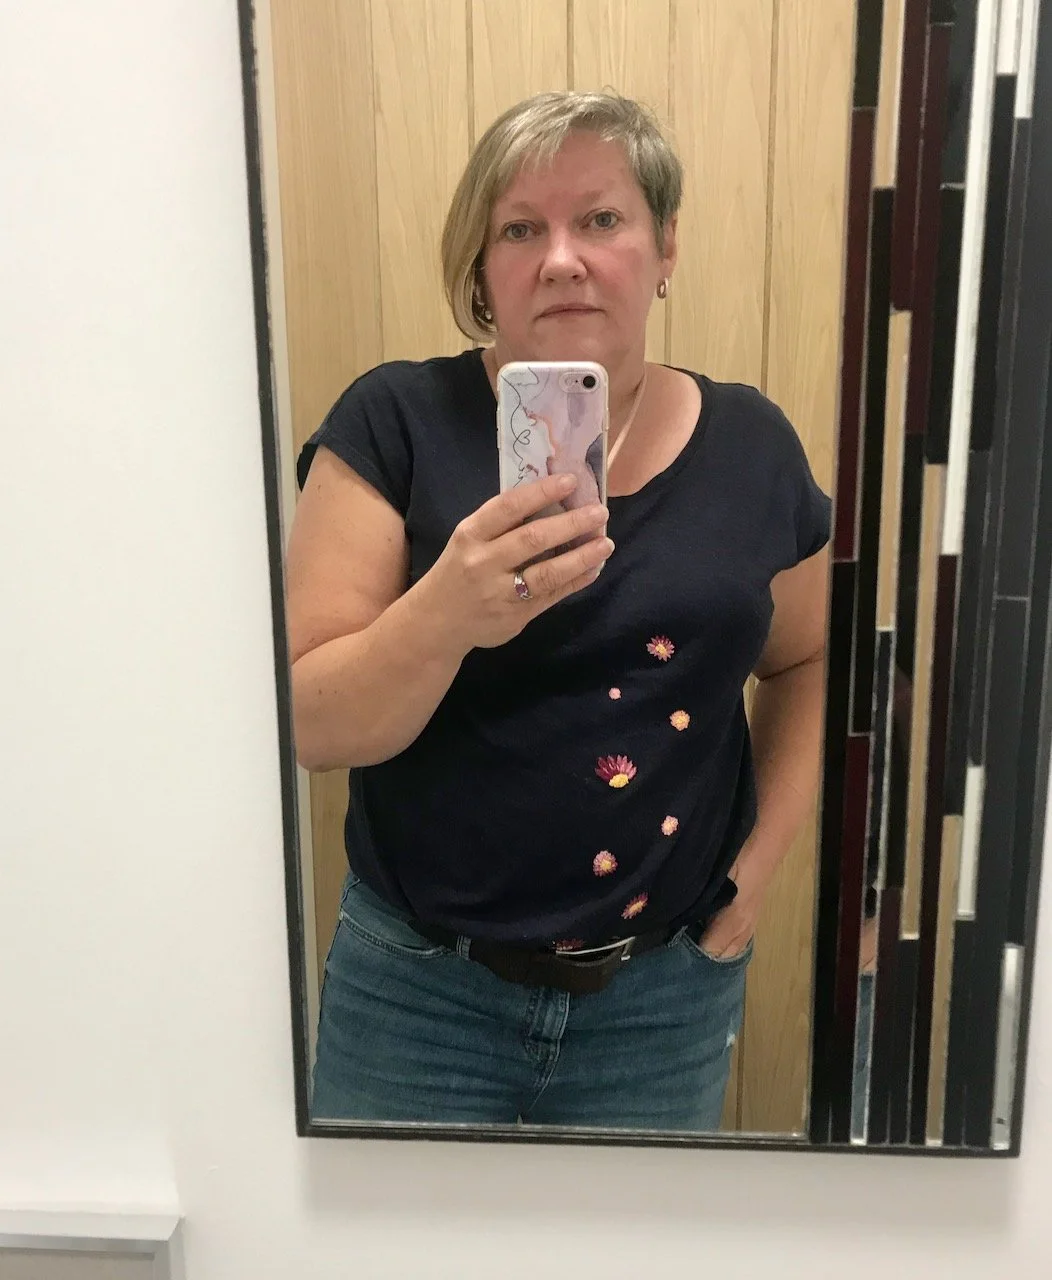
As you can see, it’s subtle but visible - and I think it looks like it’s meant to be there. I’ve worn this t-shirt out a few times now, including to a local sewing group here, and no one has asked if I made it. I’m hoping that’s because it looks good, rather than the other!

I’ve yet to start a t-shirt with the bees, but it’s on my list - and more importantly on my workbench, rather than shoved away. But it’s behind a project or two yet, but I’m pretty sure it won’t be long before I start…

PostCommentLove

Adding a flowery touch to my handbag

I love colour, and quite often my handbags are colourful too. I do have some more sober ones, but they get used less if I’m honest. During the past year and the various lockdowns handbags have become kind of superfluous - as has lipstick - and it was way into the summer last year that I realised my purse and keys were still in my ‘winter’ handbag.

Since then I’ve mostly used a vintage tan handbag - which I’ve had since new! - and my favourite bright yellow Joules handbag, with a few excursions into bags for special outings, which at points during the past year or so could have been simply visiting a restaurant, afternoon tea or seeing family as special occasions have really been few and far between haven’t they?

But both the tan handbag and the yellow Joules bag have started to show signs of wear. I’ve bought some leather nourisher for the tan bag, which I have yet to get onto the leather and I know it won’t do any good until I do. It’s the straps though on the yellow bag, the top coating of the surface is peeling, and it’s not a good look. Since I’ve been wearing the bag on my shoulder more it’s taken to leaving the peeling yellow vinyl on my shoulder, so it looks as if I have a special kind of yellow dandruff on my left shoulder. So this needed fixing, but the bag’s too good, and too much loved, to be retired or fully replaced.

As it’s yellow buying new straps is possible, and I think will be the ultimate solution even if they’re a different colour but I needed something now to get me through. And so I’ve taken a slightly left field and creative solution.

The straps are the buckle sort, not the clip sort, which I think helps a bit. So detaching them from the bag, I’ve glued some pretty yellow and orange flowery bias binding around the straps (having first removed as much of the vinyl that was peeling as I could).

As I was gluing - just PVA craft glue - I realised it would be best for the straps to dry as they’ll be used, rather than dead flat. With the use of some pegs and the bannister on the top landing, I was able to recreate the handbag strap shape. I was quite pleased with myself!

IMG_6196.jpeg

I wasn’t sure how I’d finish the ends tidily, so I took a different approach and decided to stop the fabric just short of the buckle hole that I use. I looks a little peculiar without the buckle, but I was confident that it would look better when the straps were back on the bag.

IMG_6199.jpeg

And I’m really happy with how it turned out.

IMG_6201.jpeg

The next few days I’m going to be out and about for work more than I have since March 2020 and now I’m confident that I’ll be able to use my summer bag, which I know is big enough to chuck everything I need in, without the weird yellow dandruff - which is a very good thing!

IMG_6203.jpeg

And I get a individually styled handbag at the same time.

A shed, or Aeropod?

Today’s post has been prompted by recent travels and remembering an stand that it’s safe to say was a little bit more out of the ordinary at Grand Designs Live last year. And yes, even more unusual than most at the show, which for a show that attracts some innovative thinking is quite something.

Not many shows, or perhaps even house owners can boast an Aeropod I’m sure, but it does prompt the question of where do old airplanes go to die, and why don’t we have more of these? The simple answer to the latter is of course cost, but putting that aside for now, shouldn’t reuse be our aim?

It is for Dappr Aviation, and their aeropods are quite something. I almost had to prise MOH away, thankfully (cost aside) there’s no way we can get one of these into our garden - craning it in was even mooted - and having one in the front garden overlooking a busy London road wouldn’t work either.

But they are rather special.

Yes it's part of an airplane at Grand Designs Live
stylish and spacious inside the aeropod
MOH almost took up residency

We spent almost as much time looking at the accessories which also make use of parts of old planes and are equally as innovative.

airplane seat belts repurposed as key racks
Bookends with aircraft parts

Aren’t they great?