


You'll know from earlier posts that I have great plans for our garden and that we plan to shape our lawn into a series of connecting circles, and that we've been thinking about that for a while. Well now - or in the next month or so - that's actually going to happen. And now that it's on the horizon I have an even bigger plan so we can sequence the work and make the best use of the time off we have at the start of August.
I think the bigger plan scares MOH but I guess he also knows that's how I work, so that's how it is. My even bigger plan is broken down into areas such as lawn circles, a new bike shed, the old vegetable beds, sleepers - that's a new addition - and the long awaited skip. Having the skip means it's a good chance to clear out both the shed and the greenhouse, as I've got that other challenge on my mind too. The plan is dependant on the weather though, as once we've cut where the circles will be we'll be carrying trugs of unwanted earth through the house, so keep your fingers crossed for dry weather!
This weekend we started to prepare where our old vegetable beds used to be. The beds themselves were rotting and redundant as we finally have an allotment. It was only when we dismantled them that we realised how large this area was. And how much extra space we'd have here for our new flower bed. Maybe I'll finally get a much-longed for hydrangea, who knows?
It's in the part of the garden where last year we installed some trellis for the jasmine to clamber upon, to help the rhubarb. Now the rhubarb is at the allotment and doing well, although we're not picking any this year to allow it to recover from the move. We added some flat roof slates in front of the trellis posts, so they and the fence behind them aren't sat in soil. The roof slates were only £1.18 each from our local builders yard and were a cheap, and we hope effective way to protect the wood.
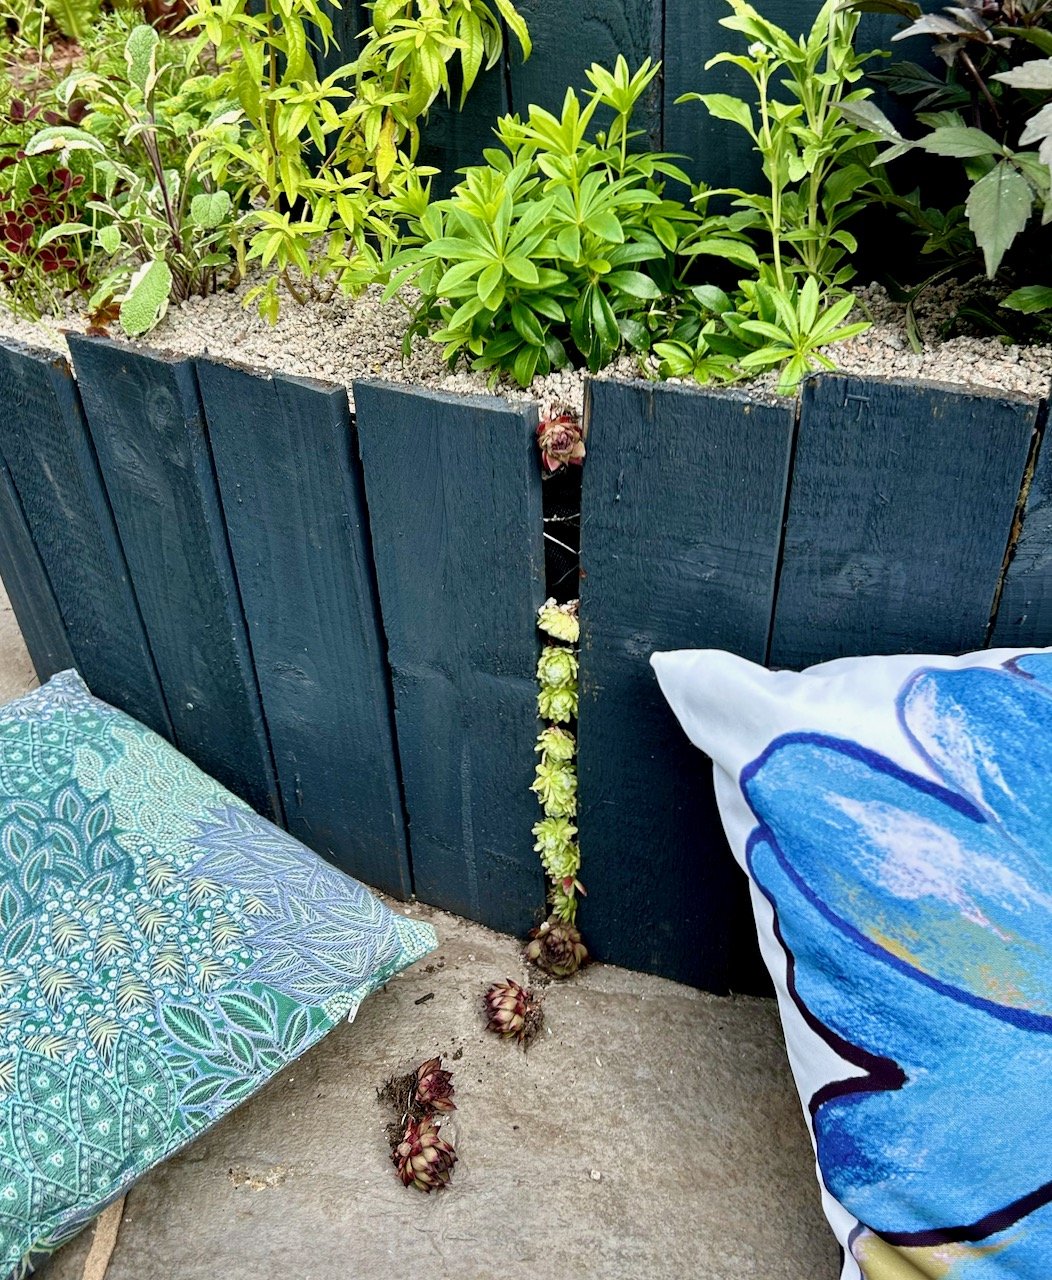
With the roof slates in place and the higher soil level evened out, we were finally able to plant out our little Christmas tree. Which is actually less little than it used to be. It's roots were growing through the pot and so I hope it's happy in its new unrestricted position. I also planted some other plants I'd been collecting - some sedum from another part of the garden, a white berry-ed plant and some lavender which I picked up from the sale bin at the garden centre and a yellow flowering plant from my dad. So this is what that area currently looks like.
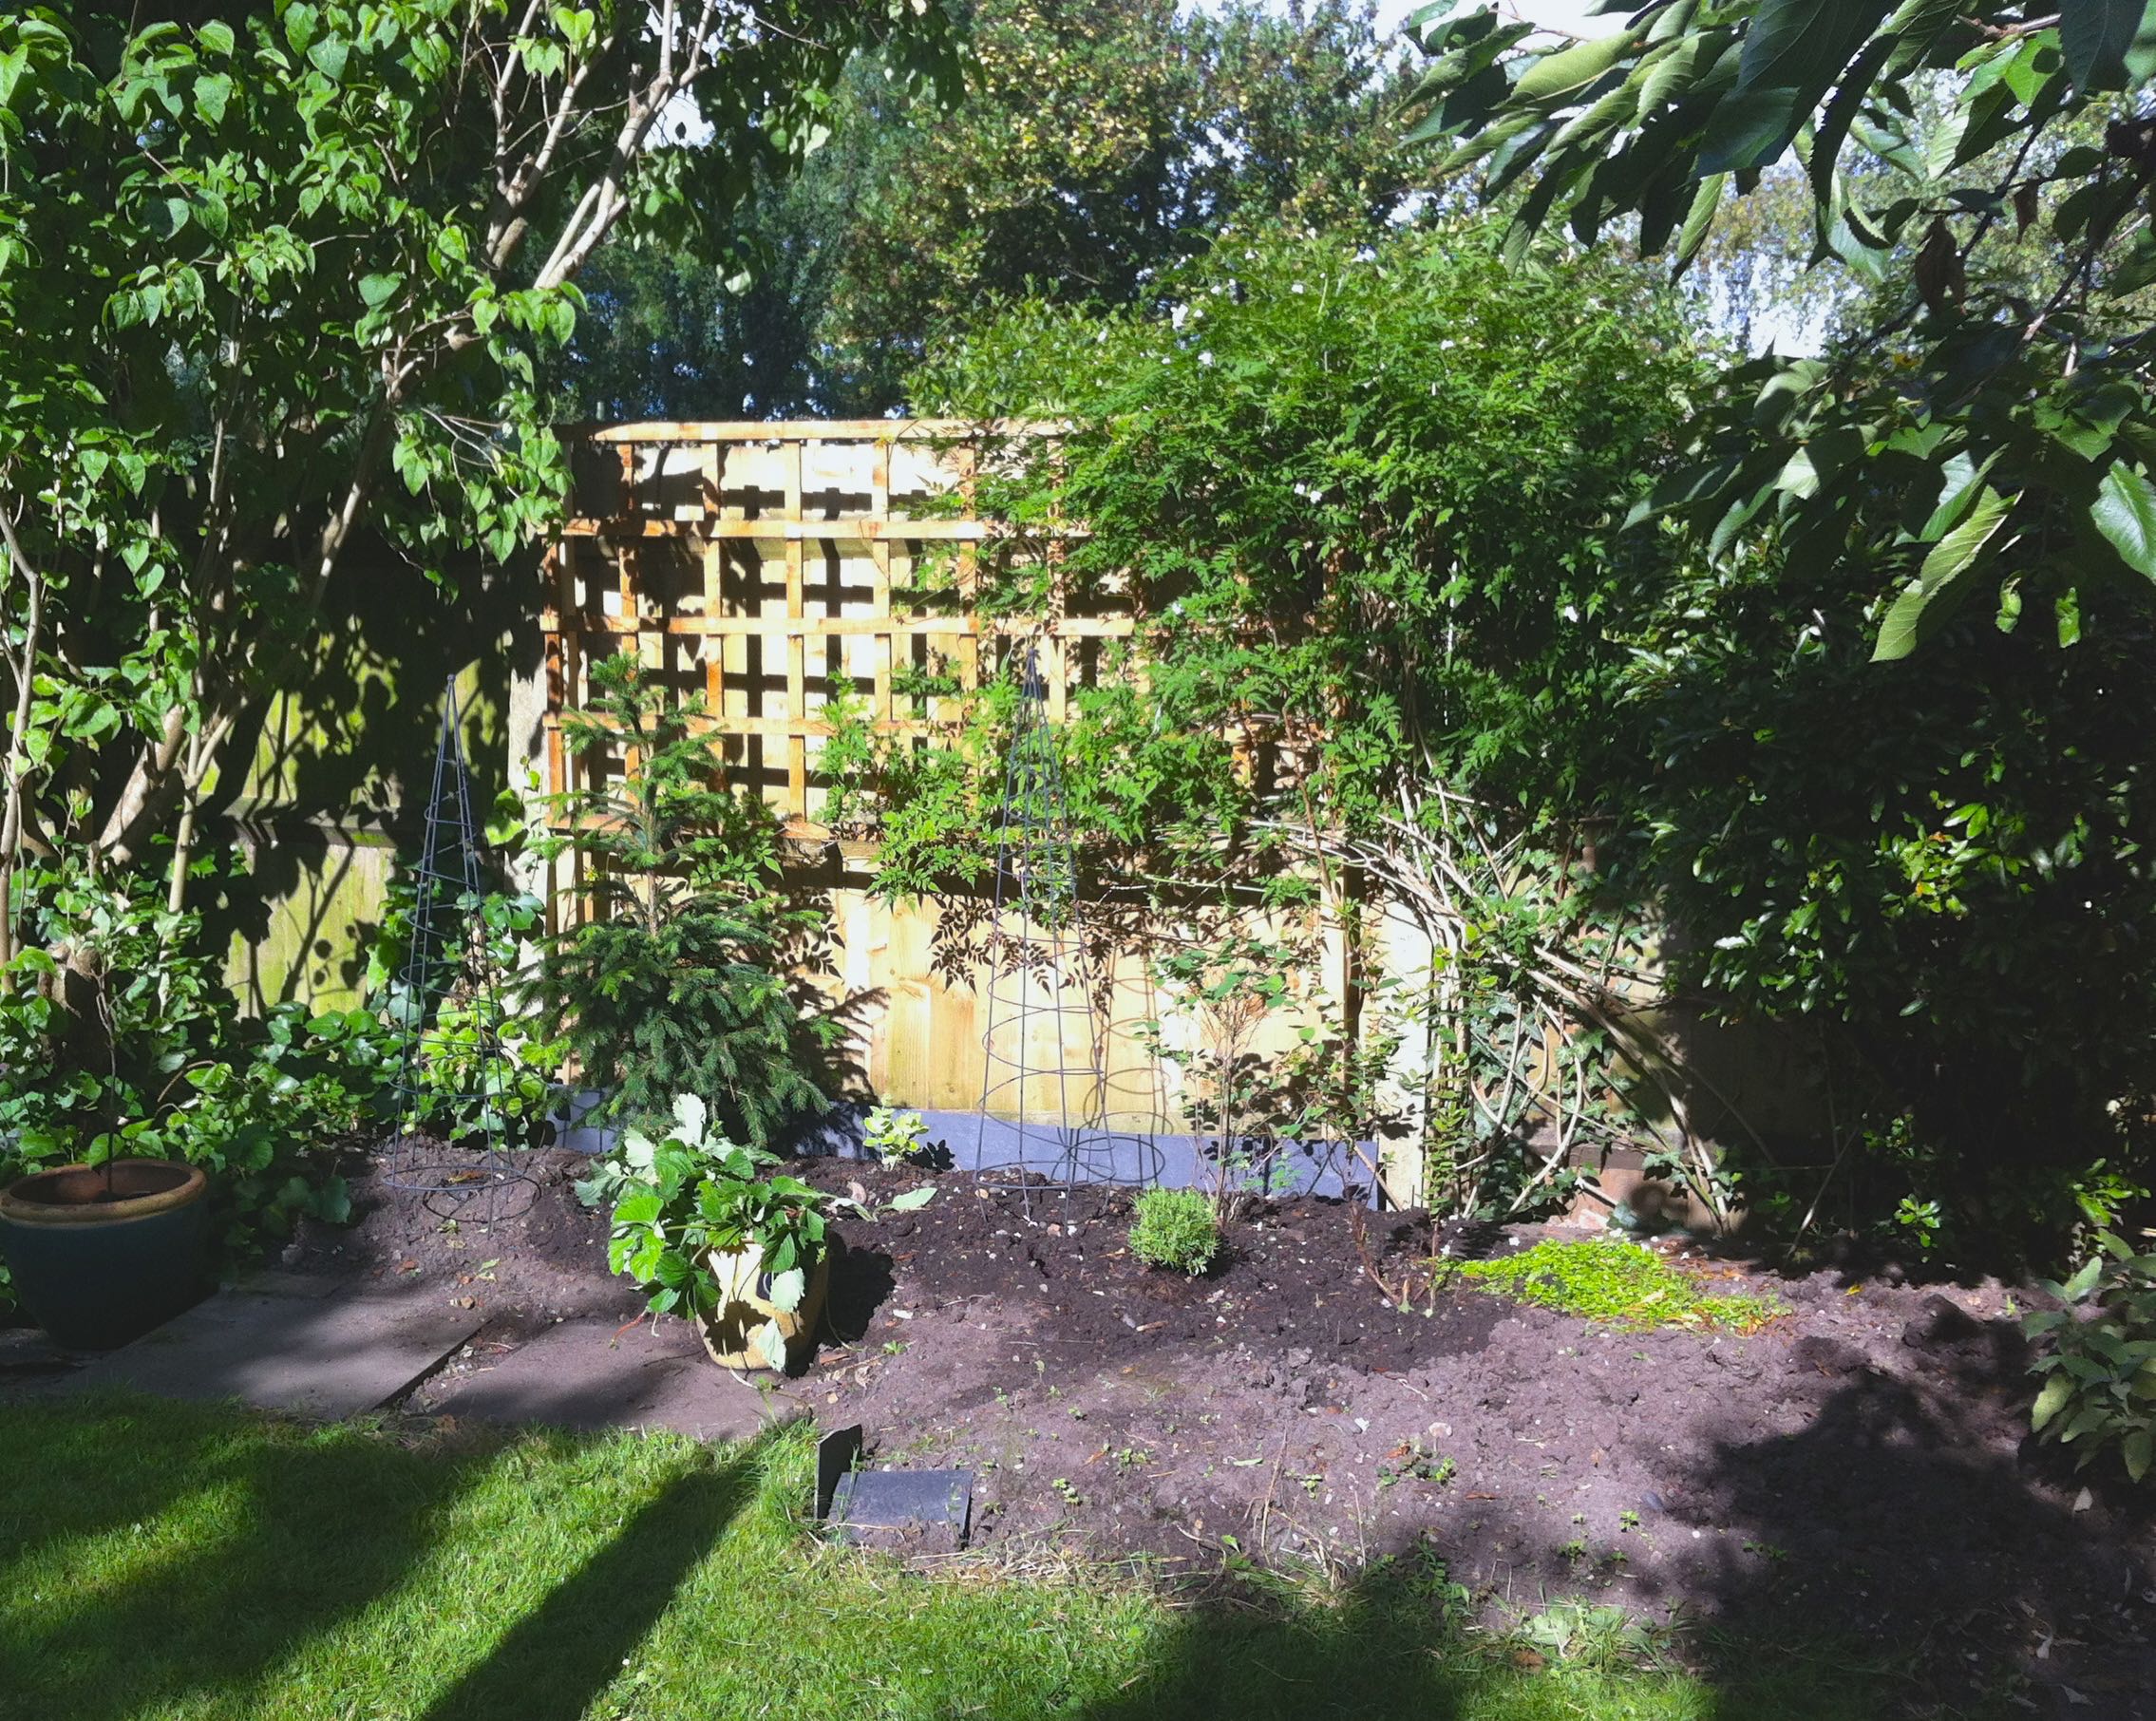
WORK IN PROGRESS
With the bigger plan coming to life we need to put more details into the sleepers part of the plan. Even before this weekend we knew that we'd need something to edge the beds and retain the soil. The half brick solution we have nearer the house wasn't going to work. We also wanted to add something bolder in the area under our laurel tree, and so after much searching for inspiration on the internet we settled on of using sleepers.
And of course I don't just want them to lay flat and square. That would be far too easy - although in my defence there will be some that are laid flat, but I can't promise square. The plan is to use the sleepers in front of the Christmas tree and other new plants in the photo above, and in front of the lilac which is to the left and under the small cherry tree, which is on the right of the jasmine trellis.
That's the bit with the sleepers laid mostly flat.
Under the laurel tree I want to have a curve of upturned sleepers. High enough in the middle to perch on, but low enough so it's not hard work to get the bikes over, as the new bike shed will be on the higher level.
So with MOH on board, this weekend we've started doing some practical research. We've been online looking at sleepers and how to install them and at the garden centre we got up close to a sleeper to see just how heavy it was, and more importantly if we could lift one between us. We think we could, just about...

OUR TEST SLEEPER WHICH WAS JUST ABOUT LIFTABLE
We know for our plans we'll need to cut the sleepers to the lengths - and heights for the upturned ones - we want. And for that we'll need a pretty decent saw, and preferably not the manual sort. We'll also need to secure the sleepers to each other so they stay where we want them, so we've also been looking at which power tools we'll need. We definitely need the right kind of saw and most likely an electric screwdriver too.
With so many sleepers - the current estimate is more than ten, but less than twenty - having them pre-cut won't be cost effective, especially as we'll be fine tuning the plan as we go, which makes it even more important to have the right tools to hand. Hopefully that will help make sure things go smoothly.
One thing I did learn this weekend though - mentioning needing new power tools is the sure fire way to spark MOH's interest in a project! I fully expect when the sleeper project starts, despite being the master planner, to be demoted to 'gofer' when the power tools come out. Which is fine by me. I'll let you know how we get on!
