


We have recently finally started to redecorate our second spare bedroom. During Phase 1 of our building work it was the room where almost all of our belongings were stored and to be honest it was looking a bit tired.
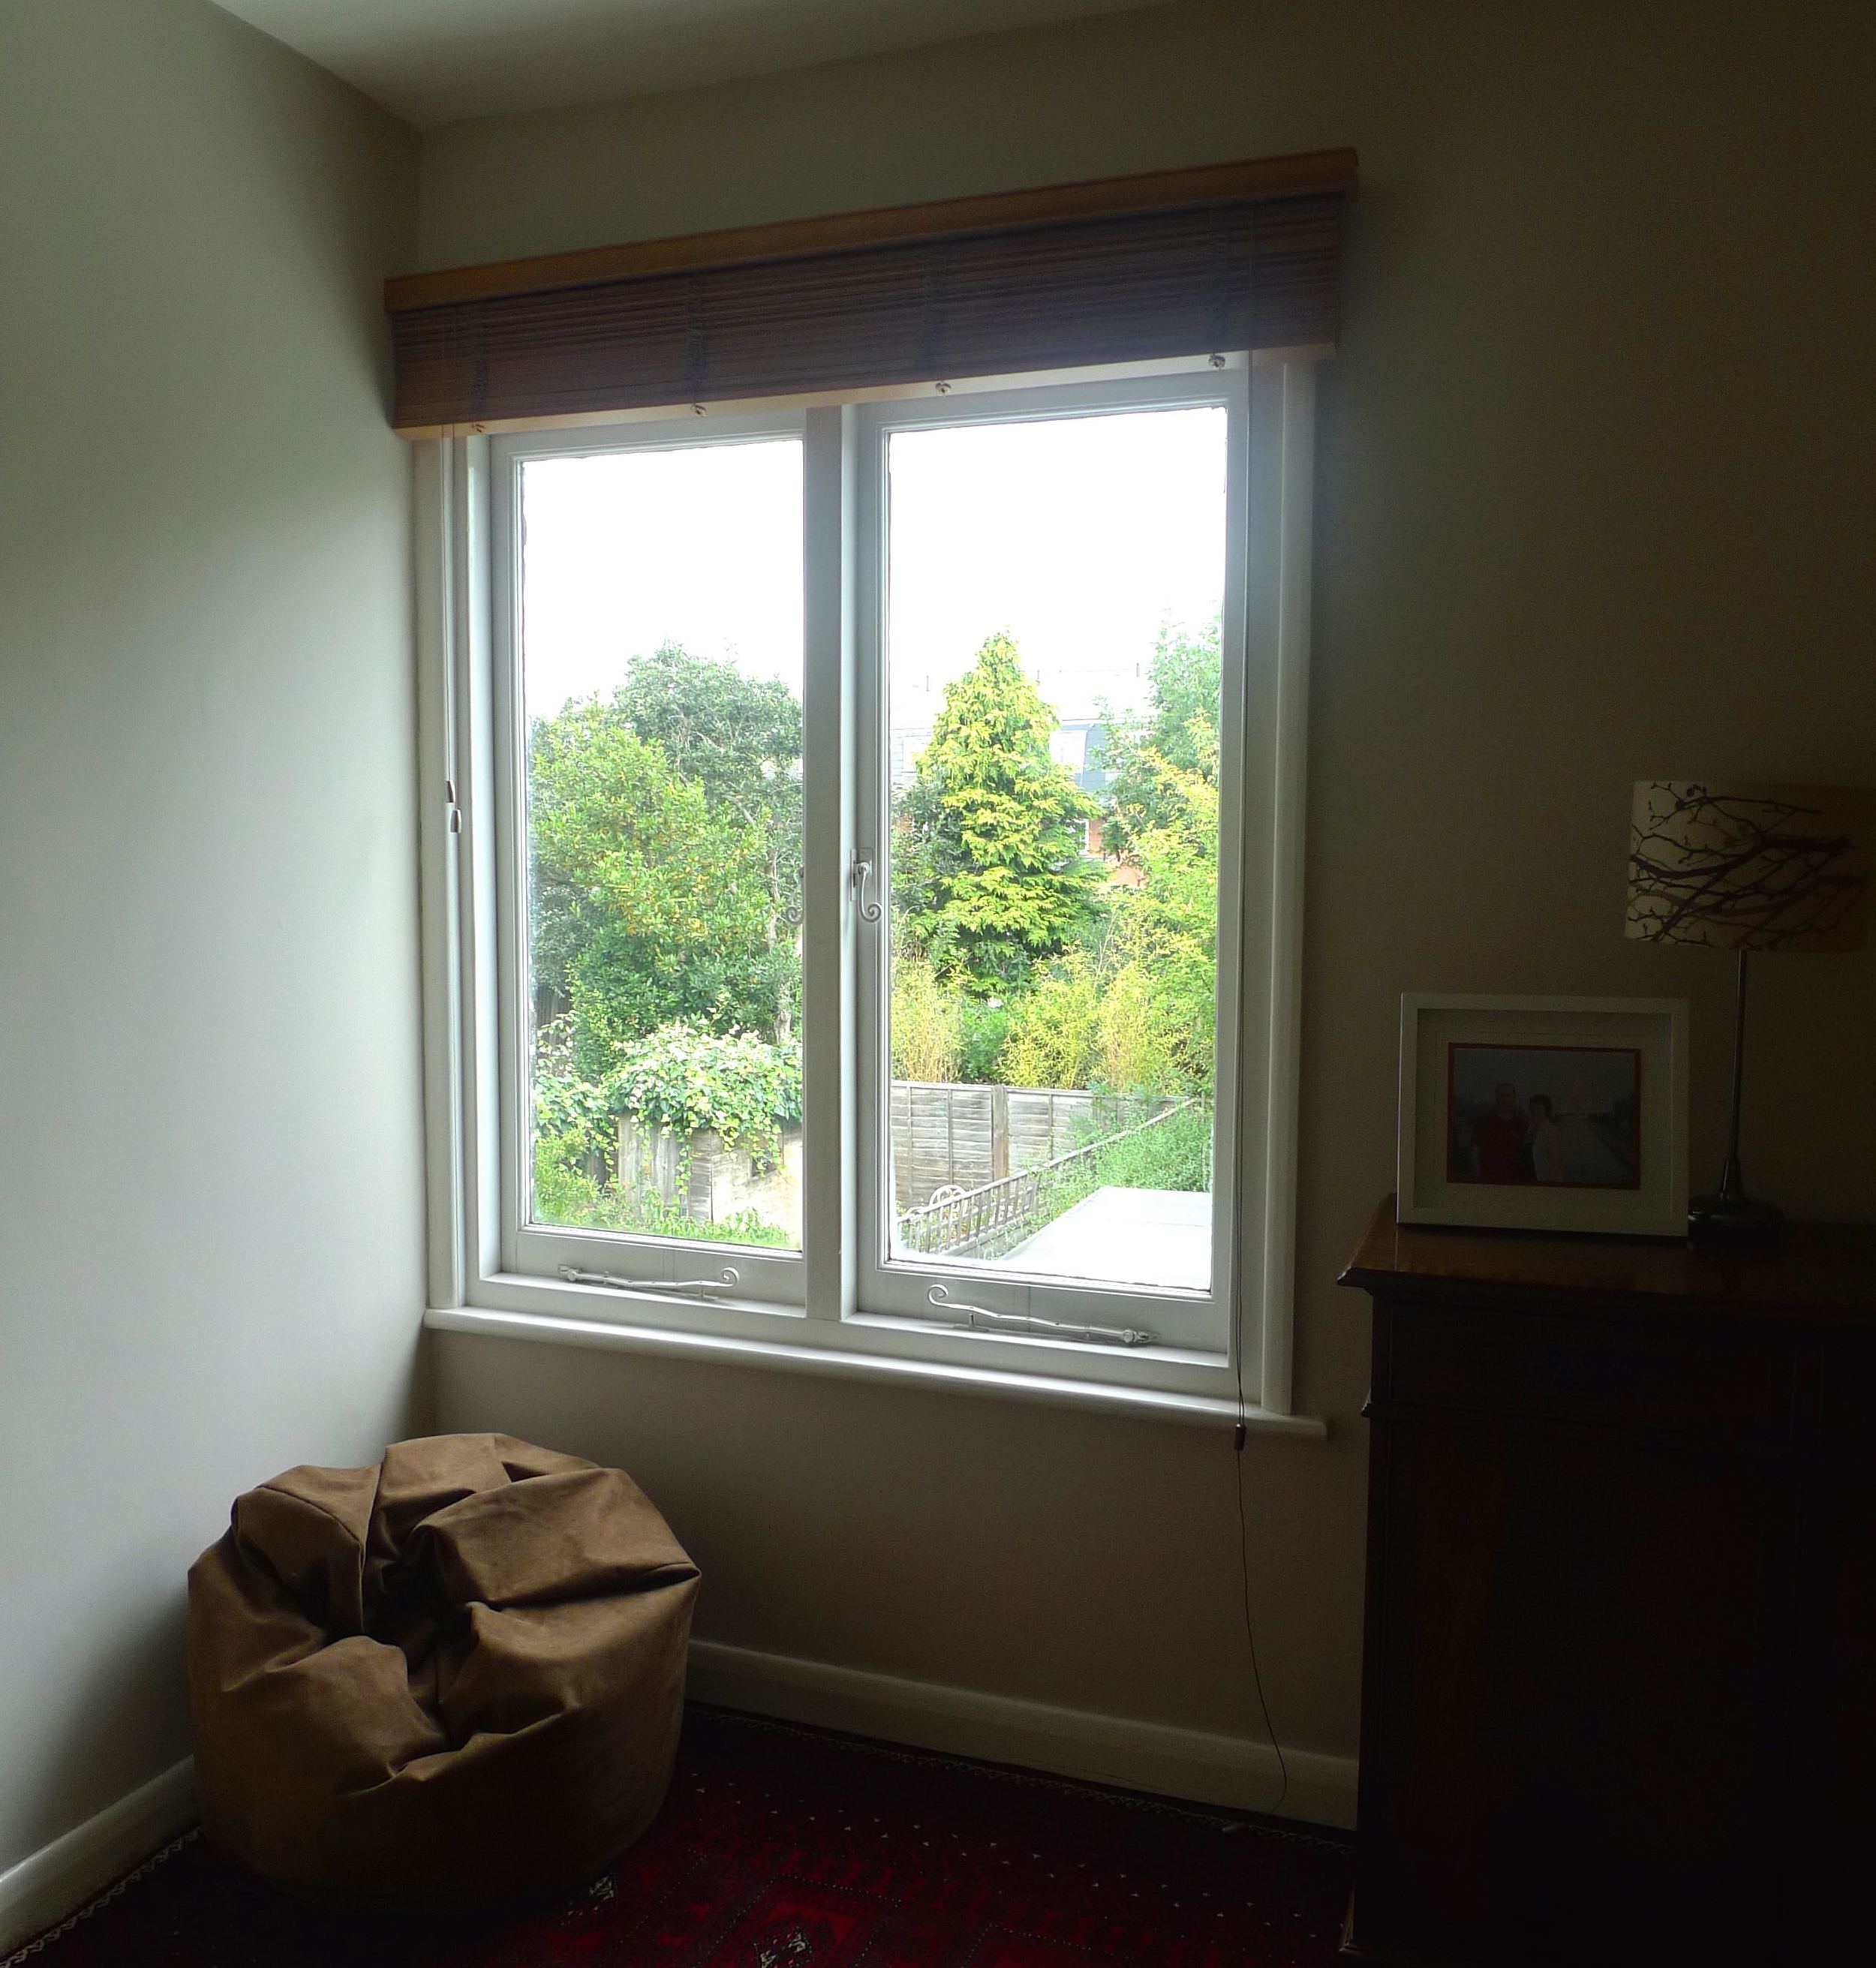
At the window, the curtains that we hung when we moved in some thirteen years ago - and the ones that had already provided good service in my bedroom in my previous house, were due for replacement. The relatively large window is right in the corner of the room and I knew I wanted to avoid blocking the window with new curtains. So when Order Blinds offered me the chance to review one of their made to measure blinds, I was keen to discover what they could offer.
Choosing our blind
Now all I had to do was choose a colour and measure the window.
There were ten colours to choose from, onscreen I narrowed it down to Oak, Beech and Maple and used the sample service to narrow it down further. The samples arrived promptly and both MOH and I preferred the Oak swatch, so that was settled.
Measuring the window
Being a bit of a blind novice, I checked the site to see where I should measure from. I had two choices - a recessed blind or one that would cover the window and its frame (or as much as I wanted). I thought a recessed blind would look good, but was unsure of the depth of the pelmet and if this would work, so I emailed Order Blinds and asked them.
I was glad I did. I had 3cm to fit the recessed blind to, but Matthew quickly replied to let me know the plinth was 4.7cm so it was unlikely to work and helpfully suggested alternate solutions. In the end I decided to fit a batten above the window frame and hang the blind from there. My next question for Matthew was if there was an optimum height to place the batten. Once he knew the drop of the window he calculated the stacking height of the blind to be approximately 20cm so for the blind to clear the window frame completely I would need to take account of this. How useful was that?
Hanging our blind
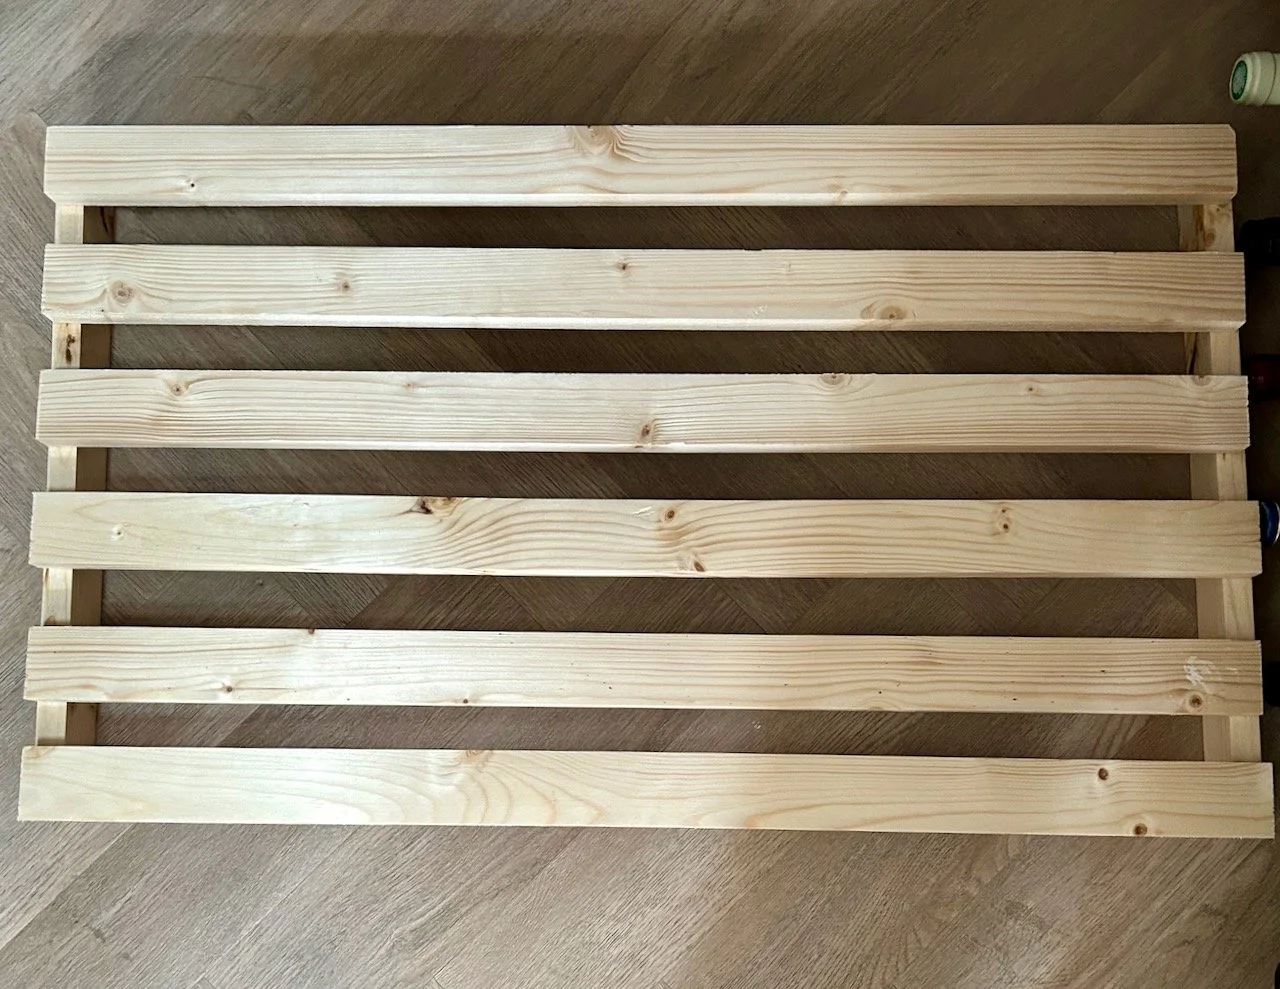
It took ten days from ordering for our blind to be despatched, and I thought that was pretty good going. It arrived and we excitedly unwrapped it - and you know what, it looked like a blind!
The step-by-step instructions provided are clear and once we'd identified each of the end brackets and centre support brackets and the screws to go with them we, well MOH set about drilling holes in the batten.
As our window frame is right in the corner of the room we needed to adapt the placement of the brackets, ideally they should be placed 0.6mm either side of the window frame, but that didn't work for us.
Unusually there were more screws in the packet provided than the instructions said, so that was a refreshing change. And it meant no scrabbling around to find a component that was missing.
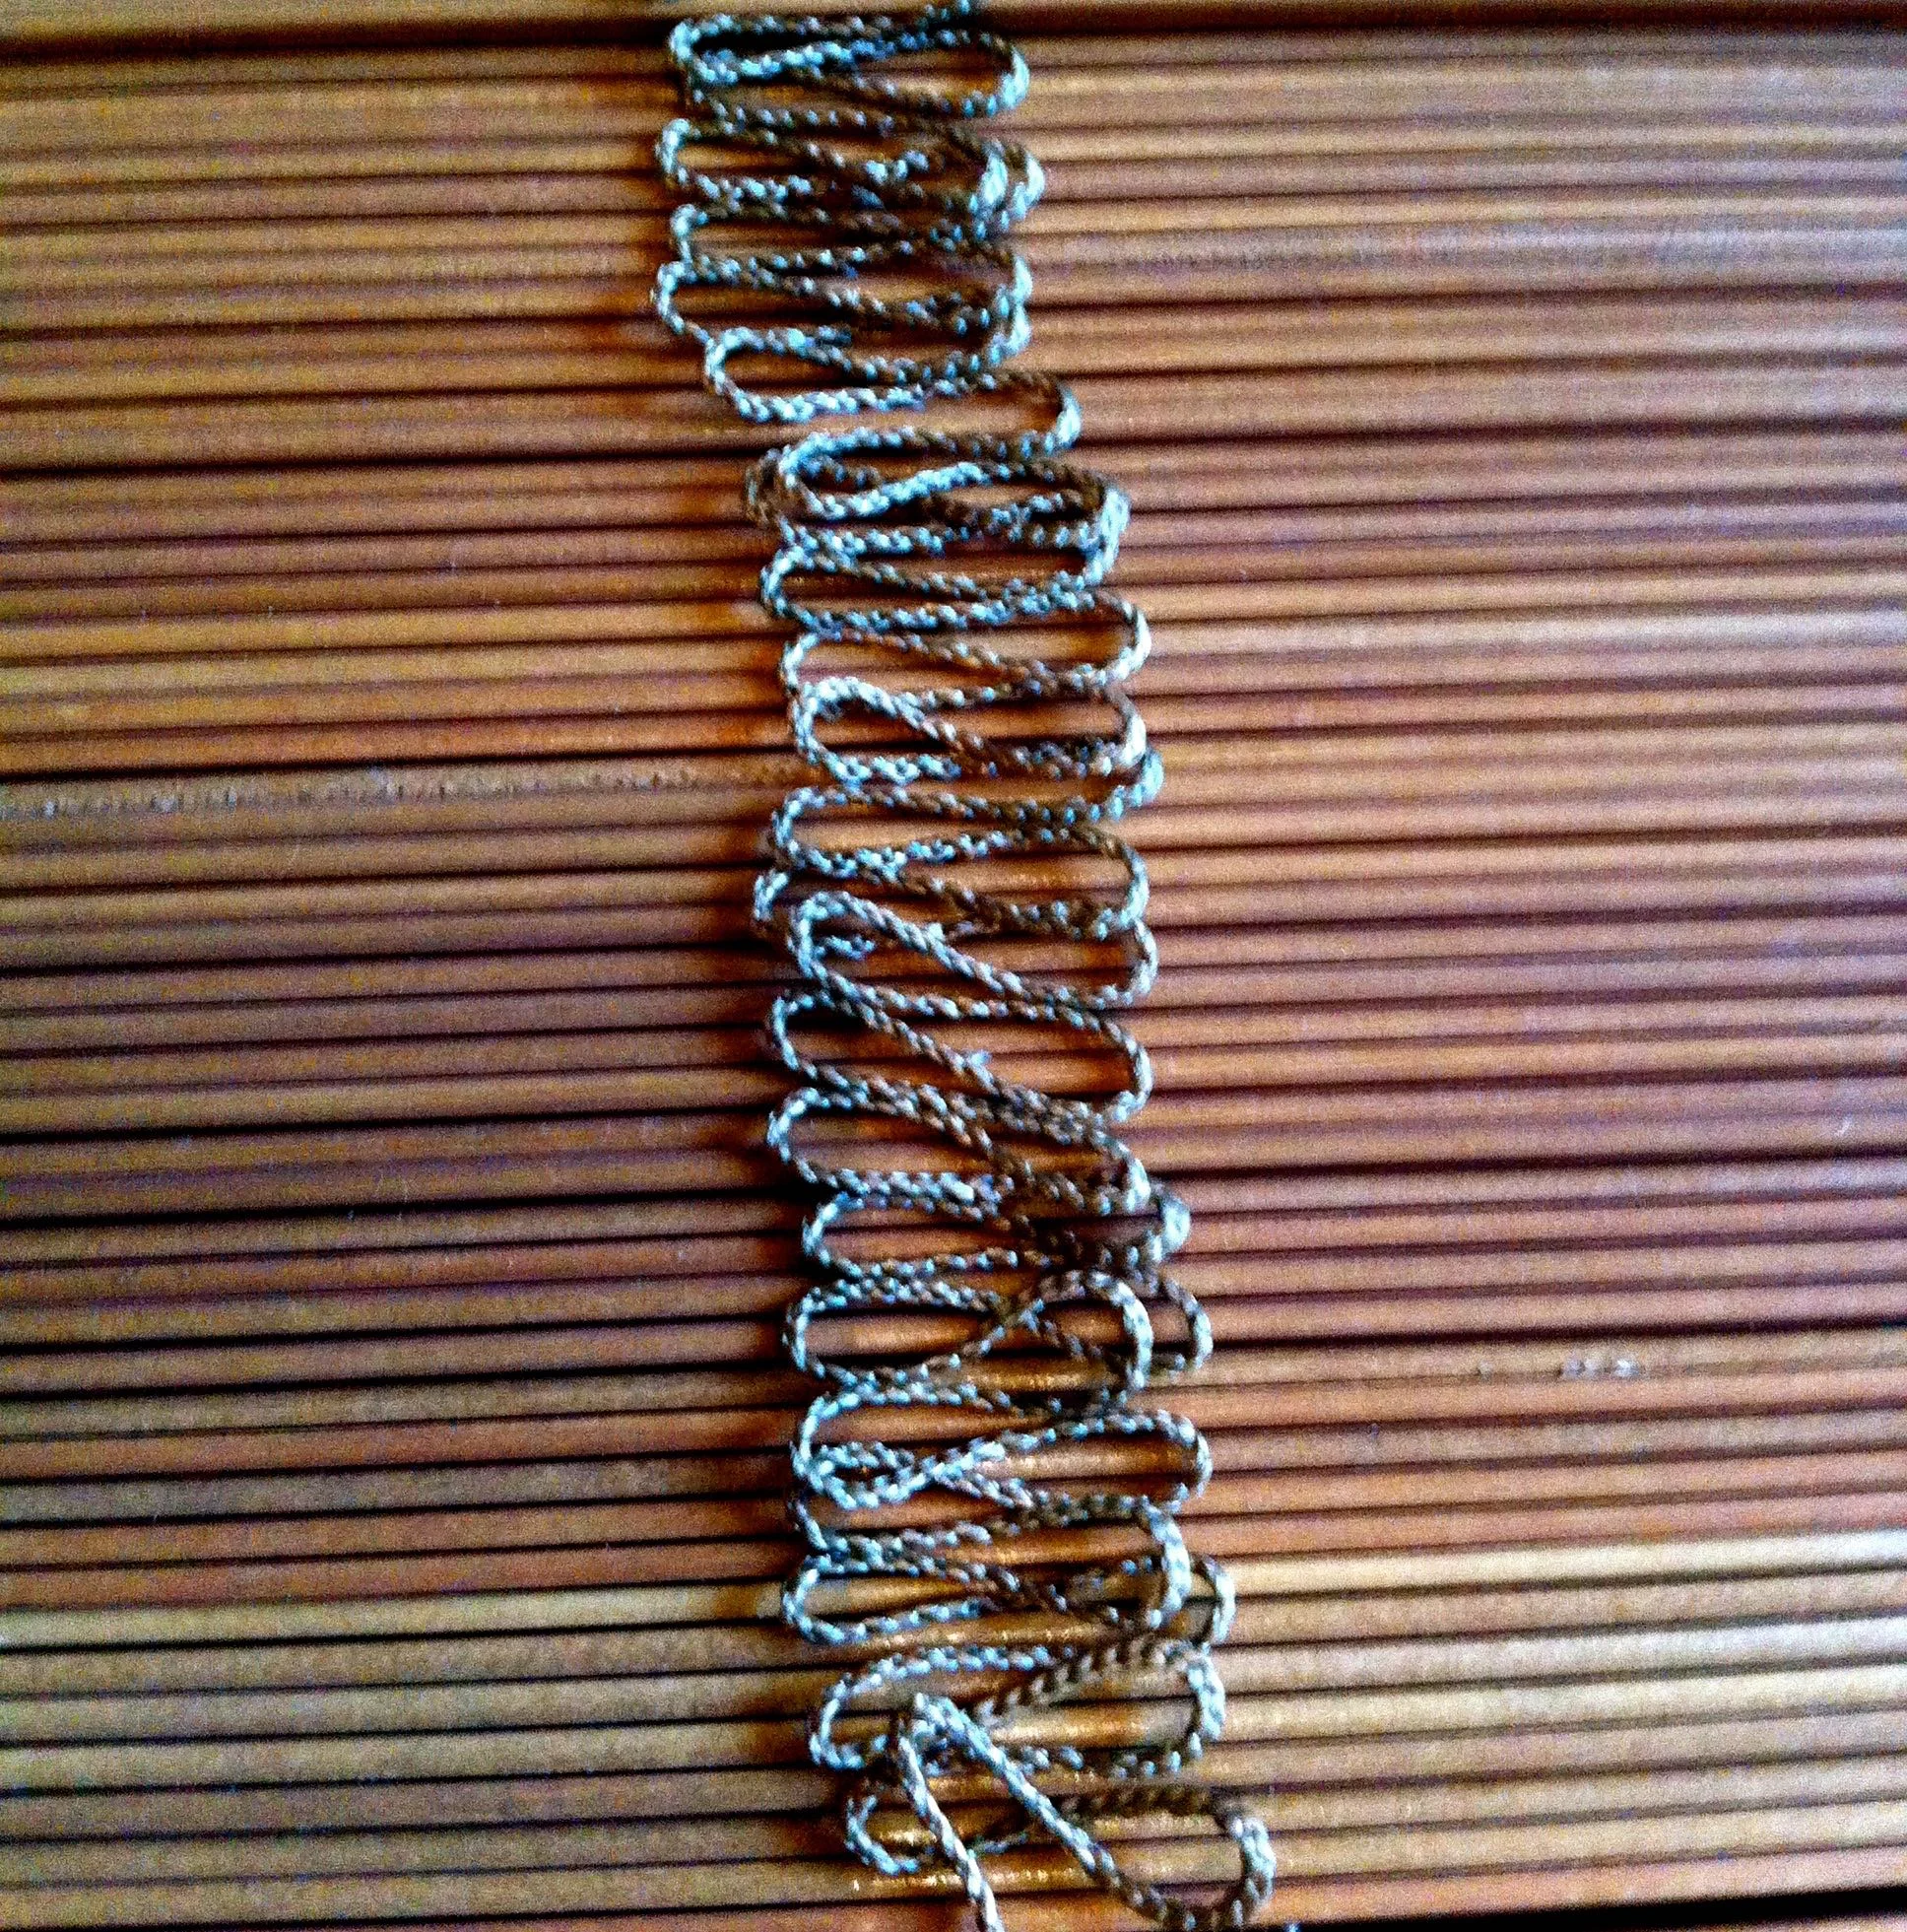
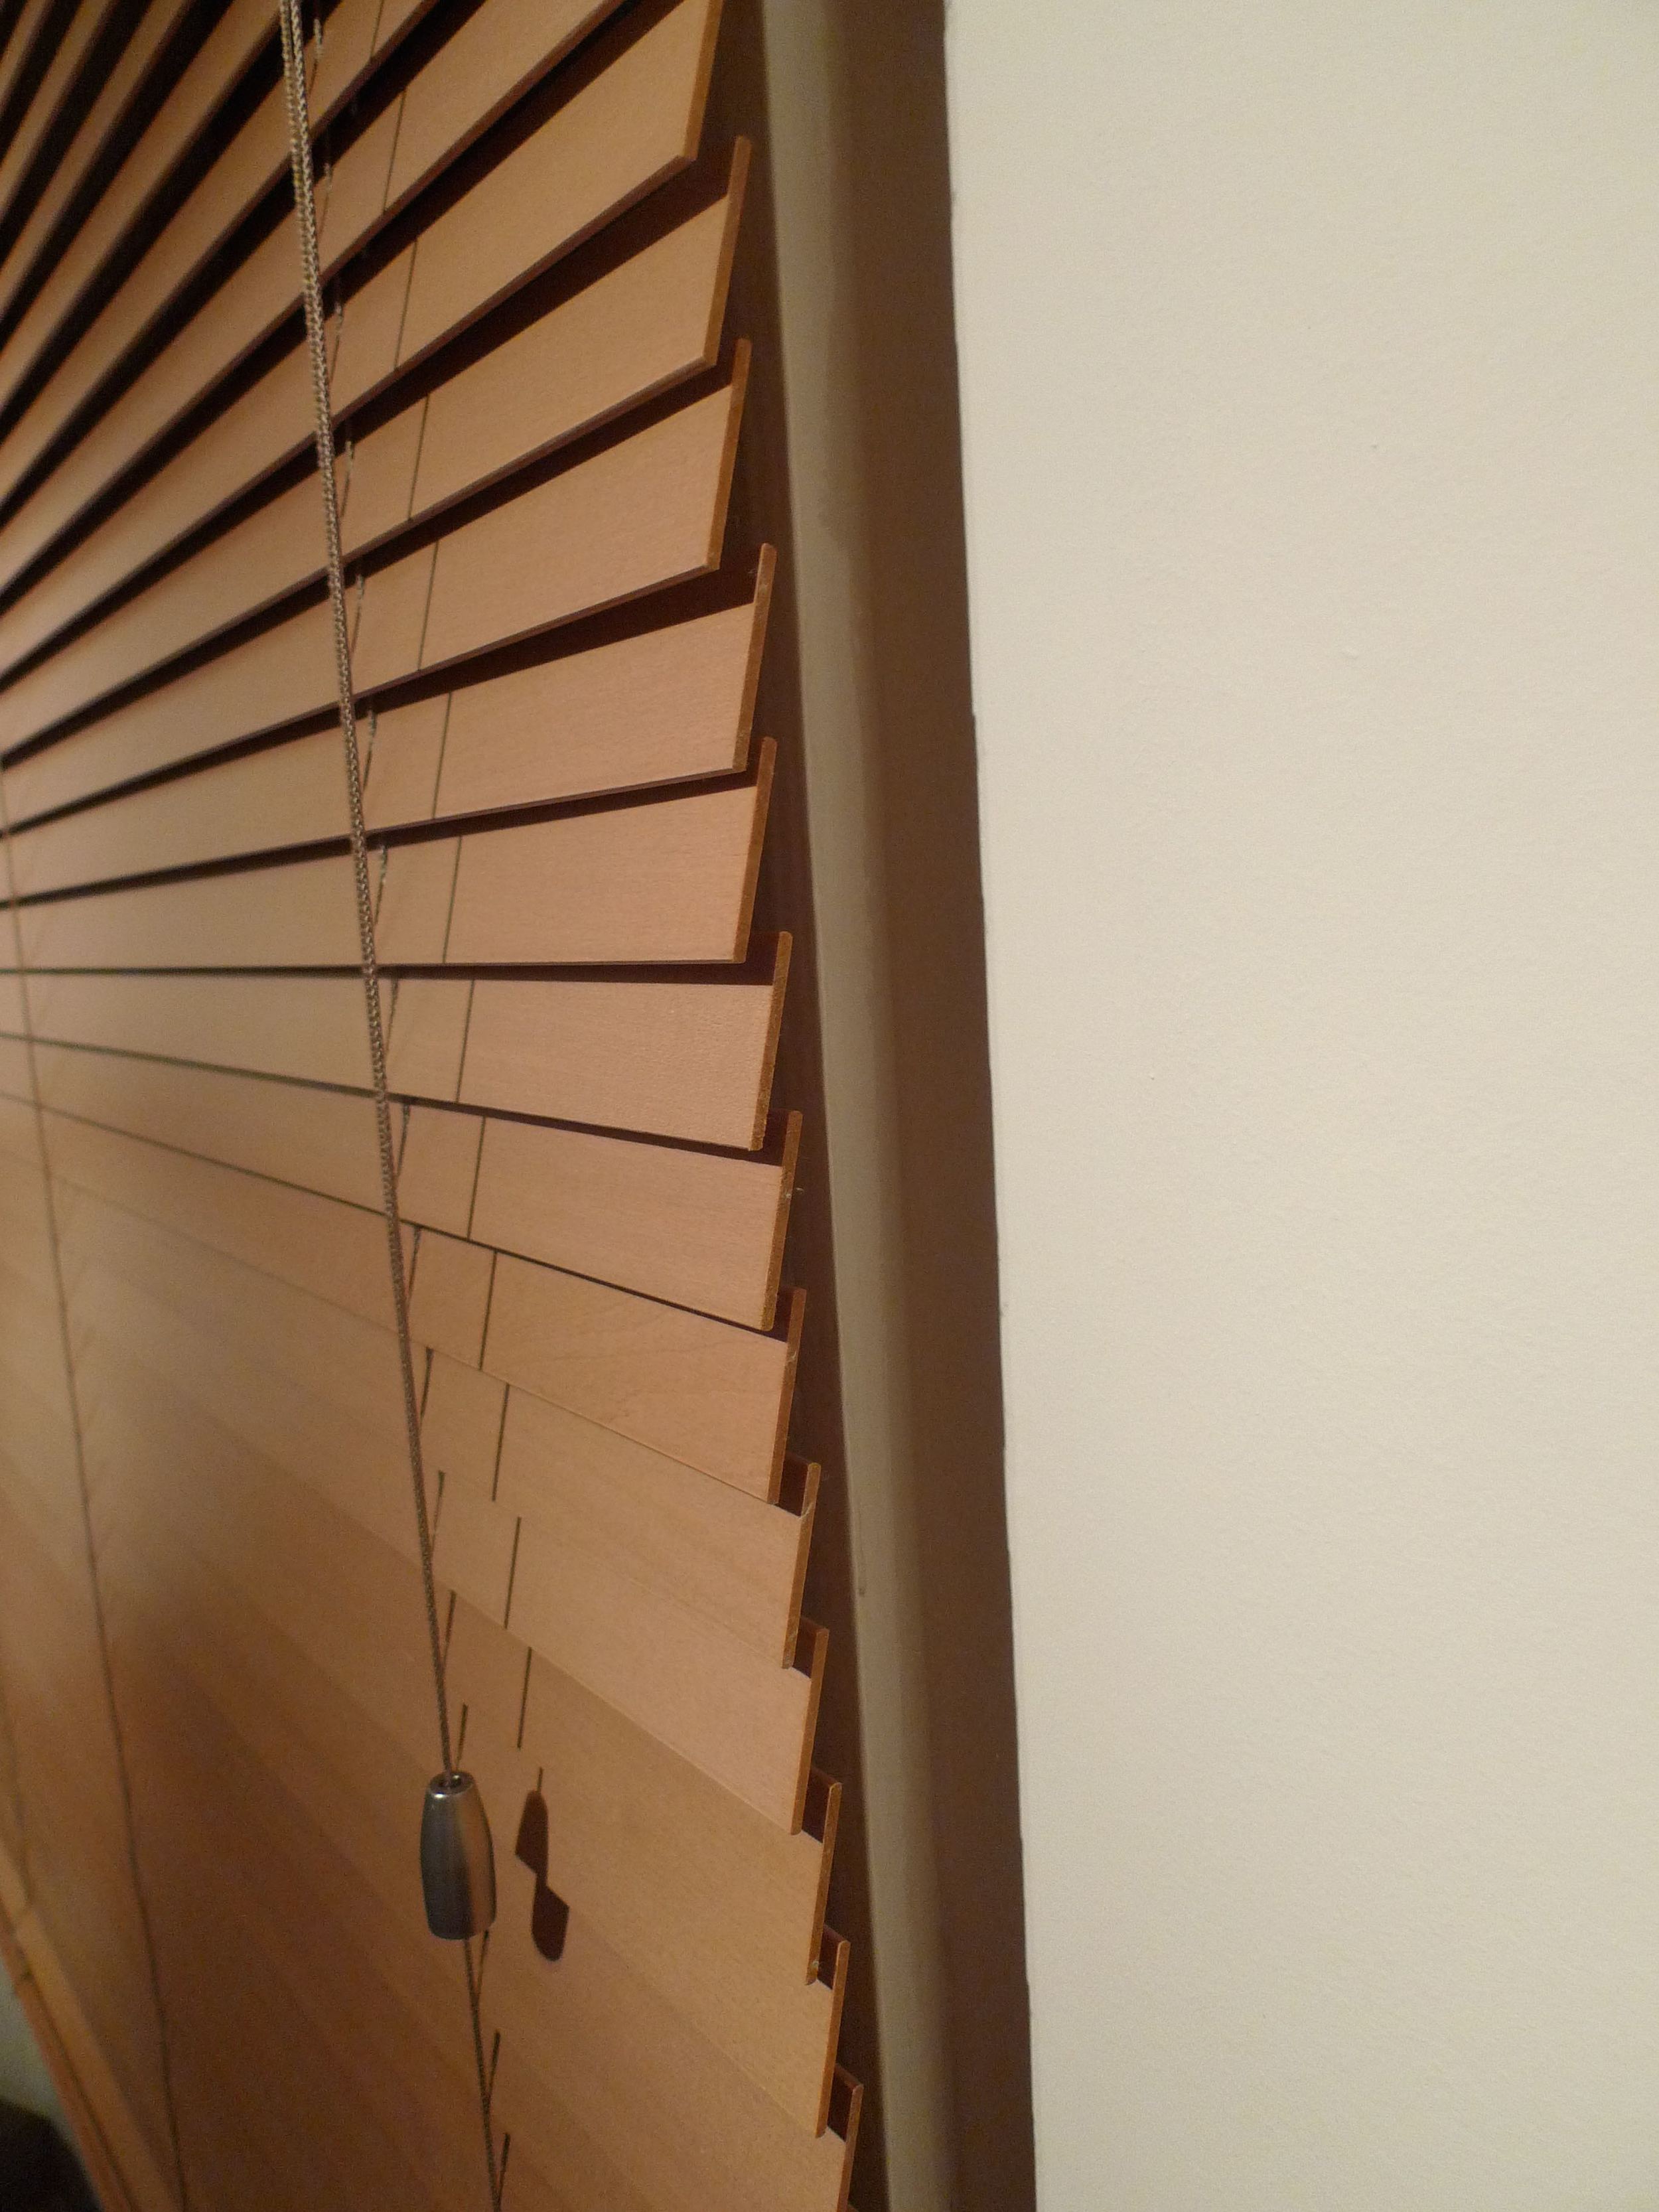
Our blind had two centre support brackets and the instructions said to equally space them along the headrail and keep clear of the ladder positions.
That threw us initially but we soon worked out that the ladders were the blind's cords. Now the blind is up, it's obvious as they do look like ladders.
And where we had to place the end brackets, doesn't look odd at all.
With the brackets fitted, it was time to lift the blind onto them and snap the end brackets shut. This too was easier than I expected it to be, but it did involve me standing on tiptoes with arms at full stretch holding the blind while MOH moved the steps to secure both ends. A comedy moment I'm sure for any neighbours that happened to be watching.
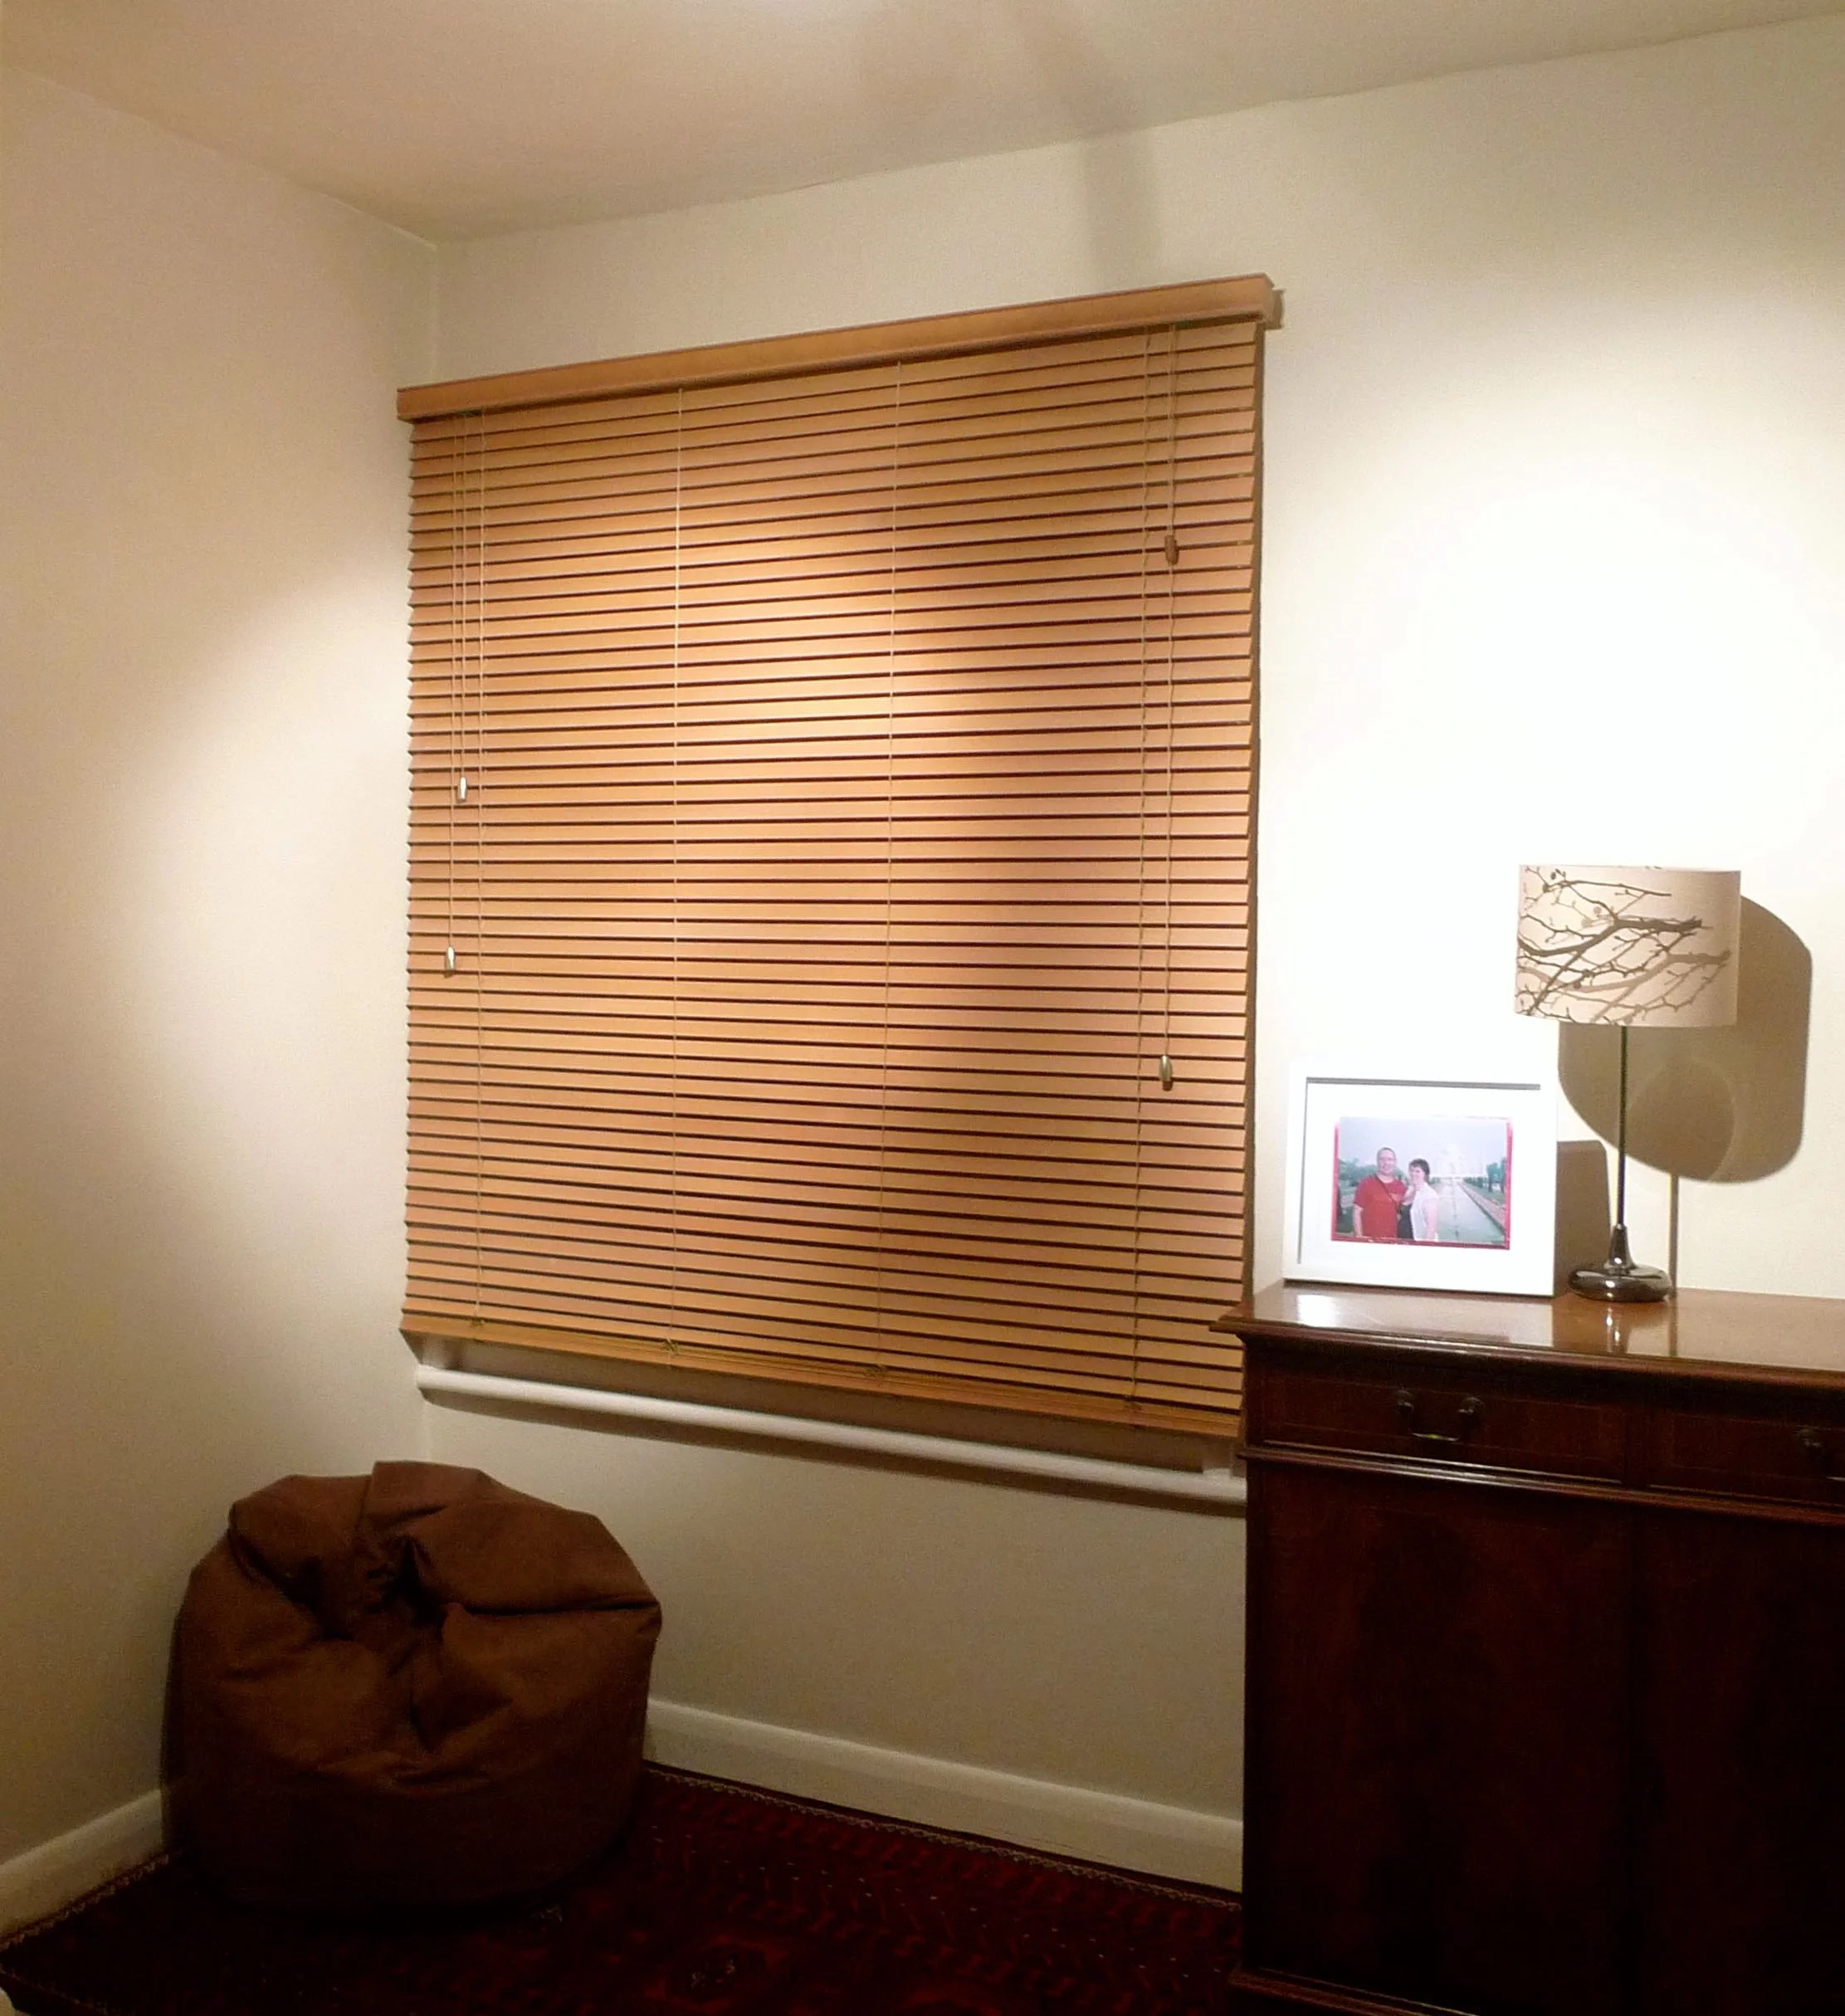
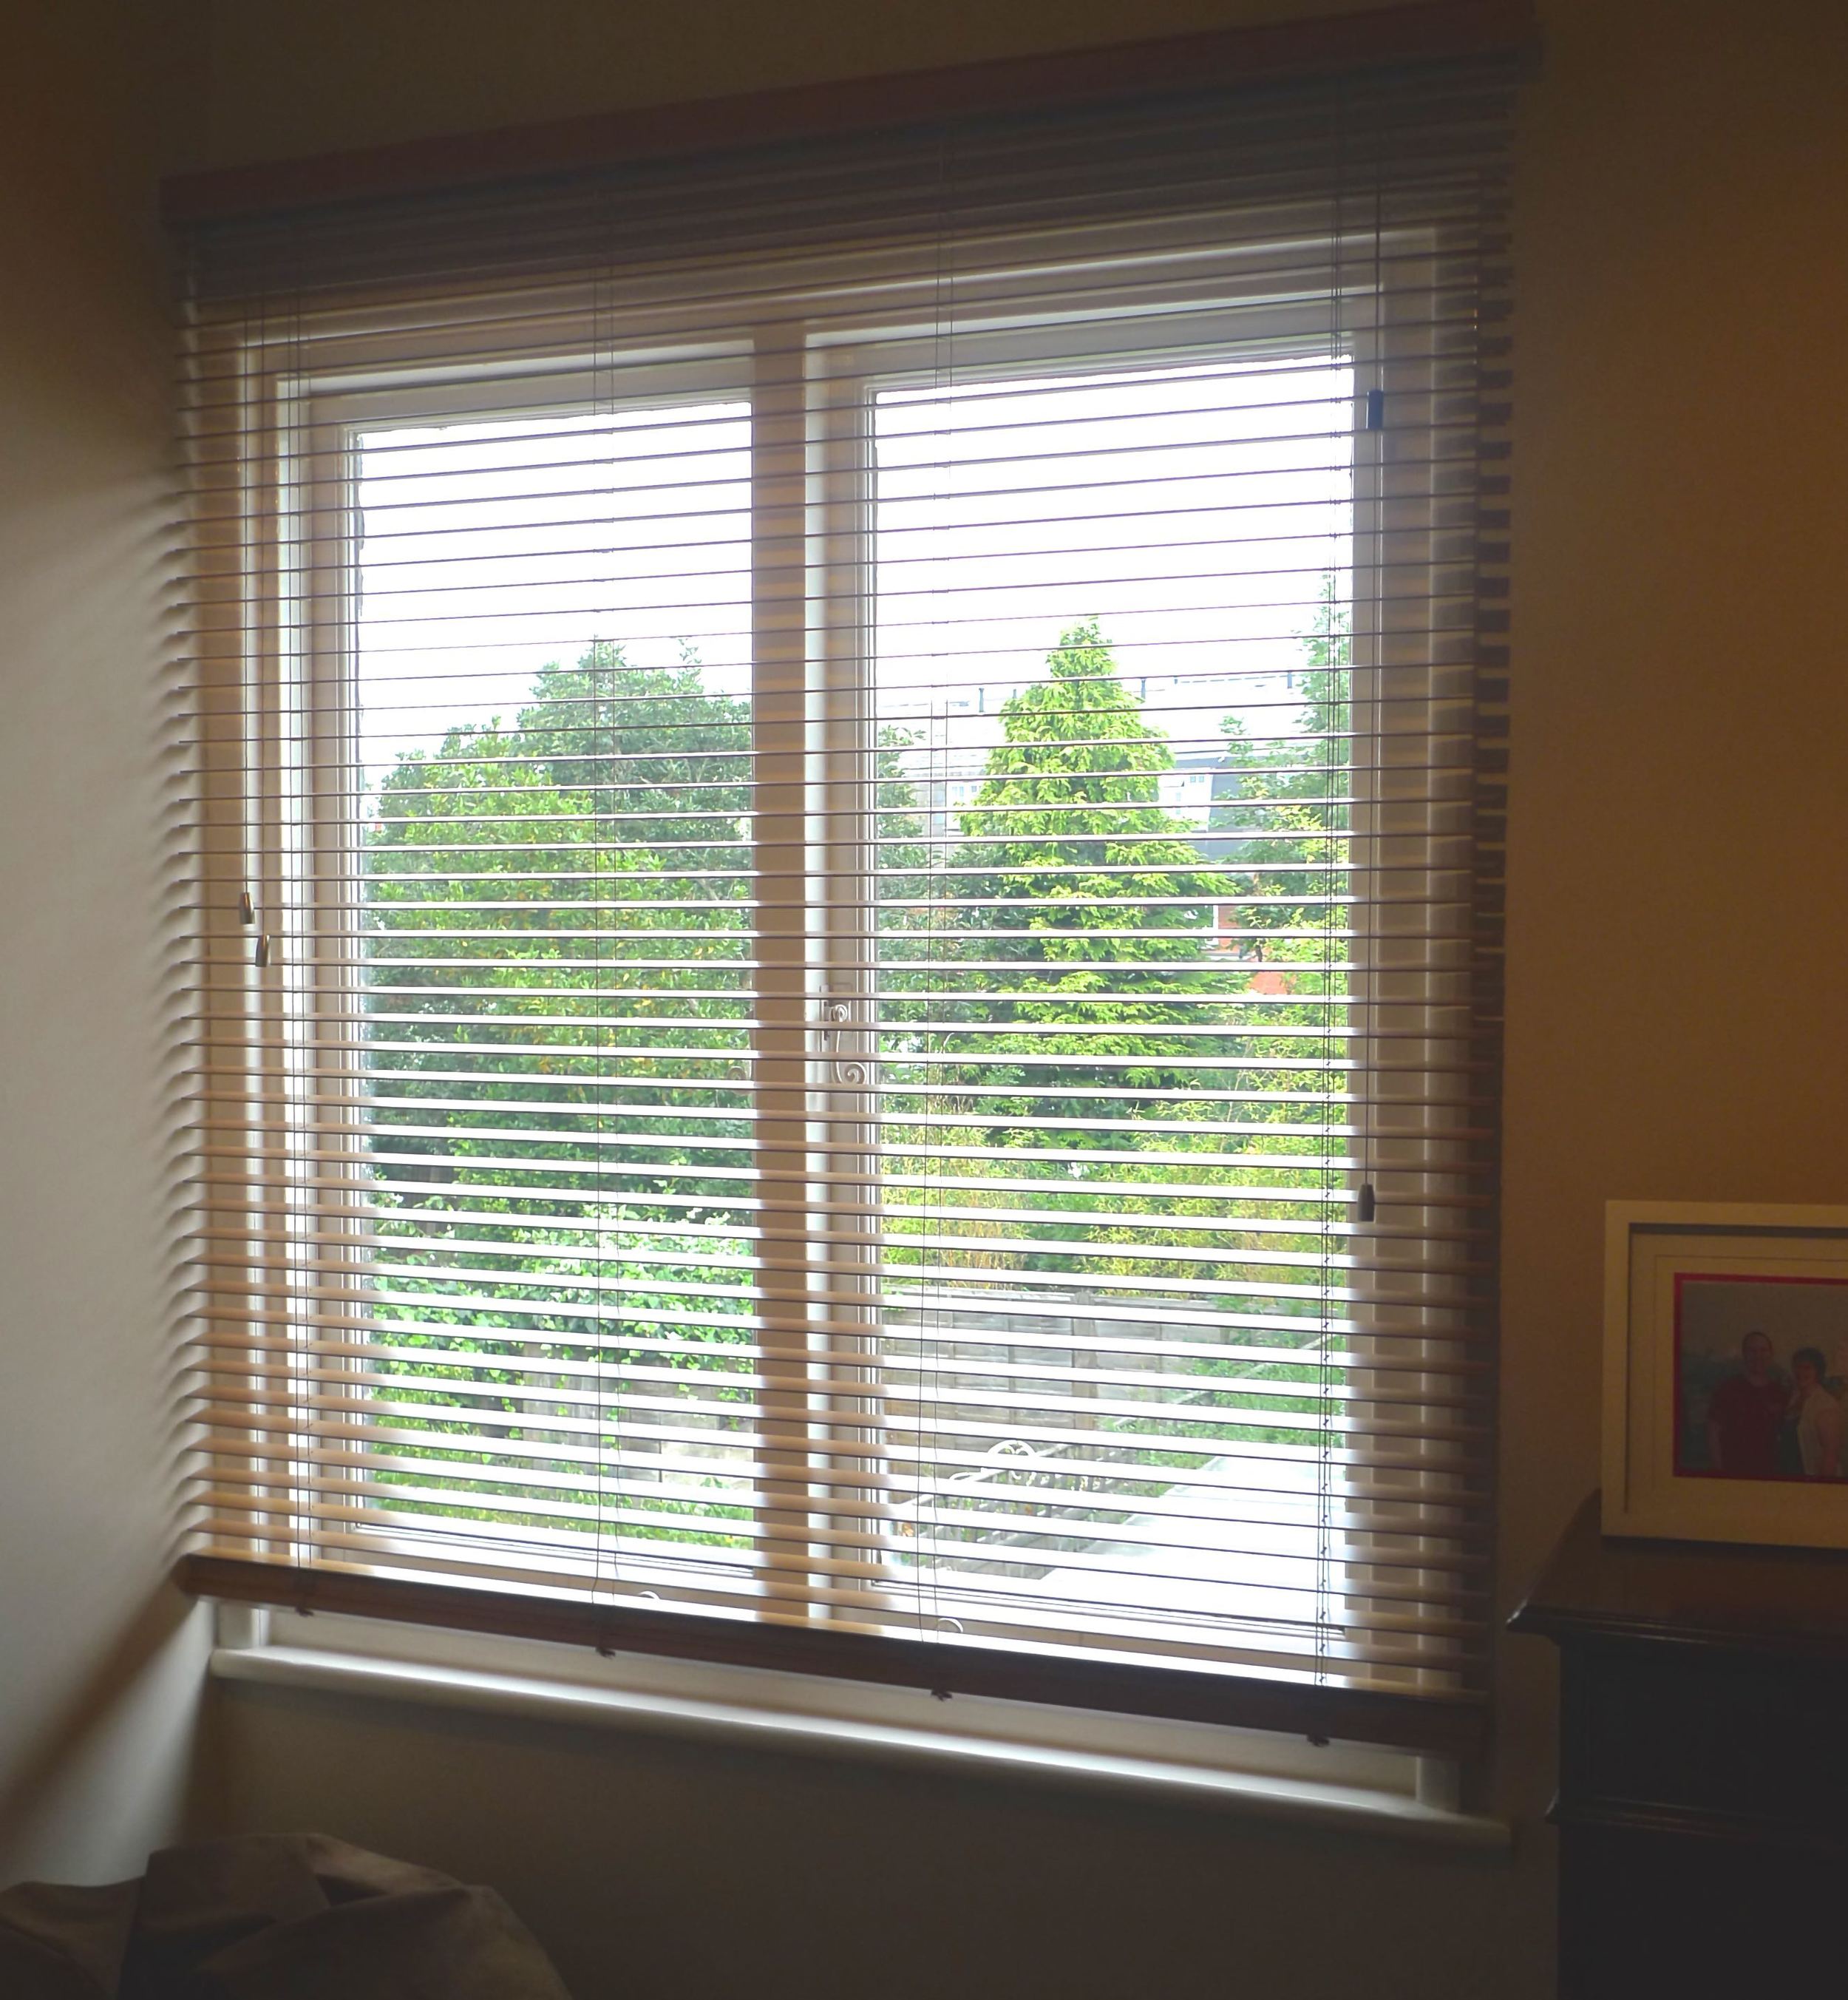
To finish the blind off neatly it comes with a matching wooden valance, which in effect hides the more functional header rail. We added the optional valance clips, which means it easily hooks onto the header rail and completes the blind. I'm really pleased with the results as it's given this room, which has never really had much time spent on it a real boost.
It's the little touches, like the matte nickel cord pulls that for me, set it apart from blinds I've had in the past.
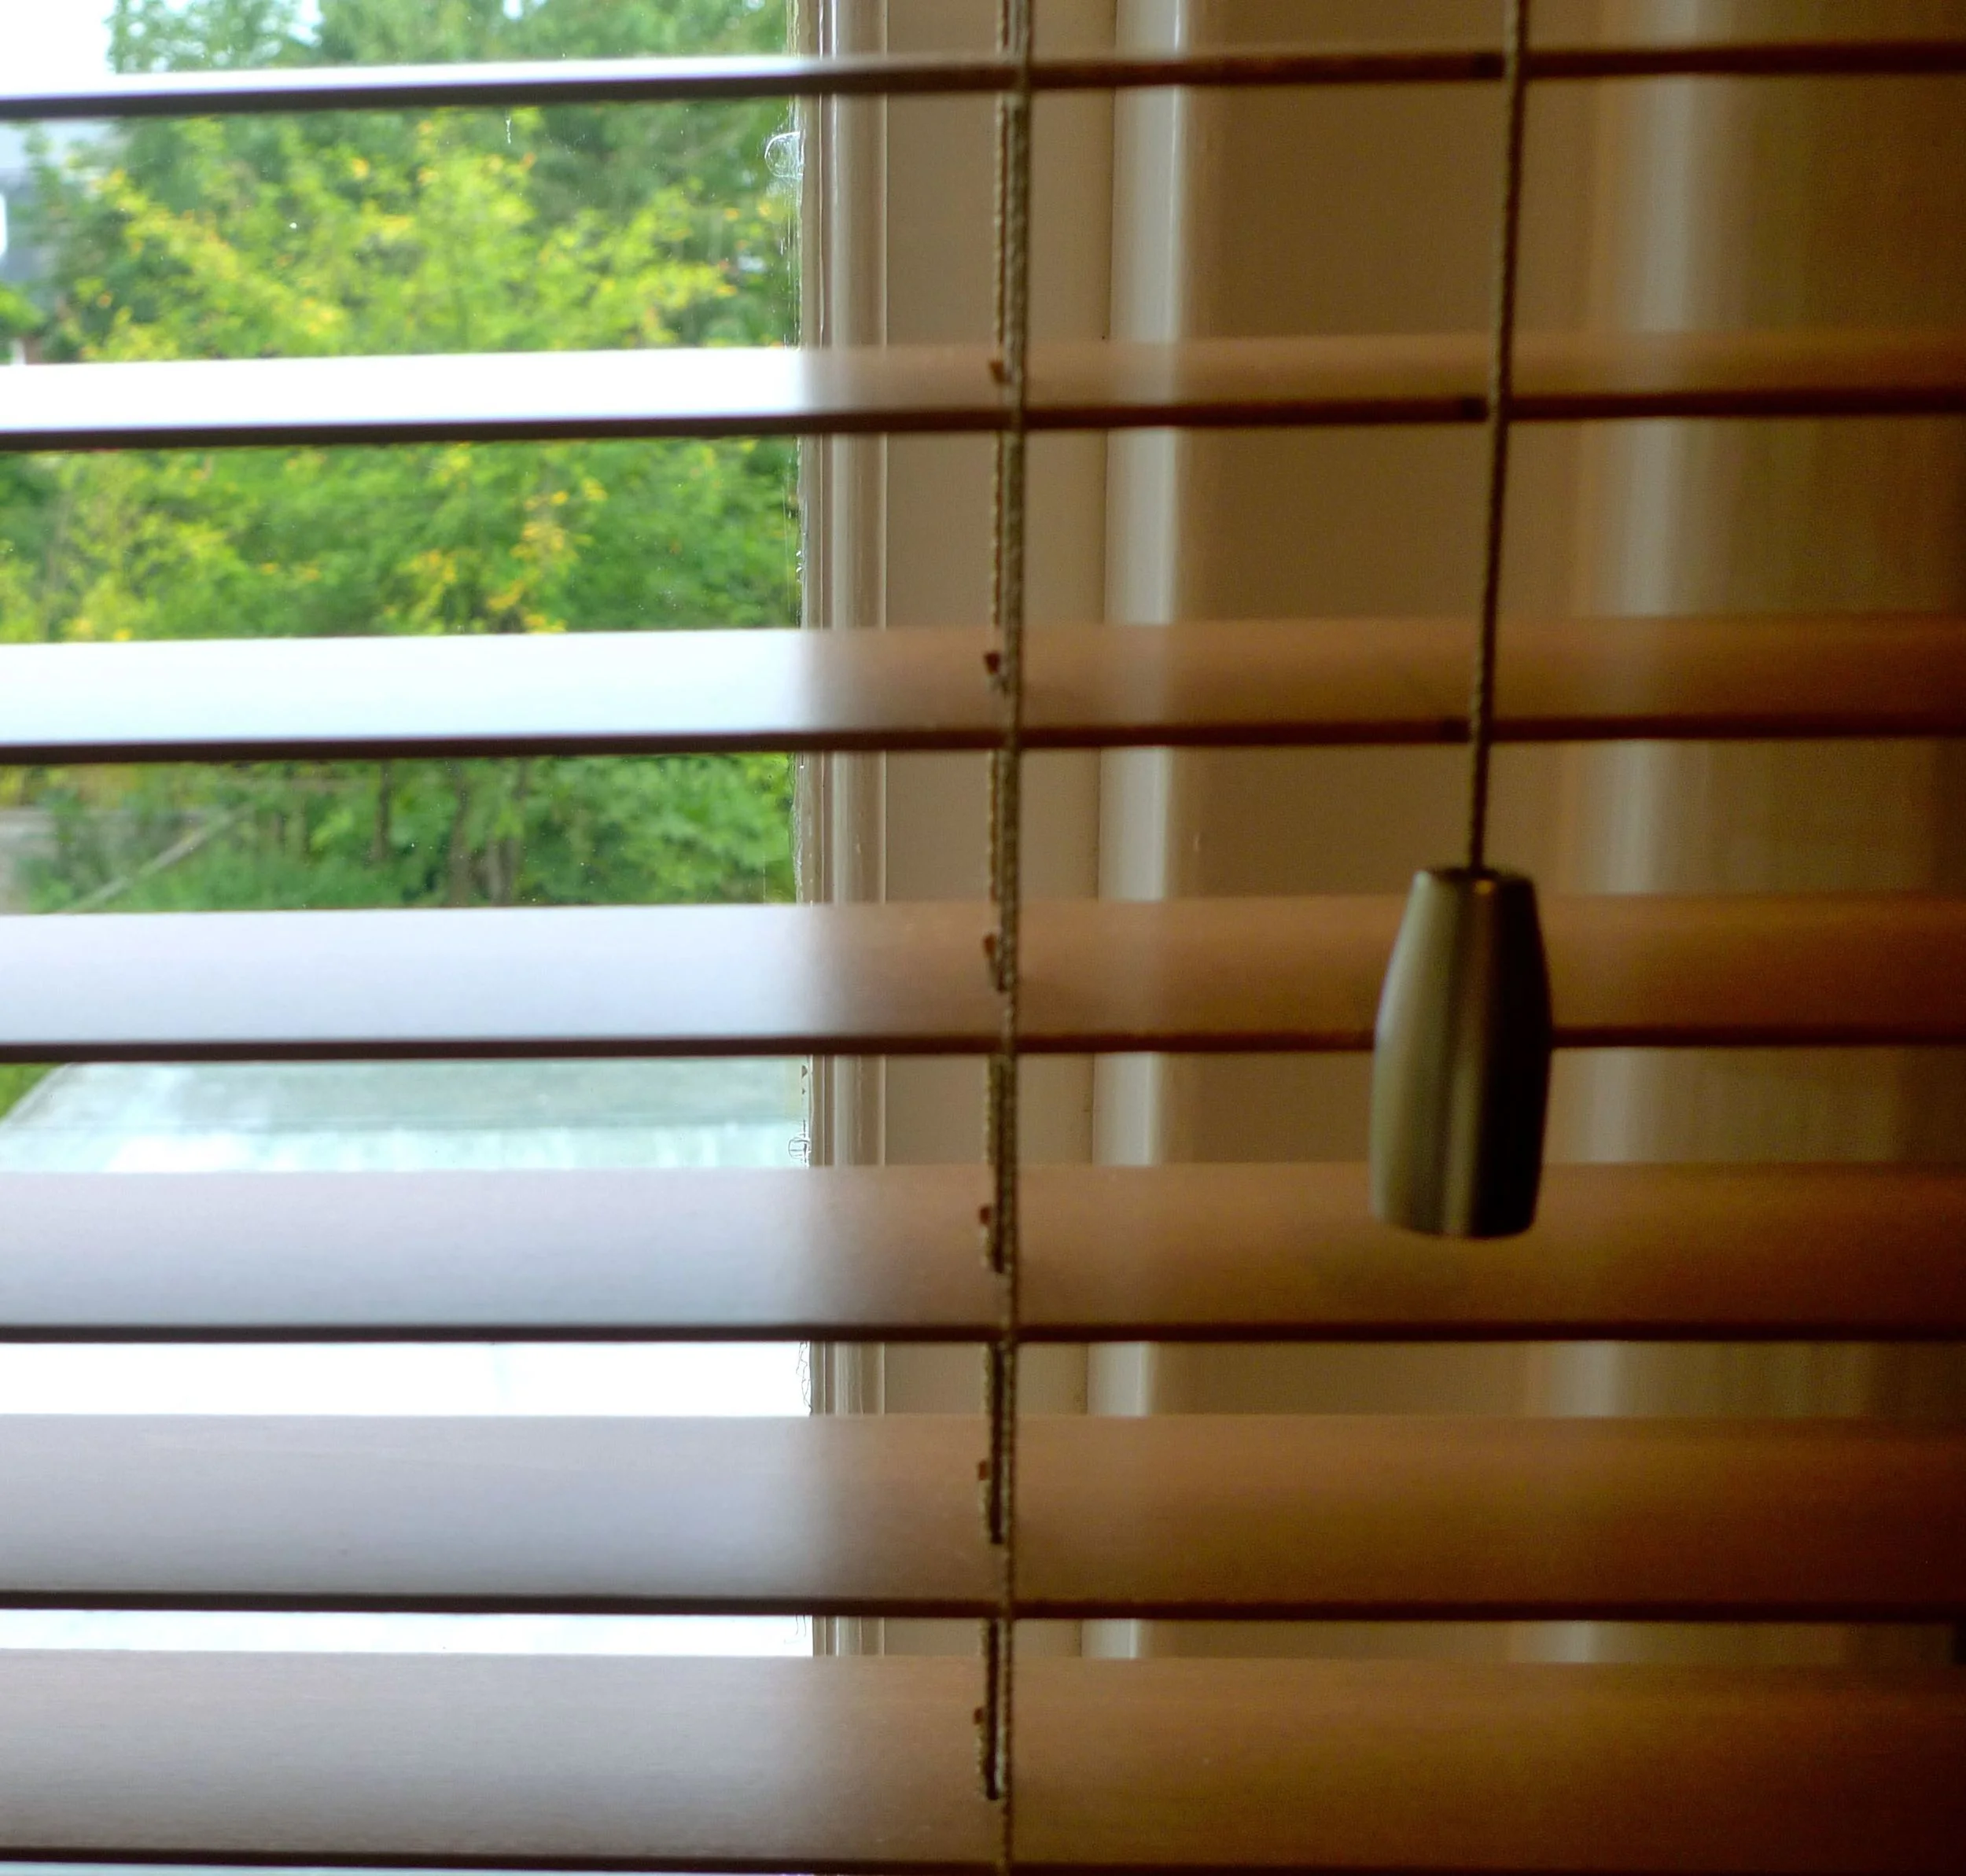
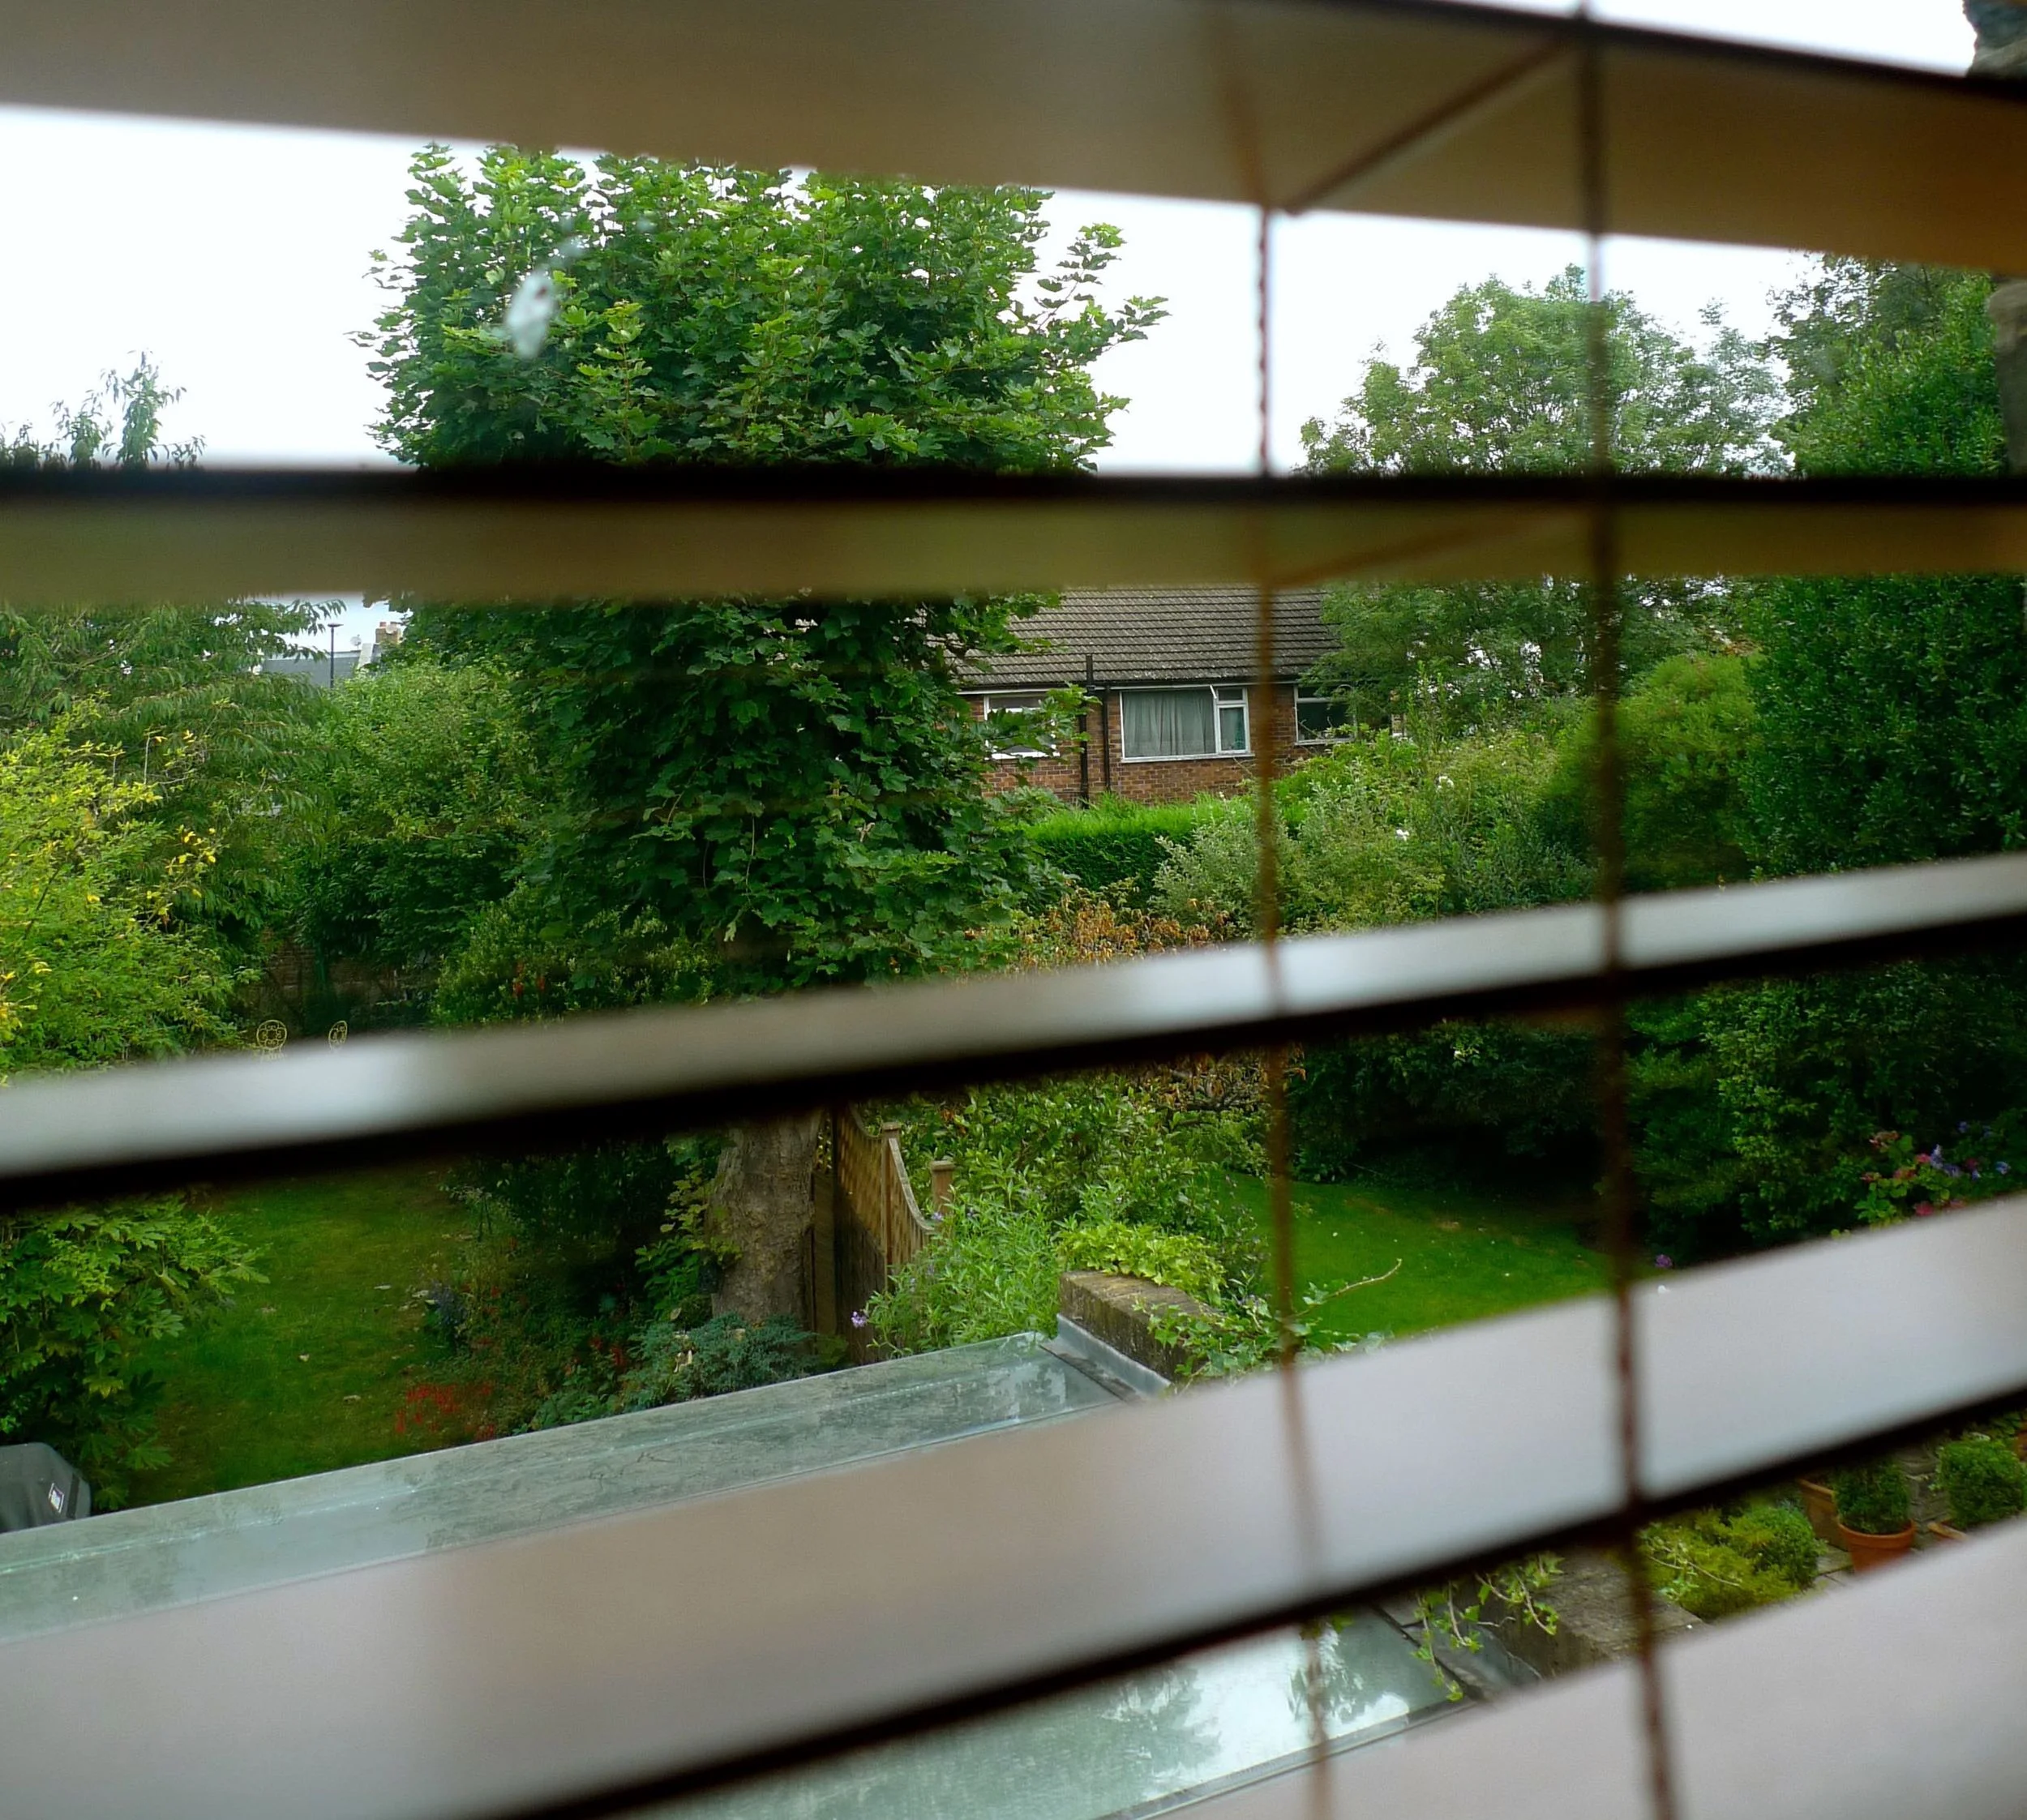
I think the blind looks as good up as it does down. It has the usual tilt options that you'd expect from a venetian blind and this will come into its own for those balmy hot days (if they ever return!) and help block the sun out and keep the room cool.
One thing I hadn't appreciated was the safety features that are built in as standard. The cord condenser (which you can see in the top right corner in the picture below) holds the cords to lower and raise the blind, if pressure is placed on this it breaks open so it's hard for anything, or anyone to get caught up in the cords. Clever hey?
In fact I'm so pleased with this blind, how smart it looks, how easy it was to put up and the helpful advice from Order Blinds, that I'm considering another one for our porch. So watch this space!
Disclosure: I received a voucher to purchase this blind for the purposes of this review, however all words and opinions are my own.