


Today I'm sharing another Easter craft, and another that I saw on Pinterest and fancied trying myself. Like the pom-pom bunnies and chicks I shared yesterday I looked at the original post and was inspired. So I decided to make a mini-version and you might have already spotted it in my Easter Tea Party post on Sunday.
I popped down to my local craft superstore in the hope that I'd be able to buy an egg-shaped die to use in my die-cutting machine, but it was not to be. But while I was there I did manage to pick up some pretty scrapbook paper, a craft knife, some Easter ribbon and a square die as consolation. They're dangerous places, aren't they?
So armed with my new pretty paper, a pair of scissors and a 3 inch egg template I was ready to start.
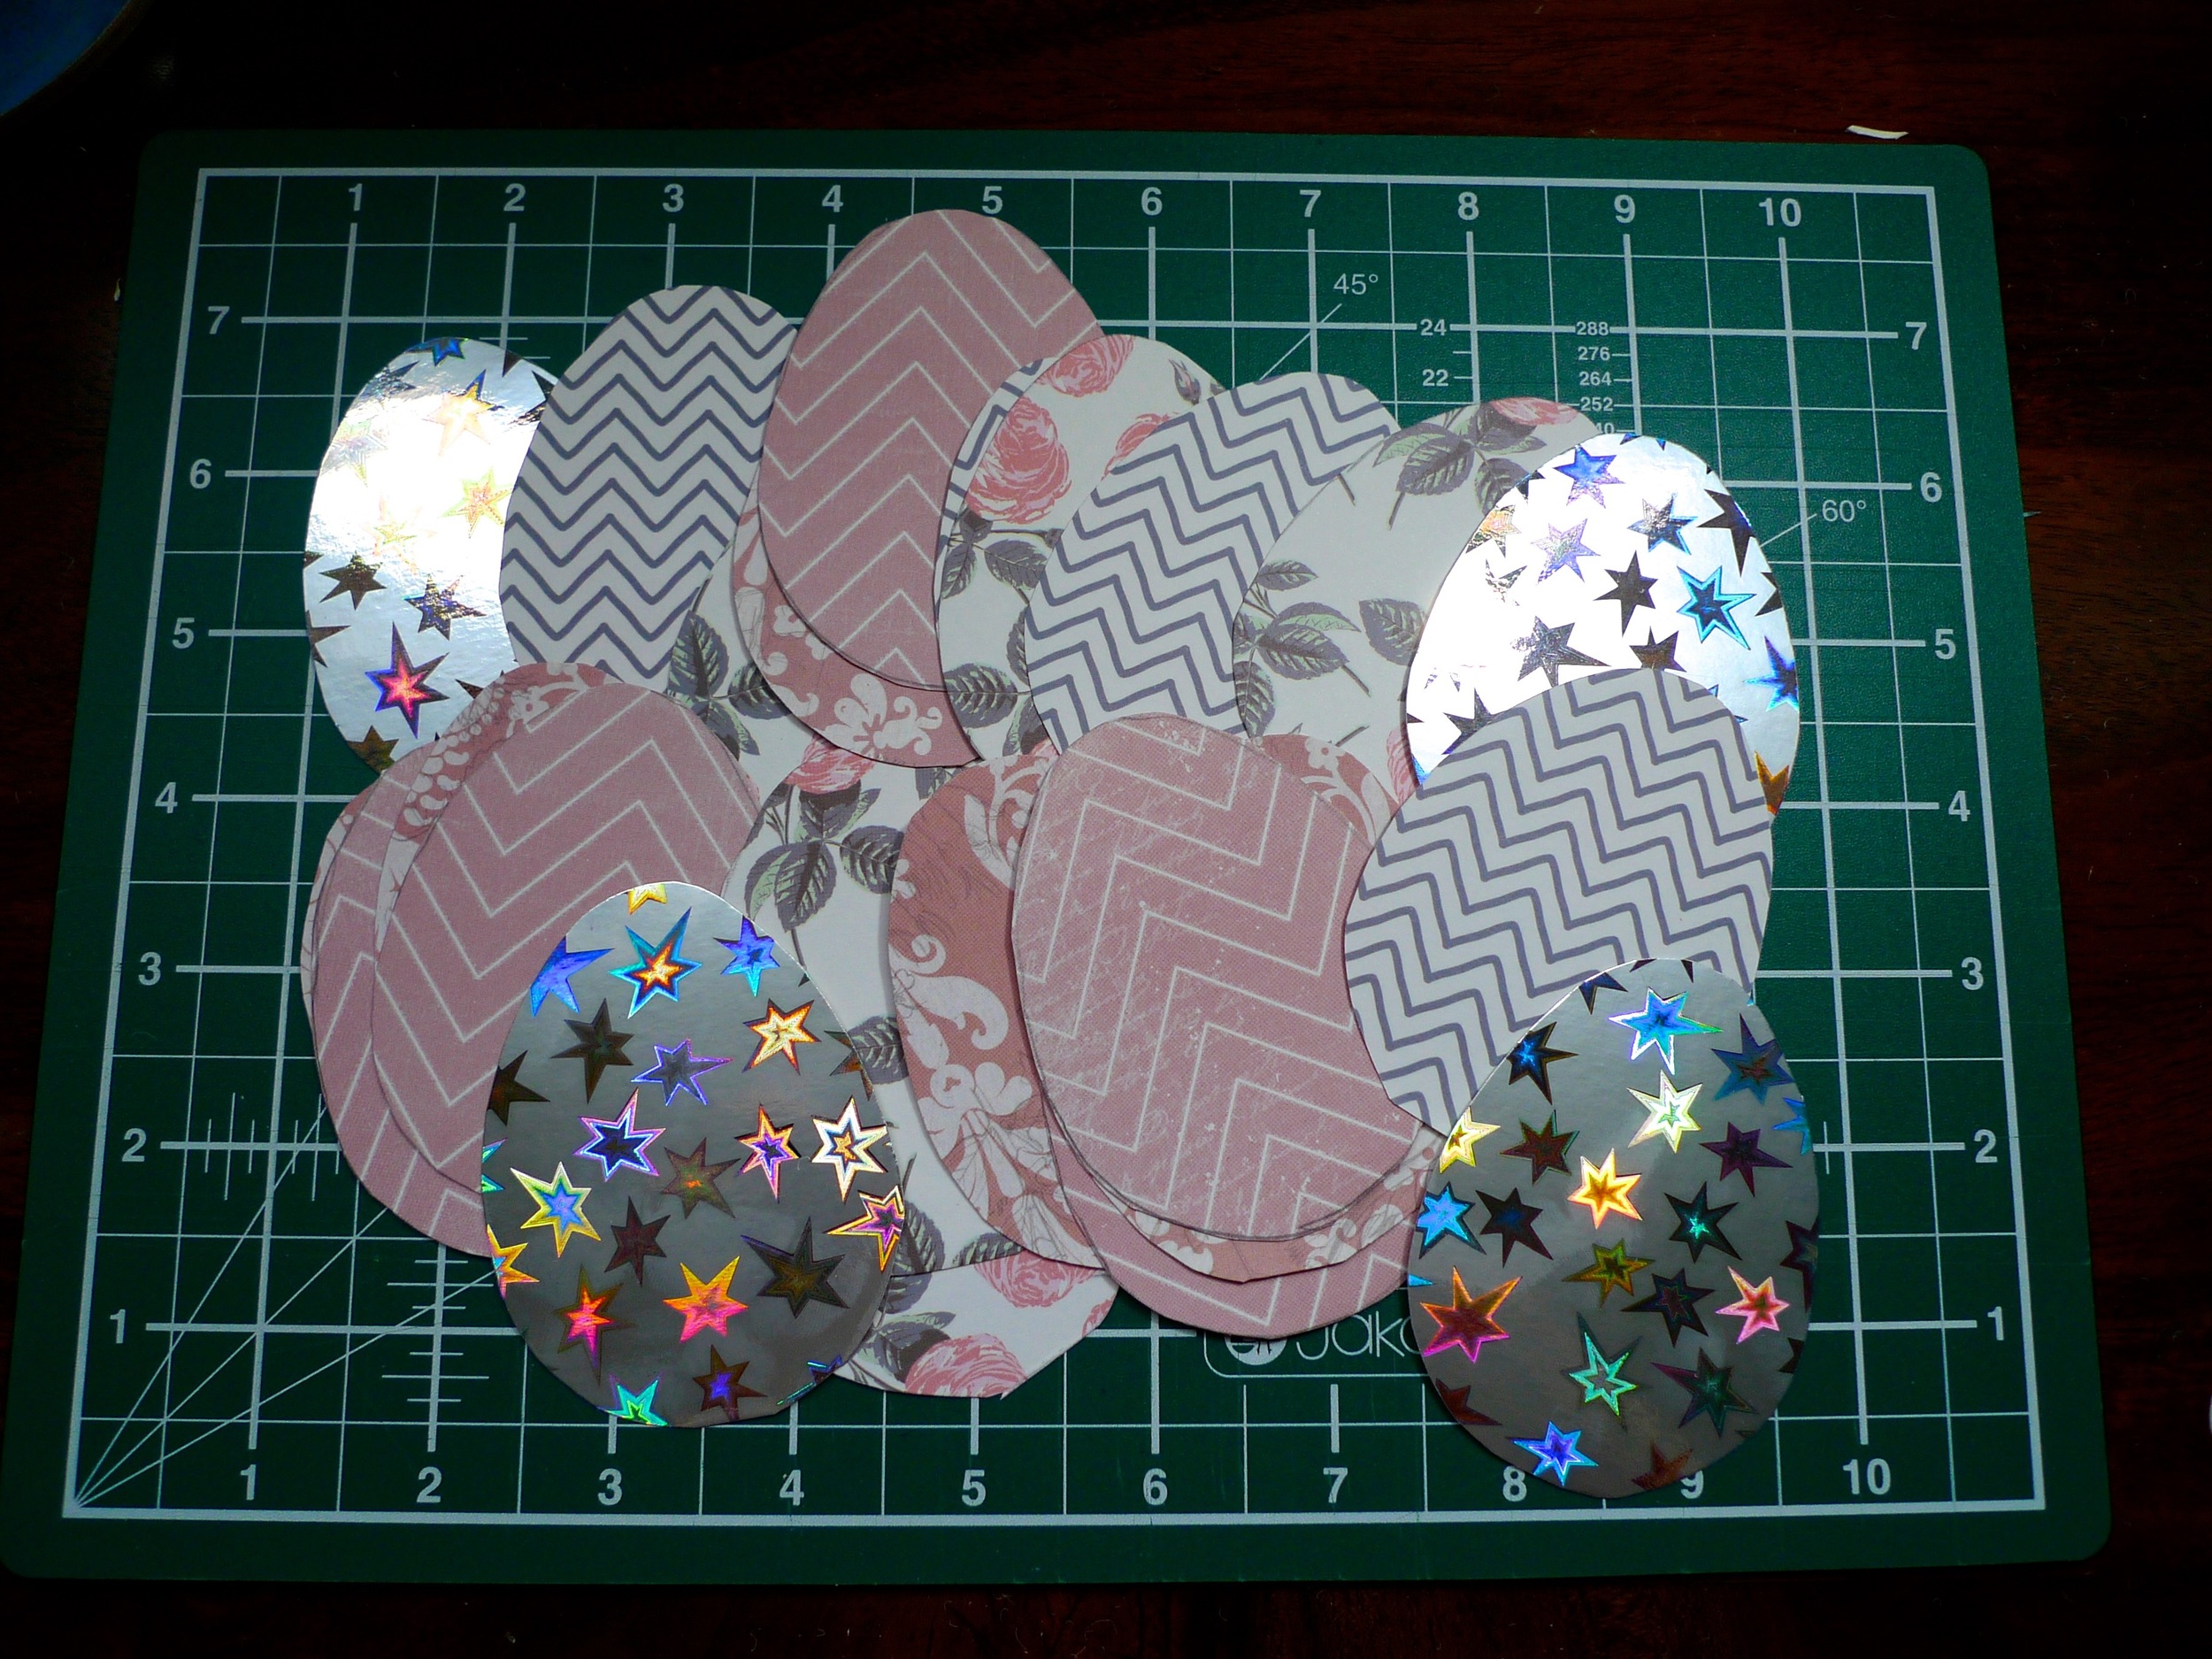
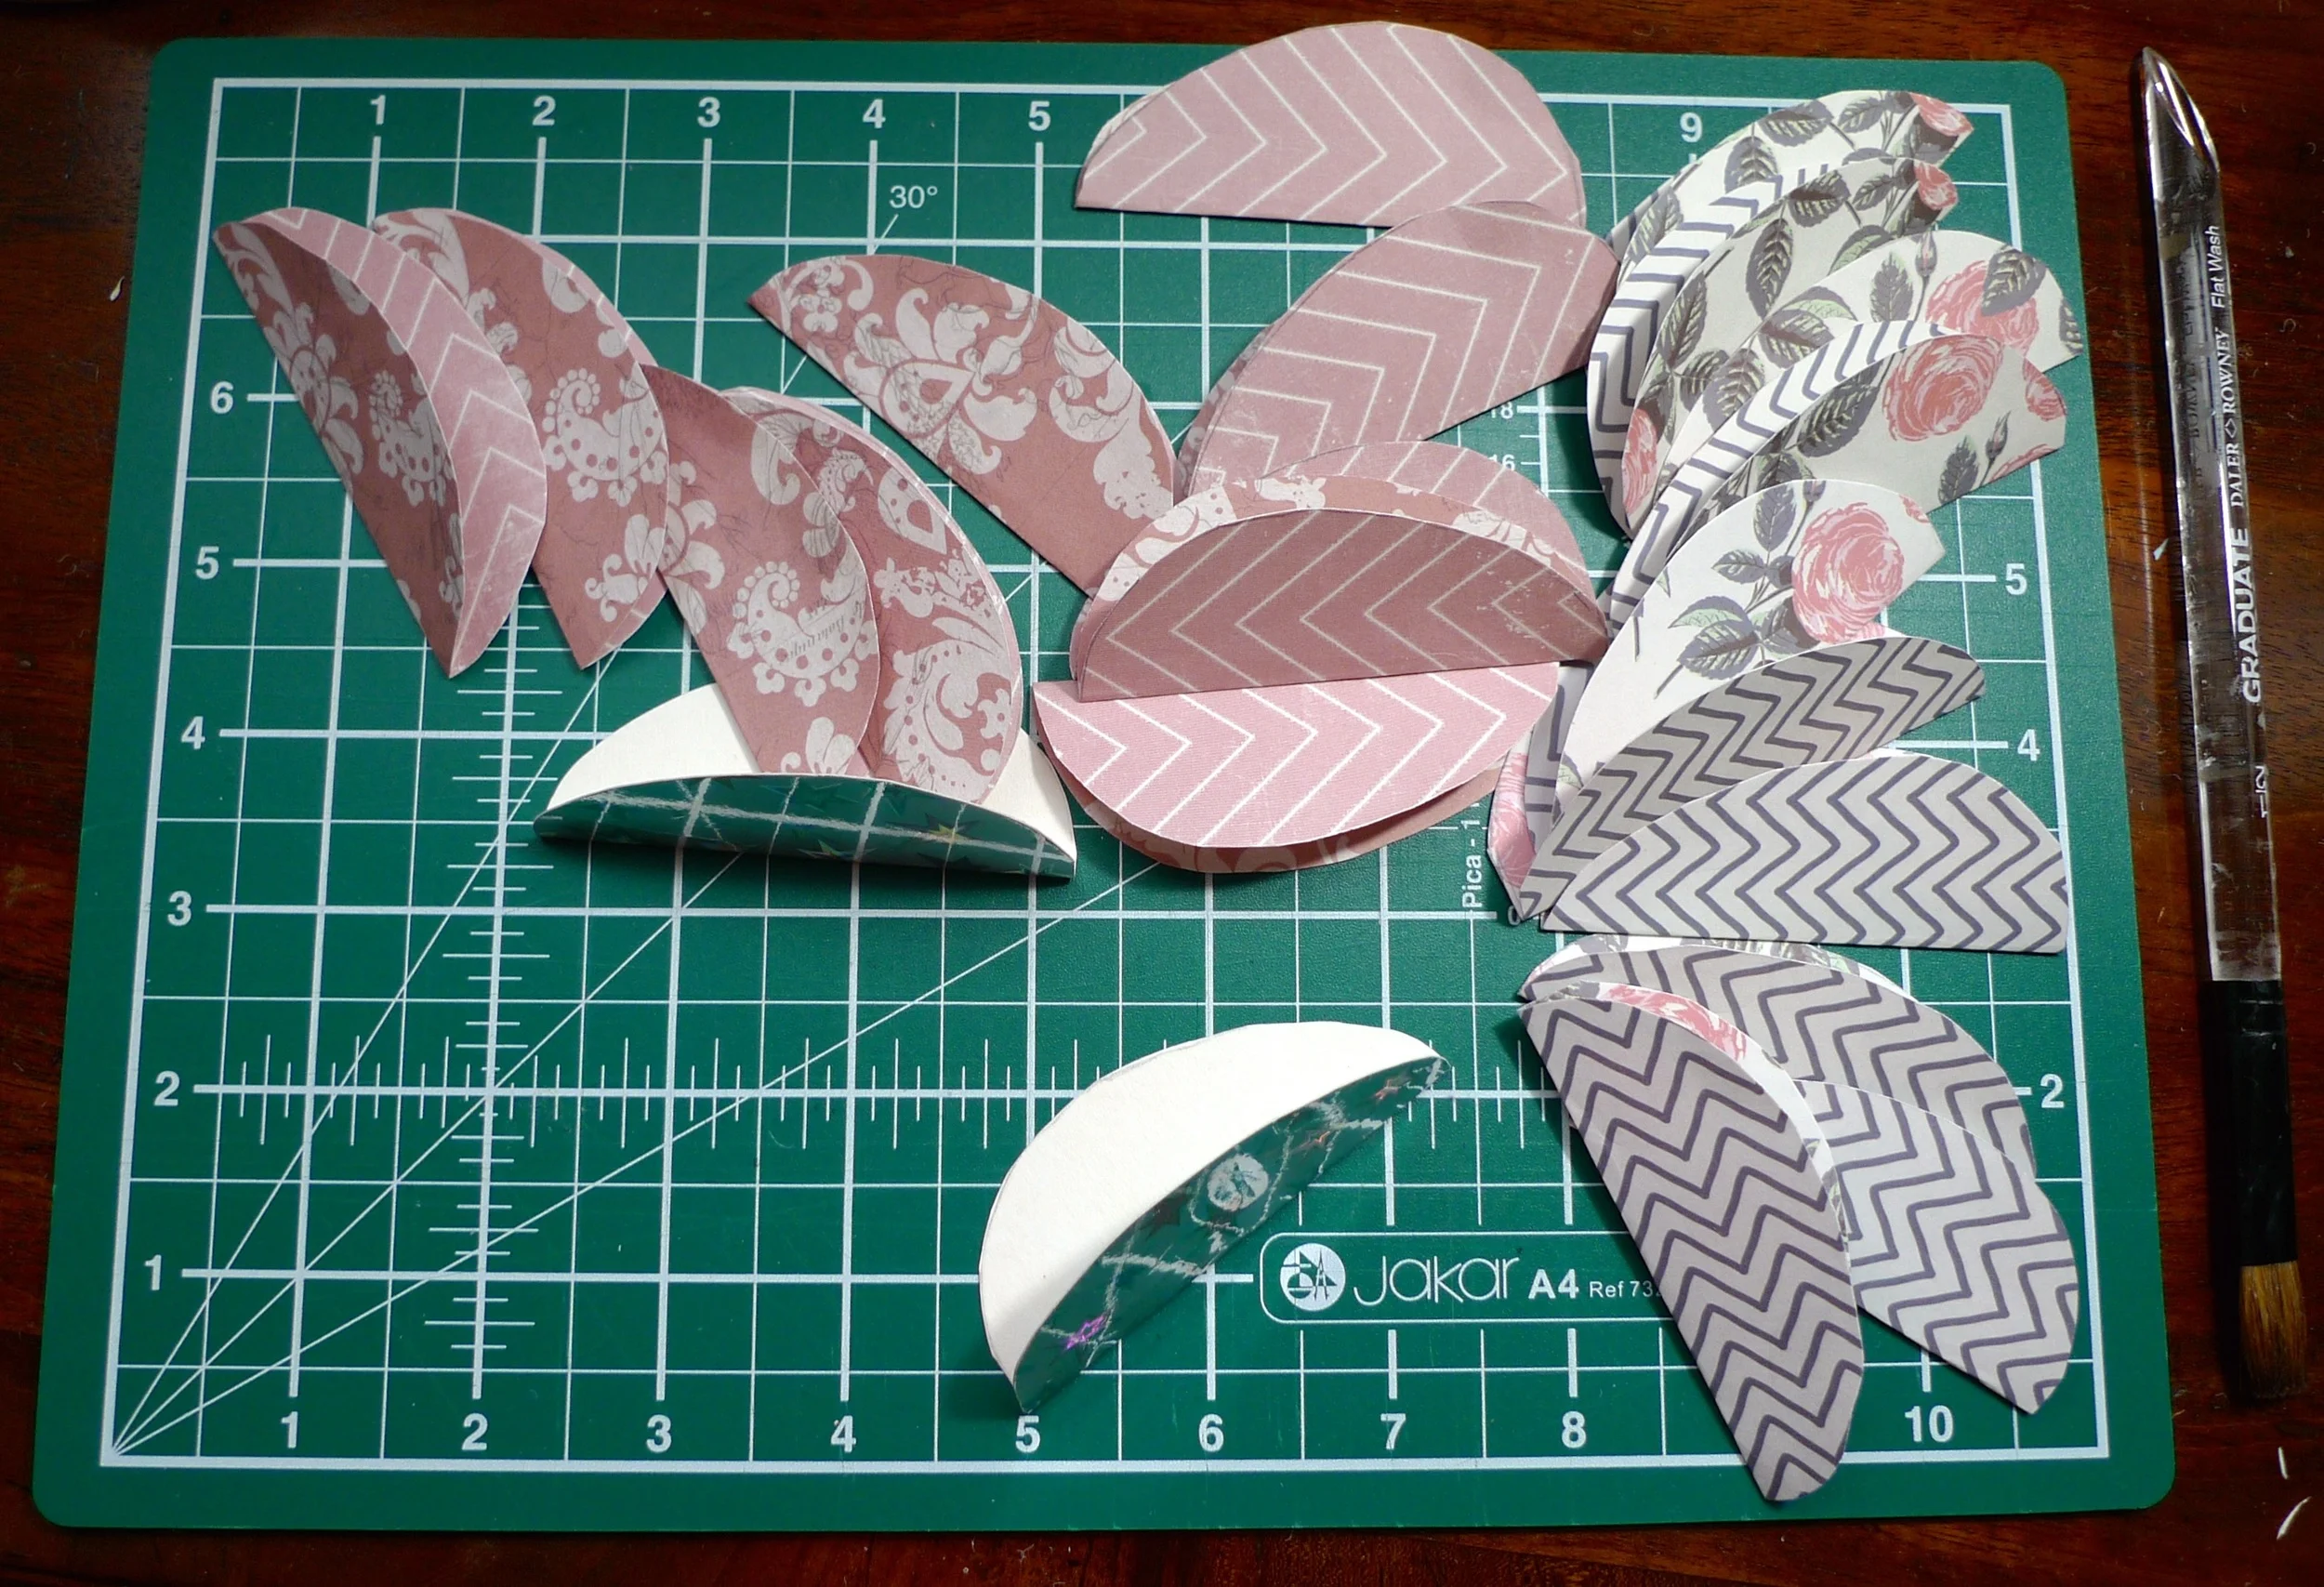
1. The first step is easy enough and you fold your egg shapes in half. This caused me some dilemmas as while most of the new pretty paper I'd chosen had a pattern on both sides, the hologram card that I wanted to use only had the pattern on one side. In the end I folded the single side patterned card with the plain side on the outside - this seems to have worked, but next time I think I'd use all double sided paper/card.
2. Then it's time to start sticking!
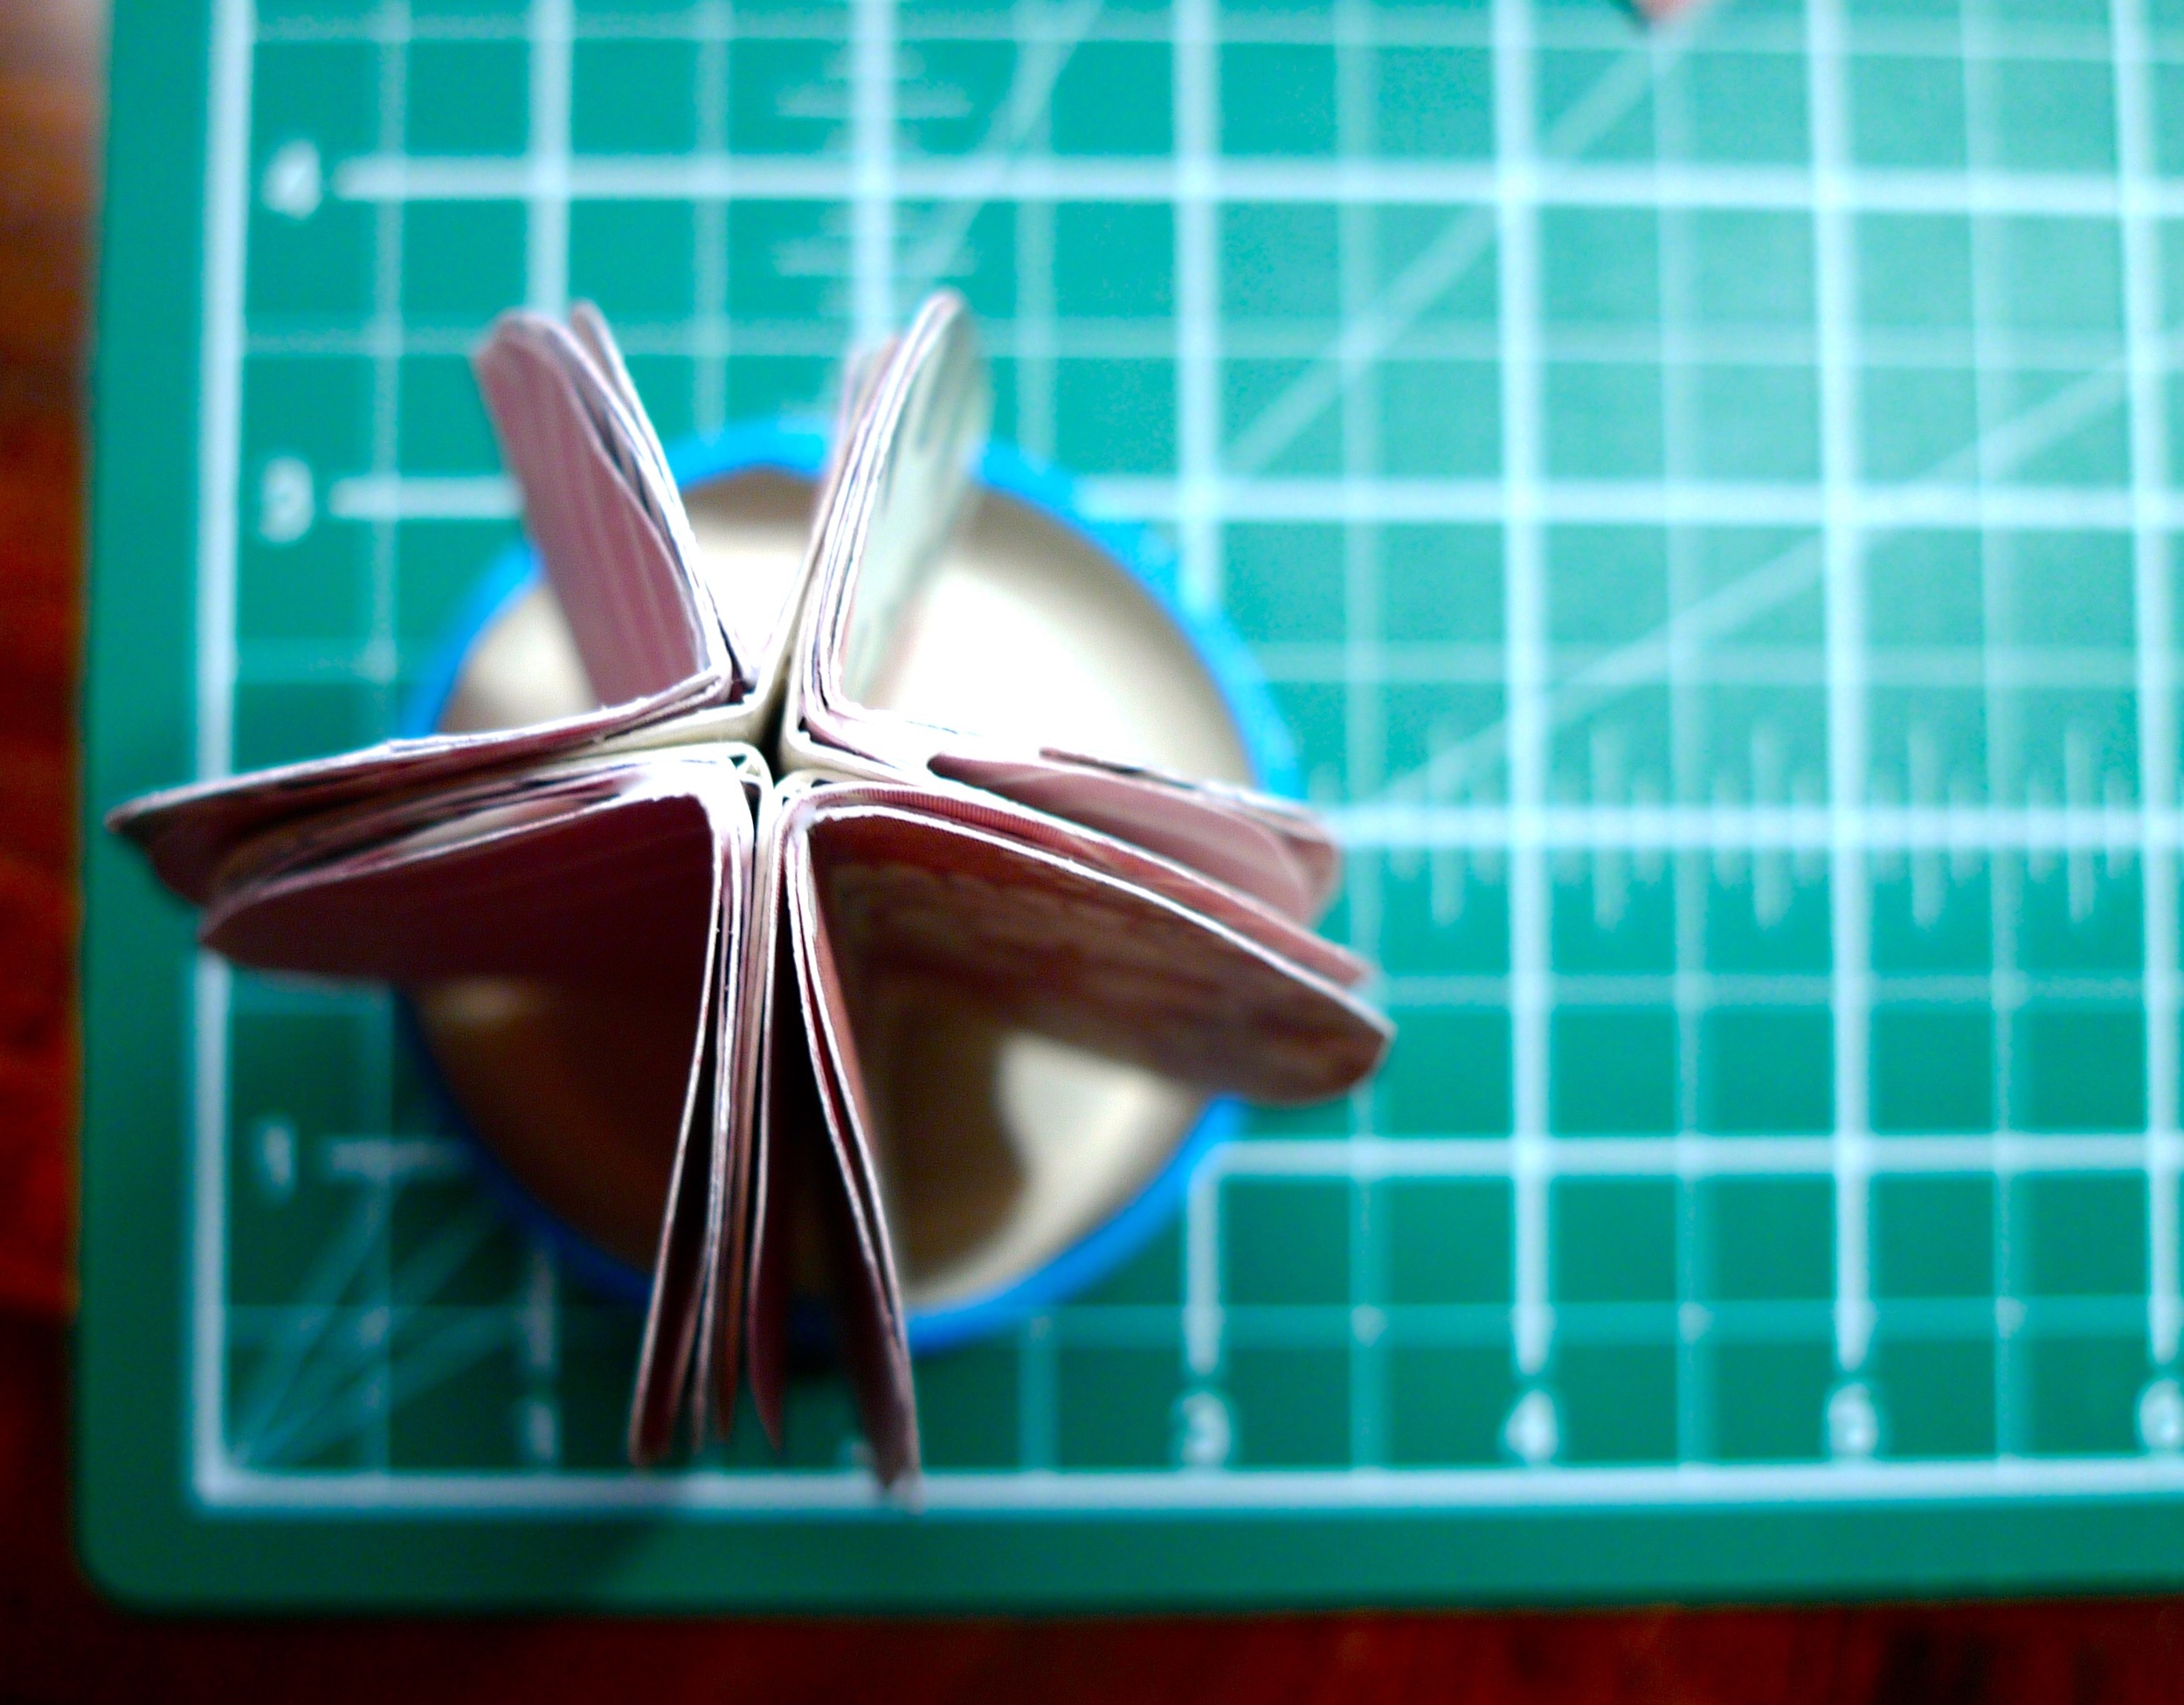
I started with the hologram card and added glue to the fold (on the plain side) and stuck these together to form the basis of my structure. In reality this meant that I don't see much of the hologram card, but as it was the heavier grade I wanted that spaced equally throughout my egg.
3. Then you keep adding more of the folded egg shapes. Make sure you only glue the fold, or else you won't get the fan shape that looks so good. The tip to stand your egg as you build it in the lid of the jar, is a good one - definitely do this, it makes it much easier!
4. It doesn't take long for the egg to take shape. Looking back I'd add the layers more slowly once the glue had dried a little next time I make one, as I think that might make it easier and reduce the amount of pressing together needed.
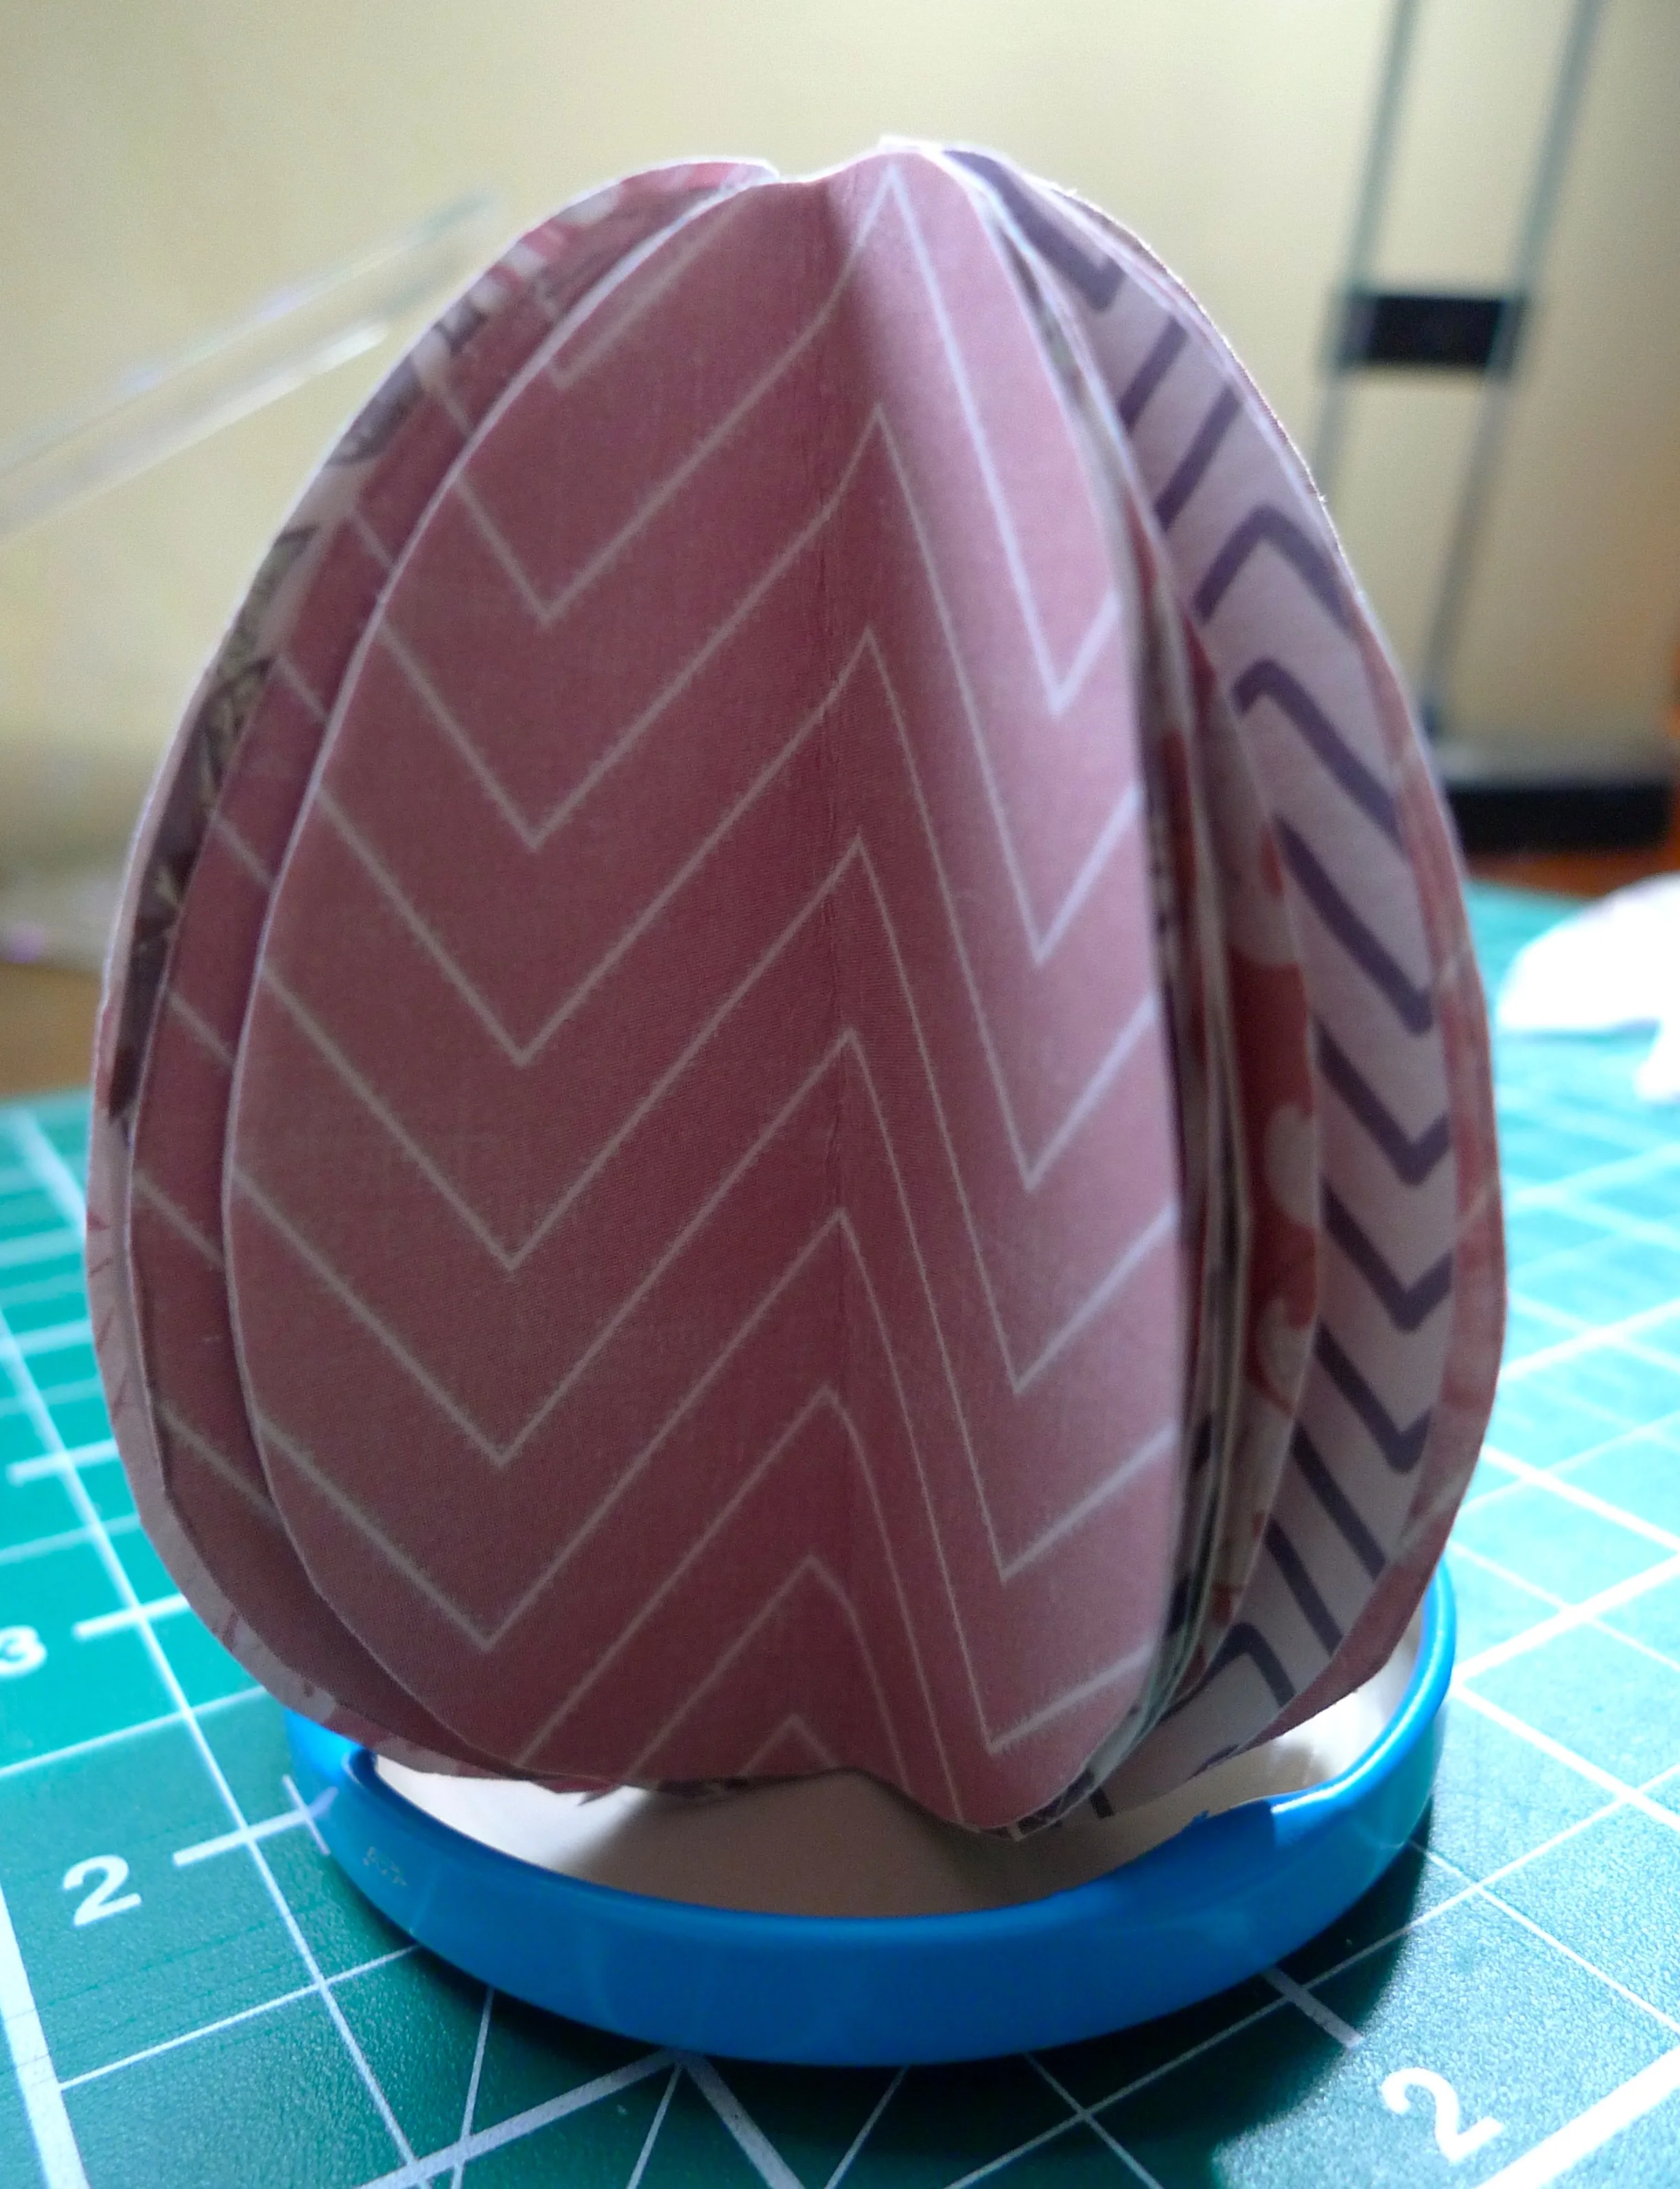
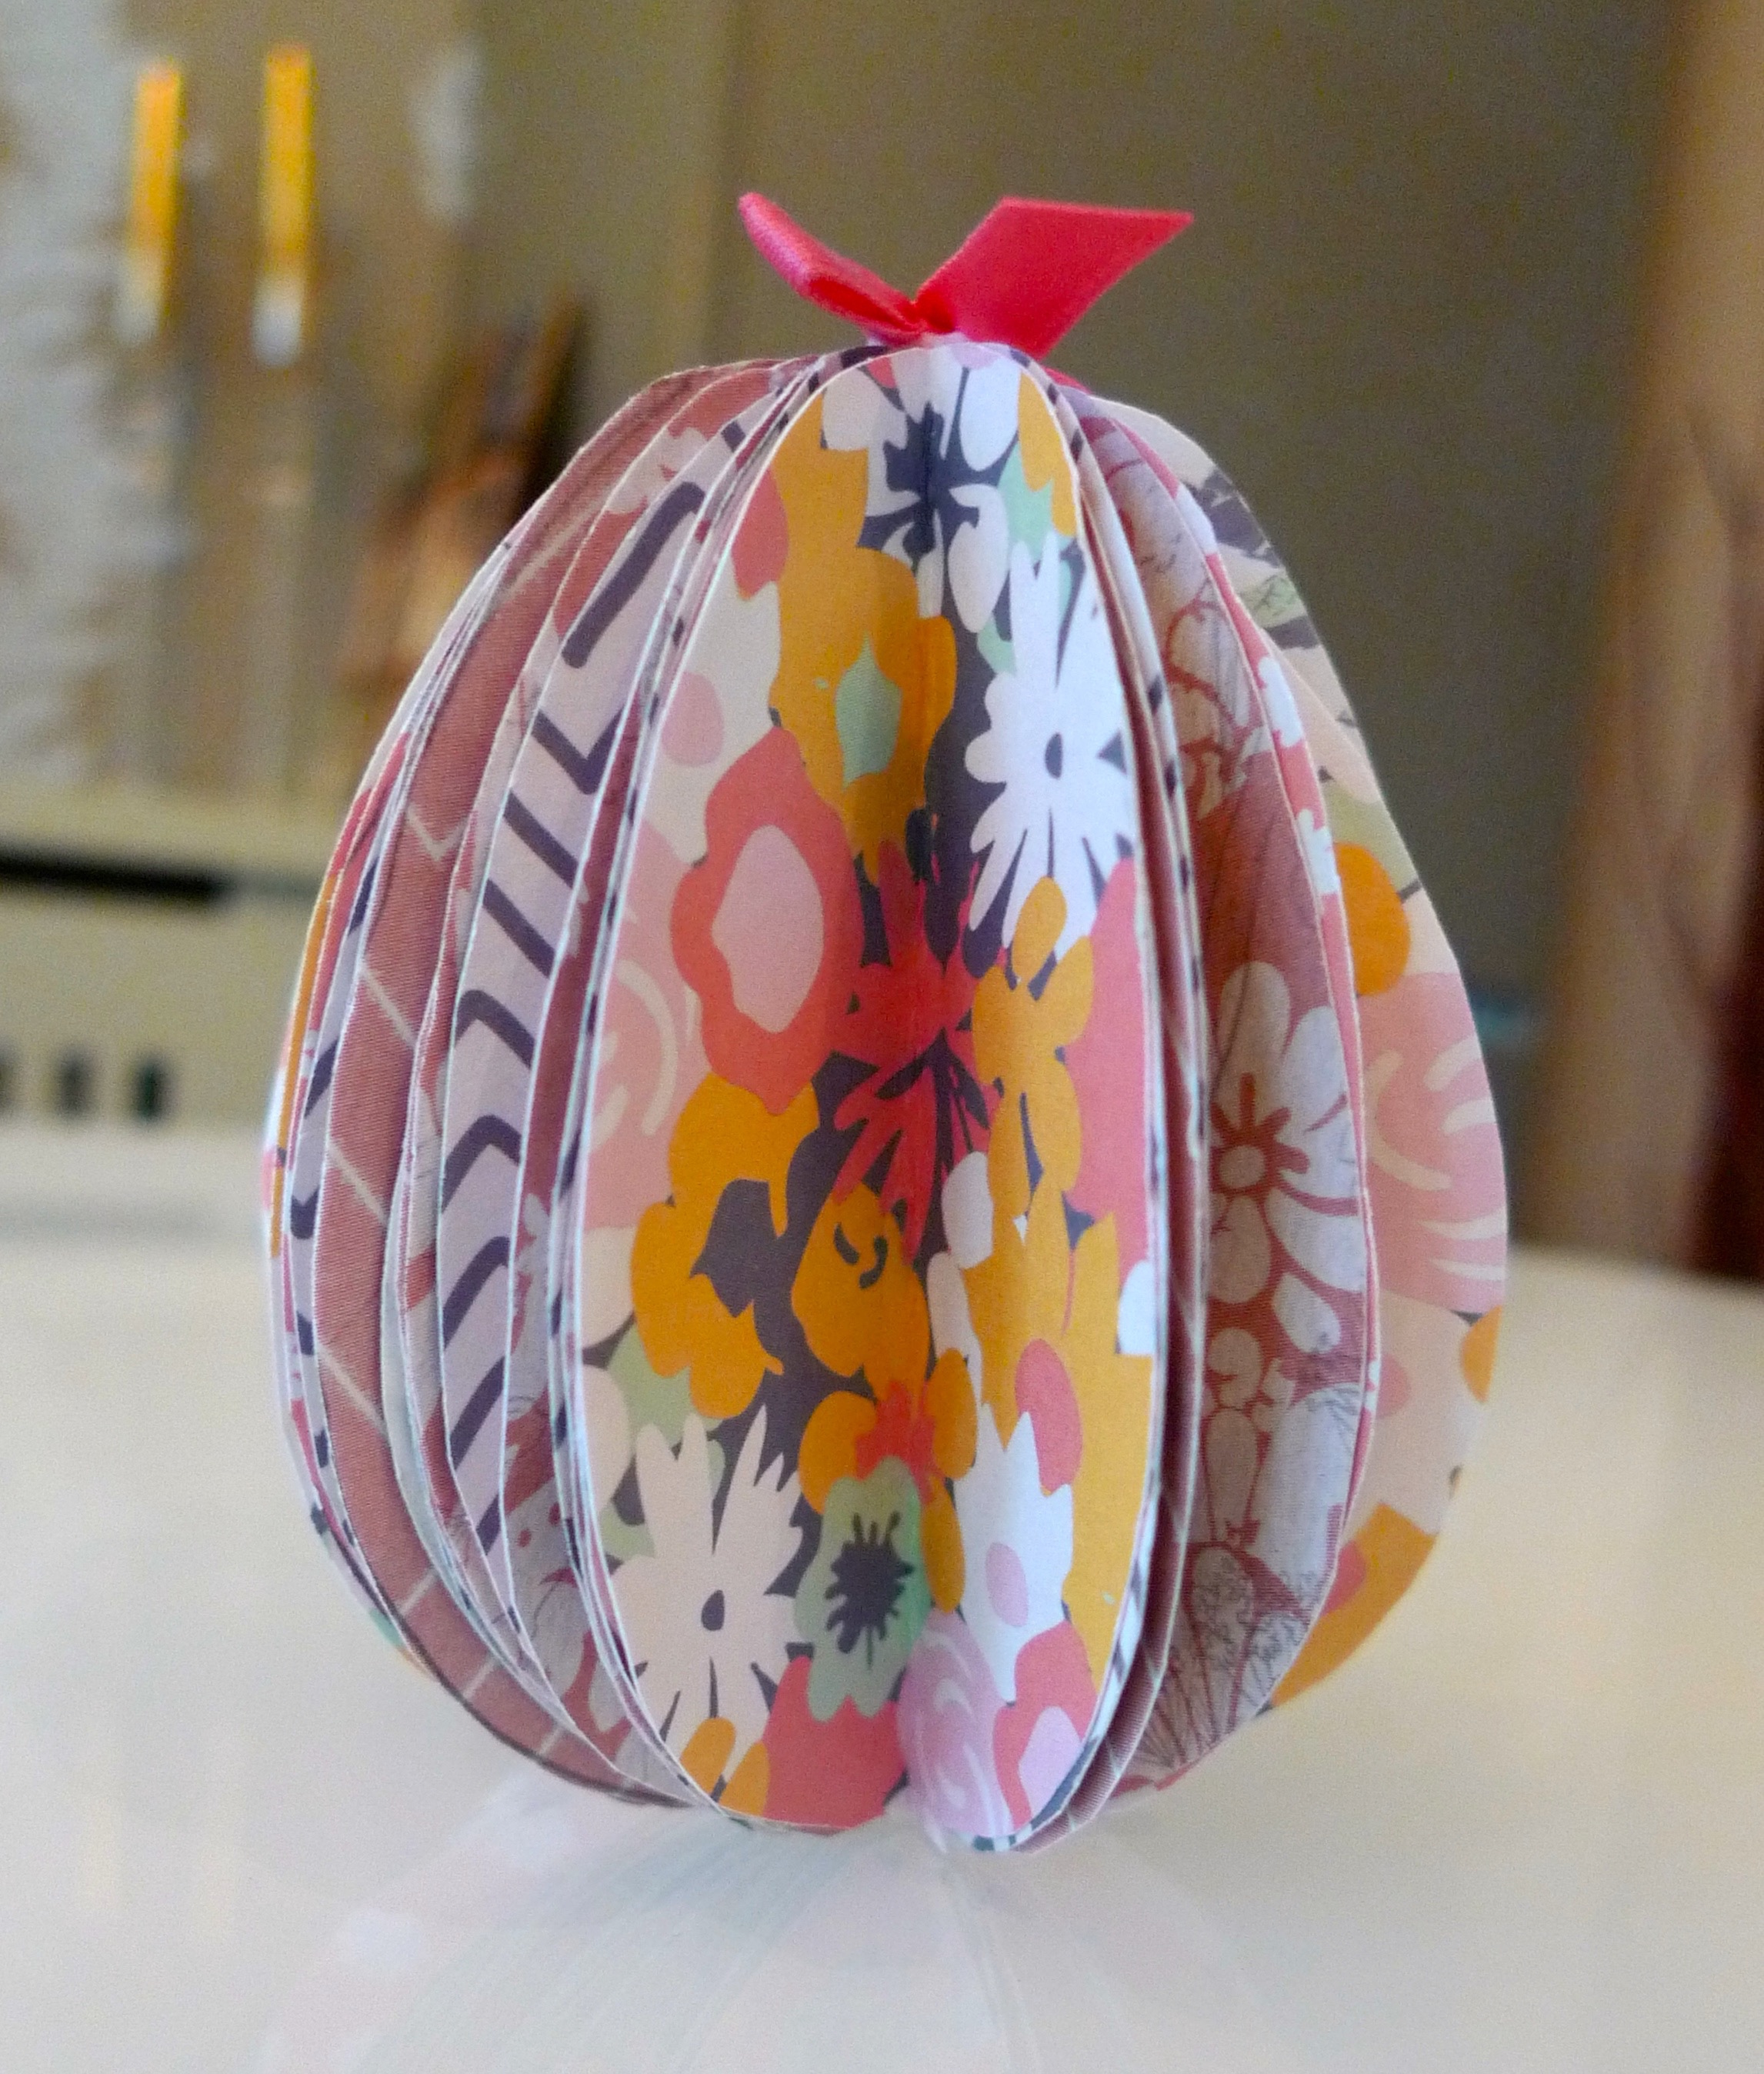
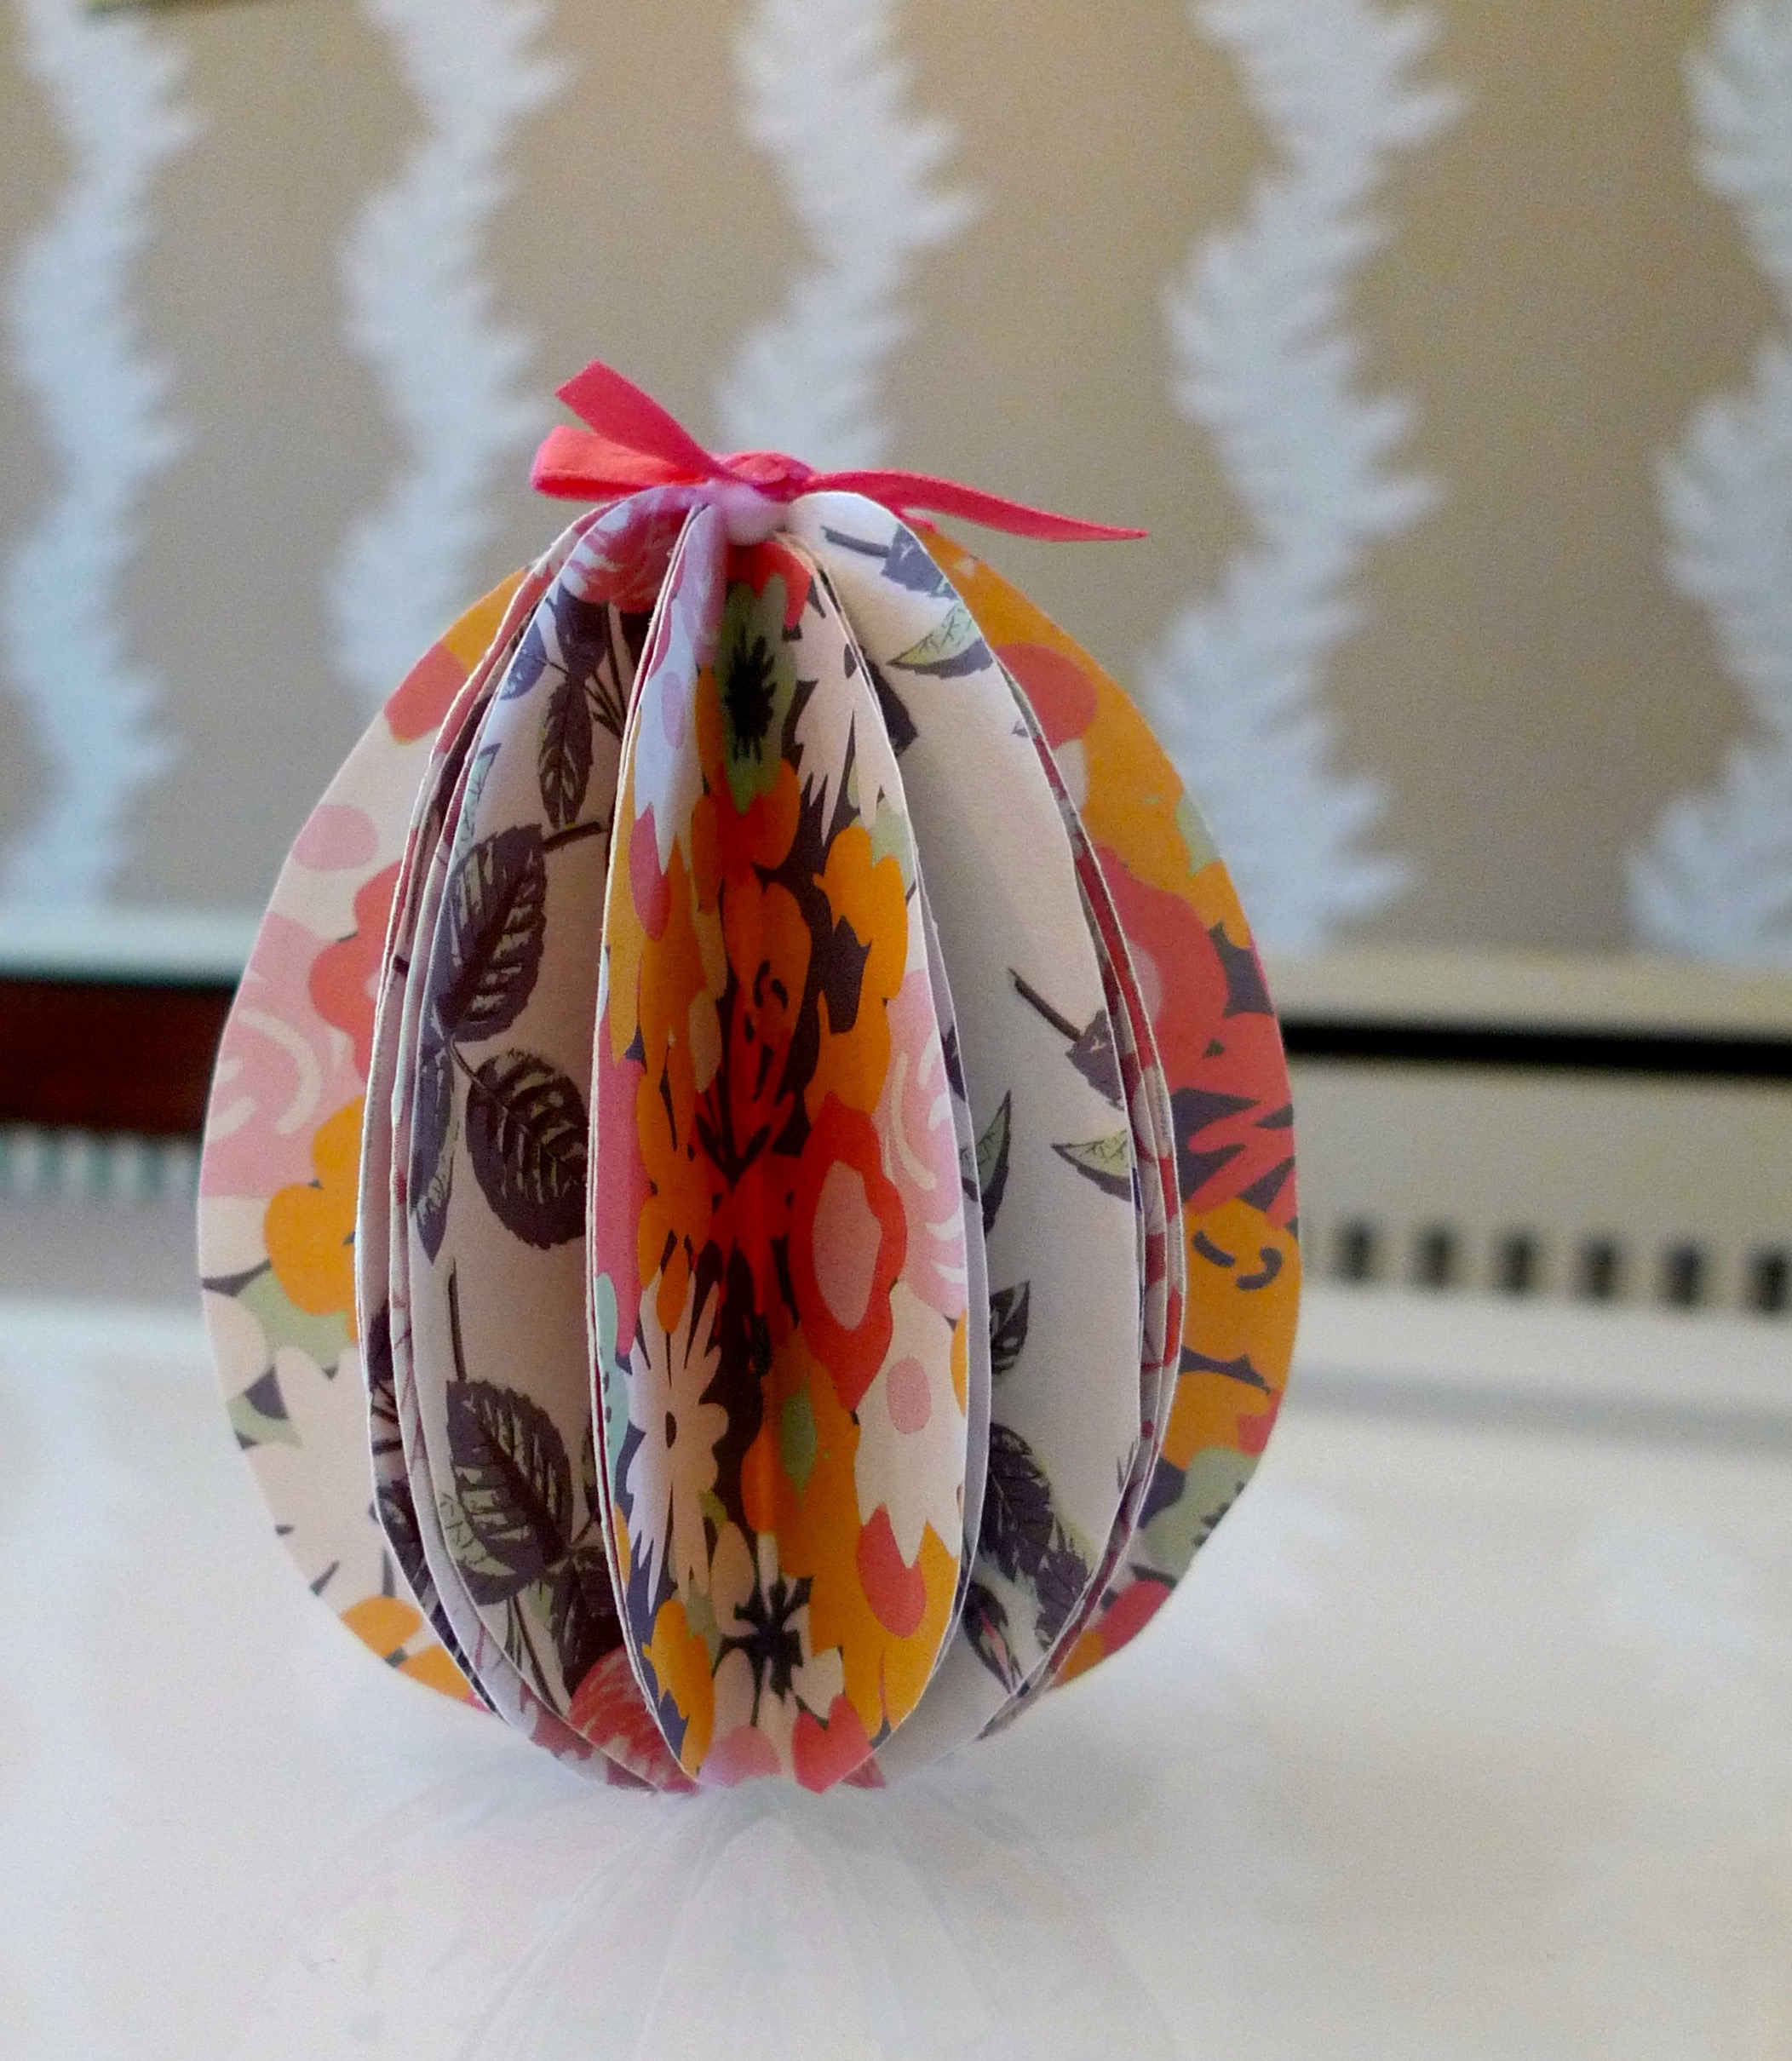
5. Continue to add folded eggs wherever there are gaps, until you are happy - or bored of cutting egg shapes. My egg had 34 egg shapes, I could probably have fitted some more in, and I think if I'd used a thinner paper I would definitely have needed more cut outs.
6. When you're happy with your egg, stick a ribbon bow onto the top of the egg using more craft glue and leave to dry.

7. Once the egg is dry "fan" the leaves gently so you get the look you're after, and then use it for your Easter decorations or as an Easter gift.
I'm happy with the egg I made and I'd make another and I think I'd also try a circular one too - they'd look great on a Christmas tree wouldn't they?
And before I go here's some more shots of my finished egg, isn't it pretty?
To see more of my Easter-inspired pins take a look at my Easter PInterest board:
