


As soon as I'd finished my first Pinty Plus project I was on the look out for what to spray next. I racked my brains, looked around the house and in fact anything that stood still for long enough was a contender, then bing! my next project emerged.

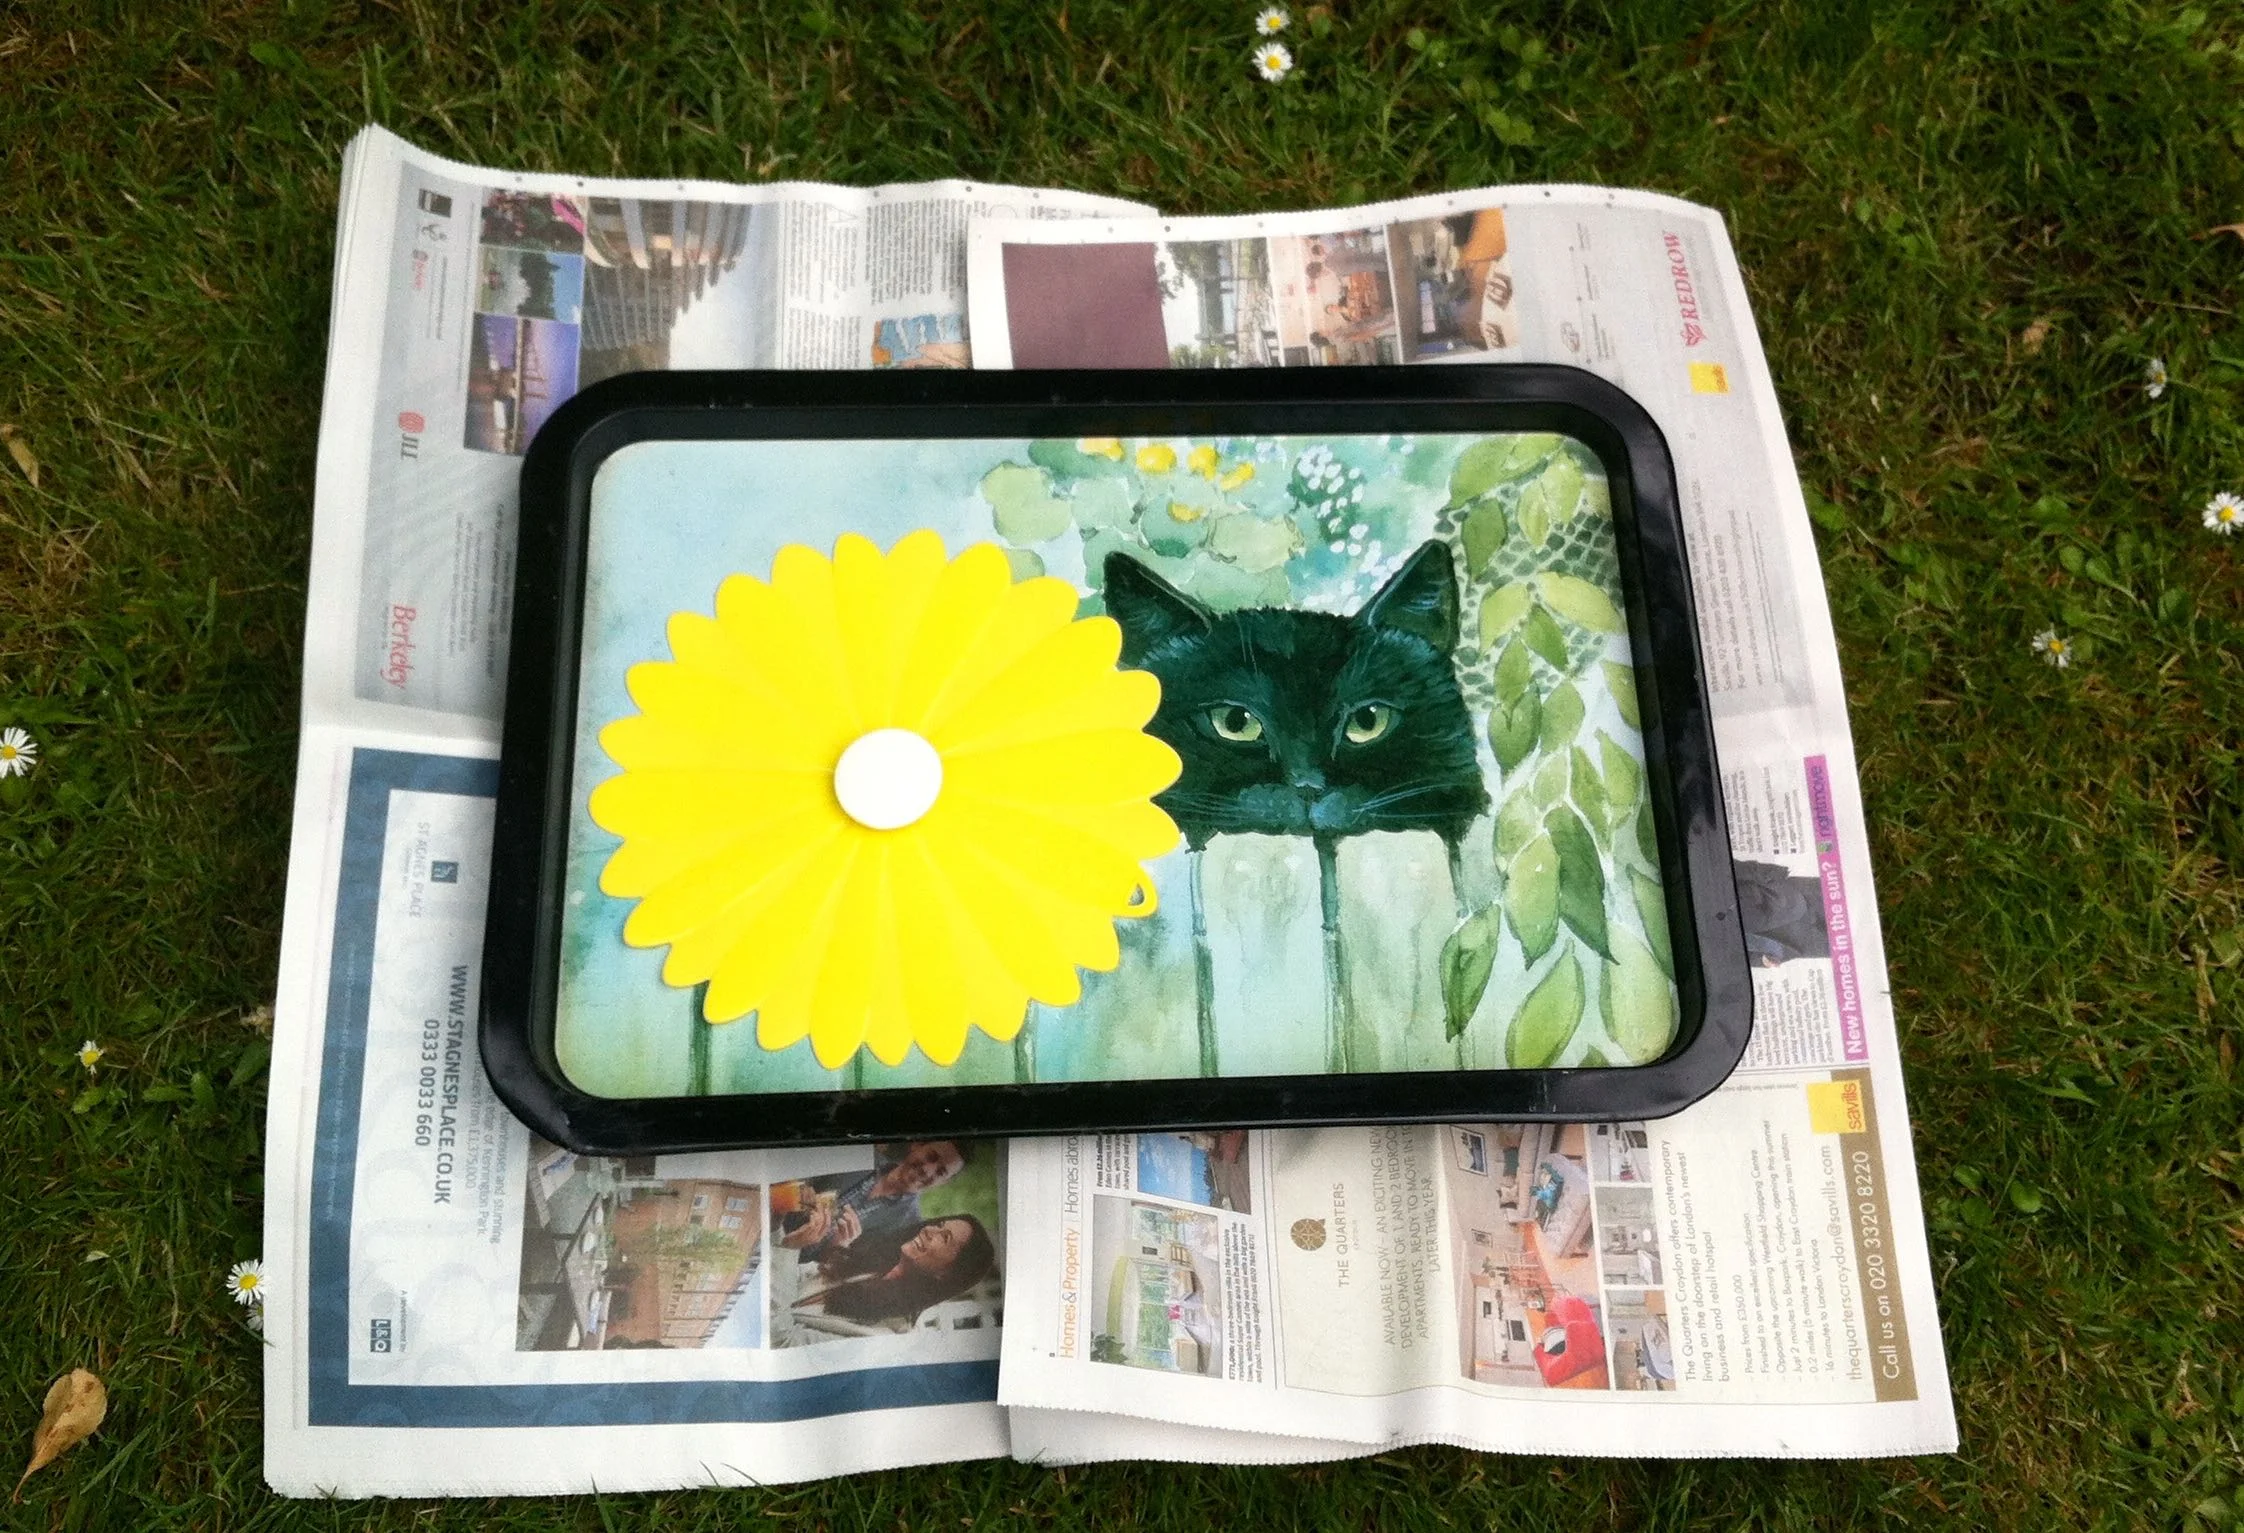
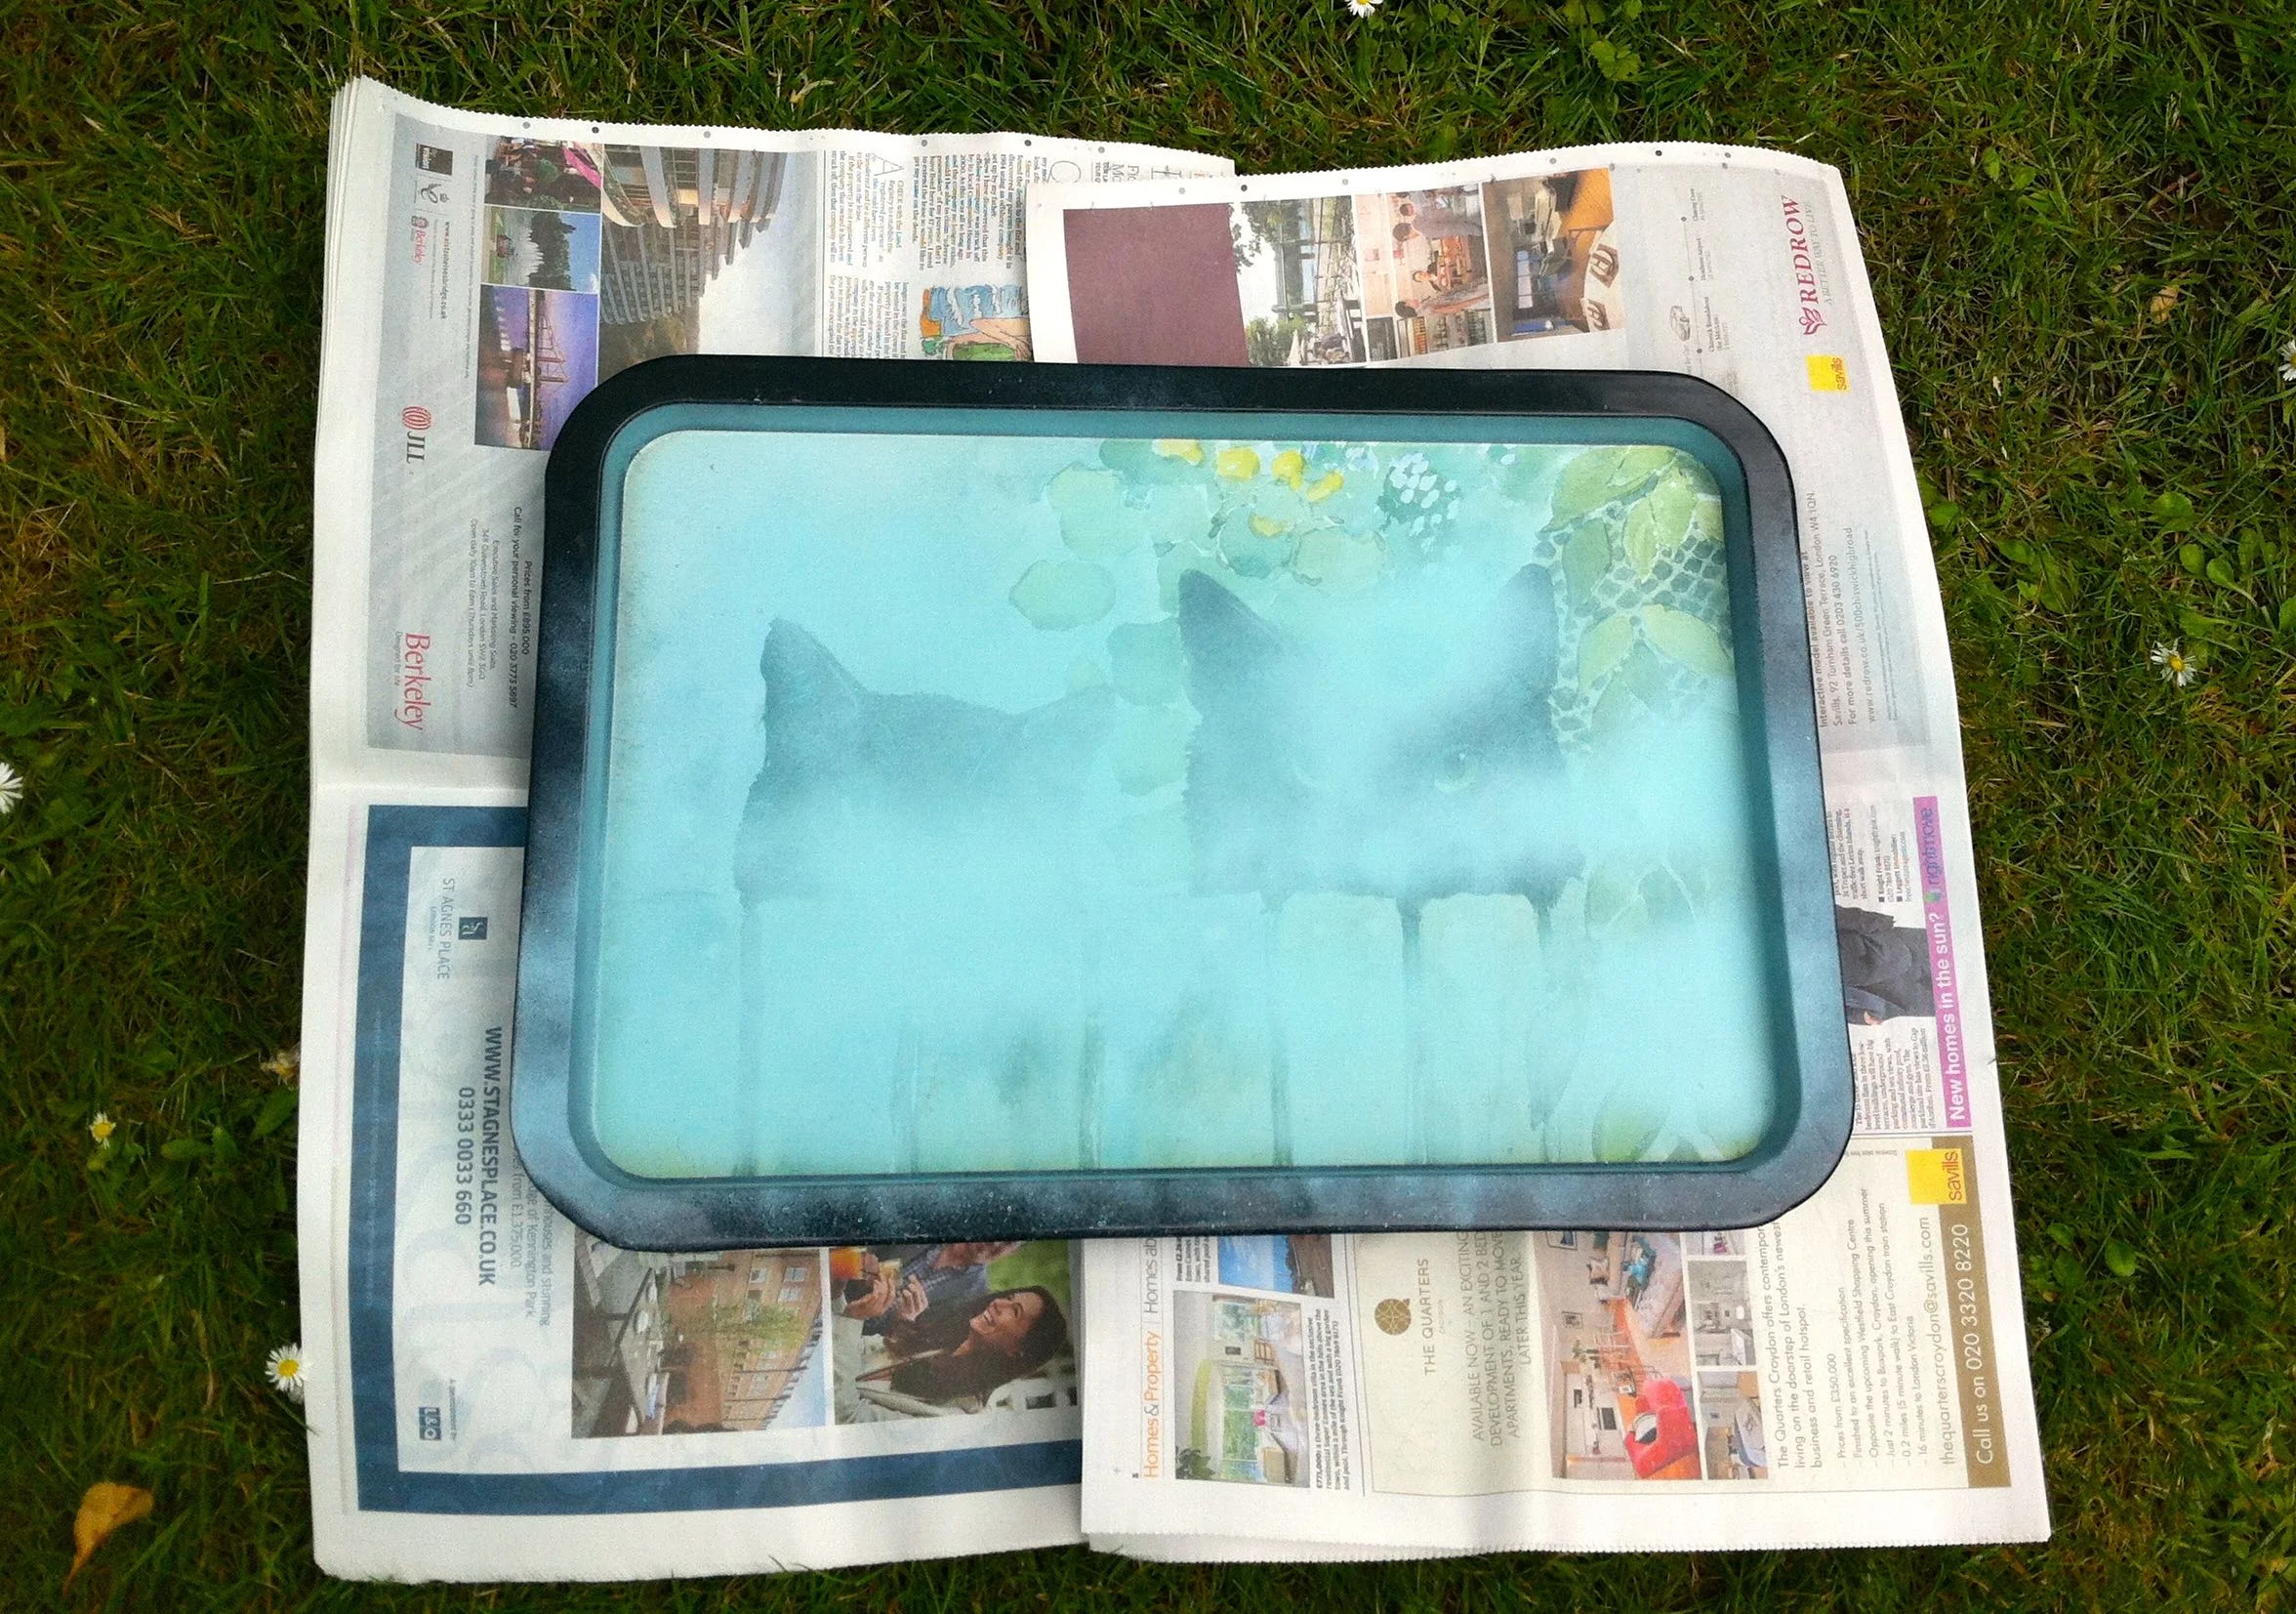
Yes, the time was up for this perfectly functional but slightly dated metal tray. It's something I'd had from new and it used to get a lot of use, but rarely does these days. The cat on the right looks very much like my Dylan did and while I didn't think he'd appreciate being covered up, I knew it was time for something new. He's been gone over ten years, so I think I'm allowed.
So I set to work. The tray was given a thorough clean before I started. I decided against straightening the bashed up corner (bottom left) as while I've no idea how it happened now, it seemed part of the tray's history.
I also knew that I wanted to try something different for this project and planned to add a flower shape to the design. My silicone lids proved to be the perfect template.
With my plan established I started to spray.
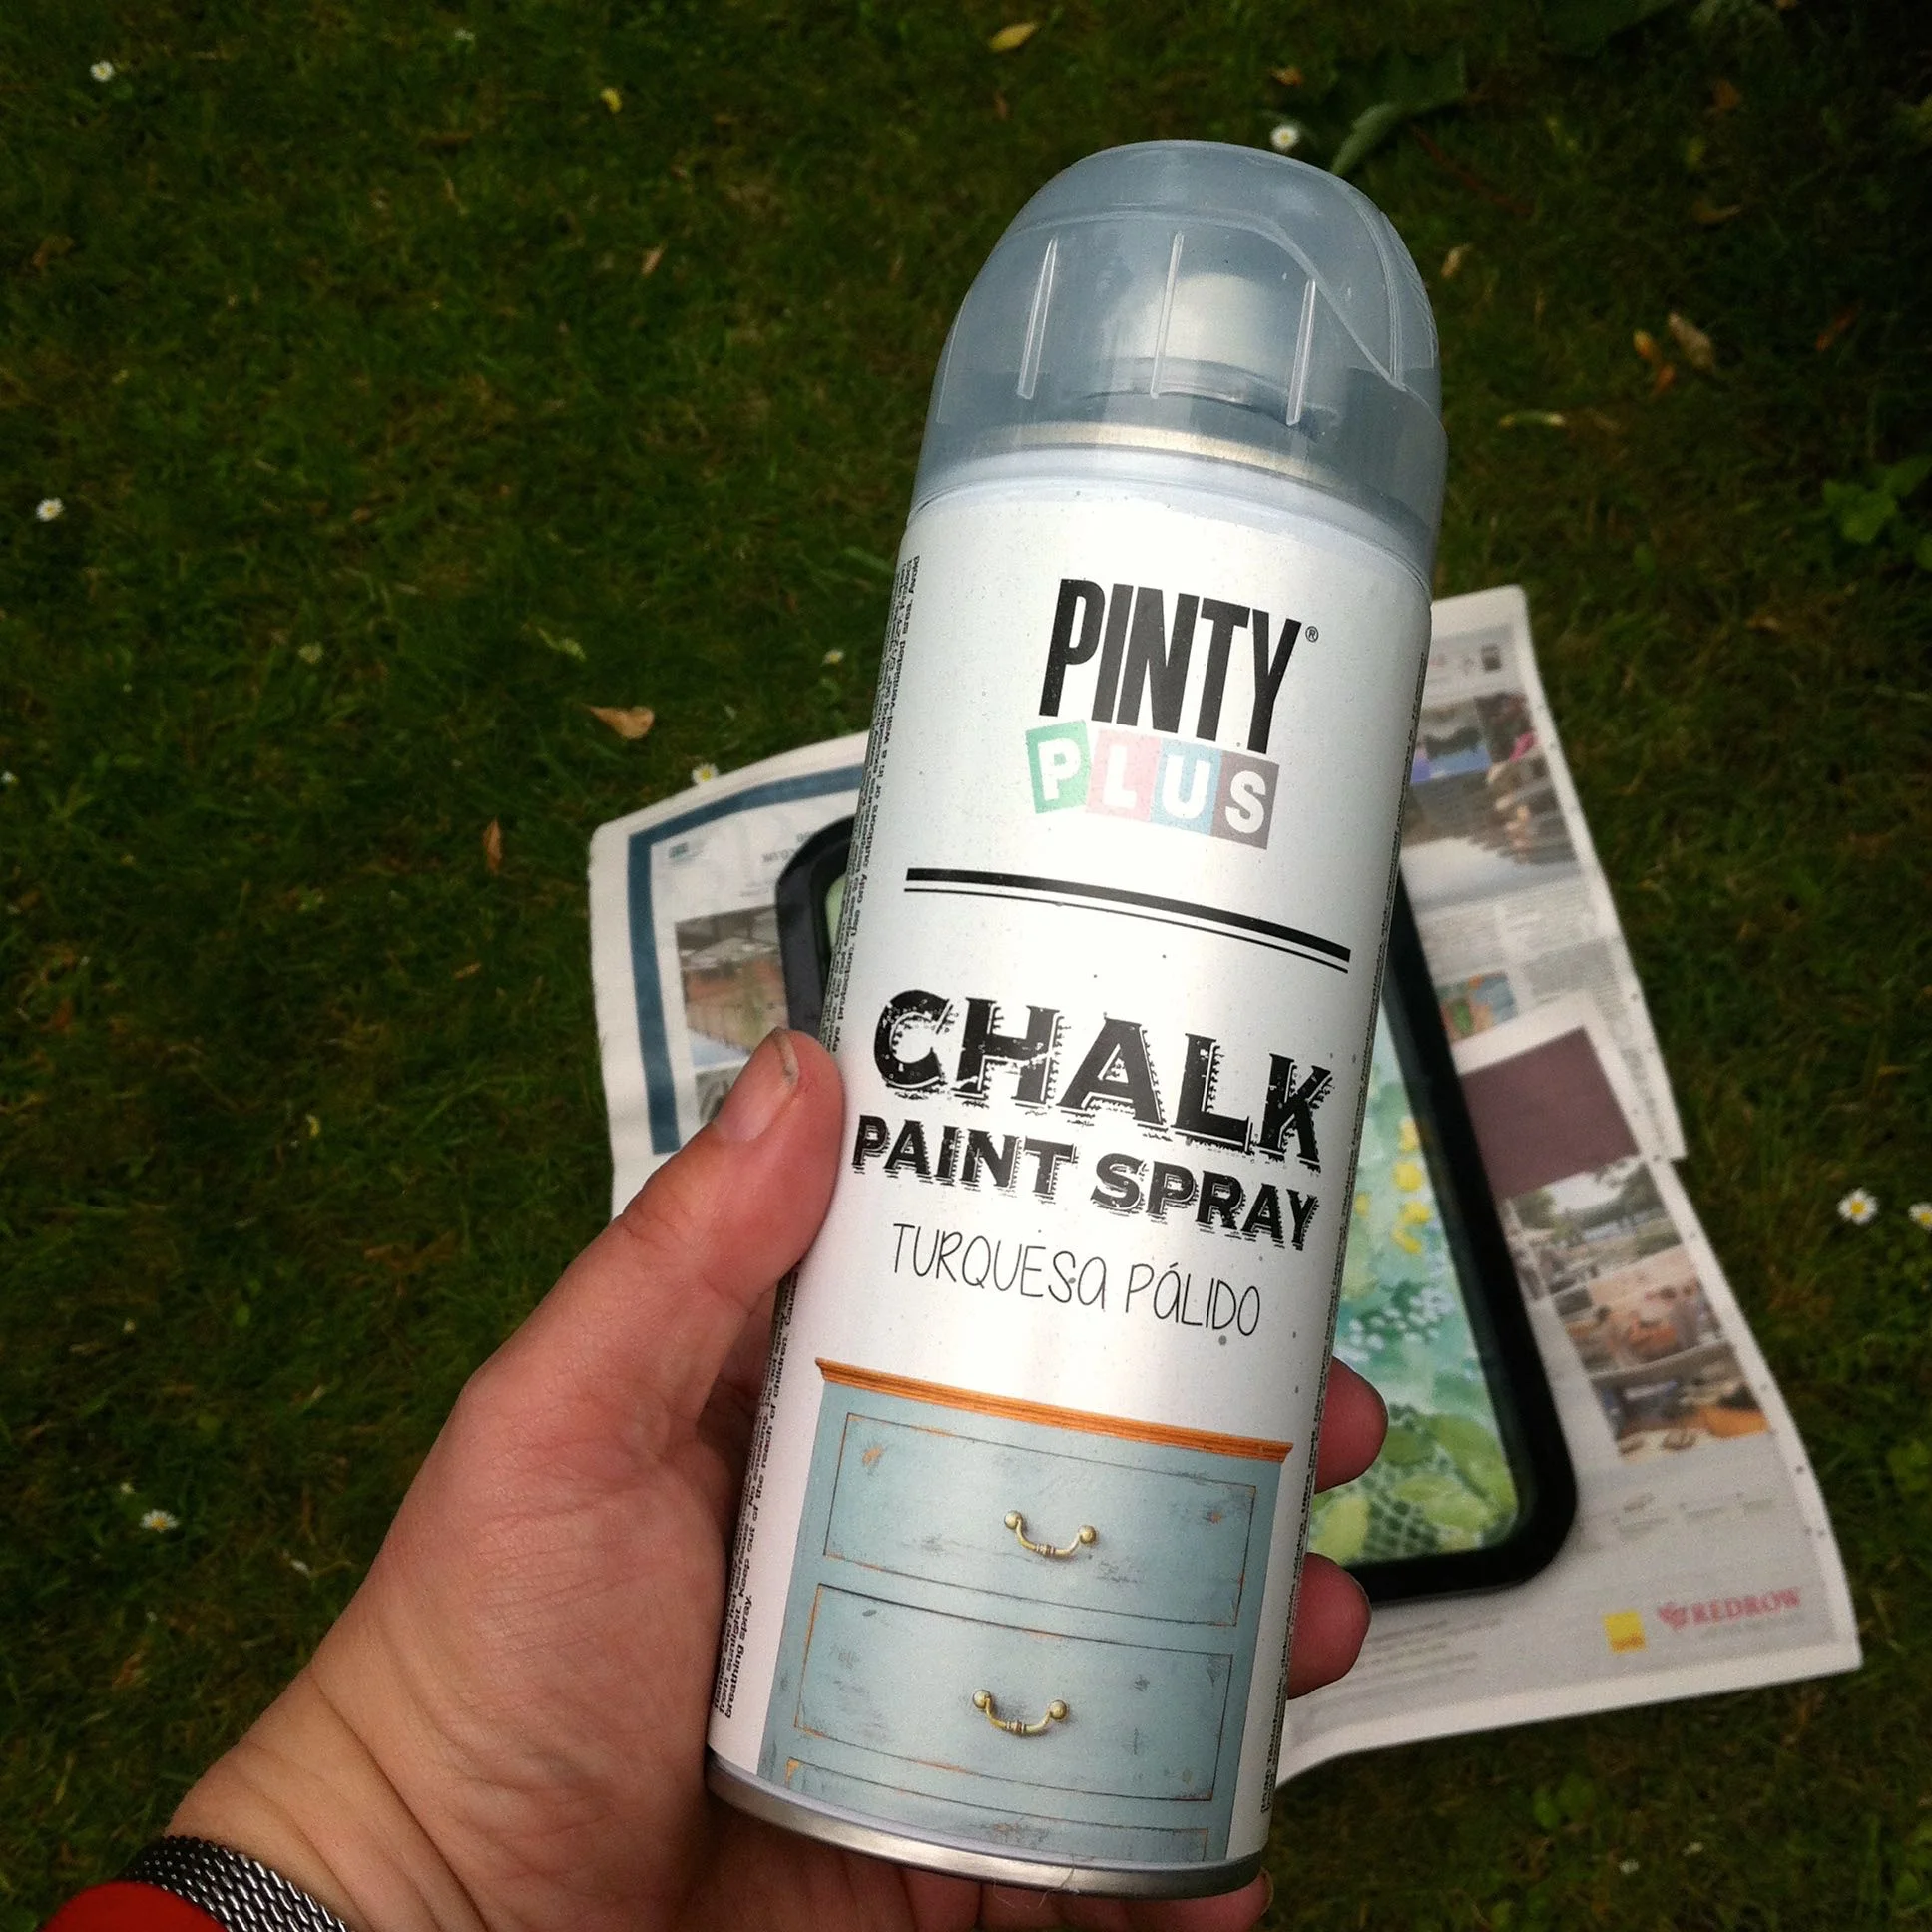
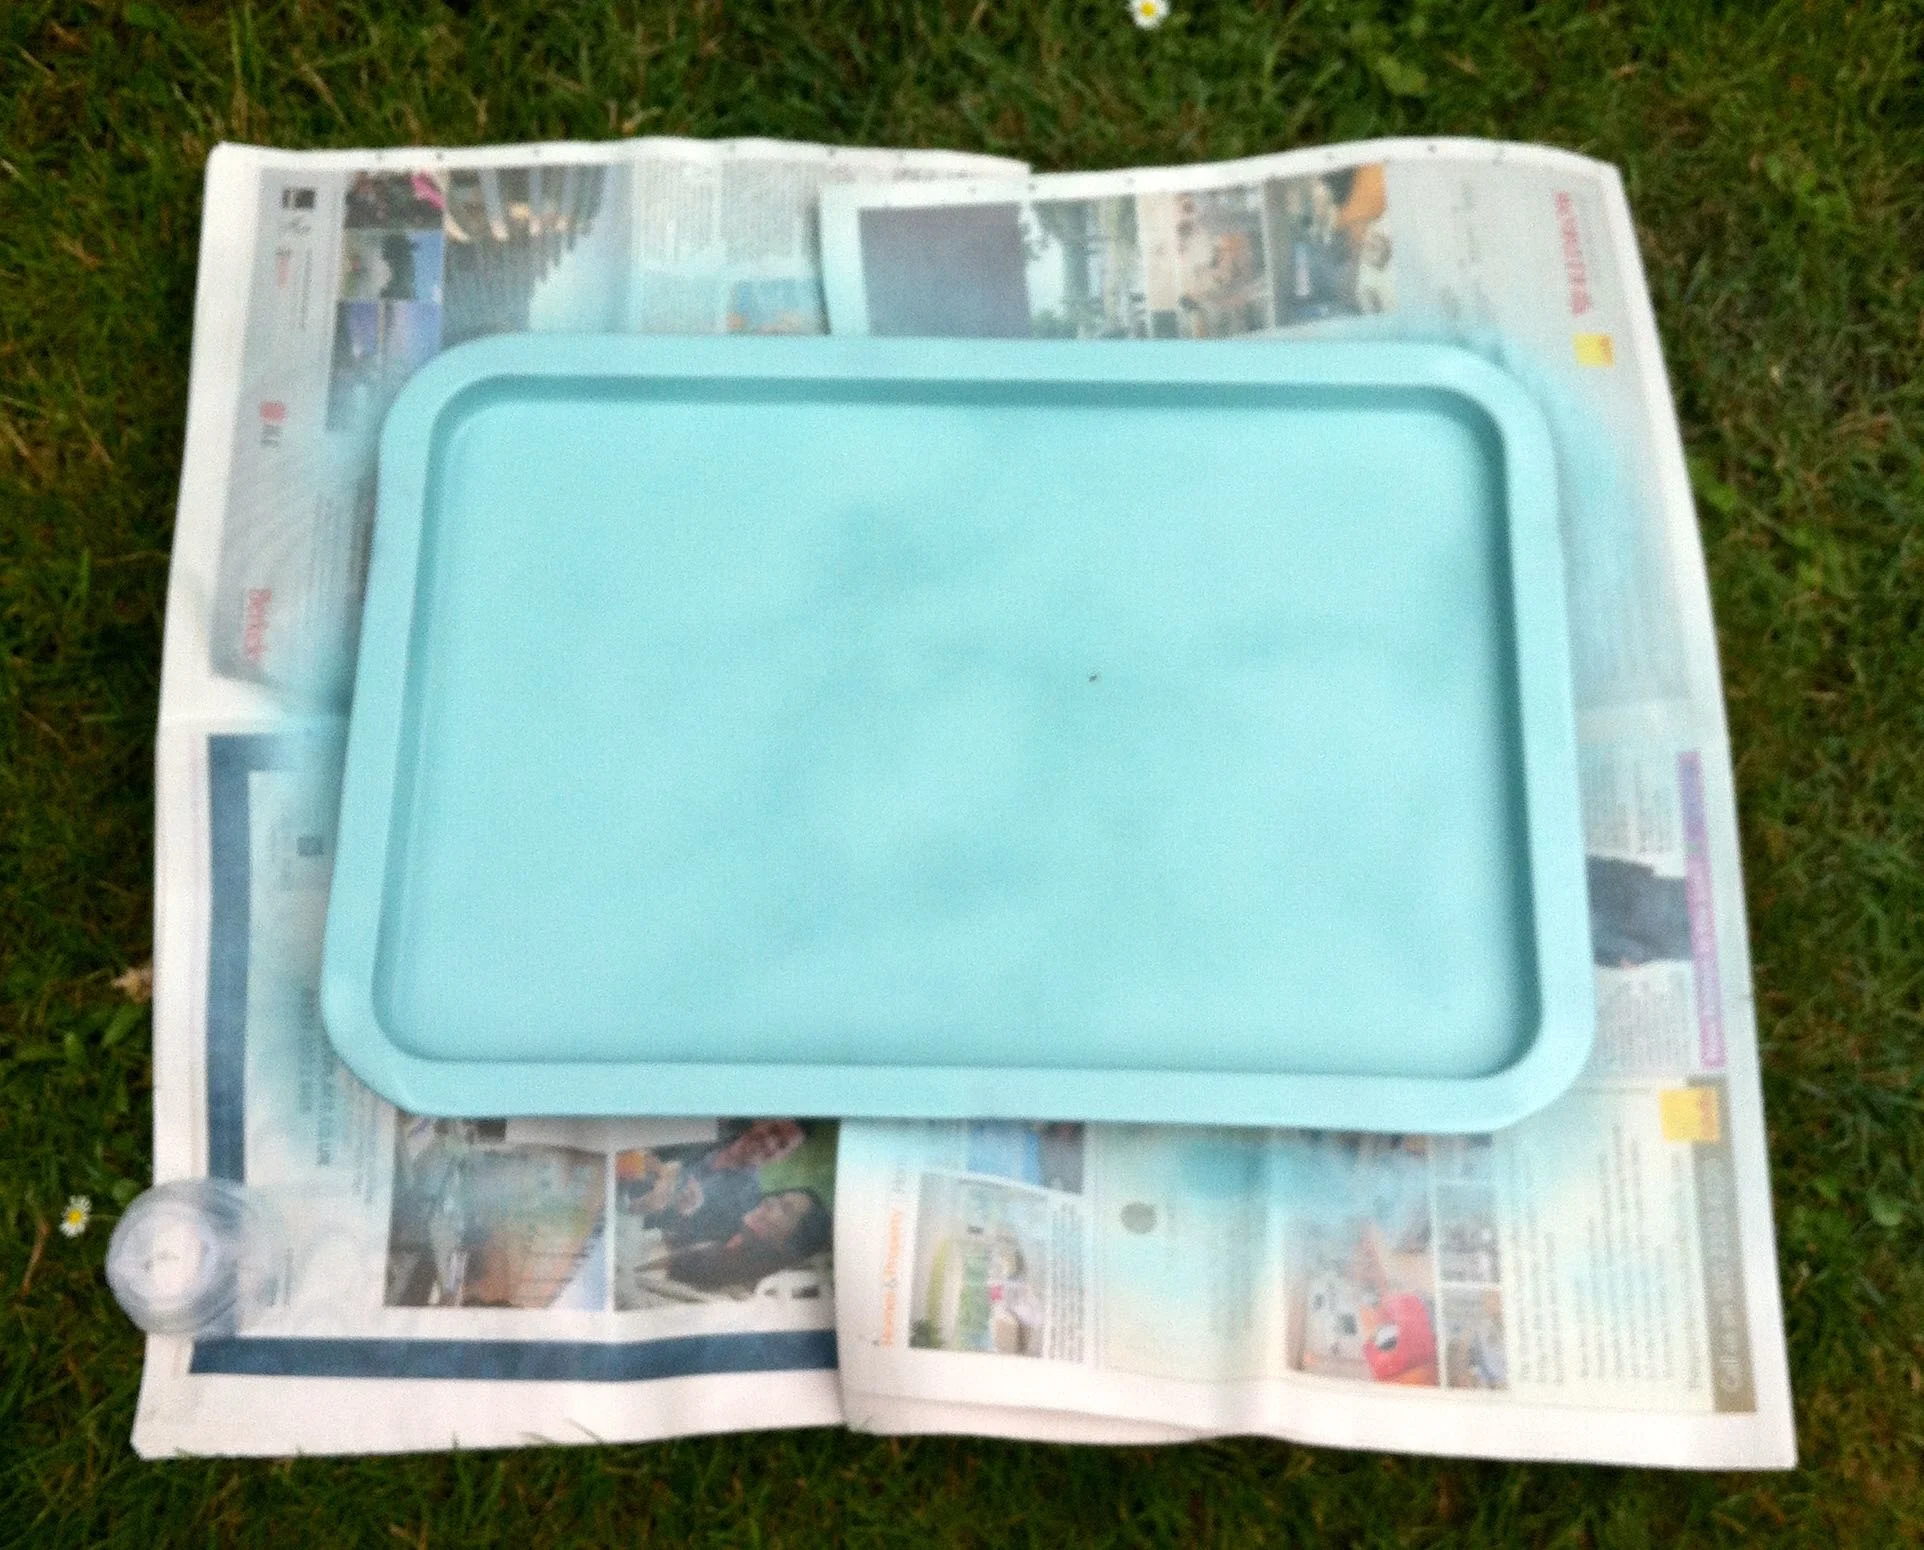
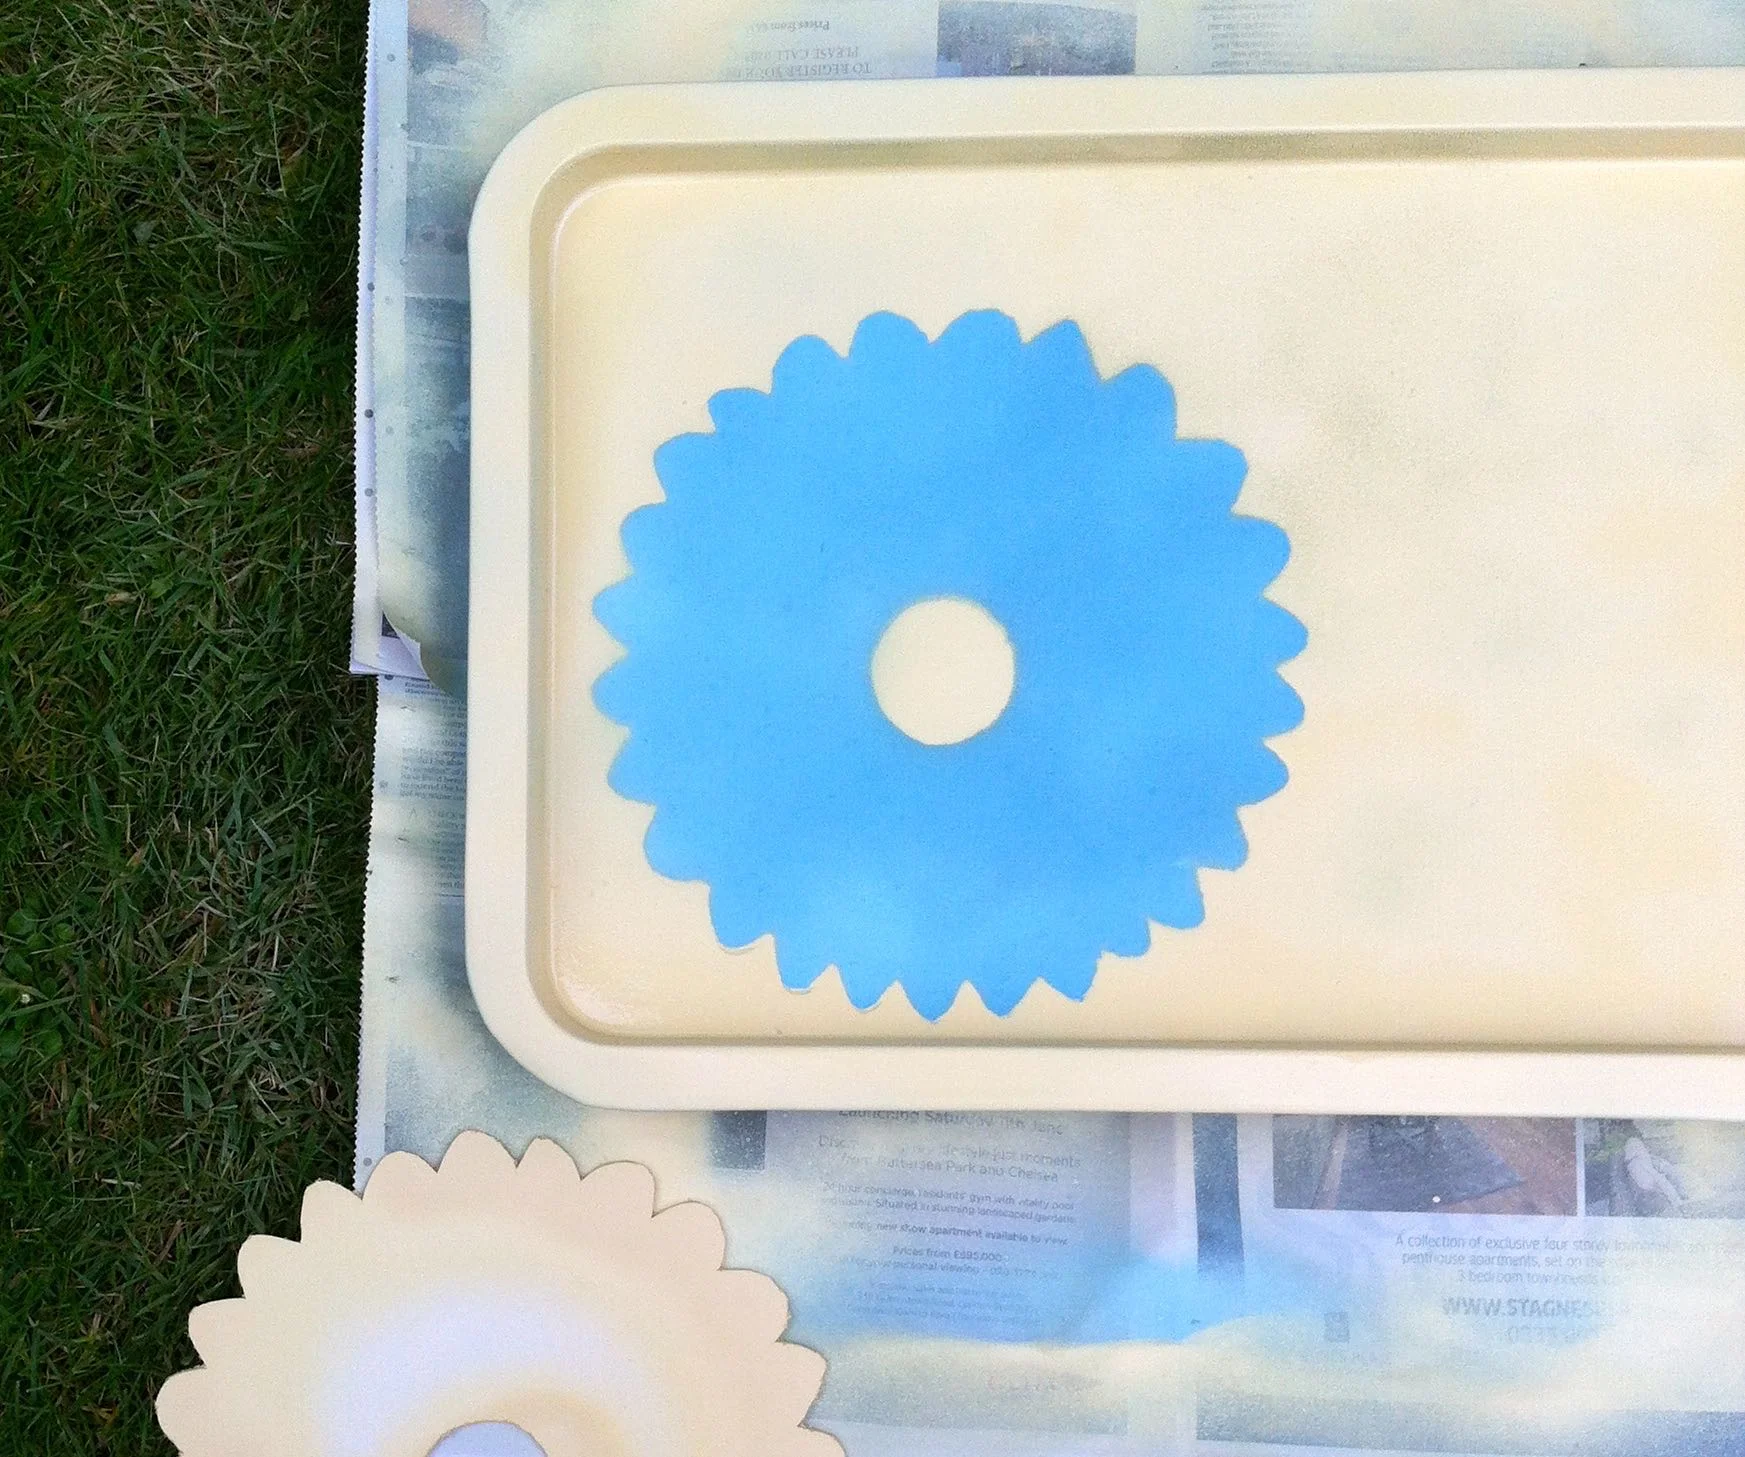
I wanted a blue flower on a yellow tray and started spraying the front of the tray in the same light turquoise that I used on the inside of my sewing box. I did feel a bit guilty spraying the cats and I'm sure they were giving me a stern look as I did.
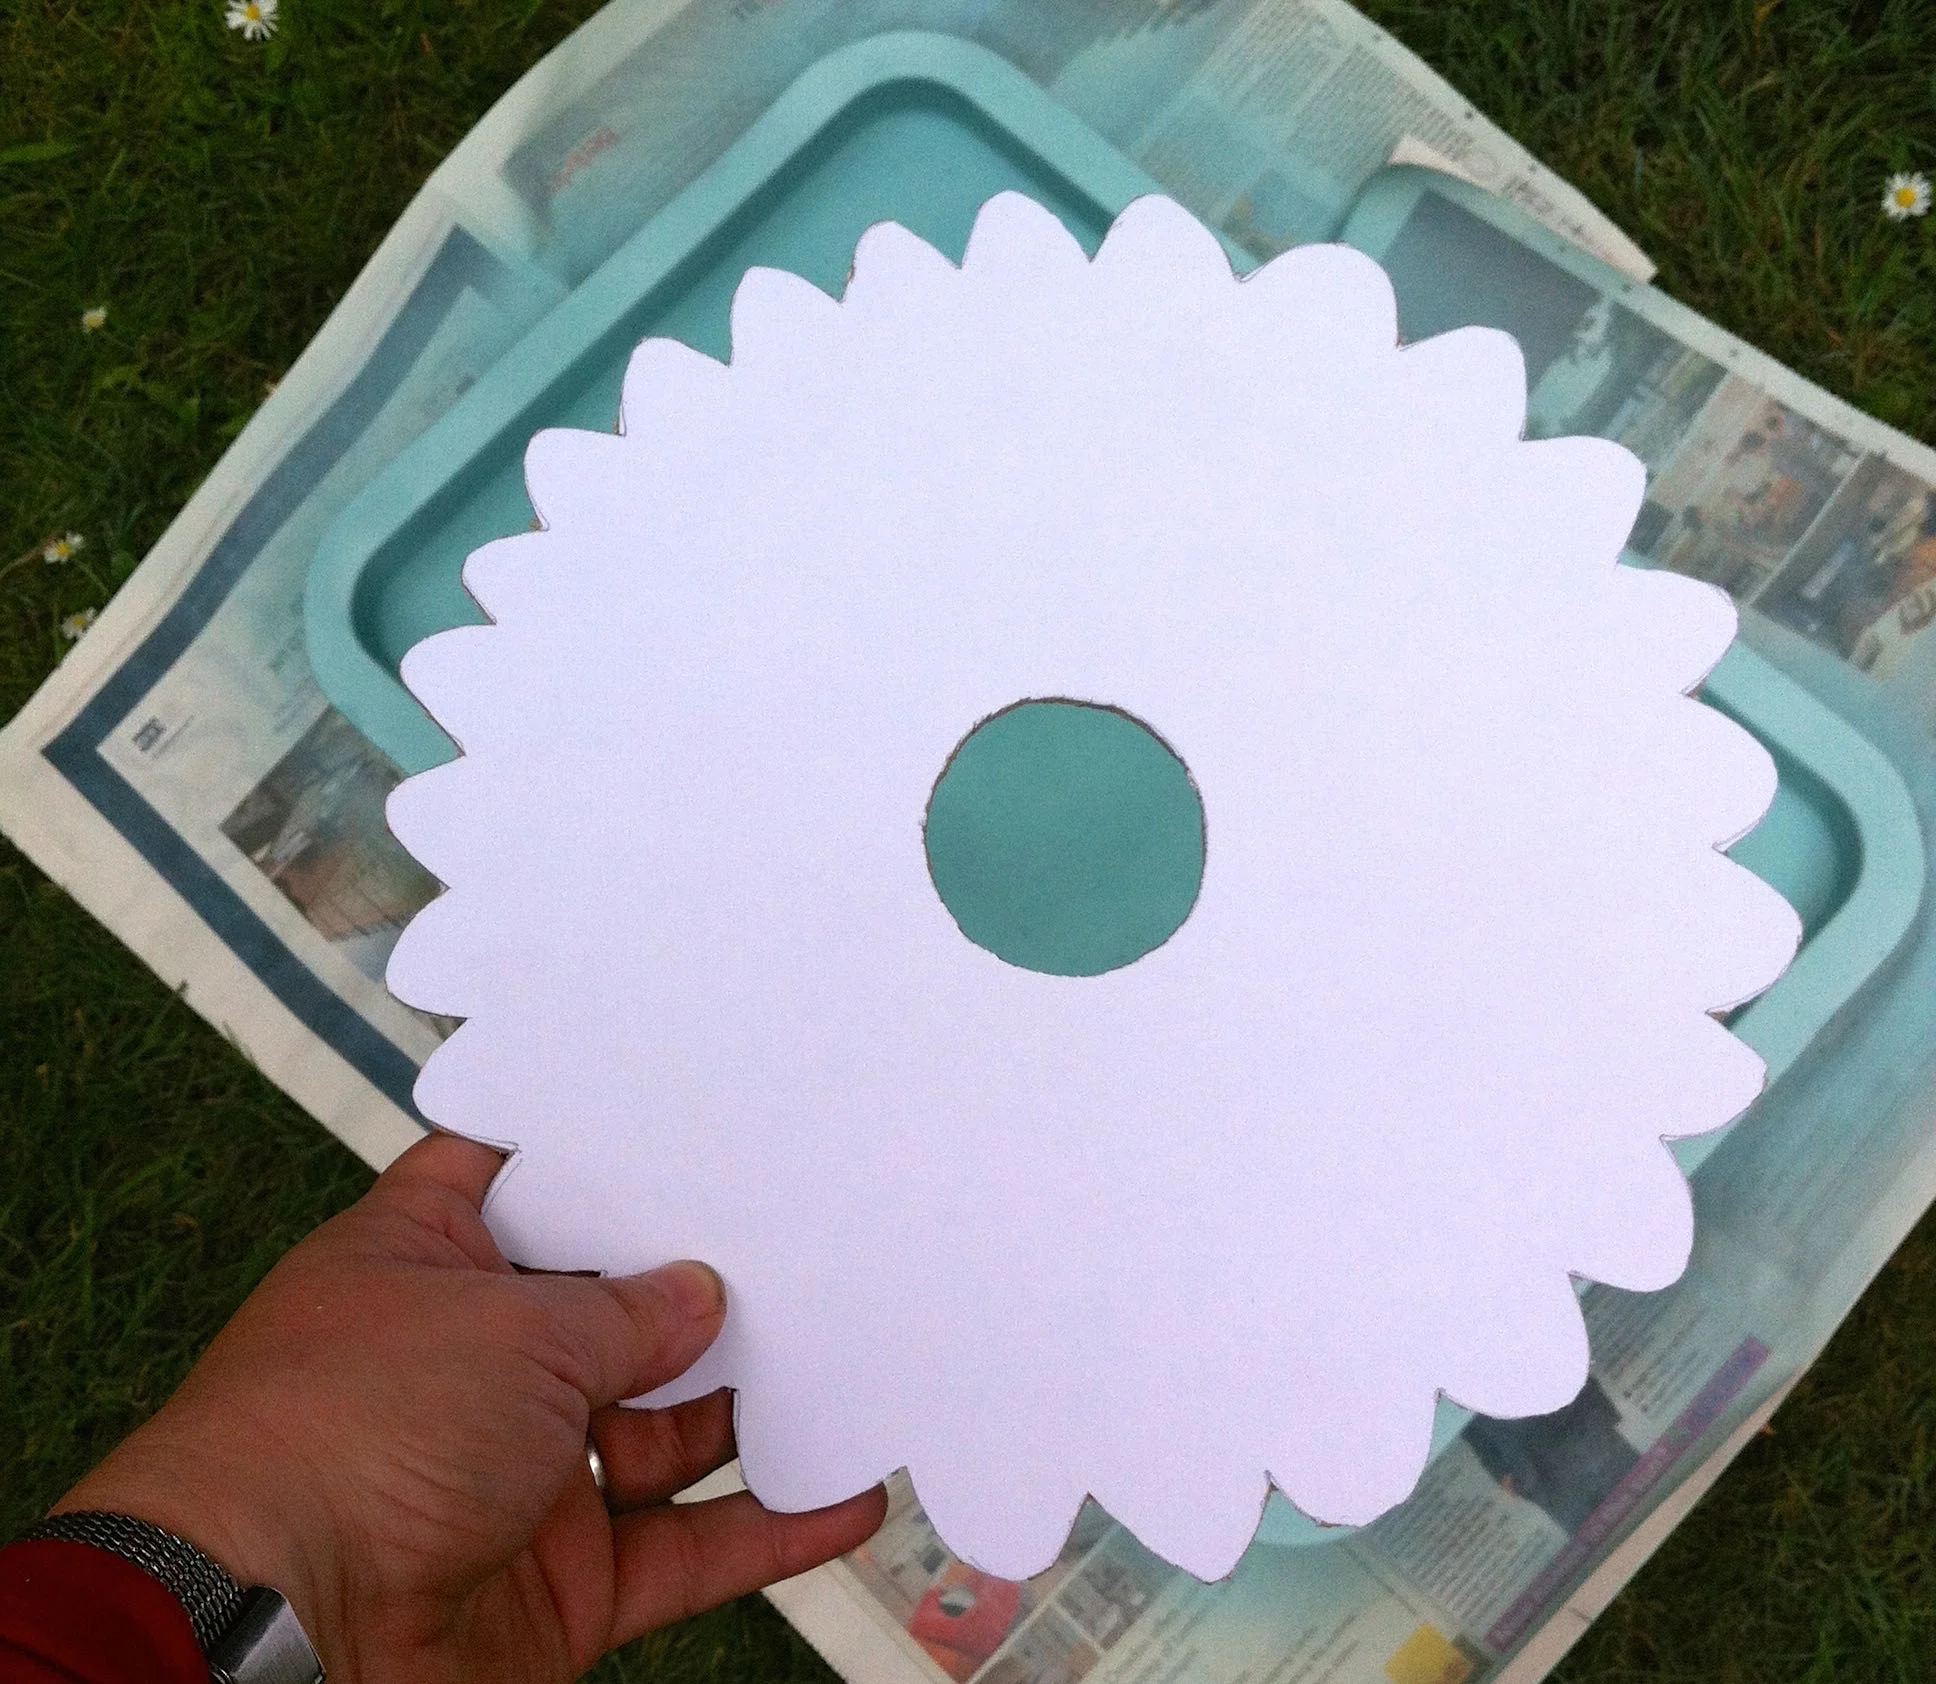
With the blue base layer completed and drying I started to make my template. I'd considered using a stencil approach but decided against it as I wanted the centre of the flower yellow too, without any connecting lines.
Taking the silicone lid I placed it on a thick piece of card - an insert I'd saved from some bedding I'd bought, which I knew would come in handy one day. Today was its day!


I drew around the shape and discovered that a roll of washi tape was a similar size as the centre so used that to make my middle.
Using a craft knife I carefully cut it out, without cutting myself at all (phew) - and as it was a nice day the garden table became my workspace.

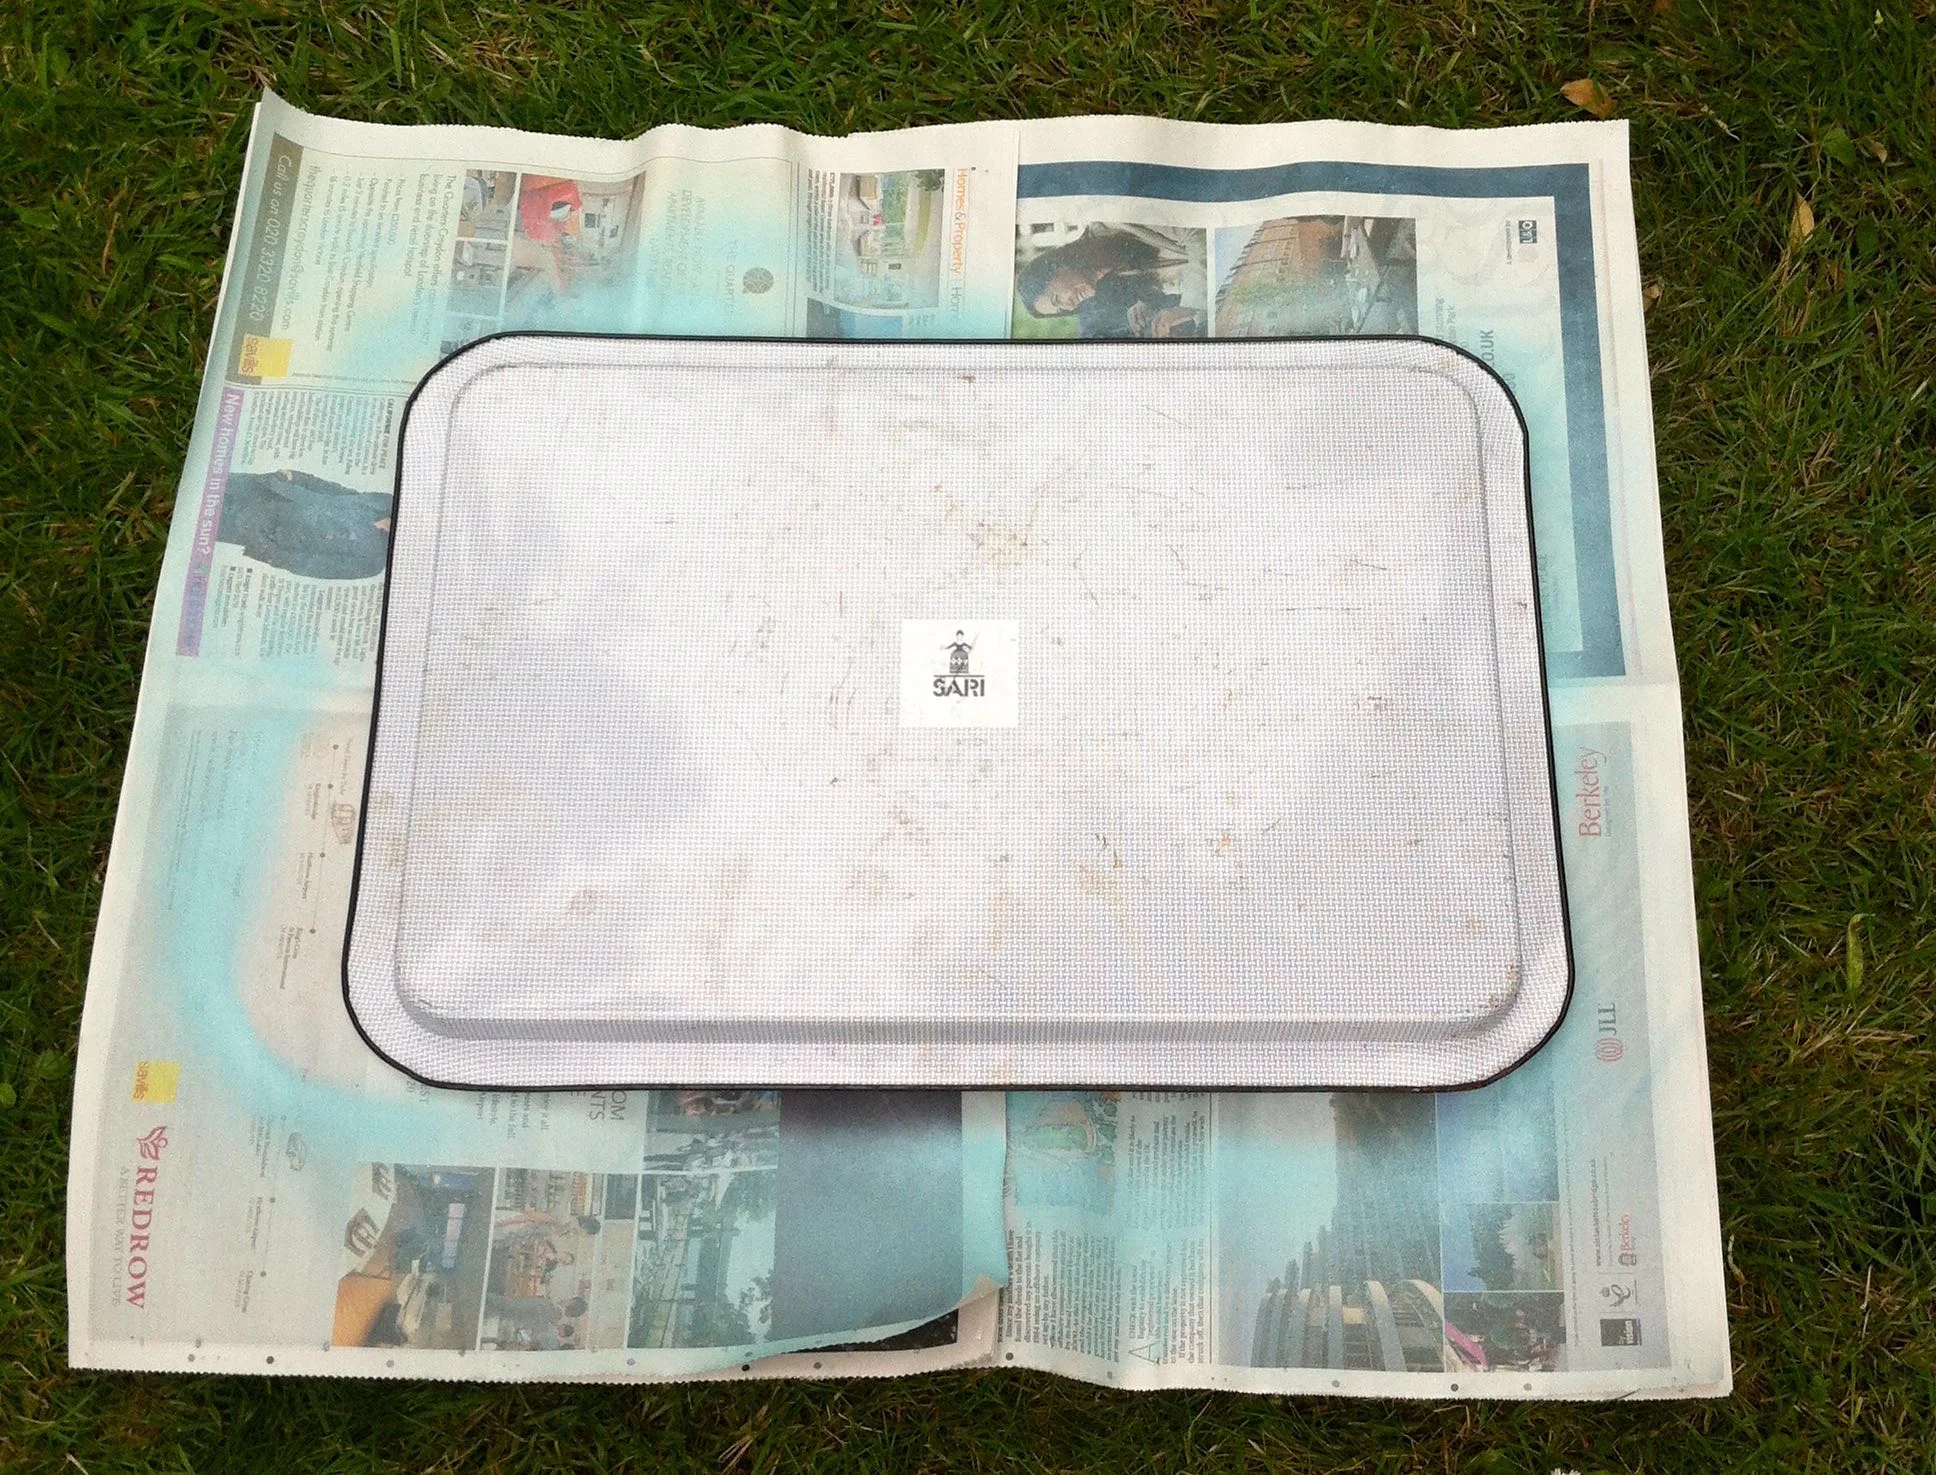
Before I could use my template though I wanted to spray the back of the tray. It was a bit scratched and well tatty, and it gave me the chance to see the colour of the new spray Mostaza.

I'd been hoping for a mustard yellow - and while I like the colour it is - it's paler than I thought it would be. I've been on a quest since we bought our mustard dining chairs (just two - I will show them to you soon) to add more yellow to our house, and this yellow works equally as well.
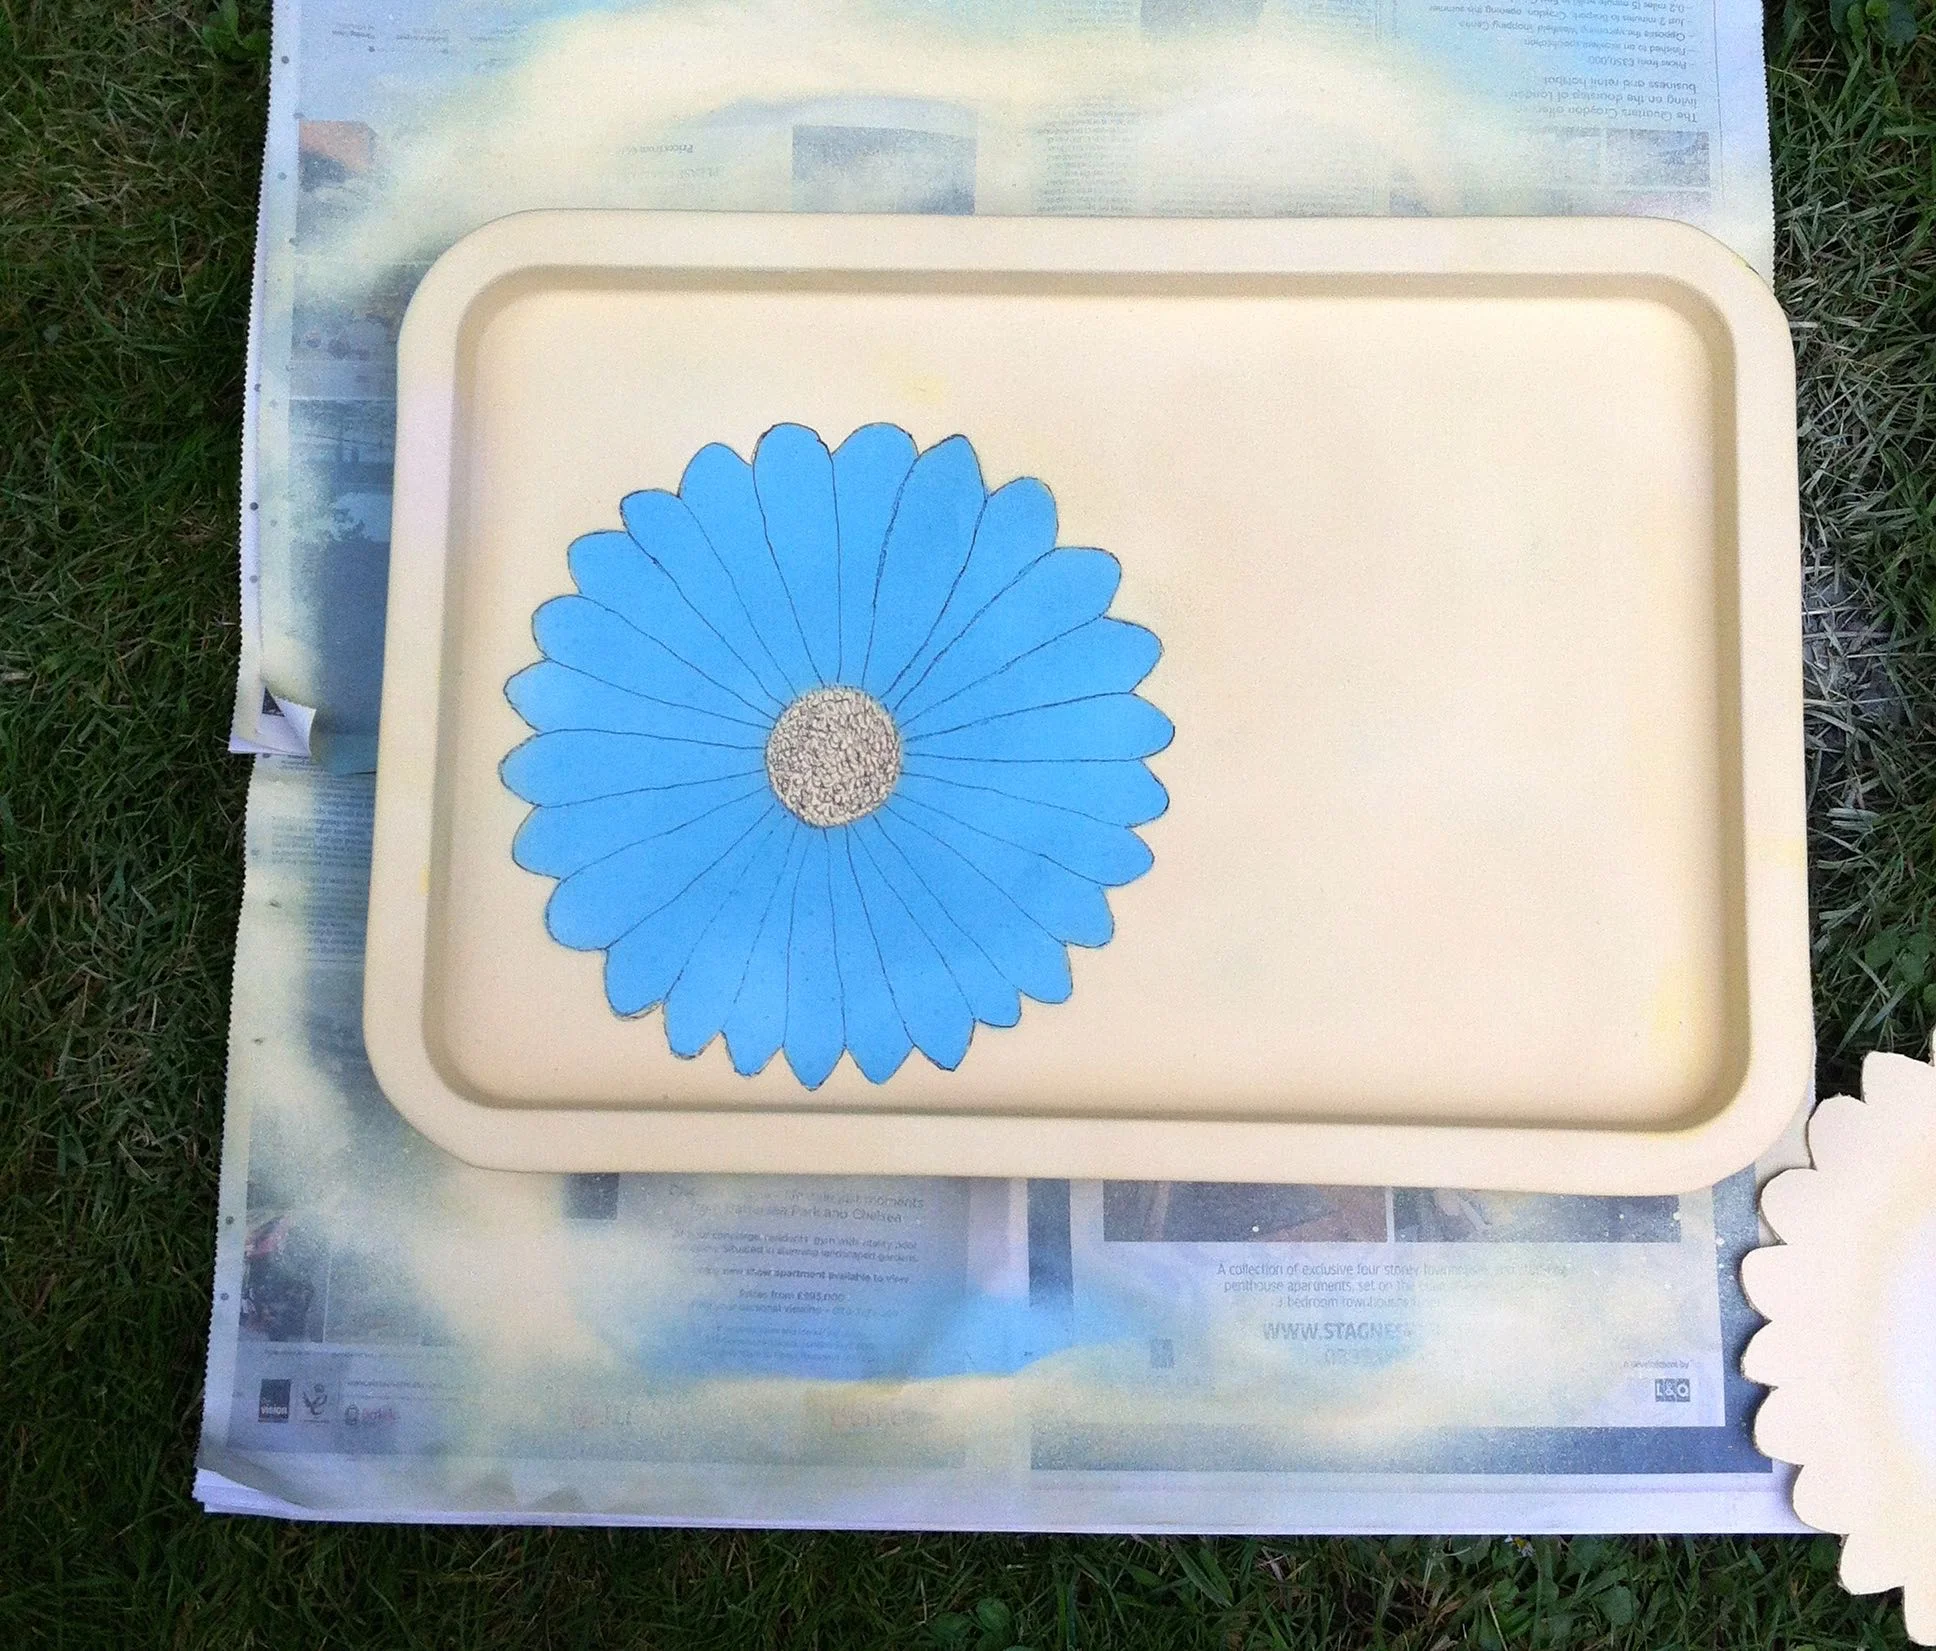
So having tried the yellow, I was keen to spray my design. Another reason for choosing to block out the blue in this way was that I thought it would leave a cleaner line.

And it turned out well. But I thought it needed more. Don't you agree?
So out came my fine line black pen and I drew freehand around the petals, and added some texture to the middle. The lines aren't perfect - and that's ok - but don't they make a difference?
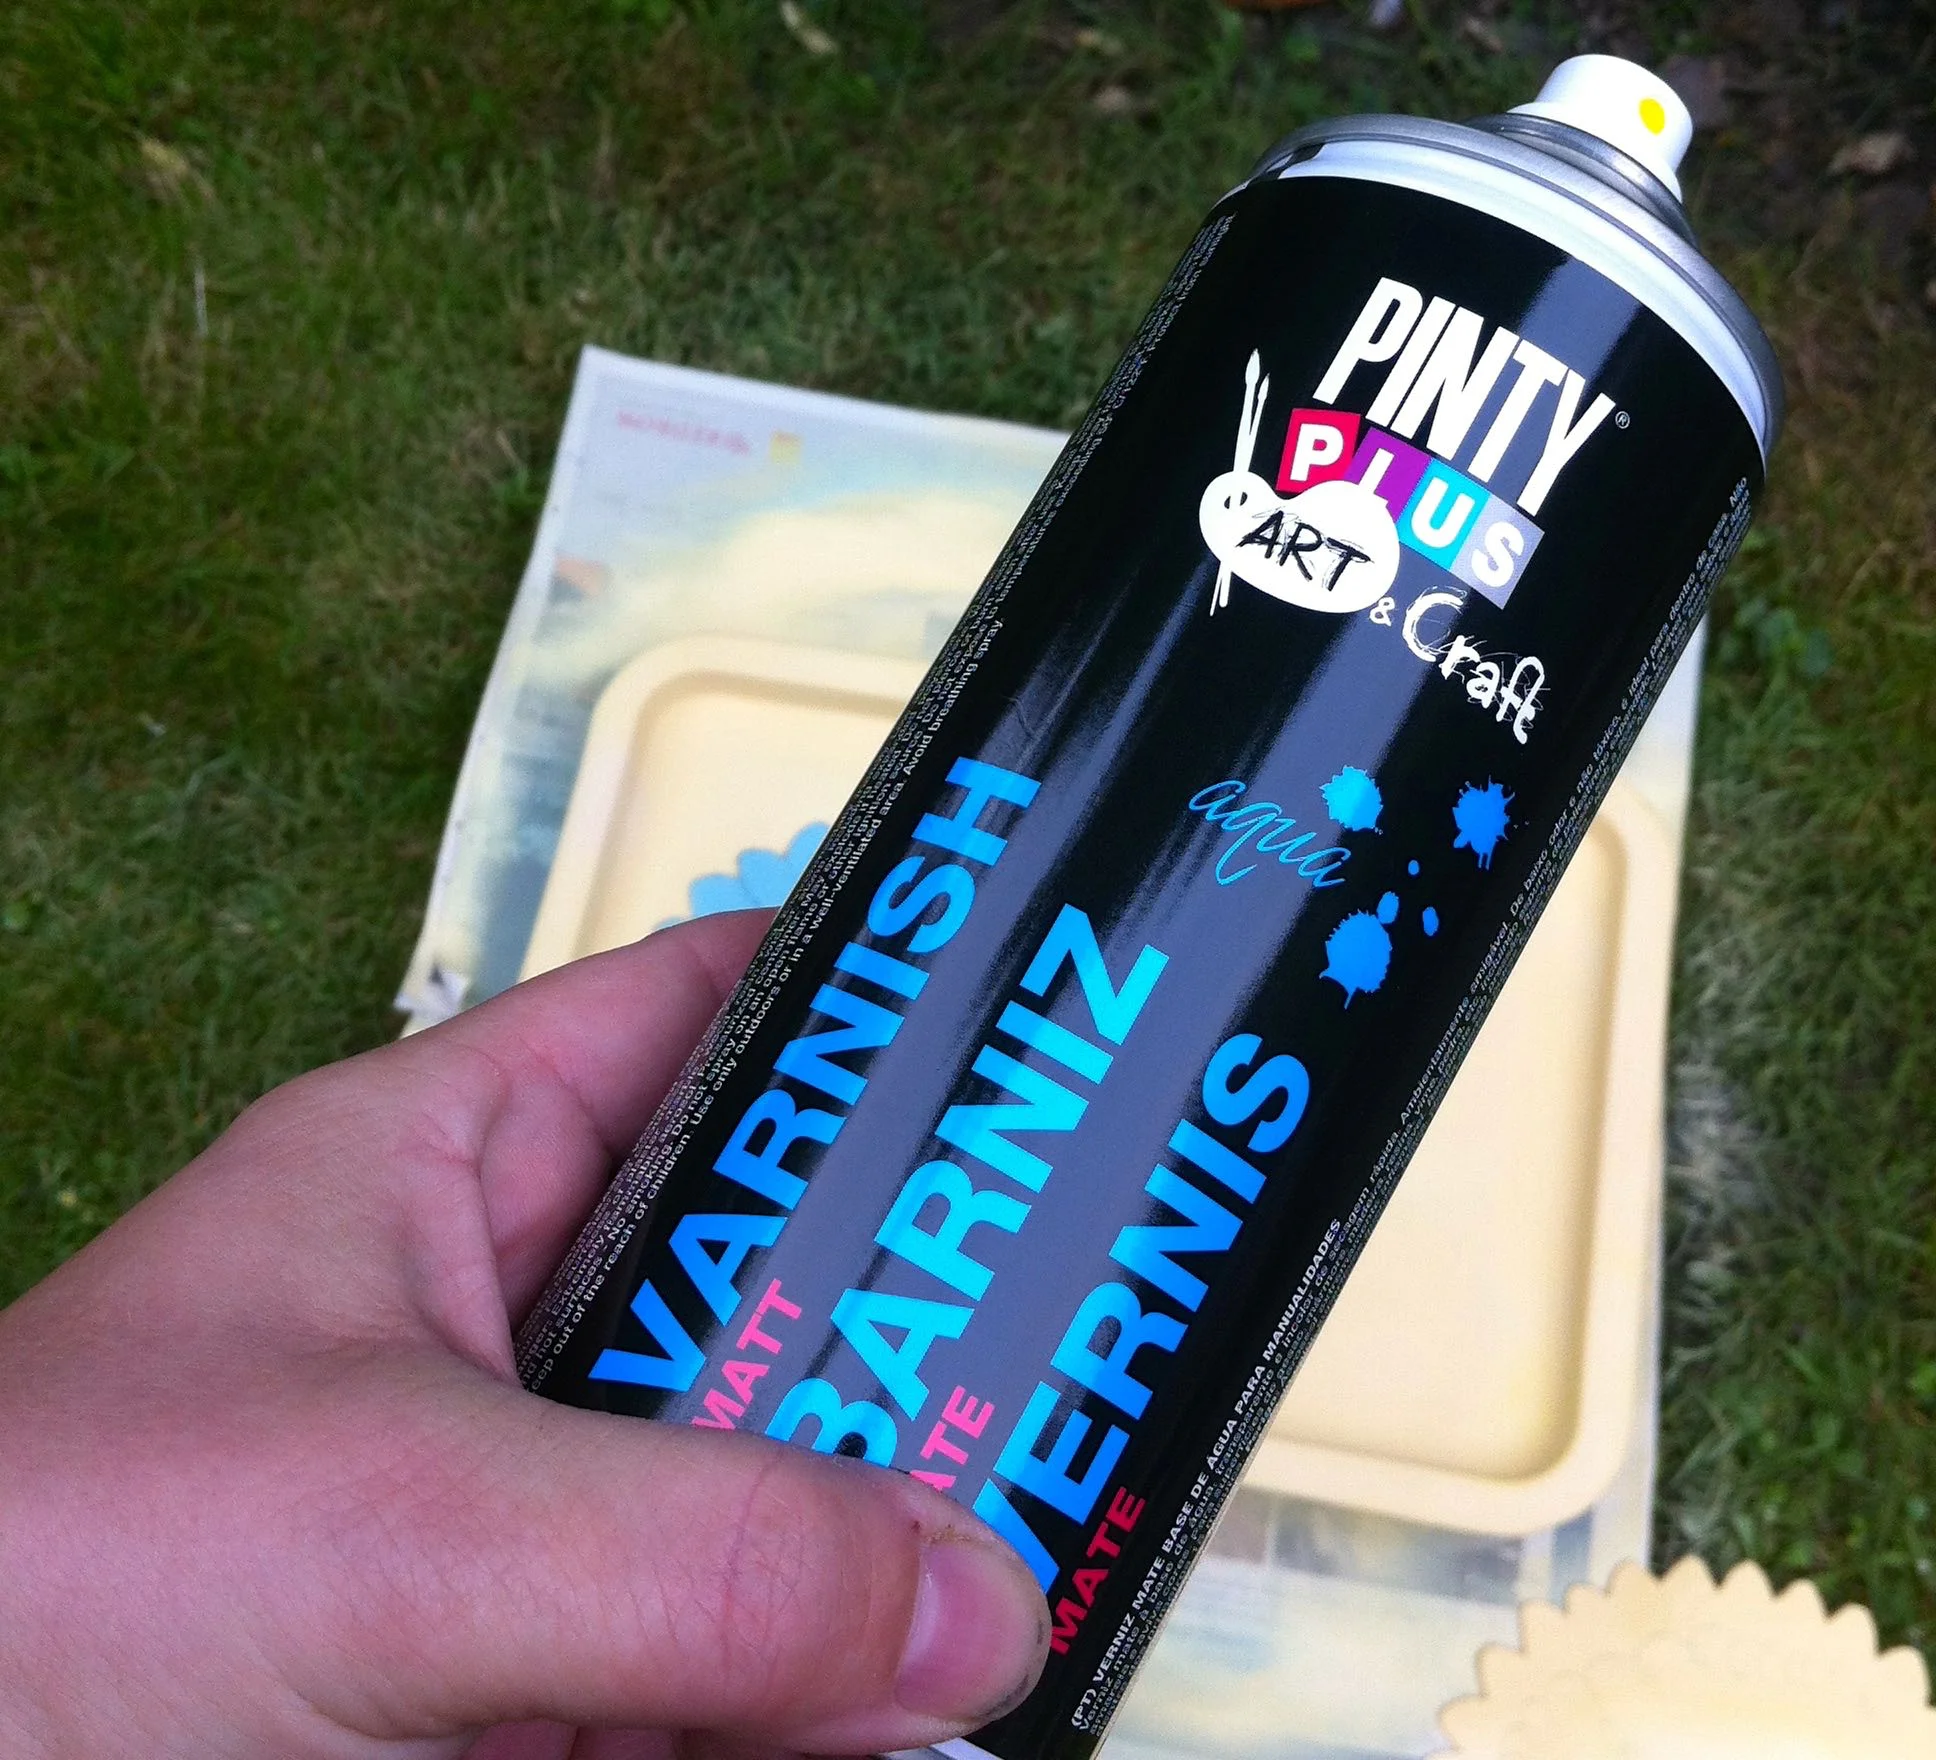
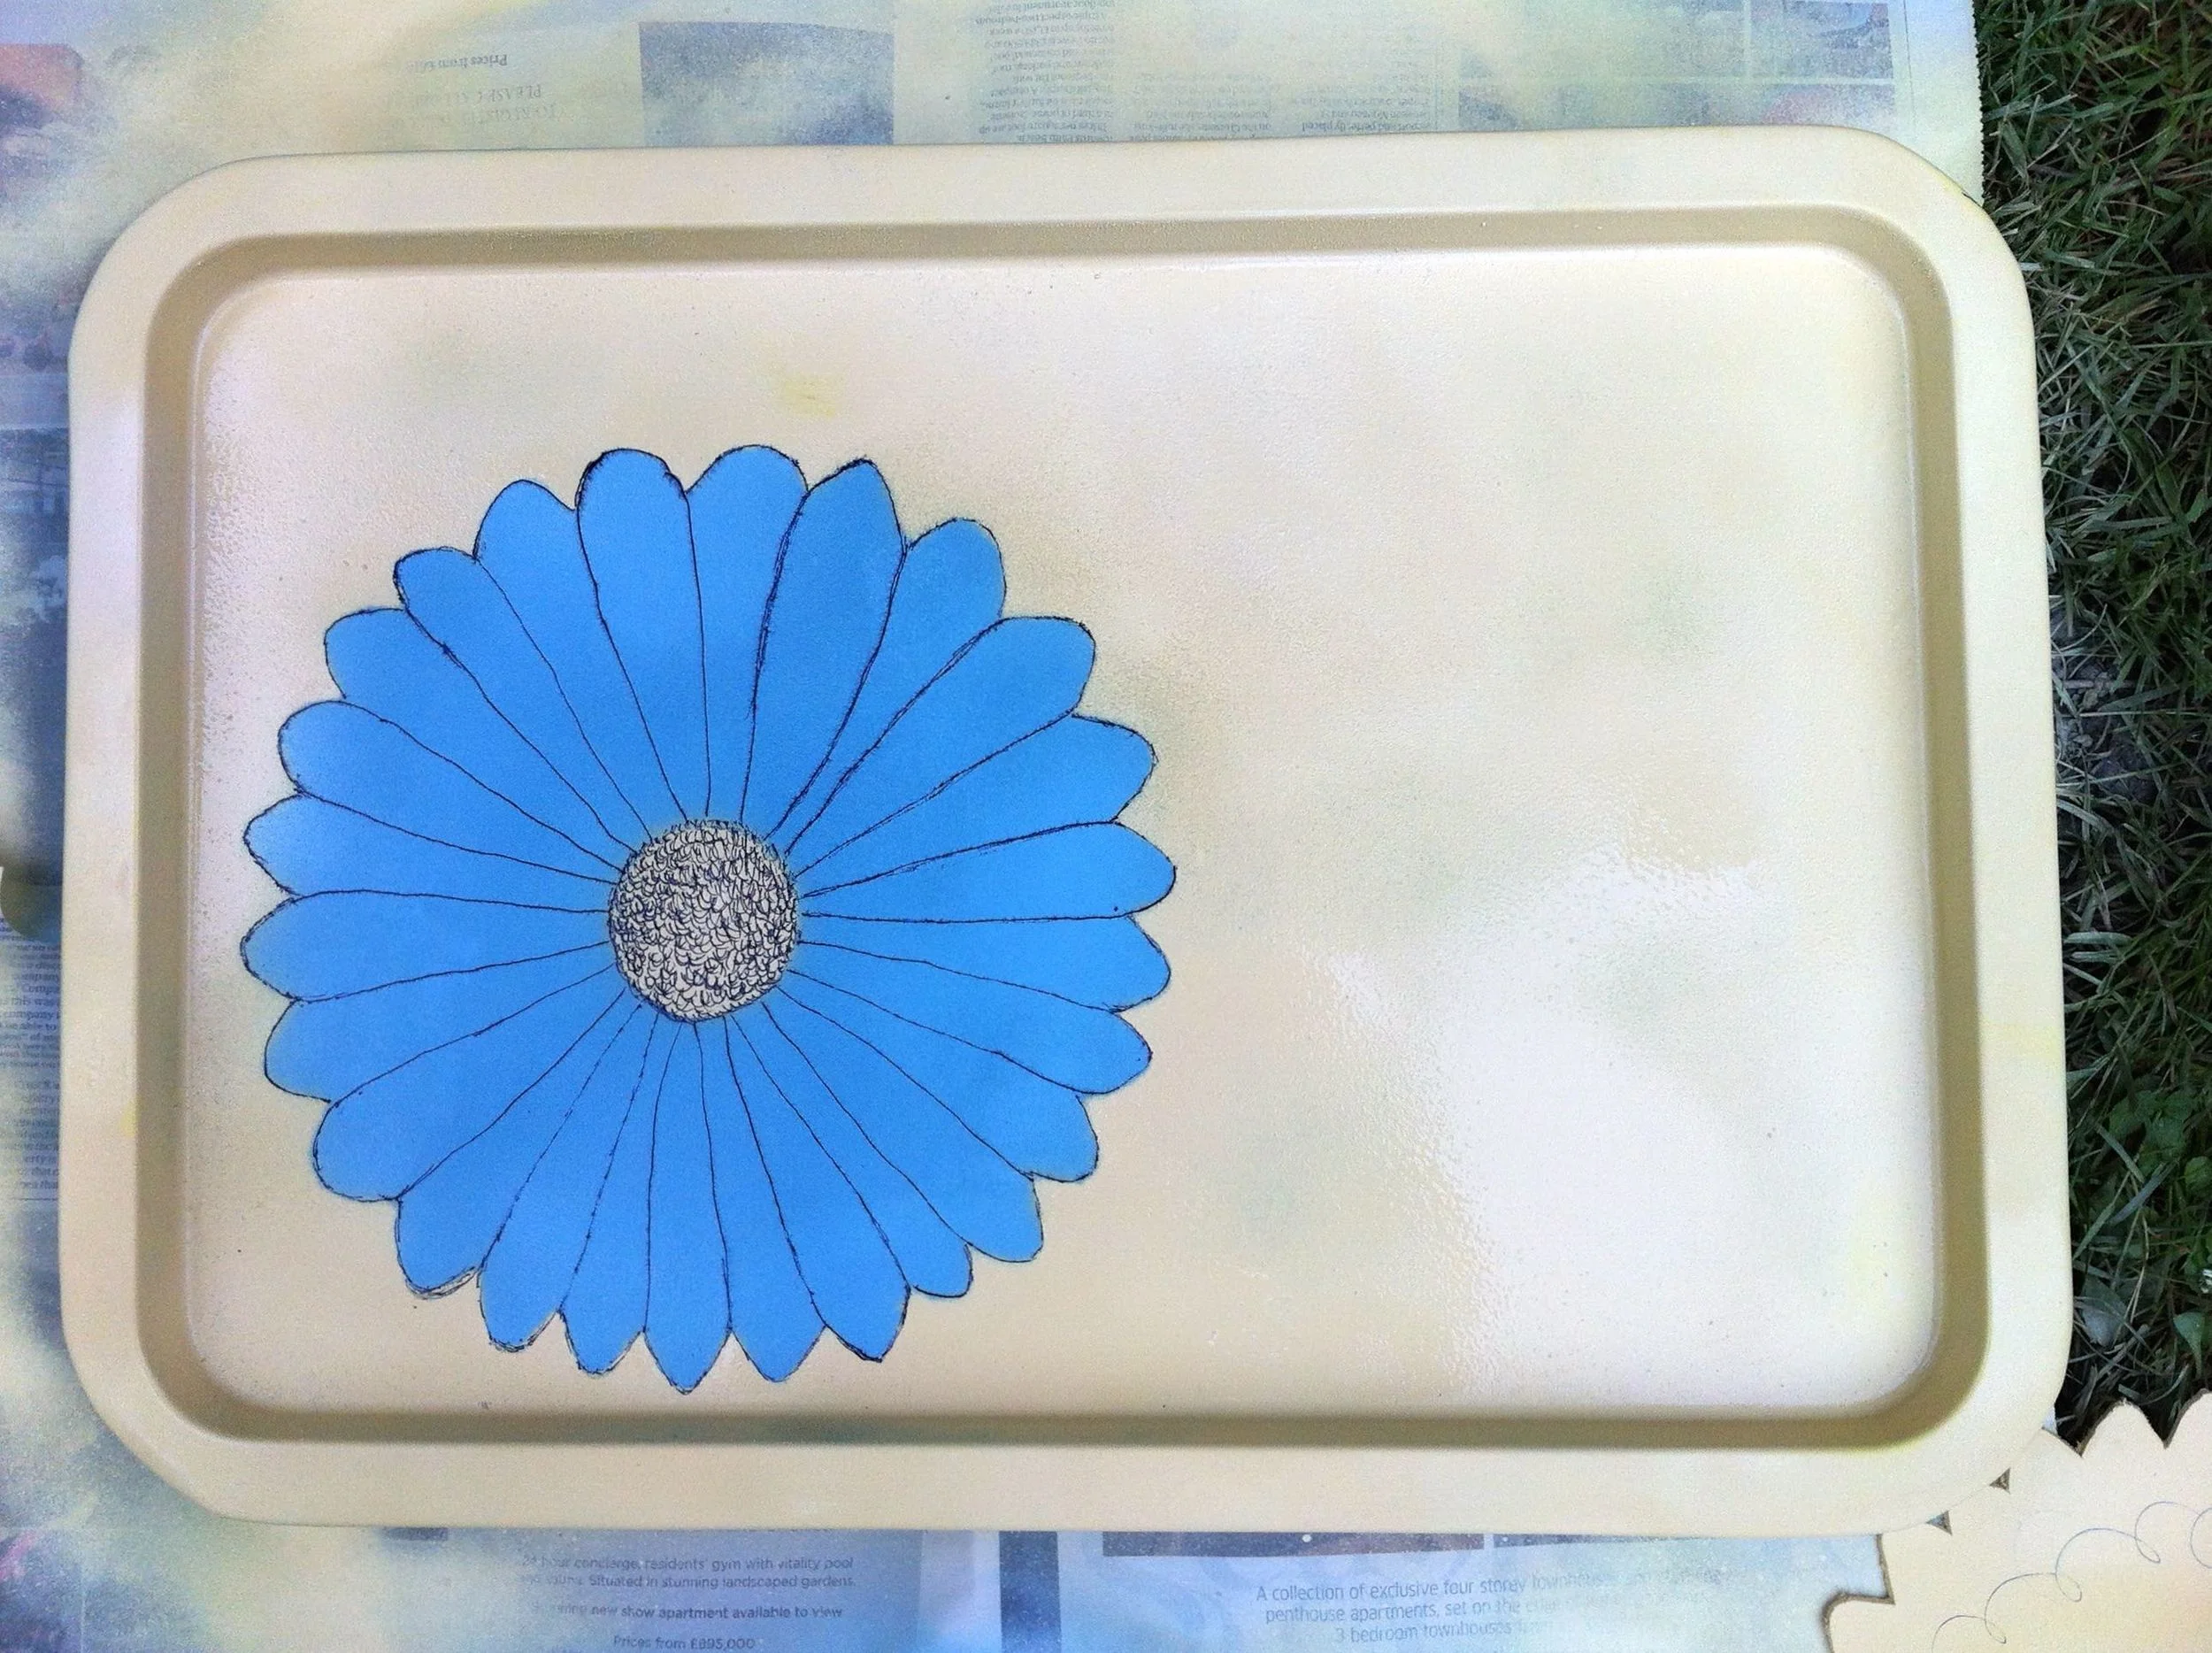
Now pleased with the depth and detail added with a simple black pen I wanted to seal the tray. For this I used the Pinty Plus Matt Varnish, which was equally easy to use. And I think it has deepened the colours a little.
As my tray is likely to be in use much more often now I think it was important to varnish it. I didn't use this on the sewing stool because when I'd completed it I didn't think it needed it.
So there you have it, a tray transformed!
What do you think?
This is a collaborative post with Novasol Spray who provided me with the materials for this project, but all words and opinions are my own.
