


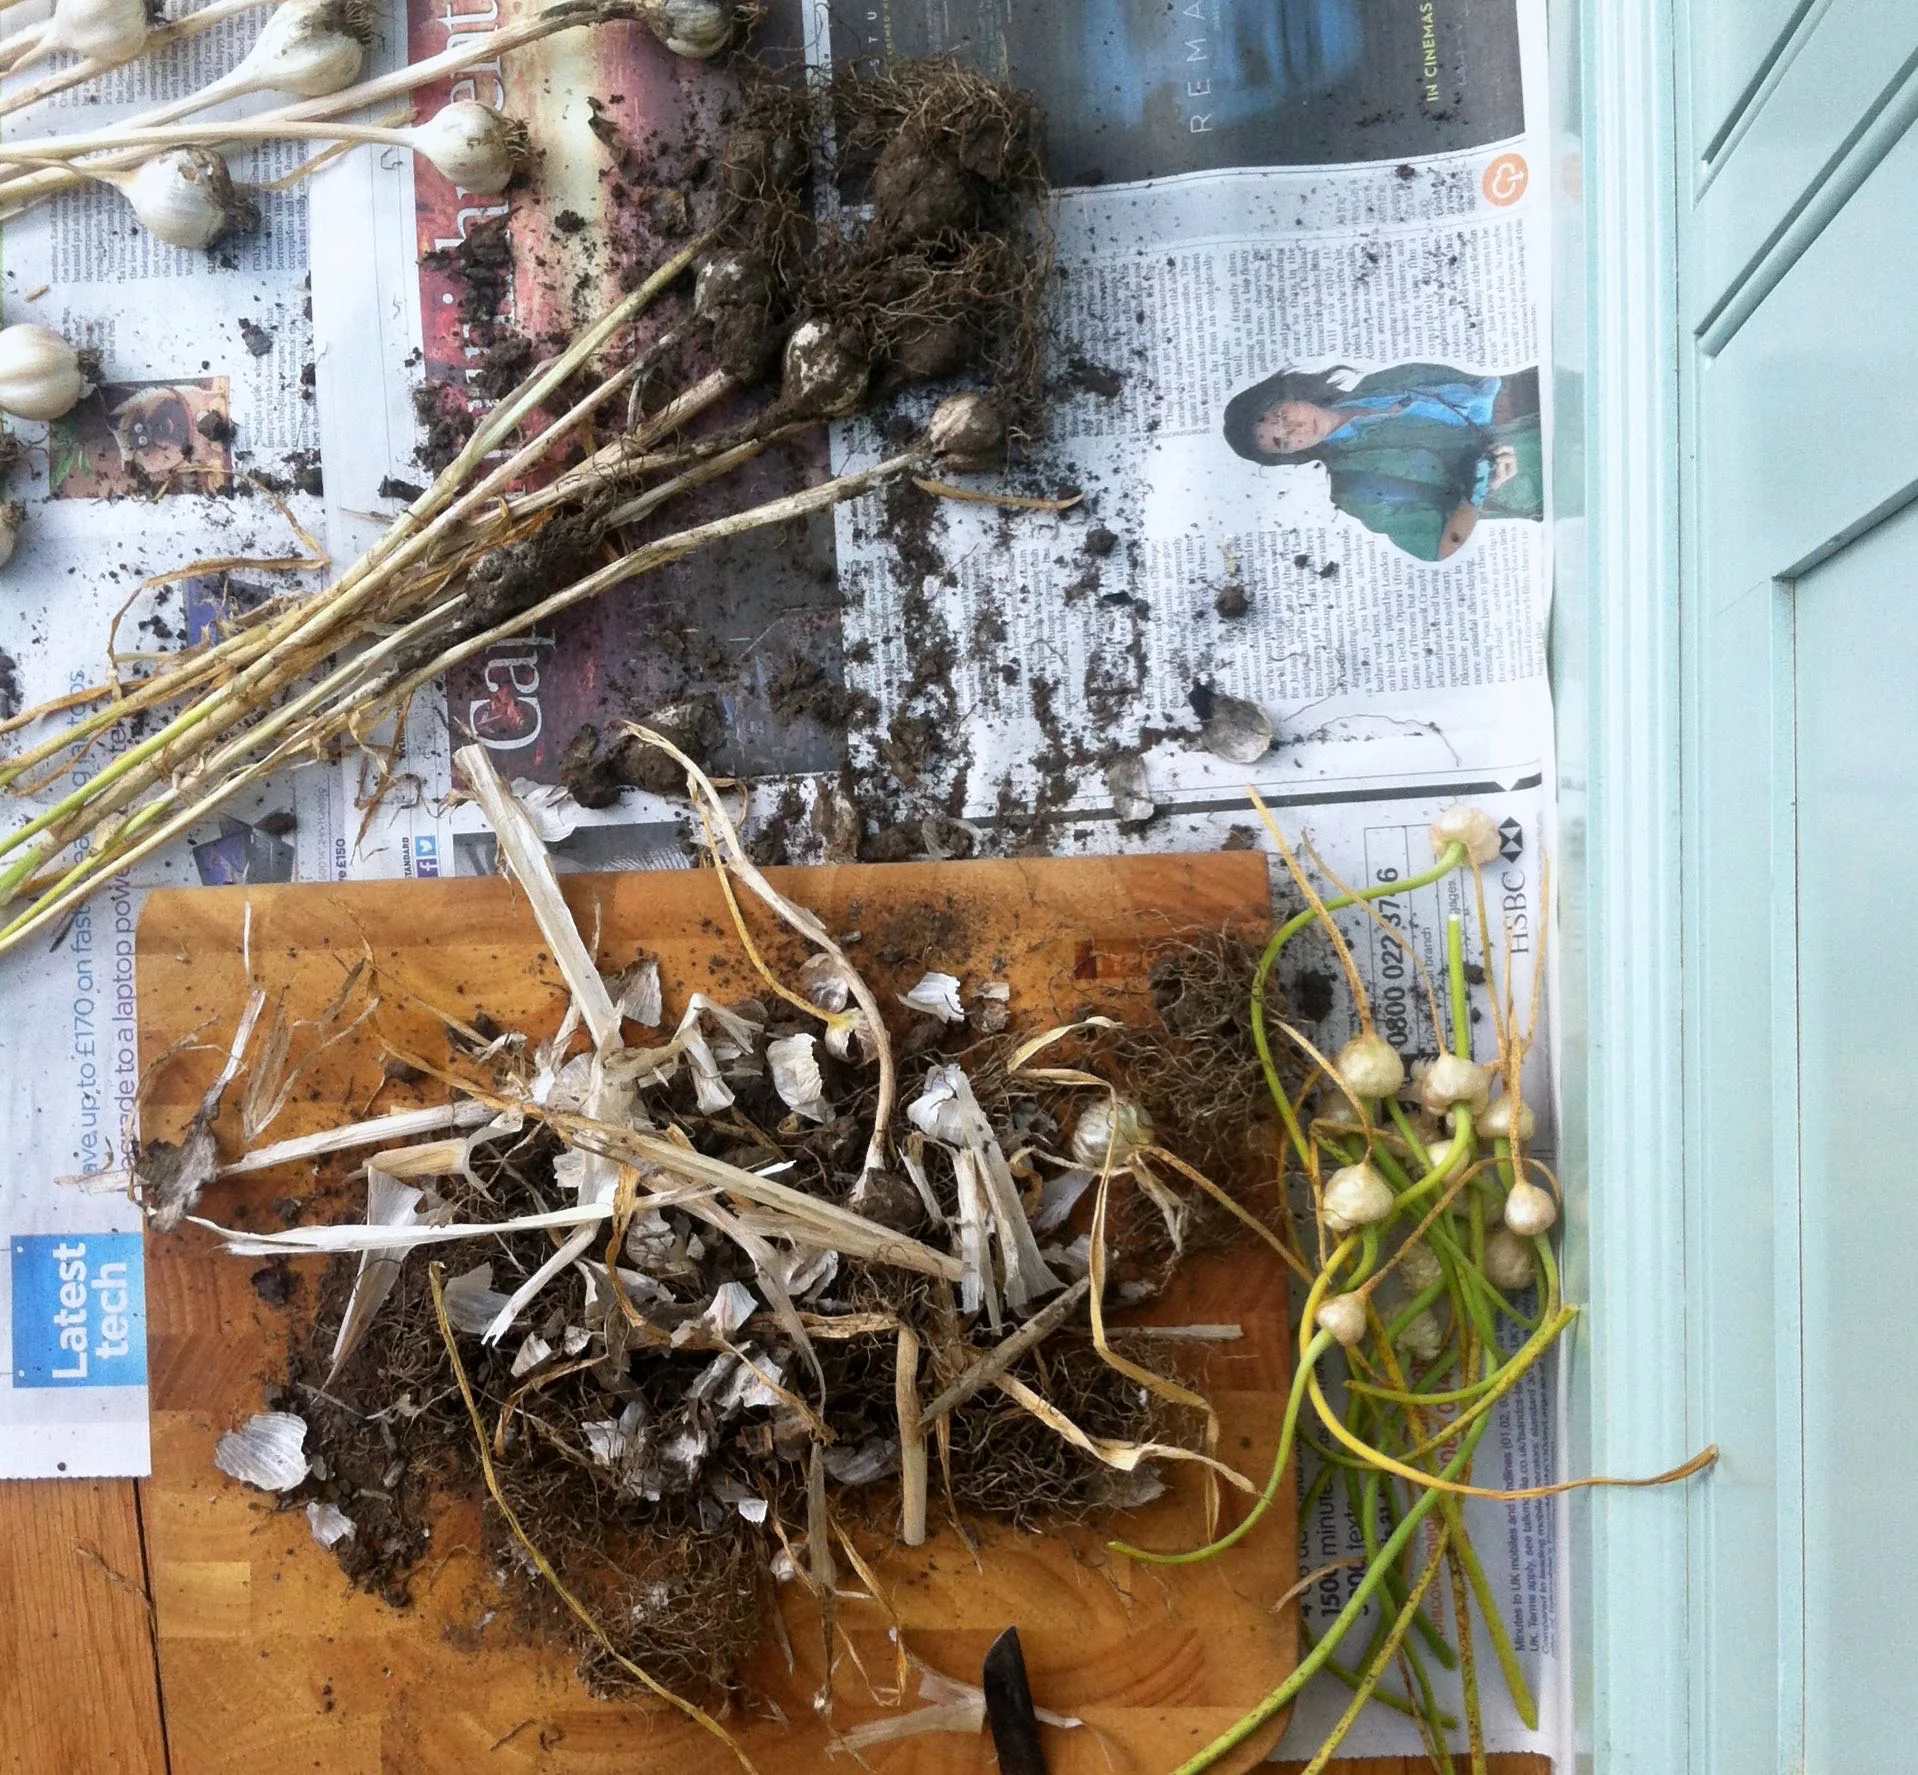
Last week I picked our garlic in the allotment. The bulbs were smaller than I'd hoped for, but still they were bigger than the single clove we'd planted in the autumn last year, so it felt like a small win. And I'll definitely be using them in the kitchen.
I'd left them to dry - mud and all - in the conservatory; it gets relatively warm in there, is dry and there's often ventilation with the doors open. And they're drying out nicely. But I needed to do something with them though so last night, as it was wet again, I decided to plait them.
First things first, the mud and roots needed to go so crumbled the dried mud away and cut the roots with my gardeners knife. Rubbing a layer from the bulbs with my fingers to reveal mostly a glistening white papery skin was very satisfying.
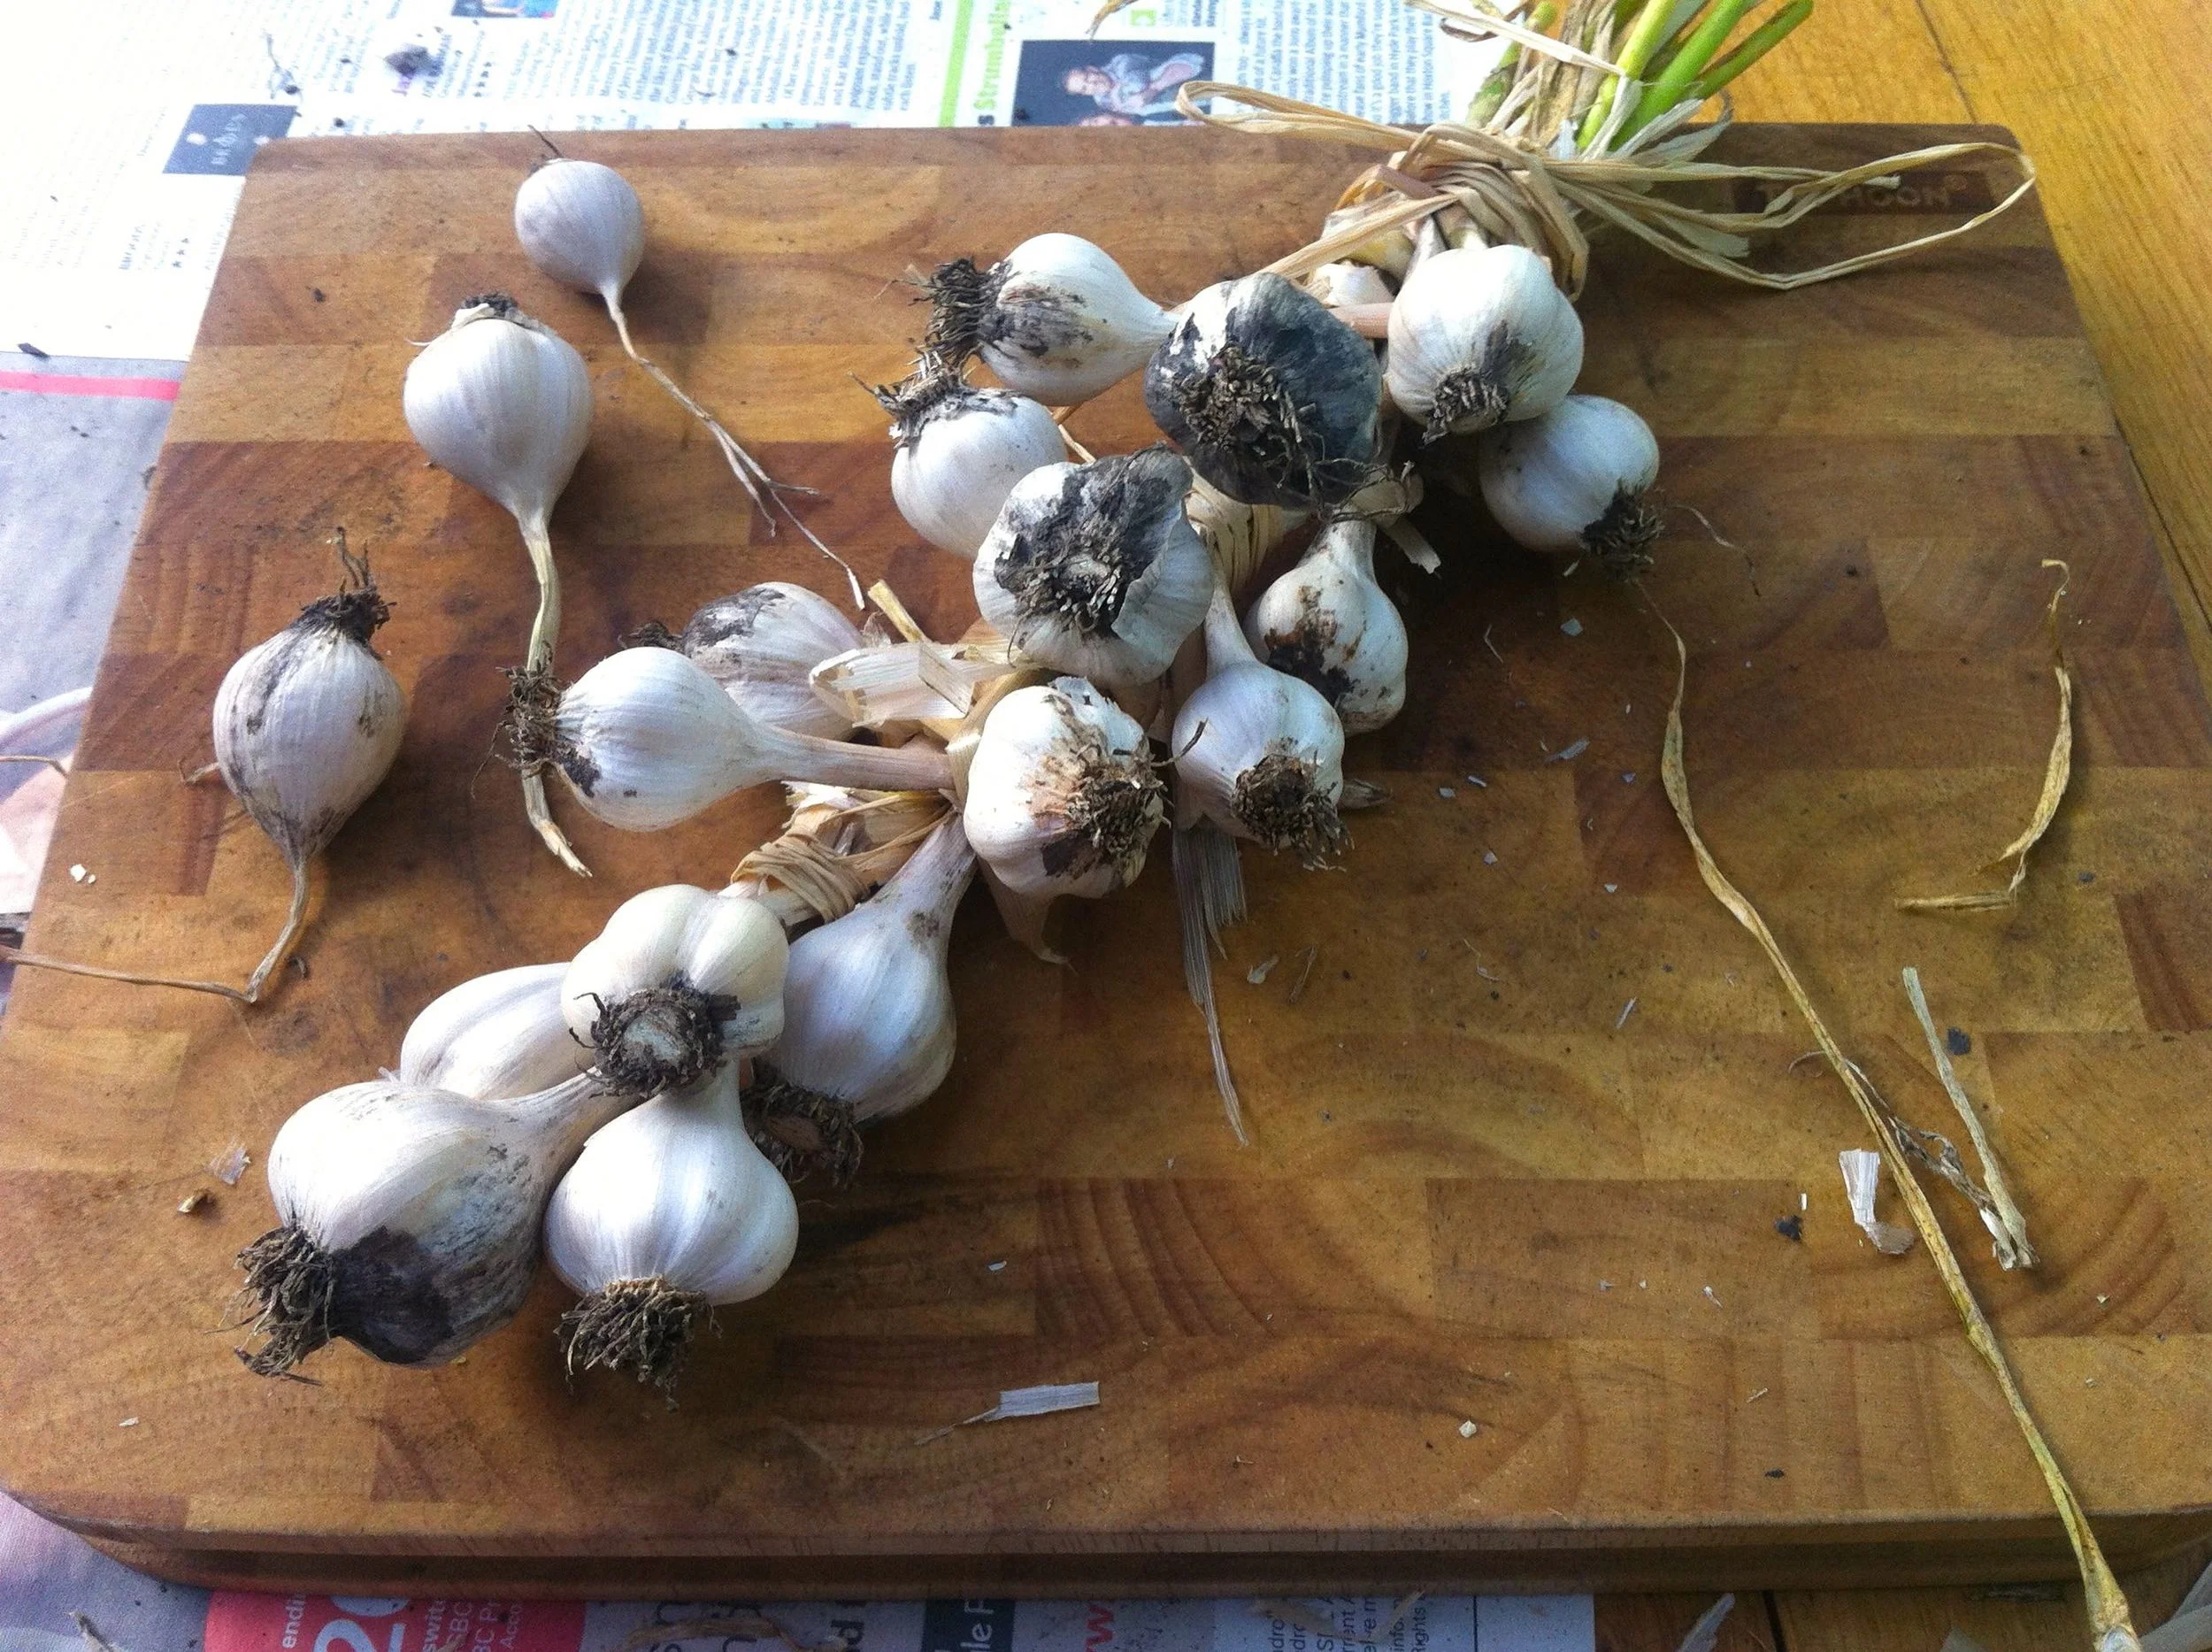
Next came plaiting. It wasn't so easy - and let's face it, I haven't plaited for a while. In the end I headed over to YouTube for some advice and got the hang, or sort of the hang of it partway through. Ah well, it's good practice for my onions, which are also on the small side.
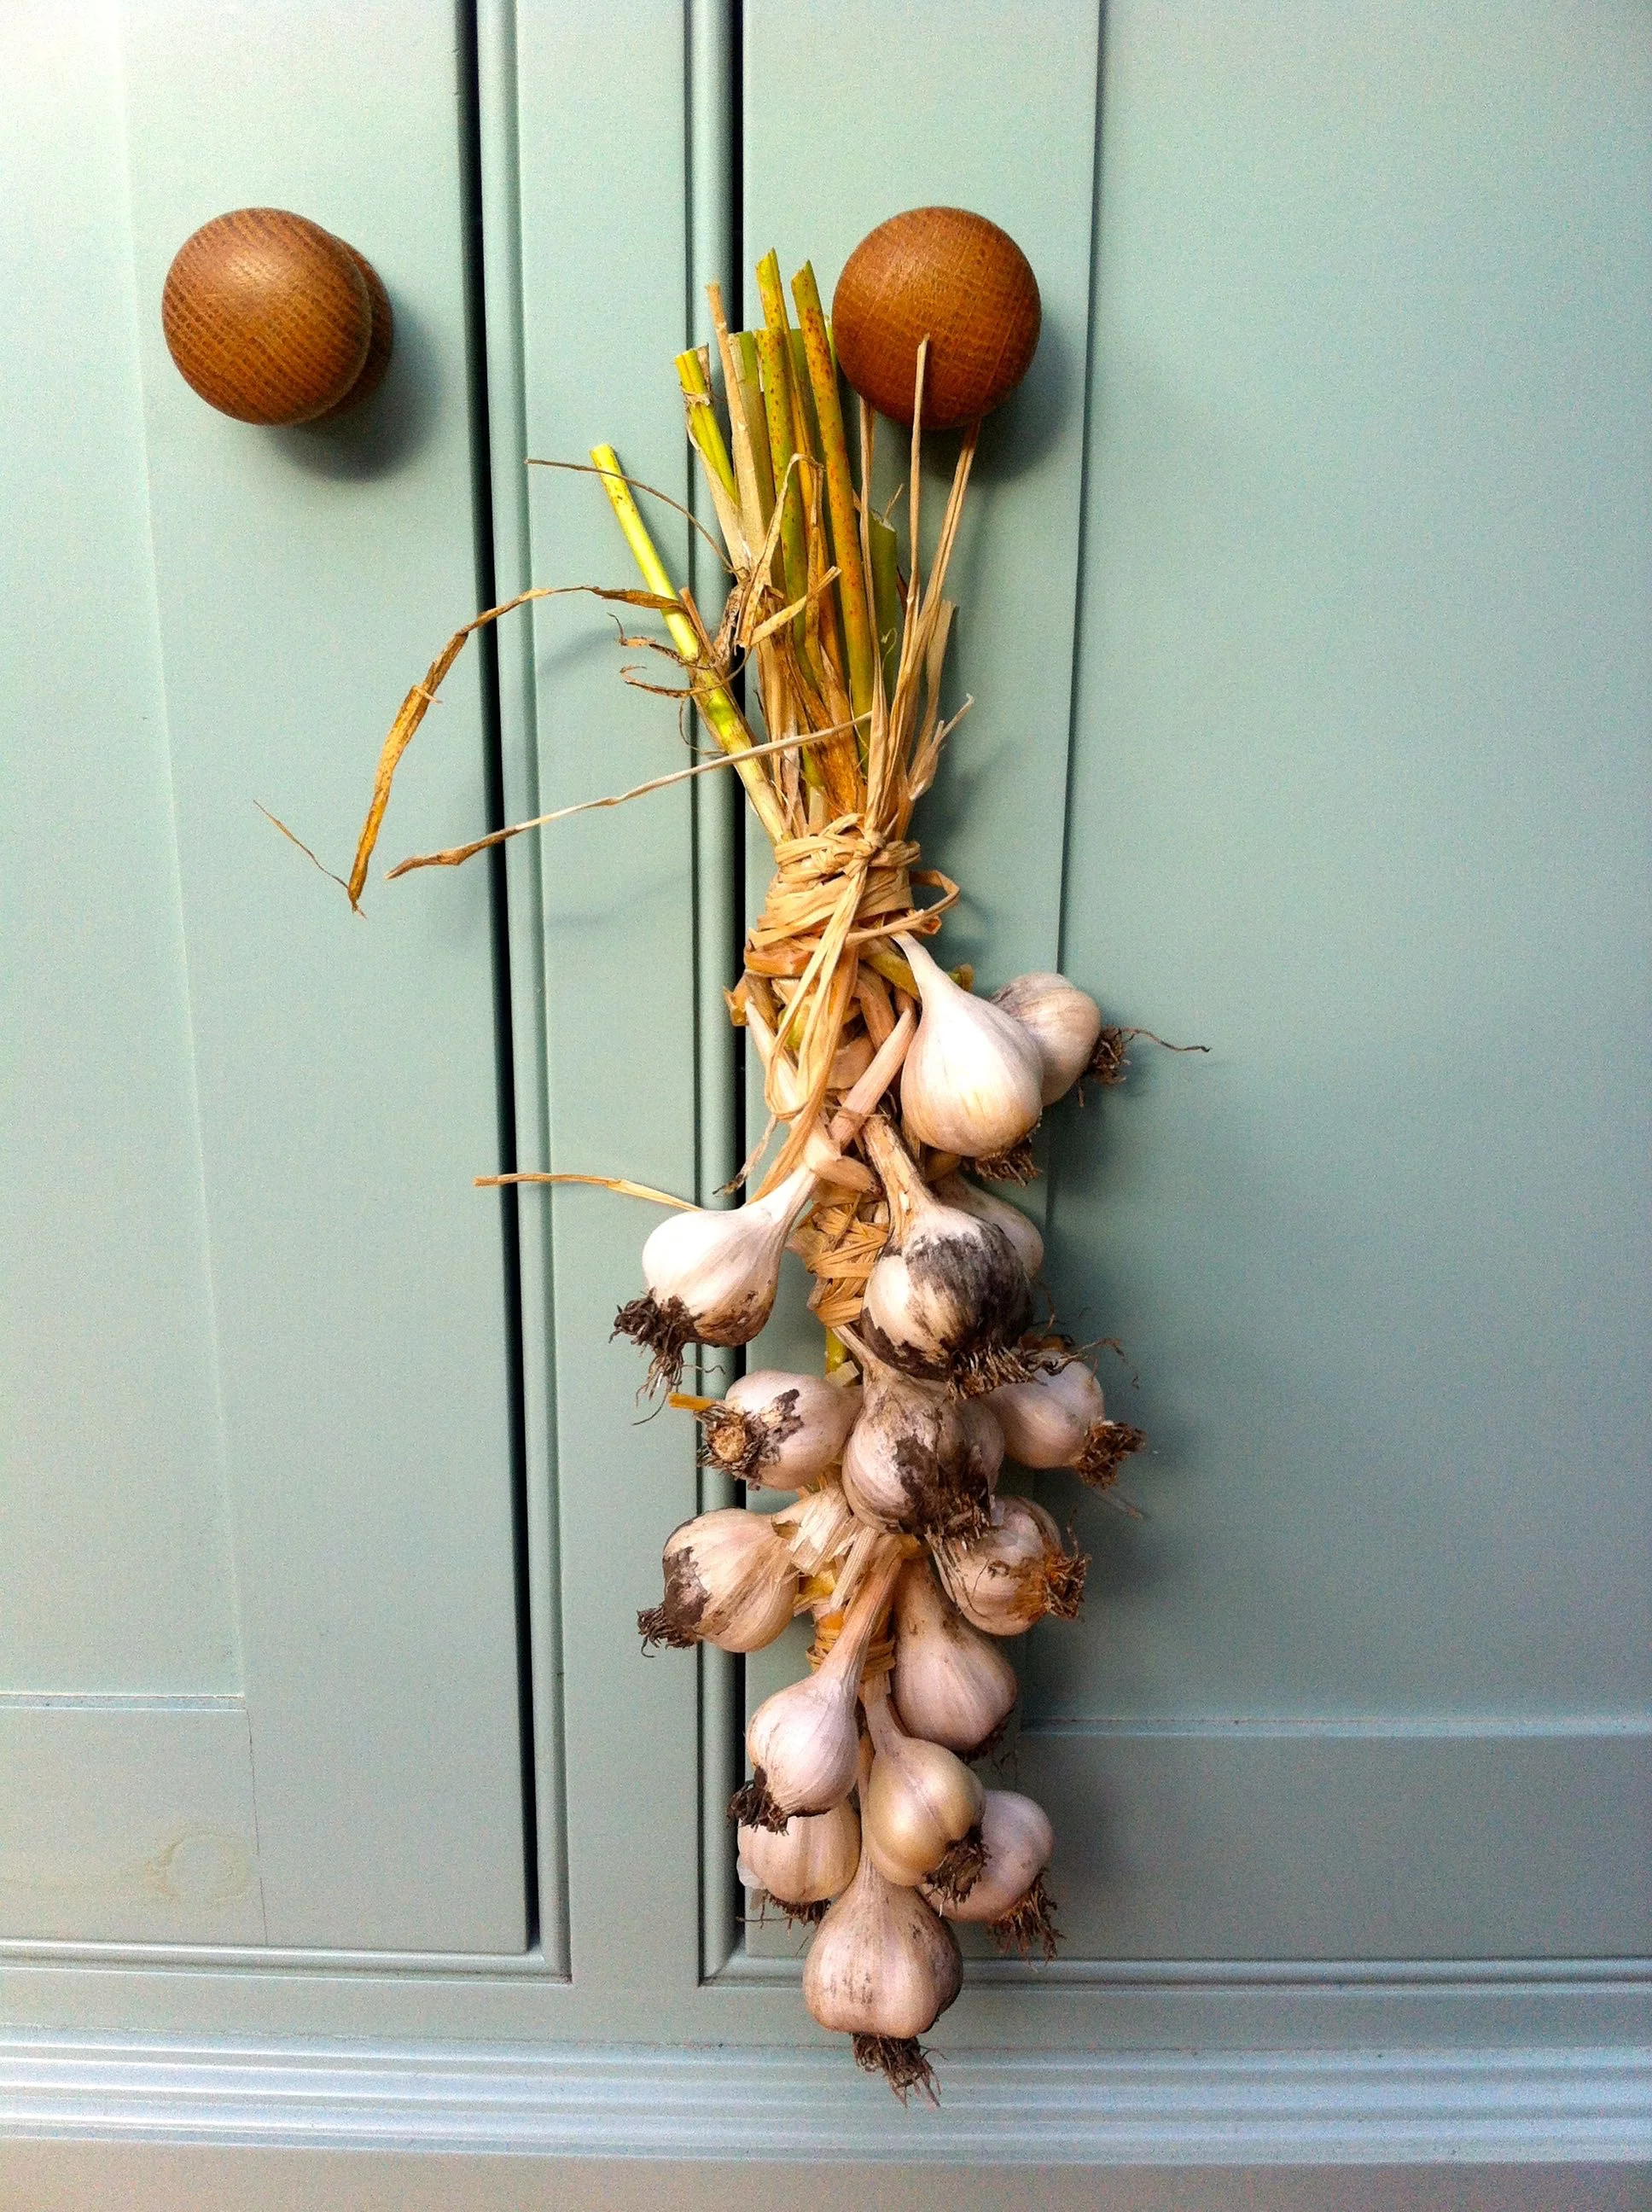
It's not the tidiest, but it's doing the job and now my baby garlic are hanging on the dresser in the conservatory drying some more and waiting for me to use up the shop bought stuff. I think with the size of the cloves I'll be using that shaking technique for peeling garlic which seems a lot less fiddly.
And I'll be hoping that next year's garlic and onions are a more usual sized. I've read recently that they do well on ground that's had potatoes in, so that's where they'll be next year. I was hoping to share a video of me plaiting it, but that wasn't pretty - so here I am adding raffia so I can hang it up. Maybe we'll get to a plaiting video in a couple of years!!
