


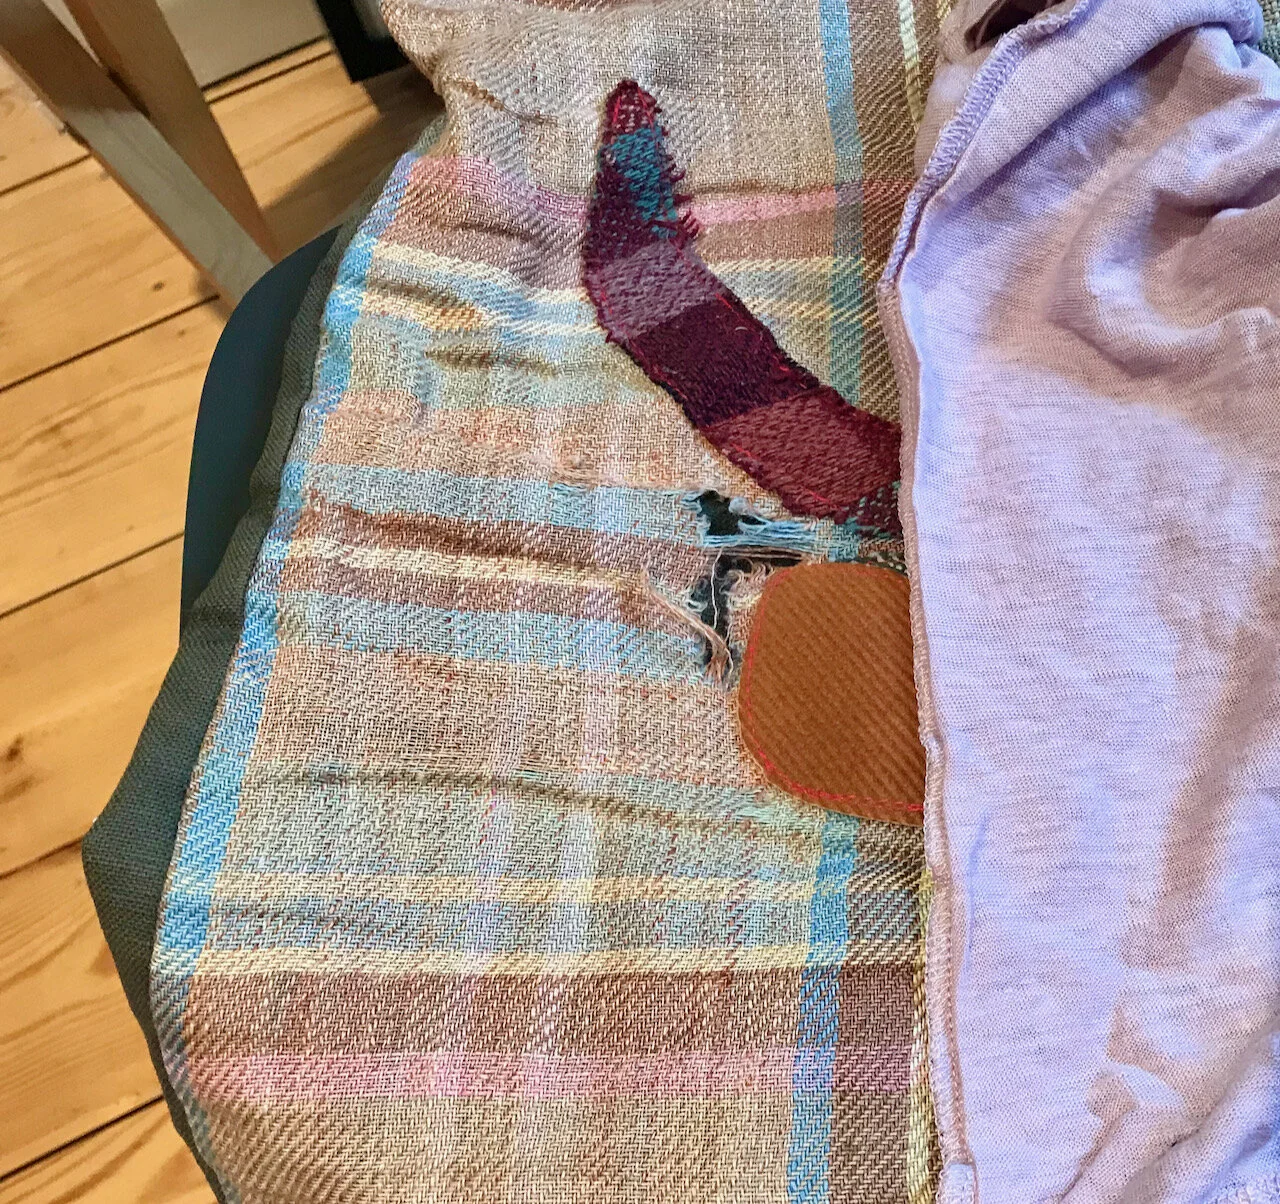
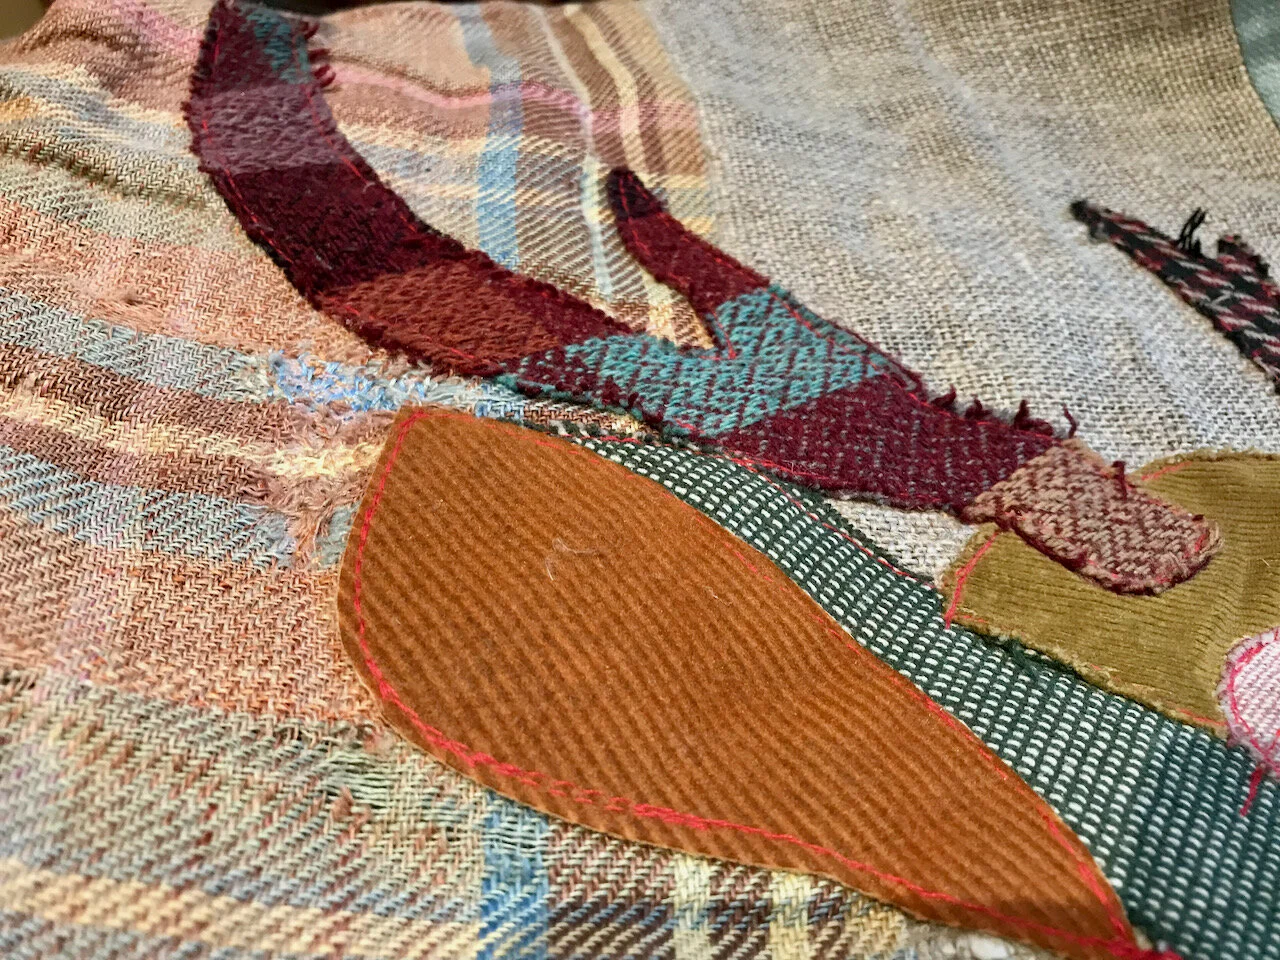
It’s been a couple of years now since we got our new cushions, remember the ones with the matching crockery, yes those. The other night while getting comfortable I heard a bit of a rip, and that’s never a good sound is it? When I looked the rip was on the softer tweed just by the antler - the material there is soft and more delicate than the other two panels, but I was pretty sure I’d be able to fix it.
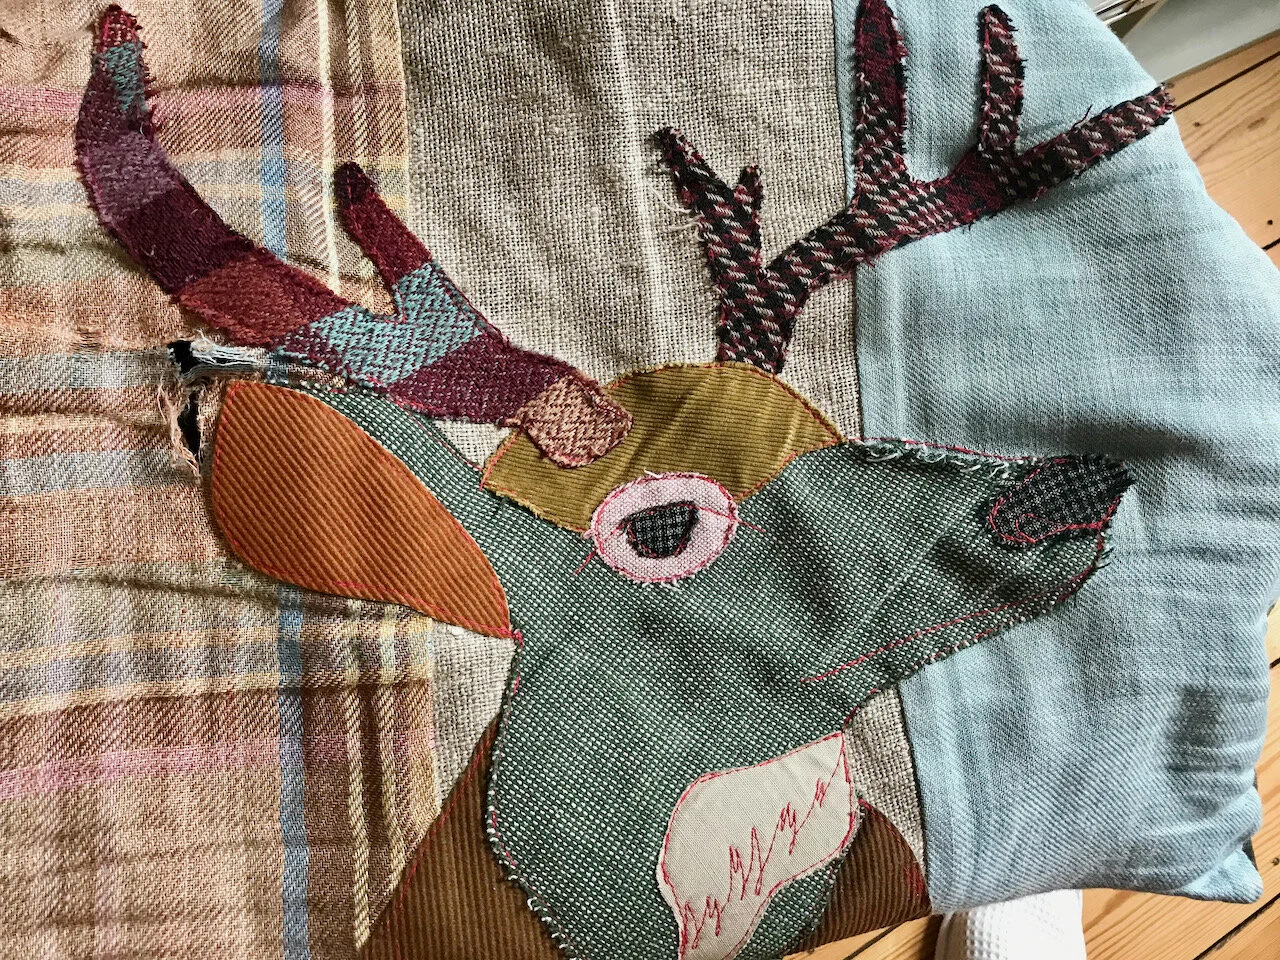
And so after formulating a bit of a plan, and hoping I might have some material I could use. When I looked more closely I realised that some of the stitching around the nose had also parted ways with the appliquéd fabric.
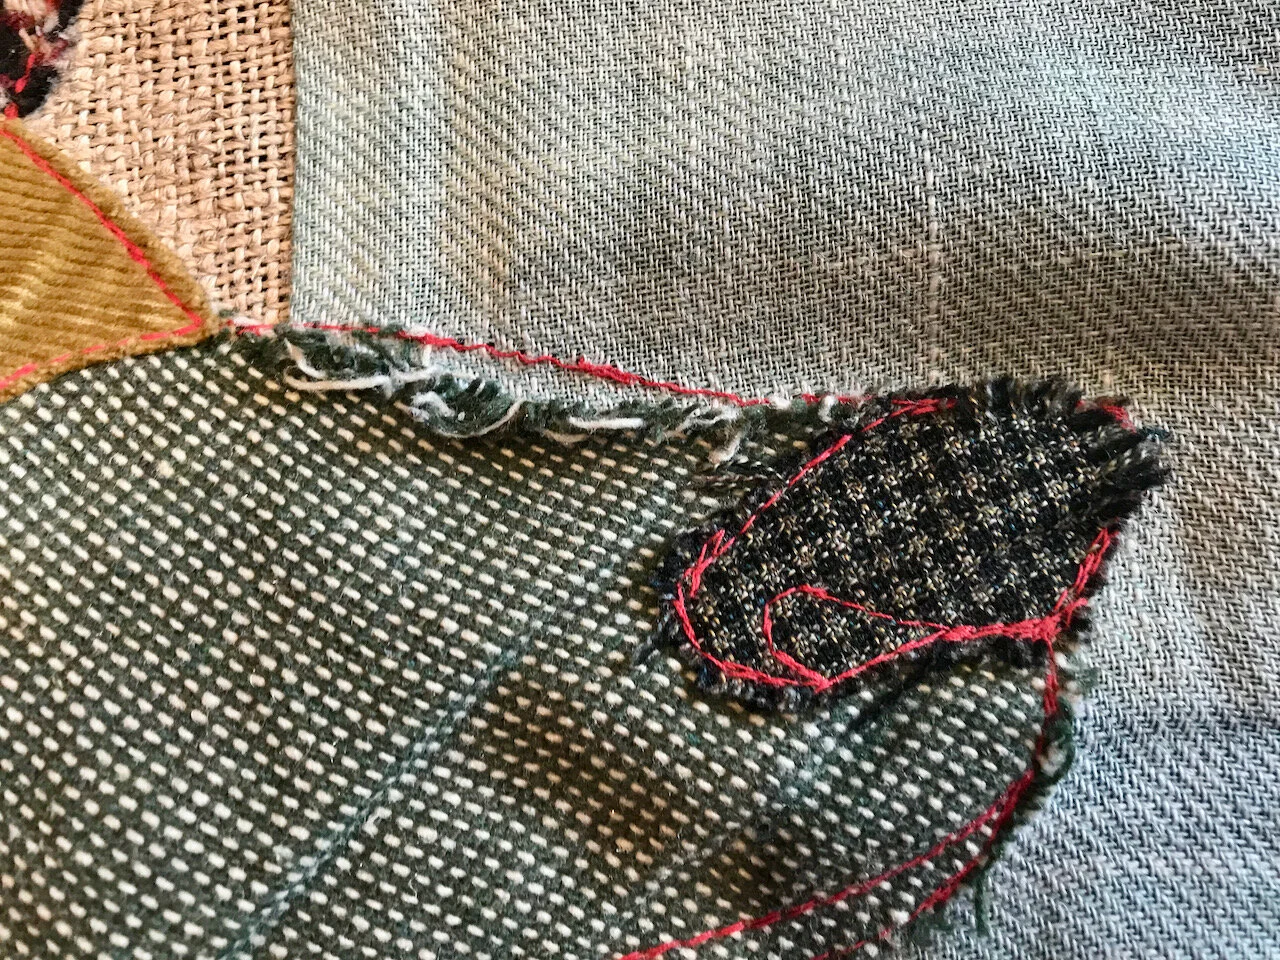
That felt like an easier place to start and so I found some red embroidery thread and a hoop and set to work to tack the fabric back together.
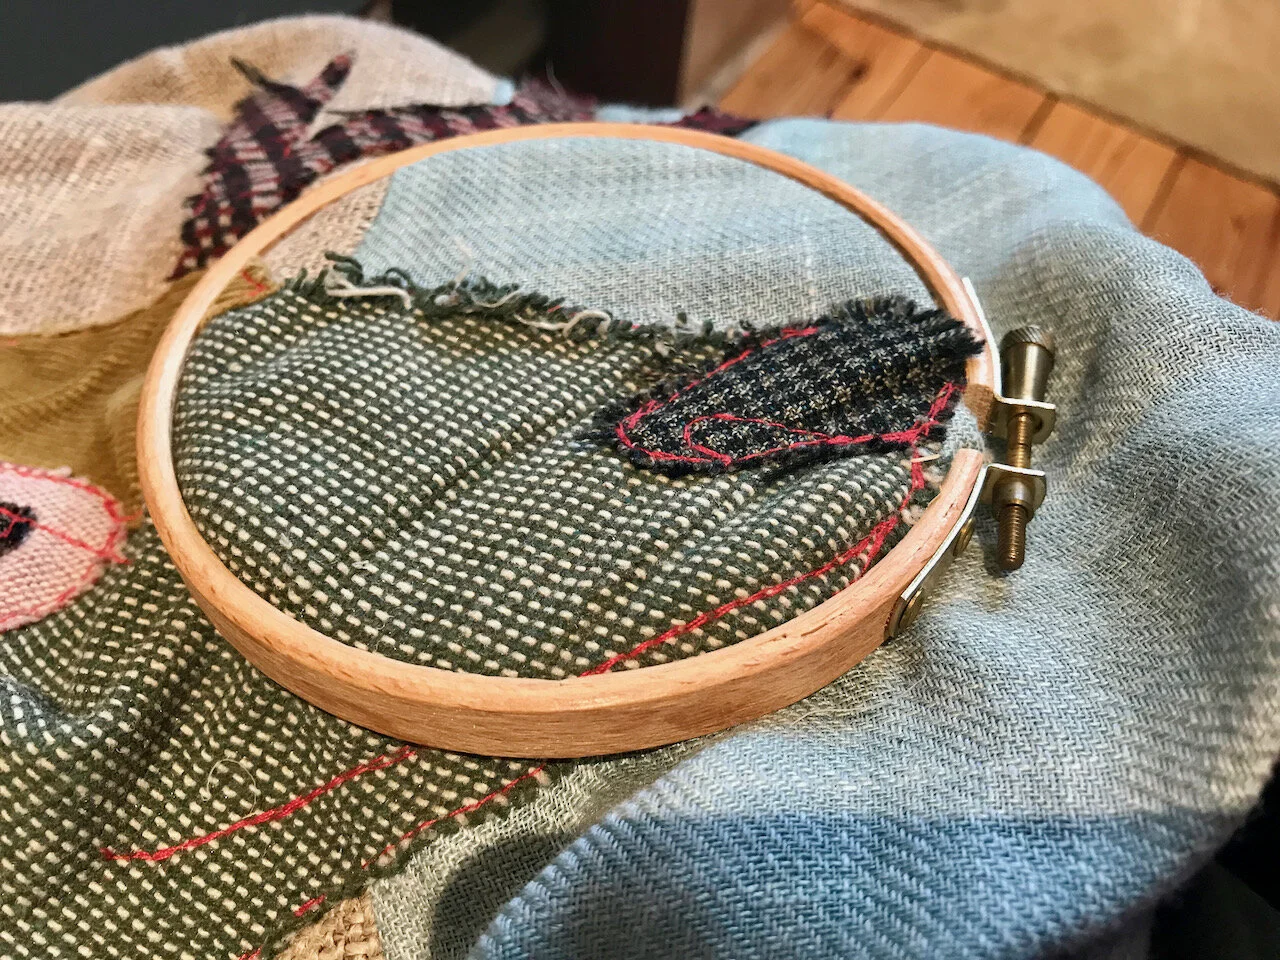
With that done and after a quick trim, it was almost as good as new - well, not quite new, but passable.

Which left the bigger job. My idea was to place a piece of material behind the hole and take it from there. I found this old t-shirt which was a good tonal match to the section that needed repairing. I decided to use half of one of the short sleeves, so much larger than the part to mend, and carefully attach that.
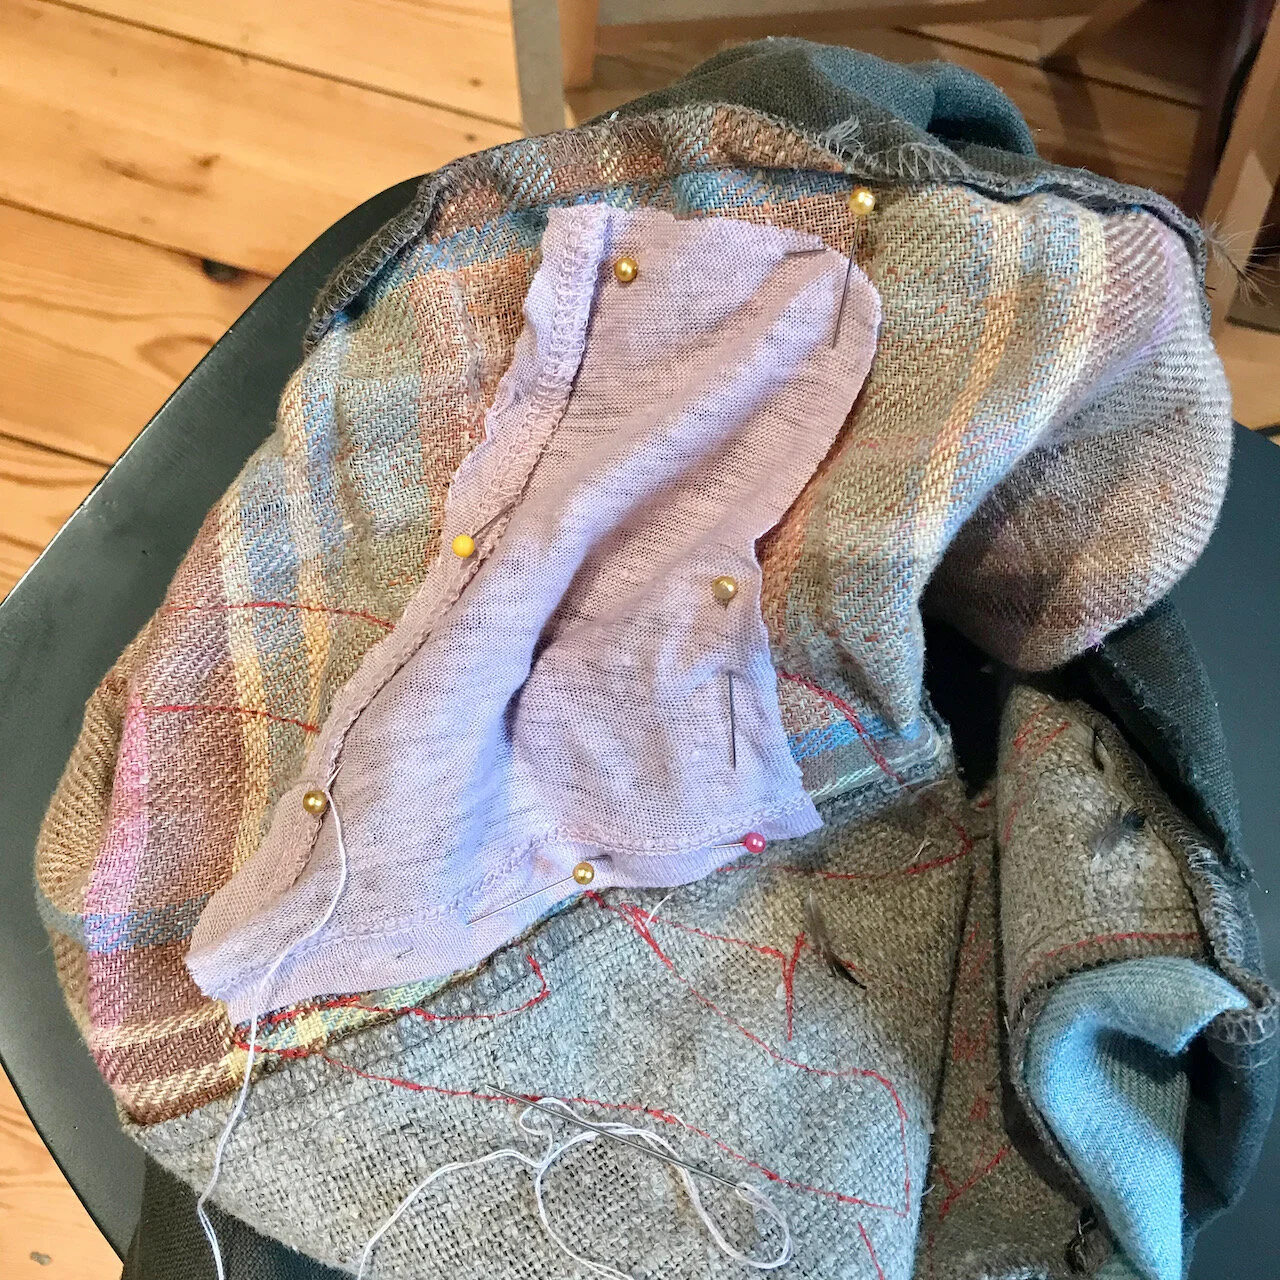
Then I used beige, blue and cream embroidery thread to catch the threads around the holes. While you can see the mending in the picture below, when you stand back it’s far less visible - and overall the cushion cover is much more durable than it was before I started!
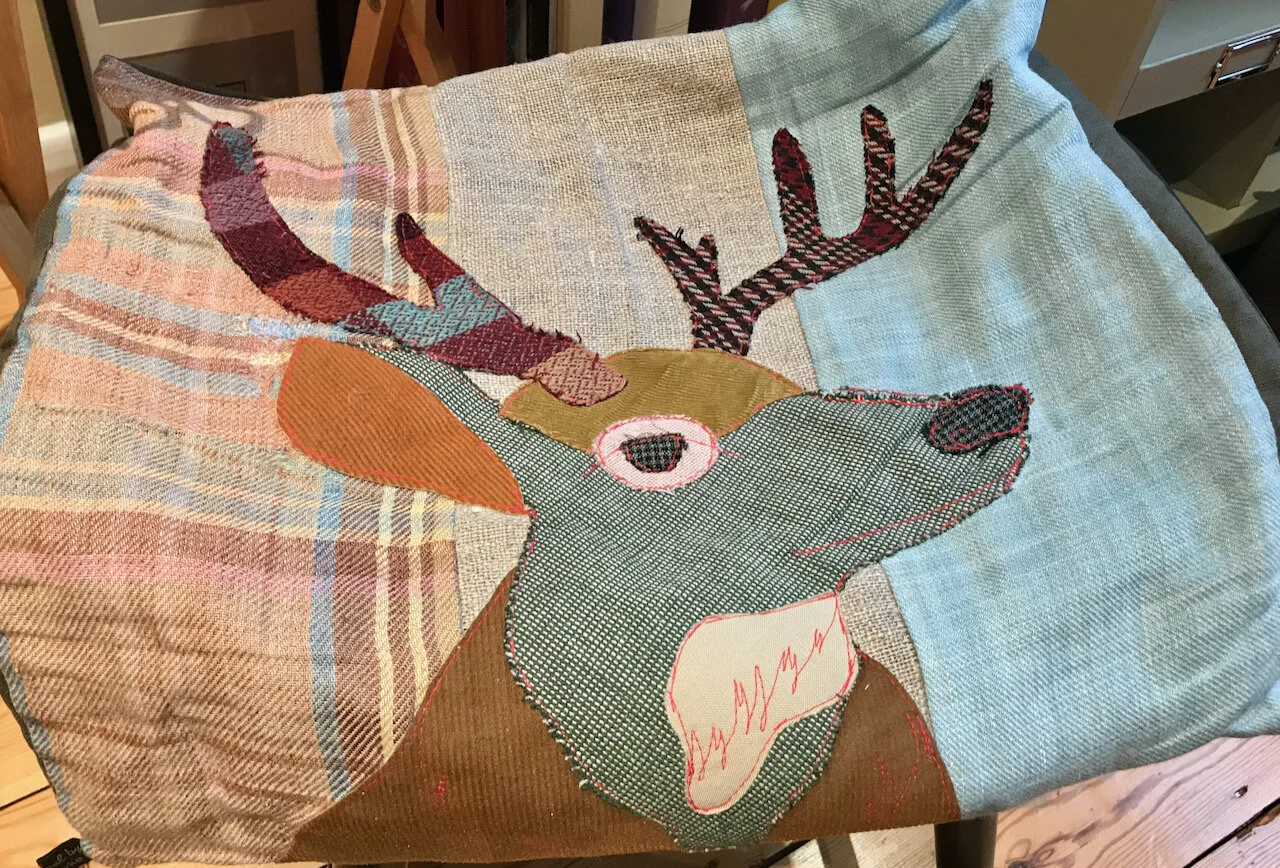
But if you look quickly, it’s hardly noticeable - MOH only saw it when he looked more closely, so I’ll take that - and the deer cushion lives on. While looking at this more closely, as I did, I realised that this is a craft that would be great to learn - so watch this space!