Our first visit to the Newark Garden Show

You’ll know that I like a garden show or two. Along with MOH I’ve been to Gardeners’ World Live a few times, and we’ve also been to the Chelsea Flower Show too, so when I saw that Newark had its own Garden Show I was keen to go along and see what it had to offer.

The show took place last weekend at the Newark Showground, and we went along on the Friday. The weather wasn’t its best (no surprises there - it’s not been its best for a while has it?), but armed with footwear for muddy paths (which weren’t needed) we were prepared. It wasn’t my first time at Newark Showground, as I’d been along to the Newark Quilt Show in January there too. The garden show was on a different section of the showground and with more exhibitors and mostly outside it took up more space too.

We pre-paid for our tickets online and while there was the opportunity to purchase tickets on the door when we arrived, I’m not sure if this would be the same on the most likely busier weekend days. Entry seemed a bit chaotic and somewhat relaxed, but as it was the first day I’m sure that improved.

I wasn’t quite sure what to expect as the information ahead of our visit was sparse; a list of exhibitors would have been useful though not having this clearly didn’t stop us attending!

Plants galore

As soon as we entered the show we were faced with plants galore - what struck me though was how reasonable their prices were. We spotted some pretty decent sized (but not huge) olive trees for around £60 - an absolute bargain. But as we’re not in the market for an olive tree we moved on pretty quickly before we were tempted.

Actually we weren’t in the market for much on this visit. We were keen to continue our research into garden furniture, and to generally be inspired. We definitely left with inspiration for our future garden plans, but that was mostly plants and sculptures rather than furniture based - and we left with a couple of plants for the patio too, but more on those later.

A stand full of hydrangea plants
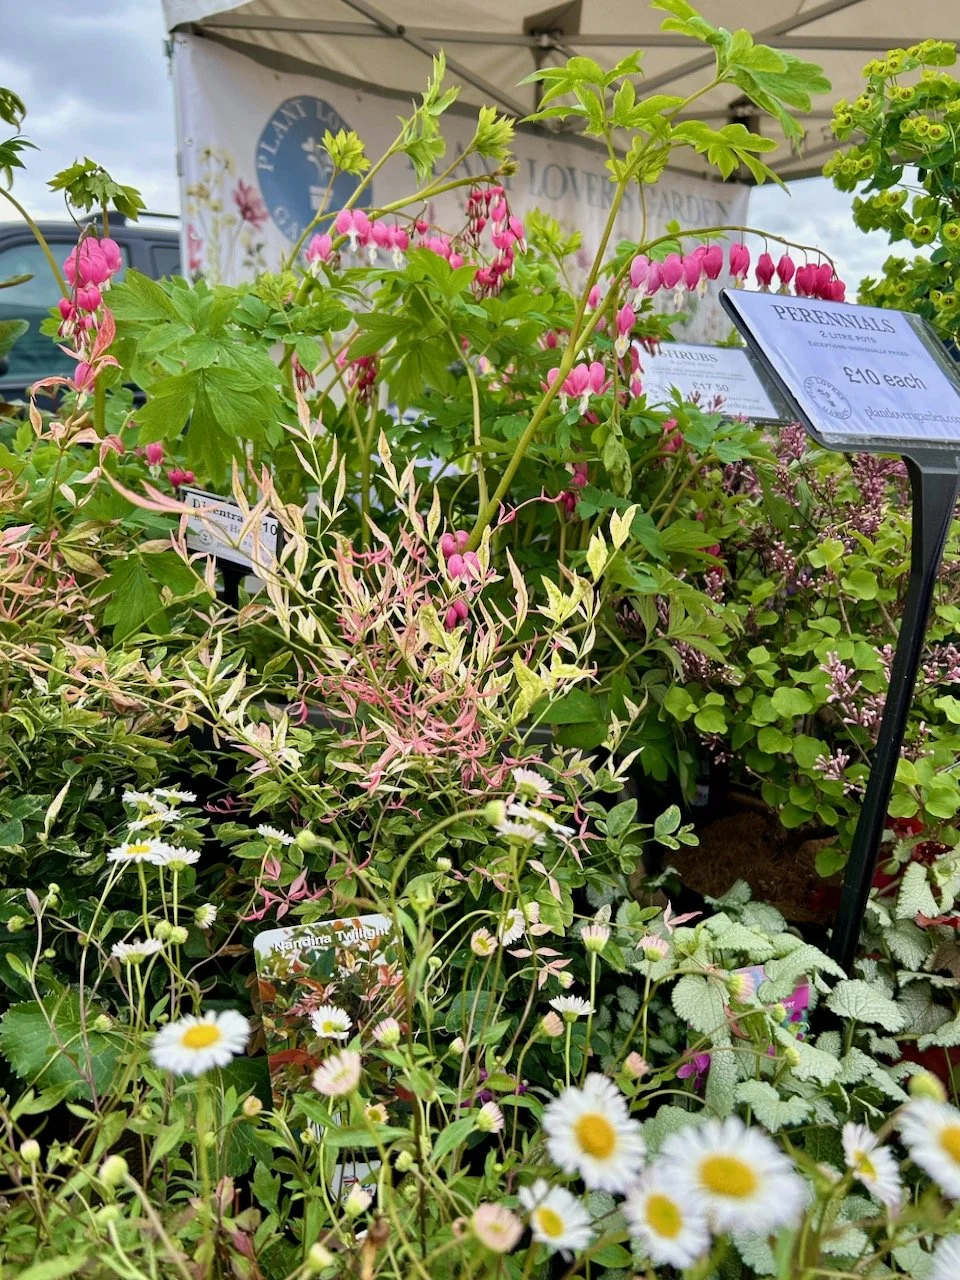
The perennials on The Plant Lovers stand - with bleeding hearts curving over the top and daisy like flowers in the foreground
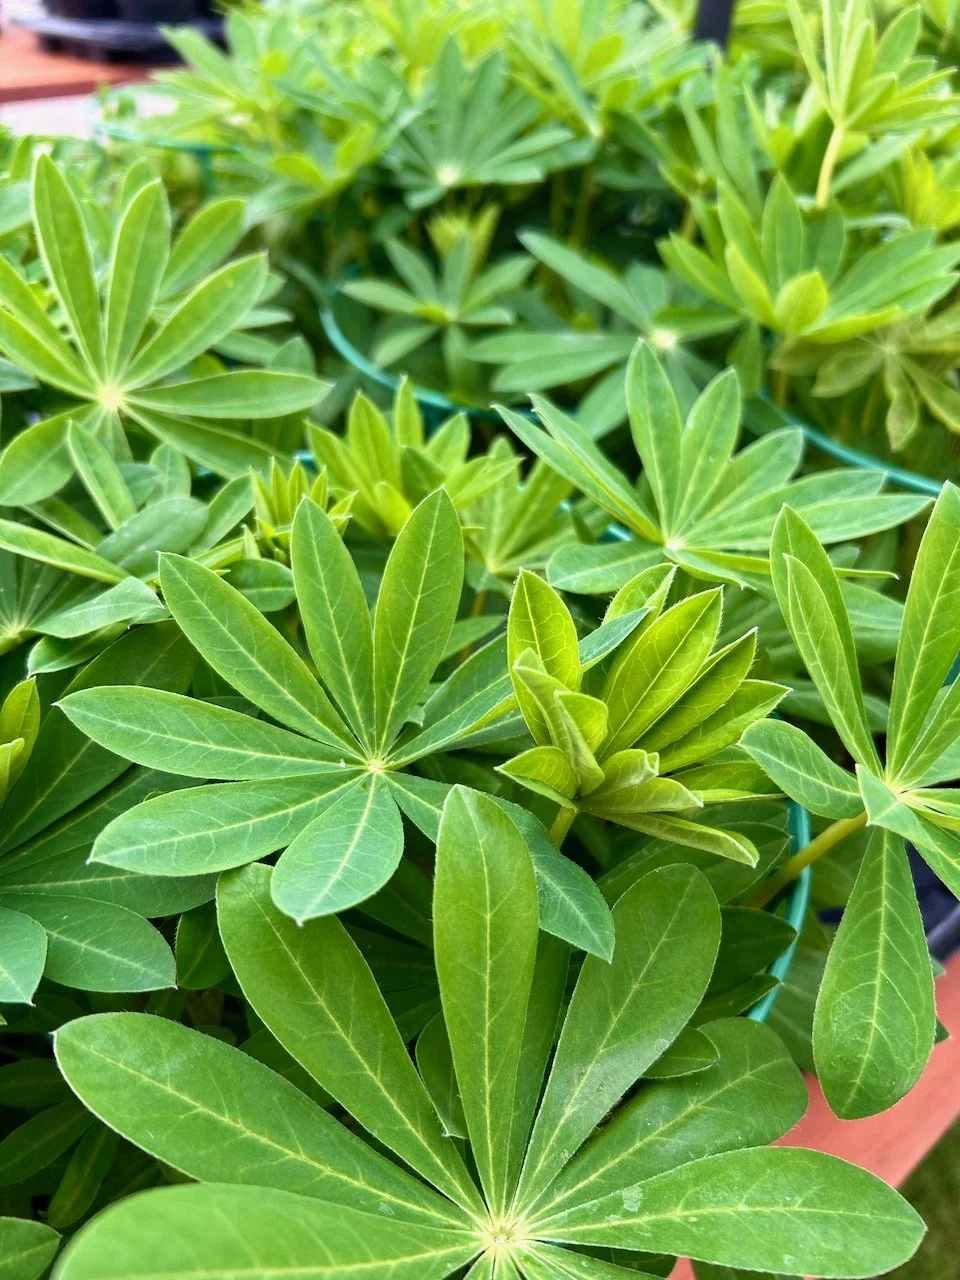
Green lupin leaves filling the picture

I’m a big fan of lupins, and have tried several times to grow them successfully in my last garden. However it wasn’t to be, I think because we had so many snails and slugs, and to be honest it wasn’t worth the effort and disappointment, as just when I thought we’d be ok, the local slimy population enjoyed their feast. However I’m nothing if not persistent, and with a new garden which seems to have significantly less lupin destroyers, I’m trying again. This time though I’m trying with two of these bigger plants, which are now on the edge of our patio - wish me luck, and let’s hope that these lupins don’t act as calling cards for the local slugs and snails which so far have been giving our garden a wide berth! I’ll let you know how it goes in my regular monthly garden updates.

A plant trend to watch for?

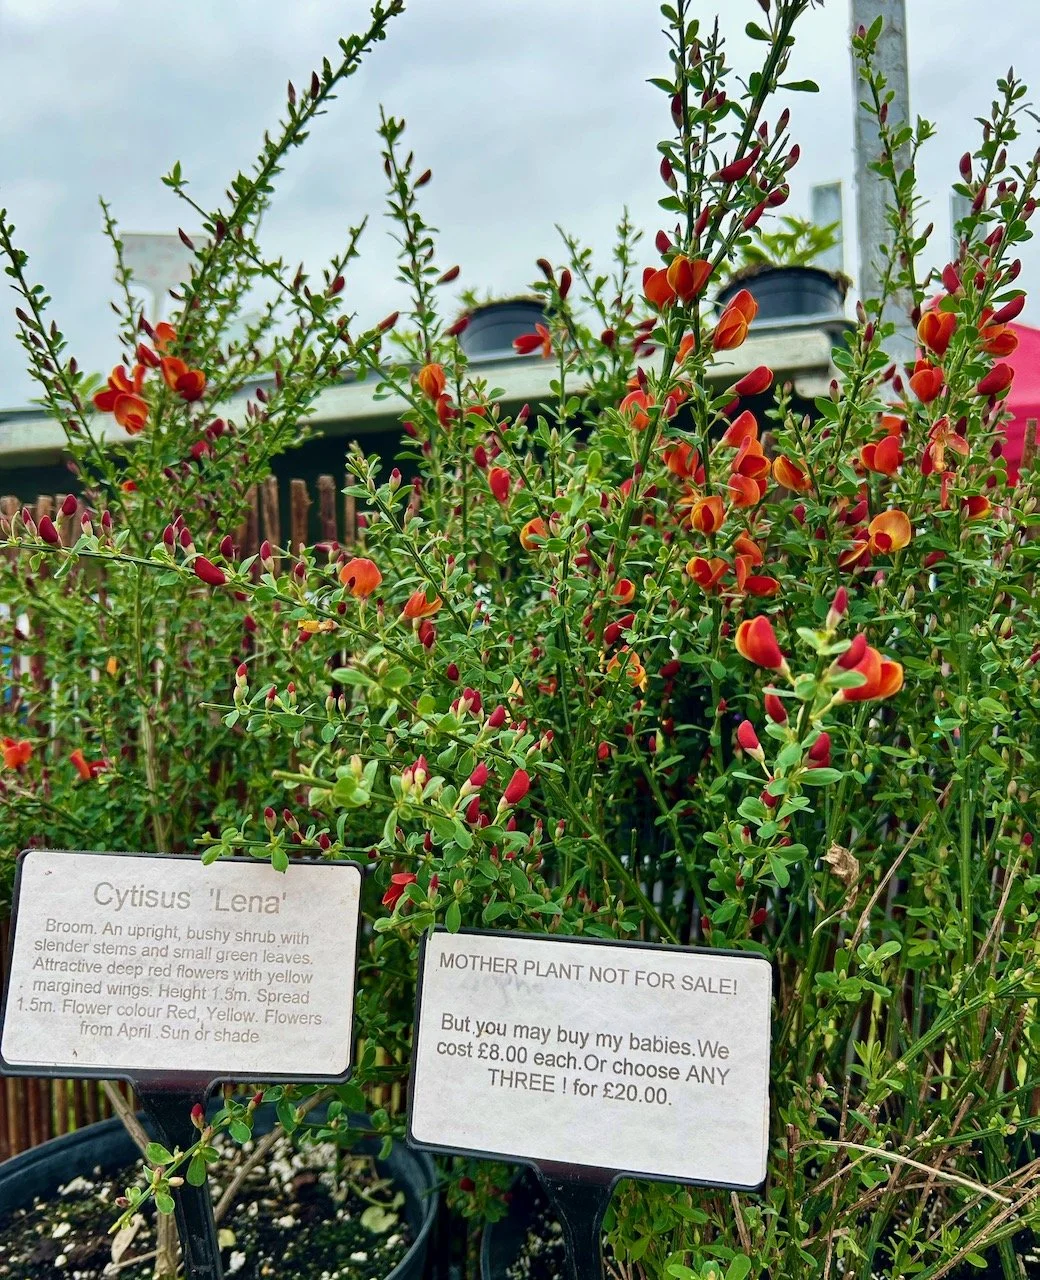
One stand we visited had the Mother Plants and its seedlings on display, which was something I’d not seen before but it was an approach I liked - as there right in front of you was the inspiration to purchase and care for the seedling, showing you what you could aim for. Given the notices on each mother plant I suspect a fair few people would like to skip the nurturing stage and take home a larger plant, but the smaller plants are clearly more preferable pricewise.

That’s not the trend though, I also spotted quite a few fiery flowered plants, whether the flowers were deep oranges, reds or yellows I wonder if this is a plant trend to watch for this year. Only time will tell, but it’s a plant trend I could get on board with!

The reds and orange winged flowers of the Cytisus Lena mother plant

Going large with plants and garden ornaments

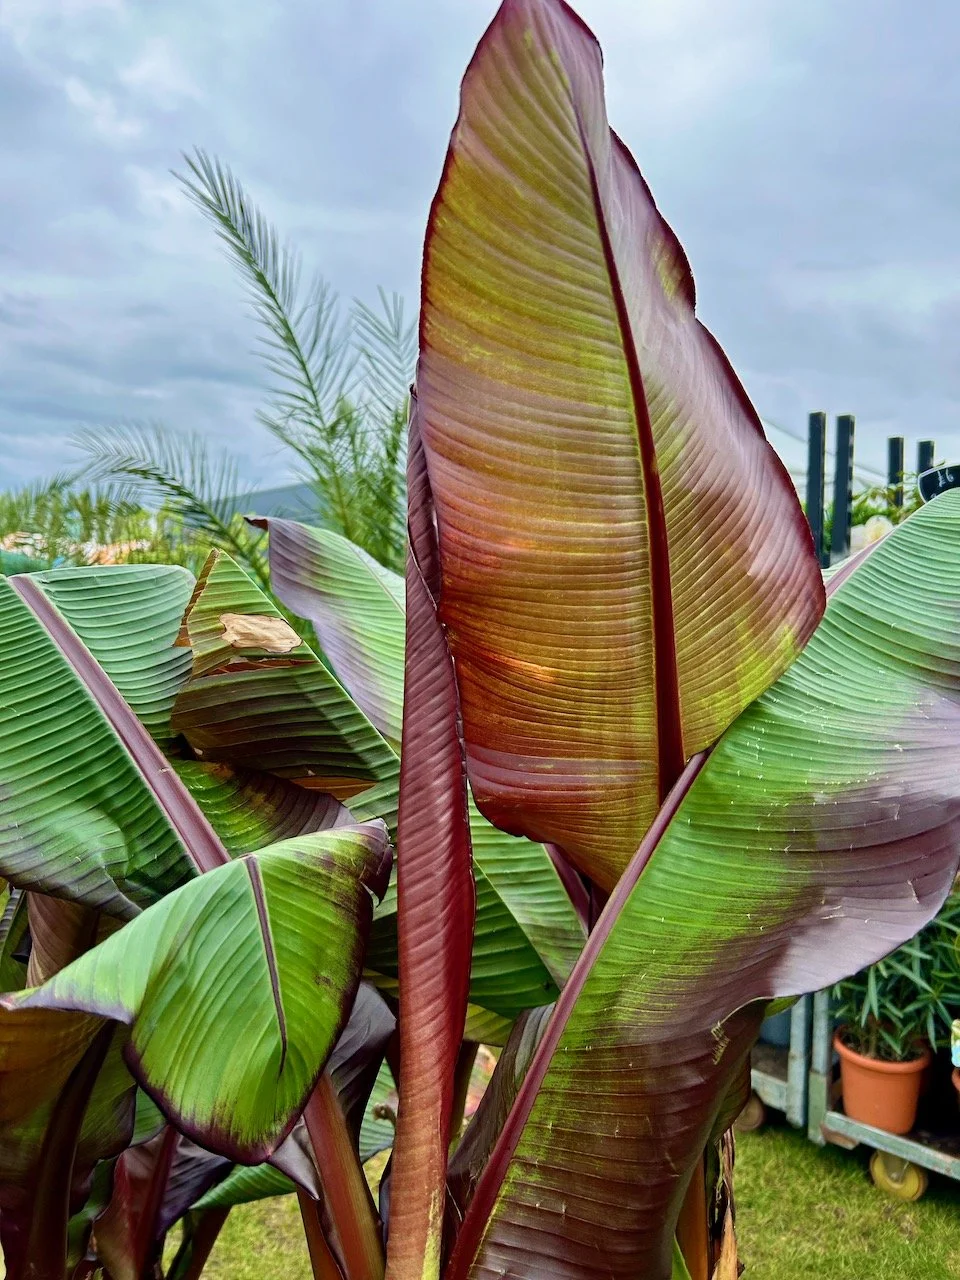
It was harder to leave this red leafed banana plant though - at just £50 it was a bargain. It’s a beauty isn’t it?

I know MOH is a fan of more exotic plants, and I've a tentative idea forming for our future garden plans, but we’d seen this too early for us. I’ve noted it mentally (and now here too) as something to build into our plans, and the Newark Show as a future source for this and other plants, but not just yet. I want a bit more time getting to know our garden and how we’ll use it before working out what to do in our new space - and for this summer I’ve set ourselves the target of working that out, much to MOH’s amusement.

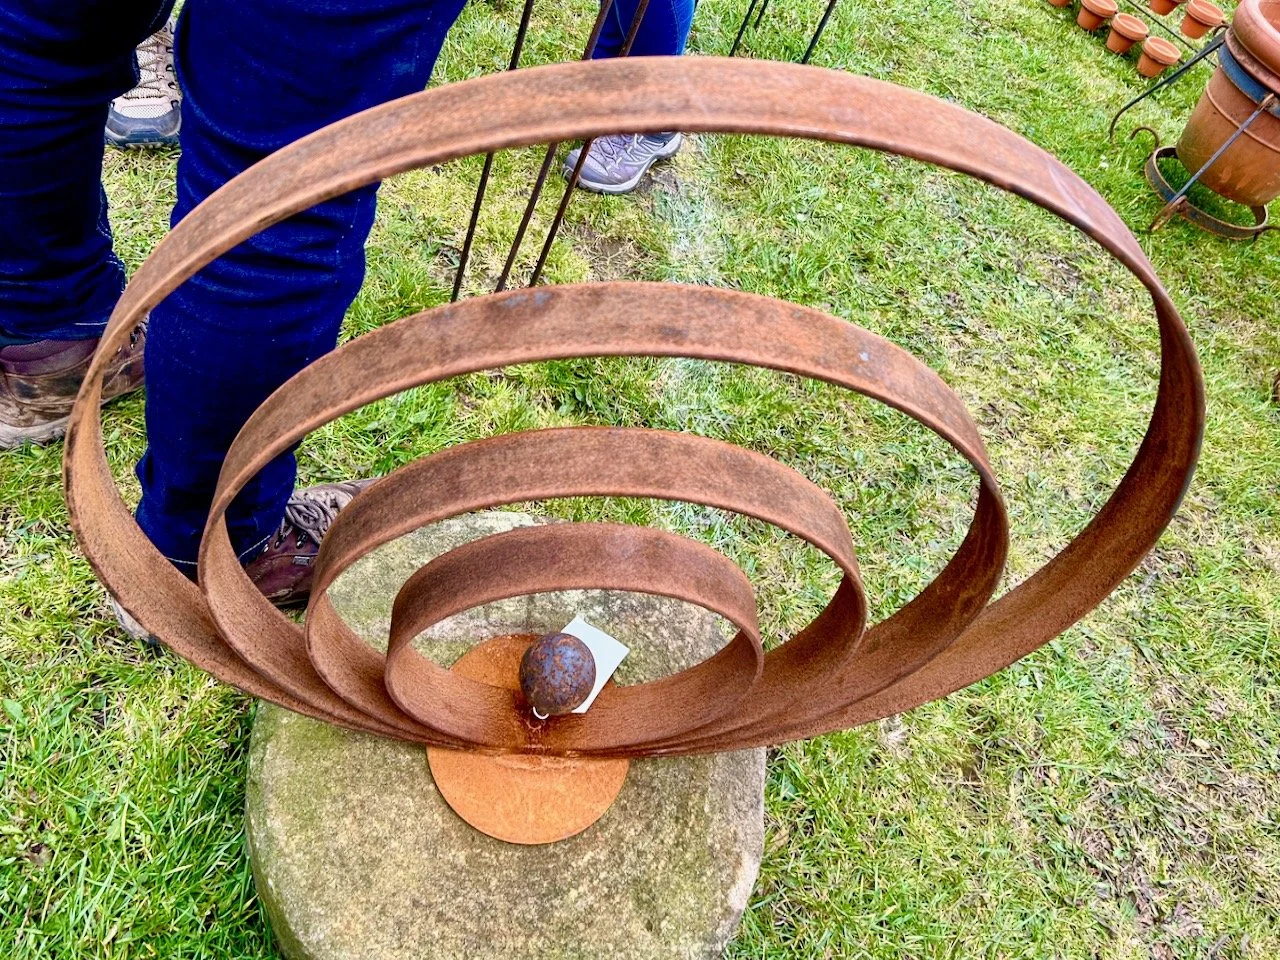
I fell for the iron garden ornaments. That wasn’t a surprise to me or MOH. The five rings sculpture mounted on a mill stone was three times as much as the banana plant, and that also was hard to leave there. In fact I liked this and other garden ornaments on this stall that I contacted the show’s organisers later that day when I realised I’d been so smitten with the items on display I had no idea who was selling them. And the show’s organisers came through for me really quickly, with a brief description of the items and where they were located they were able to provide the info I thought I’d captured, but hadn’t. Phew.

Five iron rings within each other mounted on a mill stone
Old and discarded Iron wheels for sale at the newark garden show

These wheels were from another stall and also appealed, as I’m keen for our new garden to not be ‘brand, brand new’ everywhere but for the space to acknowledge that our new build barn and its garden were built on the land of a former farm. Clearly it will have brand new things too, as it won’t be a heritage garden, and because it already has the modern patio and heat pump in the space.

Reconditioned tools and more plants

The wheels above where on the same stand as these reconditioned work tools - it was another fascinating stand with many things to look at and admire. There’s something about old tools isn’t there? For me its the craftsmanship, but also the memories they evoke - as well as the wonder at doing everything by hand and without our go to electric garden tools of today.

reconditioned old tools - spades and forks - from The Workshop in Grimsby

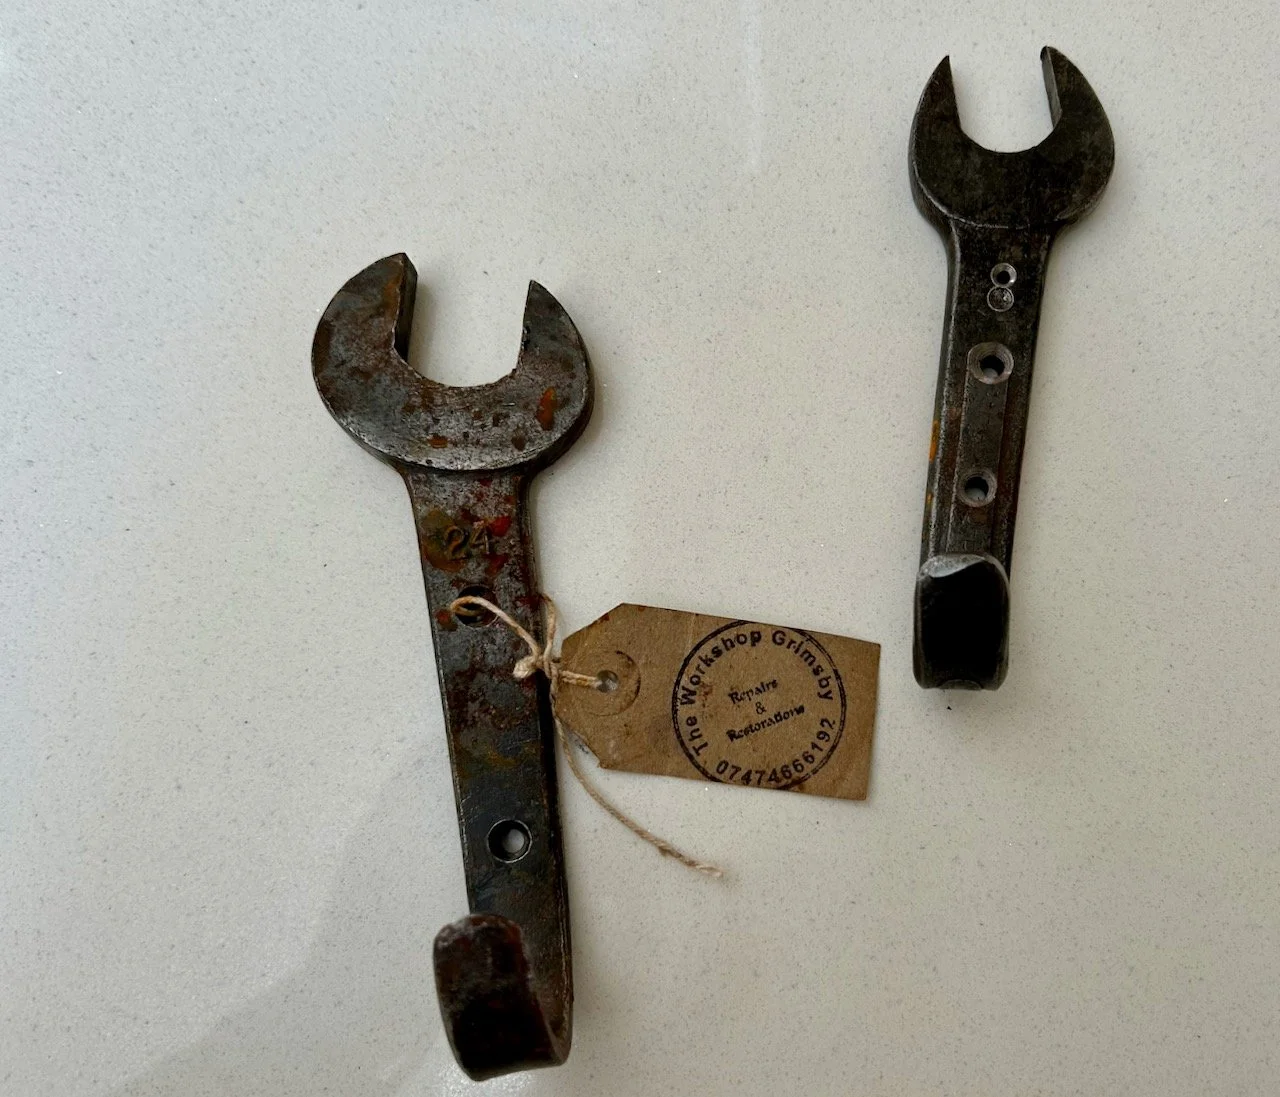
We left with a couple of ‘spanner hooks’ because we liked them, and they made us smile - and at £6 each it was worth that alone. We’ll probably use the in the garage somewhere, rather than the house (mainly as we don’t need any more hooks indoors) but their exact location is not yet decided.

There was still plenty more to see, and plenty more temptation too.

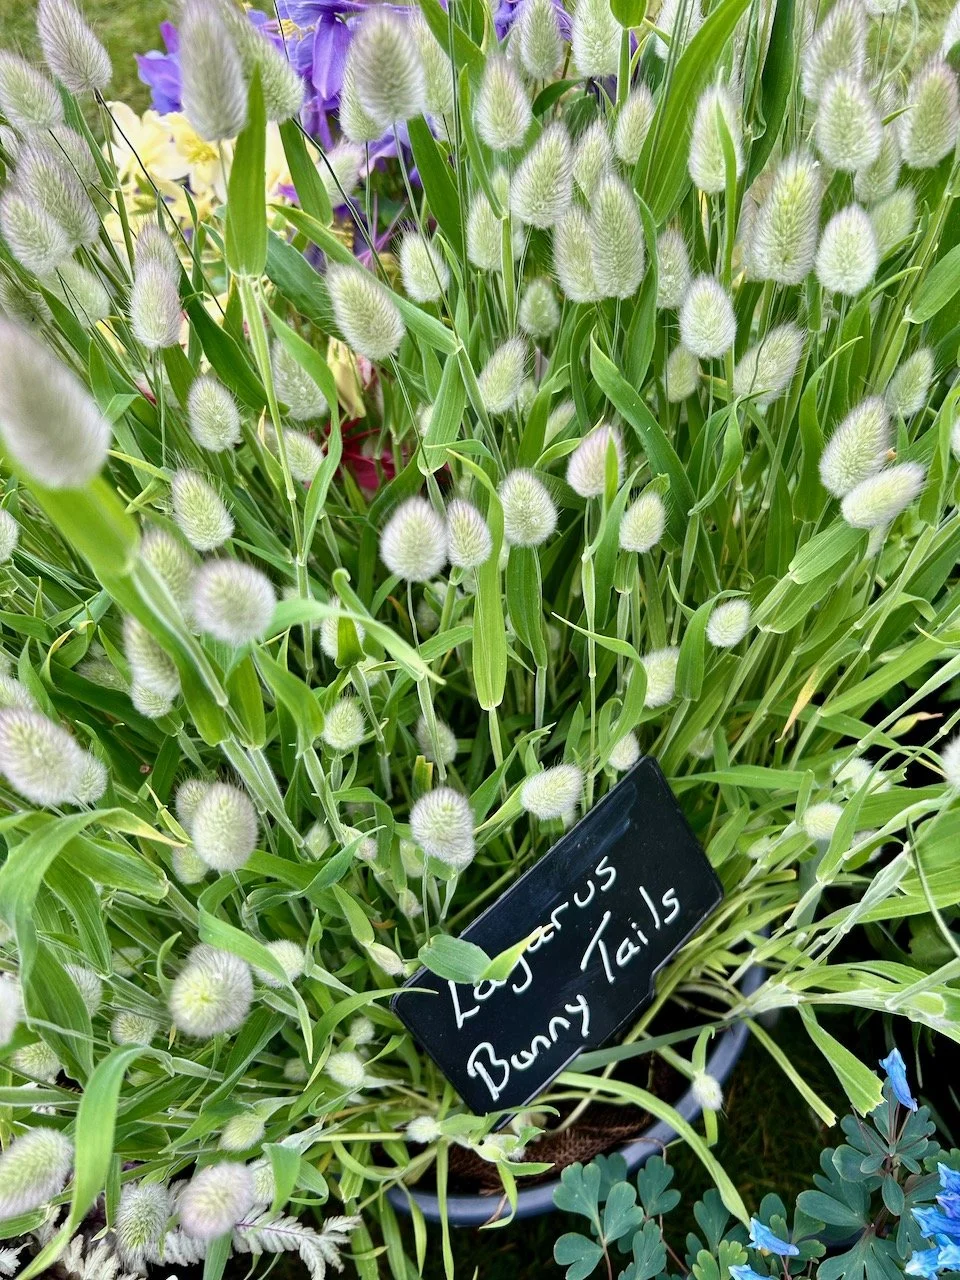
A pot of lazarus bunny tails
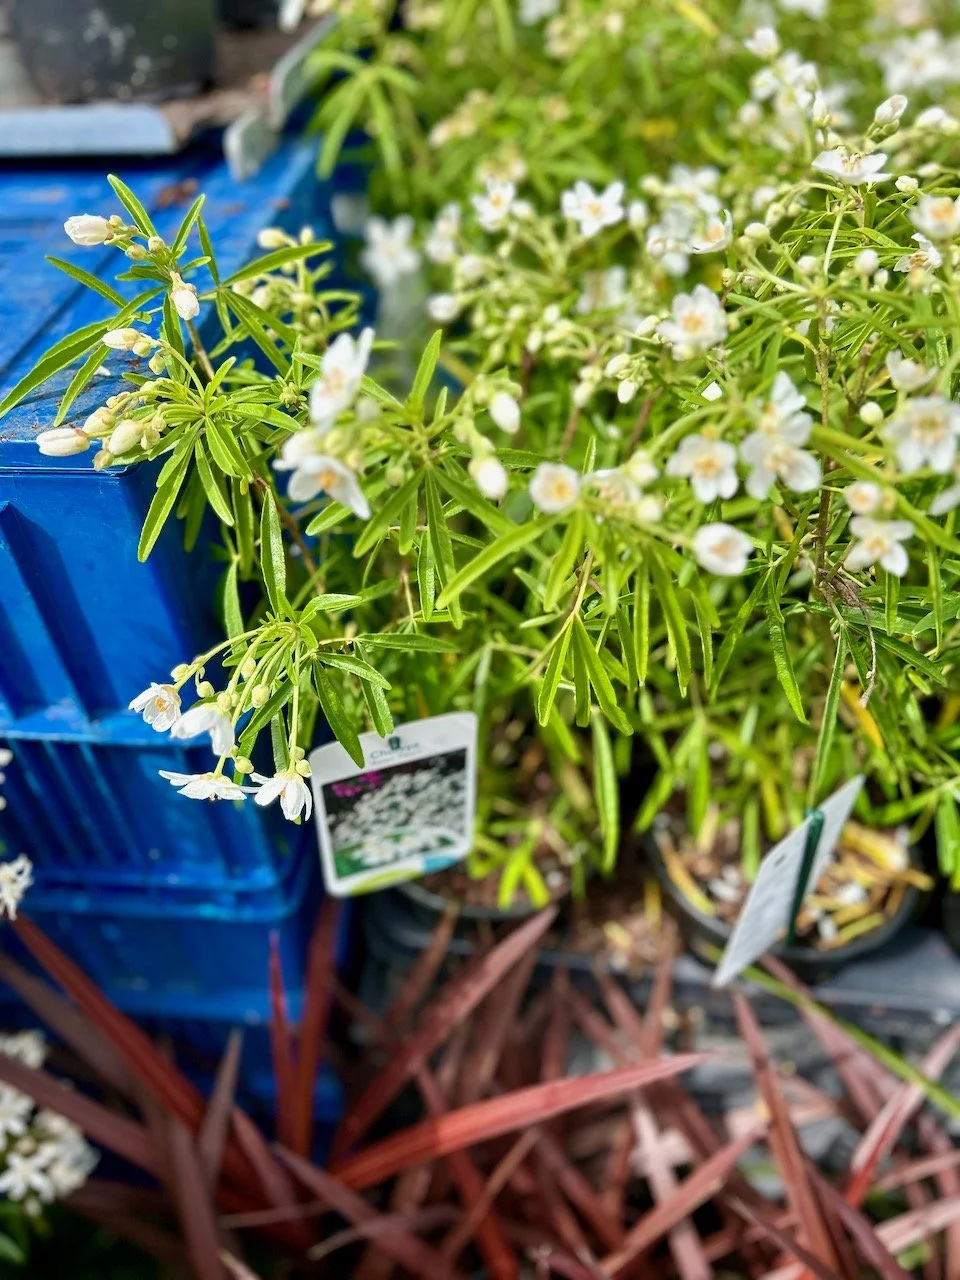
White flowers on a flowering Choisya

As well as the exhibitors outside there were a number of stalls inside which we had a wander around. There were food stalls in here as well as outside, and while we left with some pistachio baklava and Turkish Delight and ate the most wonderful chicken gyros during our visit, for us these weren’t the main purpose for our visit.

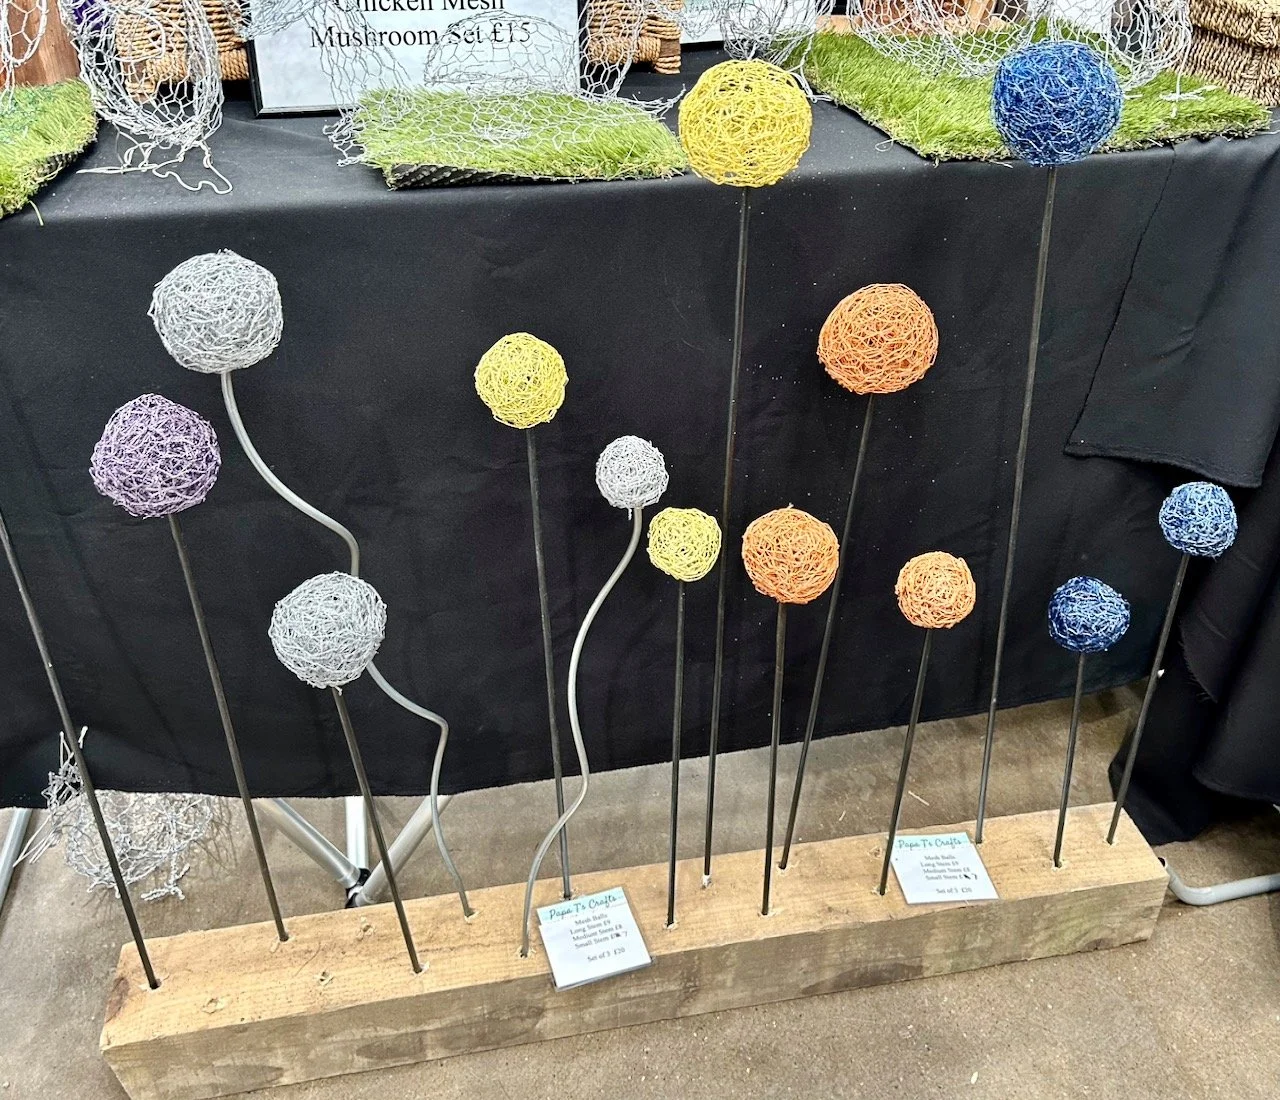
One of the indoor stands is worthy of a mention though. I’ve not seen anything like these chicken wire spheres before, but think they could also have a use bringing height and interest to a flower bed. For me I prefer the natural chicken wire silver version and straight poles and for outdoor use as they’d weather and get more interesting, but speaking to Papa T’s Crafts he said that people have said they’ll use them indoors too, which I can also see.

spheres made from chicken wire mounted on poles at varying heights

So not a bad first visit to our own very local garden show. It’s likely that we’ll be back next year to see what they have and maybe even to buy more plants - but first we need to do the basics and understand our garden more, and actually I think we’ll need to get a new lawnmower soon too. That was one of the things we’d hoped to scope out at the show but it wasn’t to be, which was a shame.

A great fact finding visit, and hopefully next year we’ll have some more spring appropriate weather!

PostCommentLove

Getting organised with pegboards in my craft room

I’d had my eye on some pegboards for my new craft room since the room itself was a glimmer in my eye! Initially I thought we would make them up ourselves so that they could be truly customisable for whichever space I chose, as it really couldn’t be that hard. And if I had a truly awkward space I don’t think it would be that hard, but once I’d worked out where I wanted to put my fictional pegboards, and once I’d seen the IKEA Skadis pegboards and how flexible they were, there was no other choice for me.
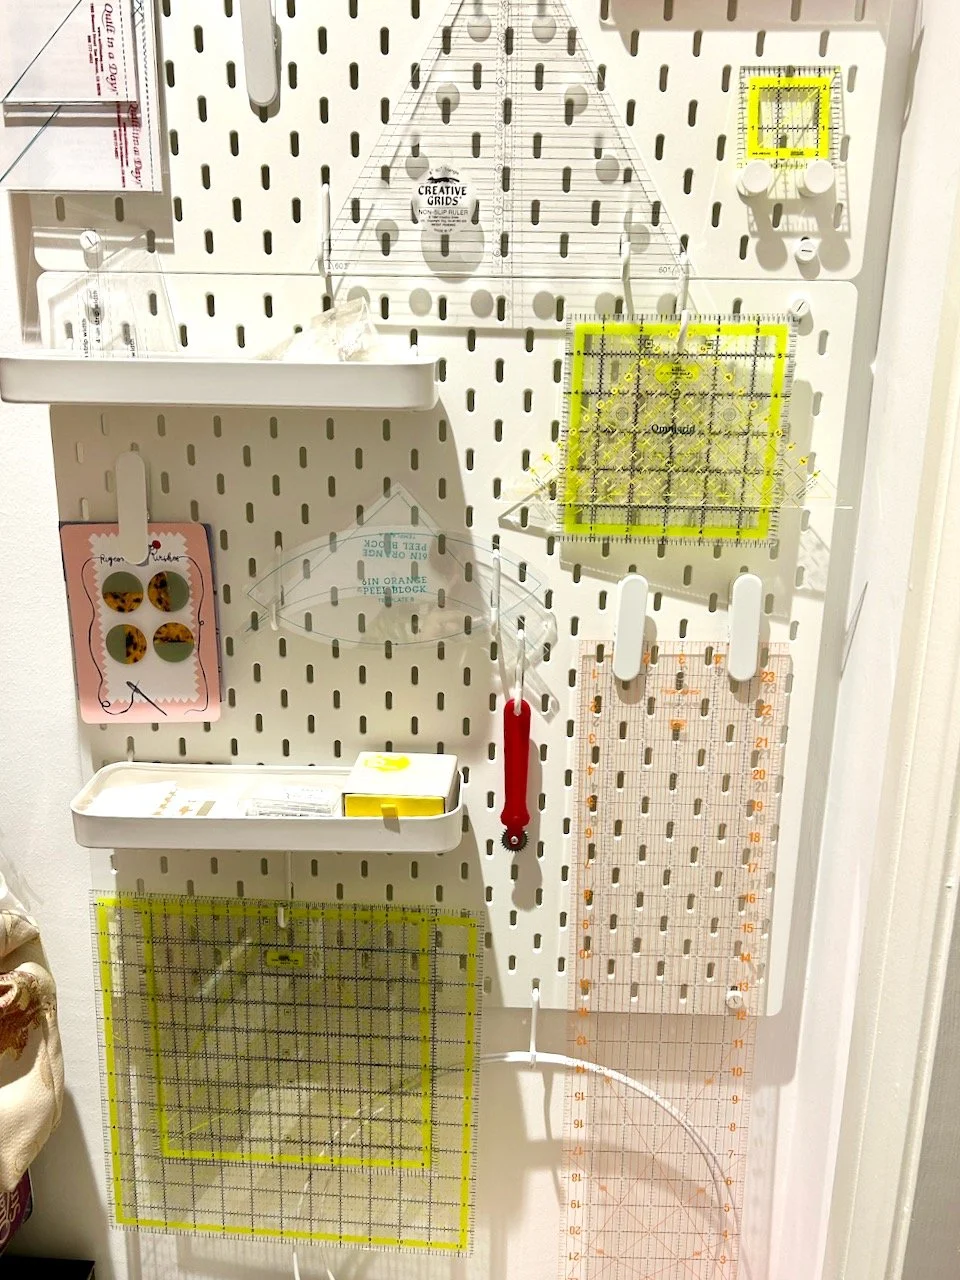
I decided that my pegboards would make the best use of a blank wall inside the small walk in cupboard in my new craft room, which would also be the ideal way to store my quilting rulers. Since we’ve moved, and I’ve unpacked my craft room, they’ve not really had a dedicated space and nor were they all together. But that soon changed!

What I chose: pegboard size and accessories

Our house is a new build, which means there’s a lot of white - and for a self-confessed colour addict, surprisingly I’m ok with all the white, so for me it was always going to be the white version, although the black colourway would also have worked. I opted for two 56x56cm square pegboards, while I did have room for one of the larger size I wanted to keep some space clear, as that’s something else I’ve come to appreciate with our new house - we don’t have to cram it full of stuff, and the same goes for this small walk in storage space.

As I was ordering online I was keen to get the pegboards and accessories in one shop, however I didn’t really know what would work but given that the accessory pack prices were under £5 I decided to chance my luck.

The accessories I opted for were:

  • Two packs of Skadis shelves, £4 each

  • Two packs of Skadis clips, £2 each

  • Three packs of Skadis hooks, £2 each

  • A single Skadis hook rack, £2

  • A pack of 5 Skadis push in hooks, £1

The final addition to my basket was the connector for Skadis pegboards, which was recommended when hanging two pegboards side by side (or in my case top to bottom!).

So for just under £50 I was able to bring a whole lot of order into a space which would otherwise have little use - and now that it’s finished it’s not only useful, but it’s a pretty and practical addition too.

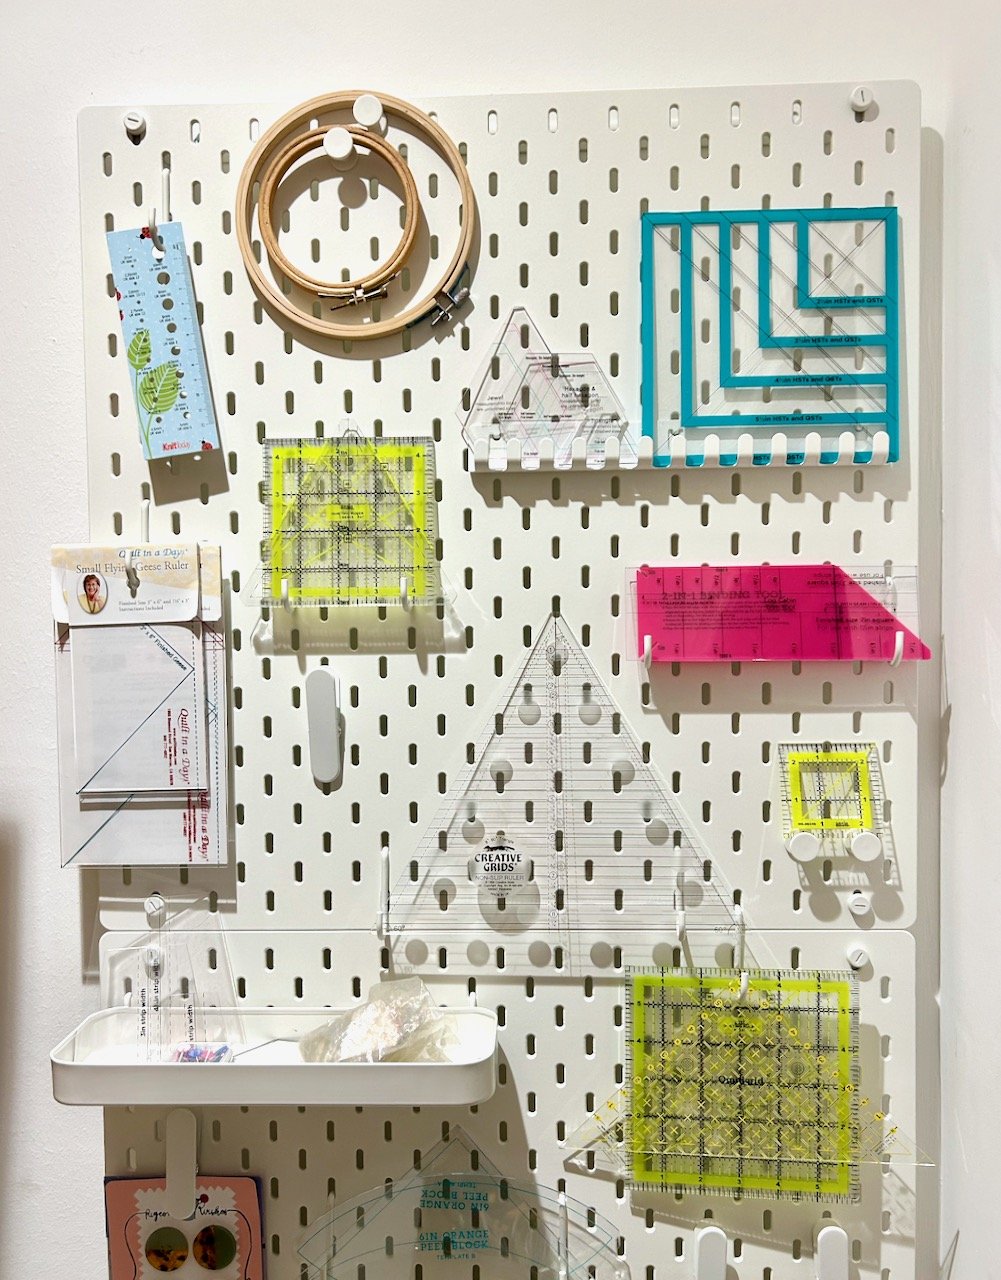
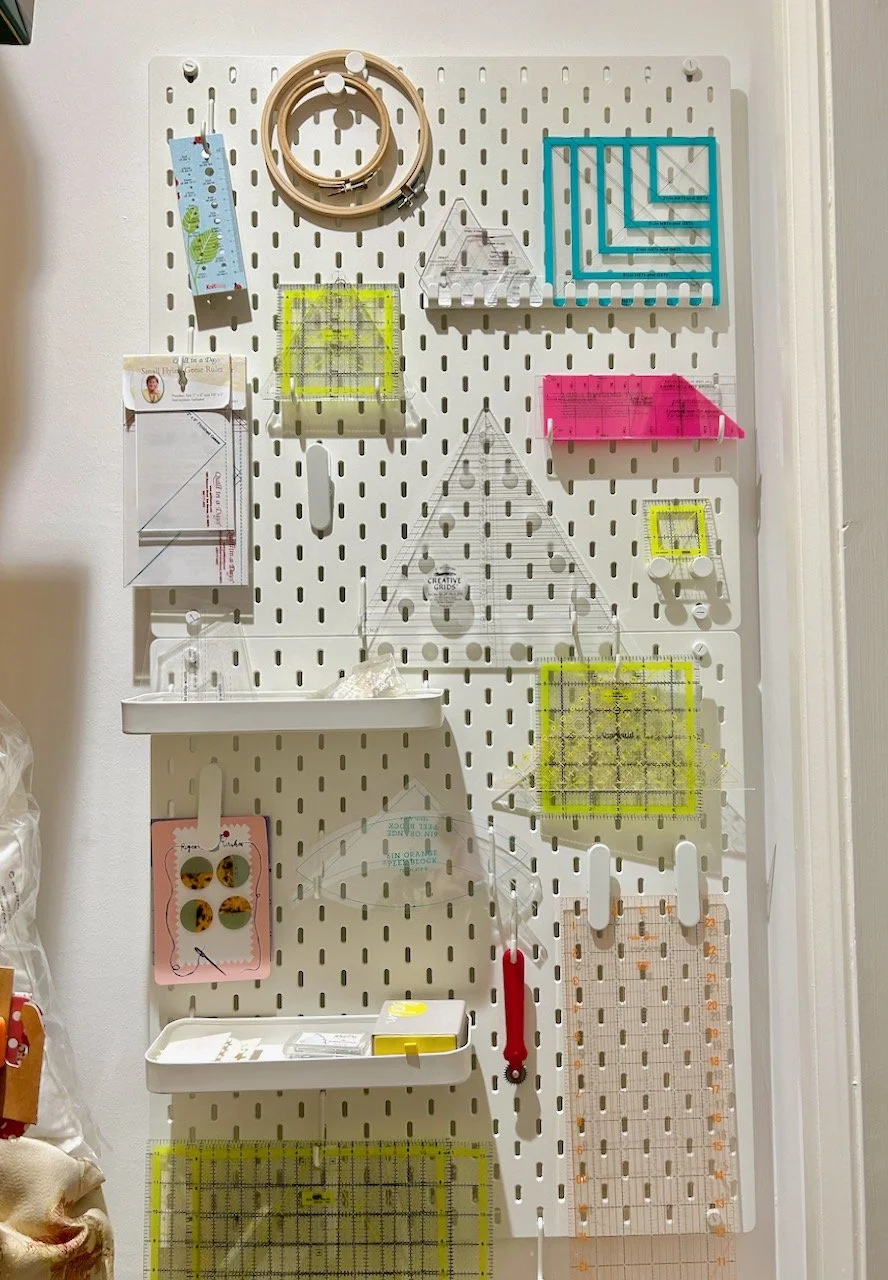
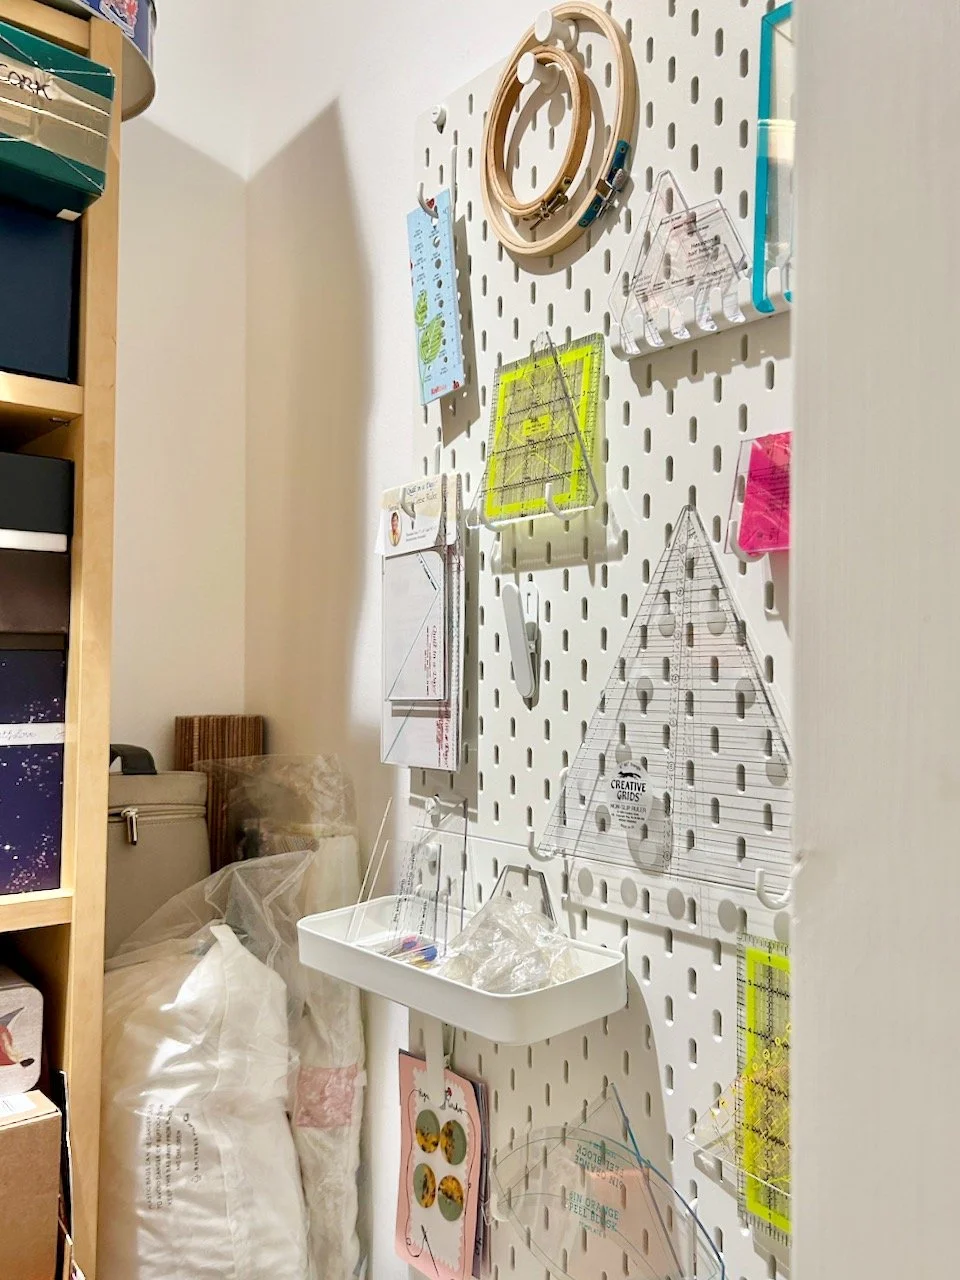
Two IKEA Skadis pegboards joined together and hung inside my built in cupboard - it stores crafting supplies, including craft rulers and shaped templates
My view from the cupboard door - pegboards on the right, and a space between the Ikea kallax unit and the wall

MY SKADIS PEGBOARDS BRING FUNCTIONALITY TO AN OTHERWISE UNUSED SPACE

Even better though I guessed just about right on the accessory front. I used most of the ones I bought - though I did have a few challenges along the way. I naively assumed that all of my acrylic quilting rulers and templates would come complete with a hole to hang them from. That wasn’t the case, especially for those which came as free gifts from magazines, and some which I’ve had for a long time (I reckon I’ve had my Fiskars ruler - the one bottom right in the photo above - since the early 1990s), so the hooks weren’t going to work for those, or at least not in the same way.

Thank goodness for creative thinking though!

I was able to position some of the hooks so that the templates could balance on top of the hooks, and used the clips for the long Fiskars ruler, which I still probably use the most. I realised I had little use for the hooks on the hook rack, but the rack itself was useful to hold more templates.

The trays bring a 3D element to the pegboards, and while I’ve used them to store smaller templates and the hooks I’ve not yet used, I’m not sure if I’d opt to buy these if I were to do this again.

The top half of the board with embroidery hoops and craft rulers and templates
Focusing on the lower half of the ikea skadis pegboard which also holds craft supplies but allows the rulers and templates to hang below the last space

I’m glad I opted for two of the smaller sized pegboards - and the connectors were an absolute gem according to MOH who was tasked to put these on the wall for me. As well as the feeling of space, I can use the whole pegboard making use of the space below as well with the rulers, templates and metal rings I bought to make some crocheted mandalas (one day!) hanging off the bottom.

I’m so pleased with how these turned out, and how it’s made a space that usually wouldn’t be used into a functional feature. And yes, I’m using the rulers and the space is still this tidy!

PostCommentLove

My garden in March

In last month’s update from my garden there was the promise of colour, but it hadn’t yet materialised - well in March, it materialised with daffodils, blossom and the tulips making their mark. That wasn’t all though, and thankfully looking back you can see how much the garden has transformed in a month, with Spring taking its first tentative steps - thankfully!

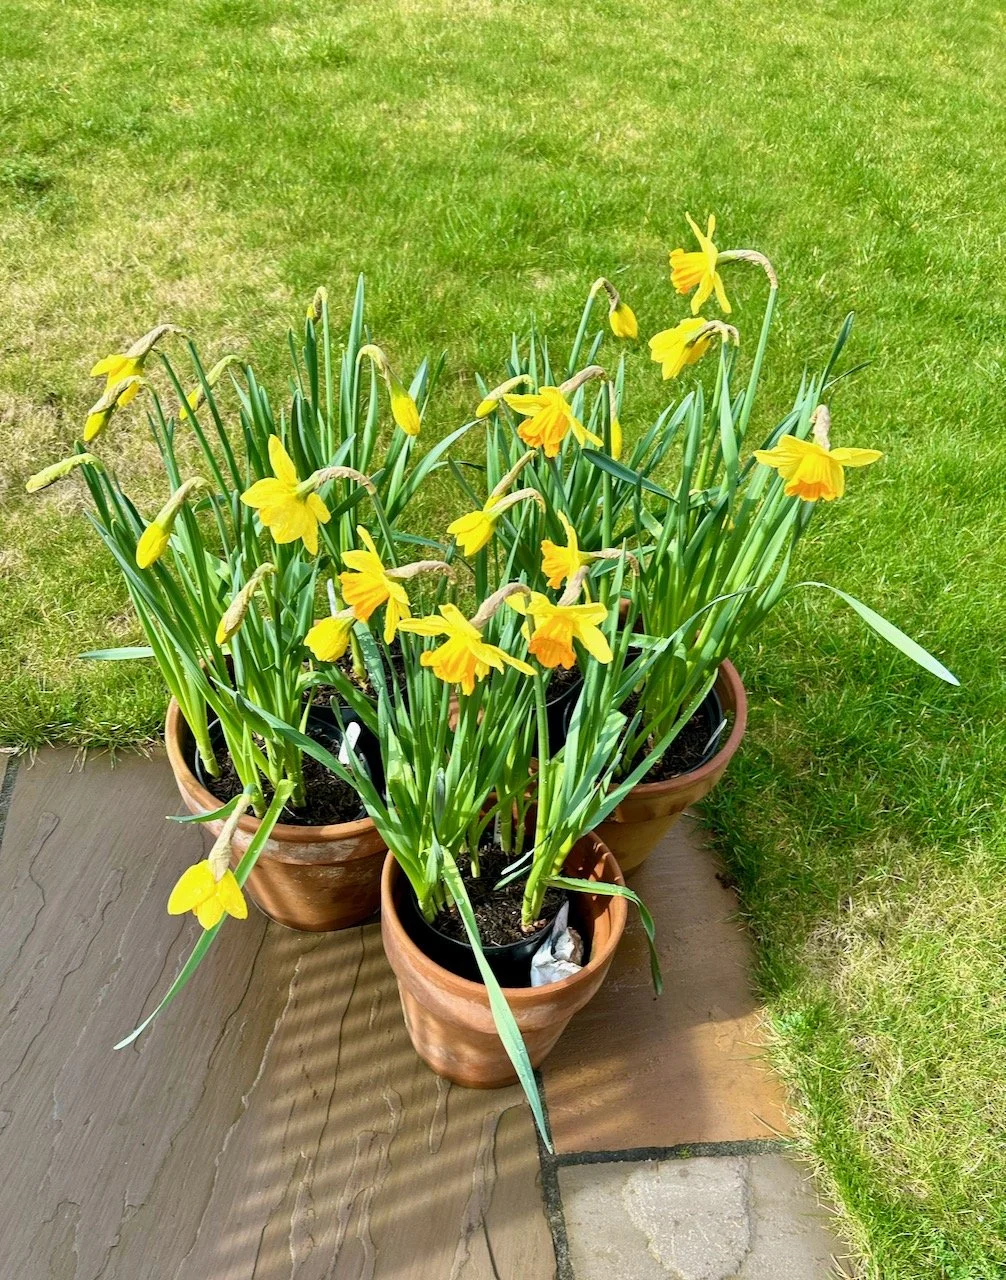
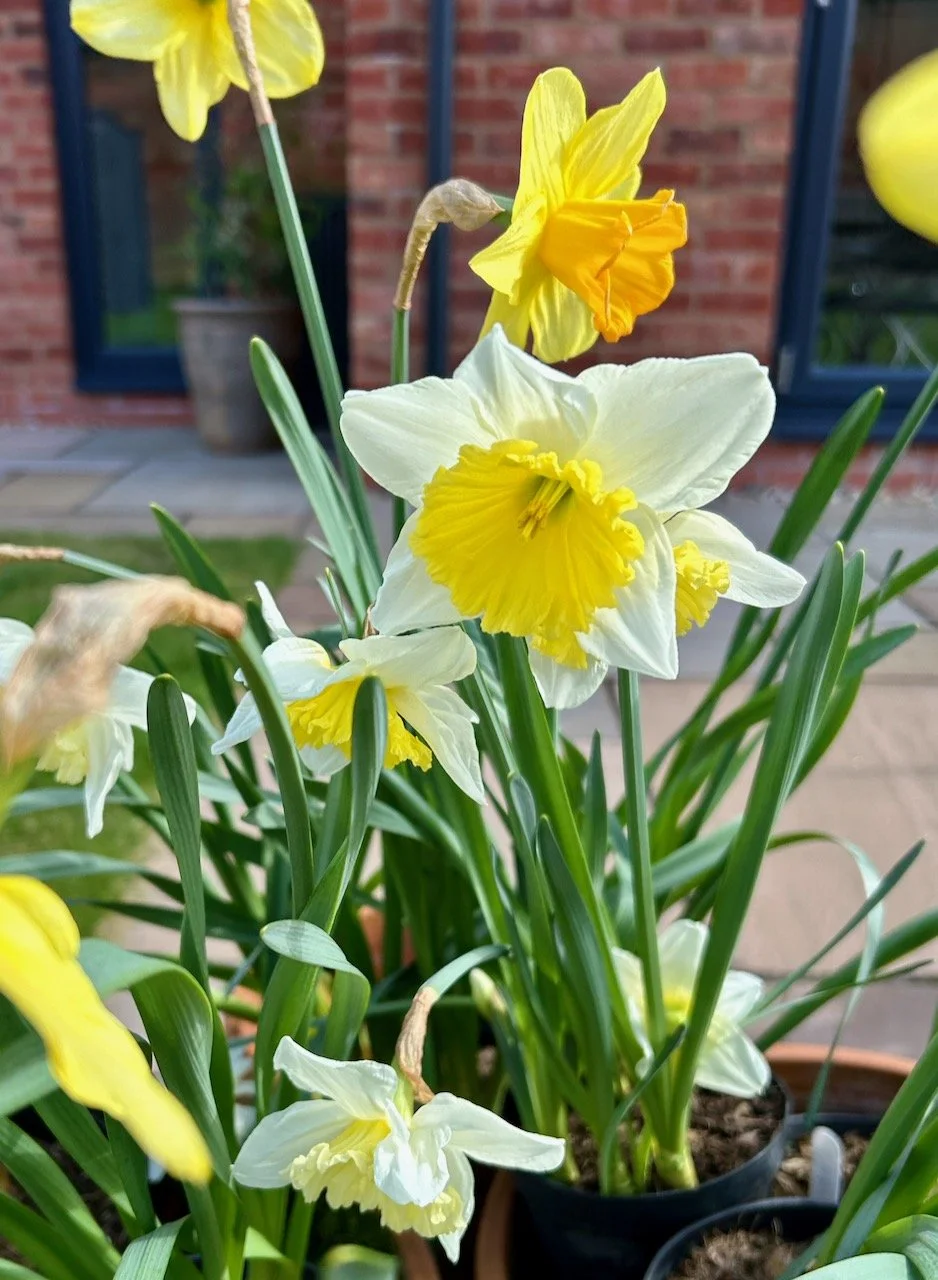
These three terracotta pots have kept me busy over the month, with MOH quipping at one point that our daffodils probably had the most attention than any anywhere else, which is actually a fair comment. These egg yolk yellow daffodils were the first to flower, not surprisingly as they were the ones that got into earth in the autumn. The errant or curly wurly ones that I didn’t plant until the new year flowered much later, but they did flower and they brought their pale gentleness to the garden as they did.

three pots of flowering daffodils on the edge of my patio
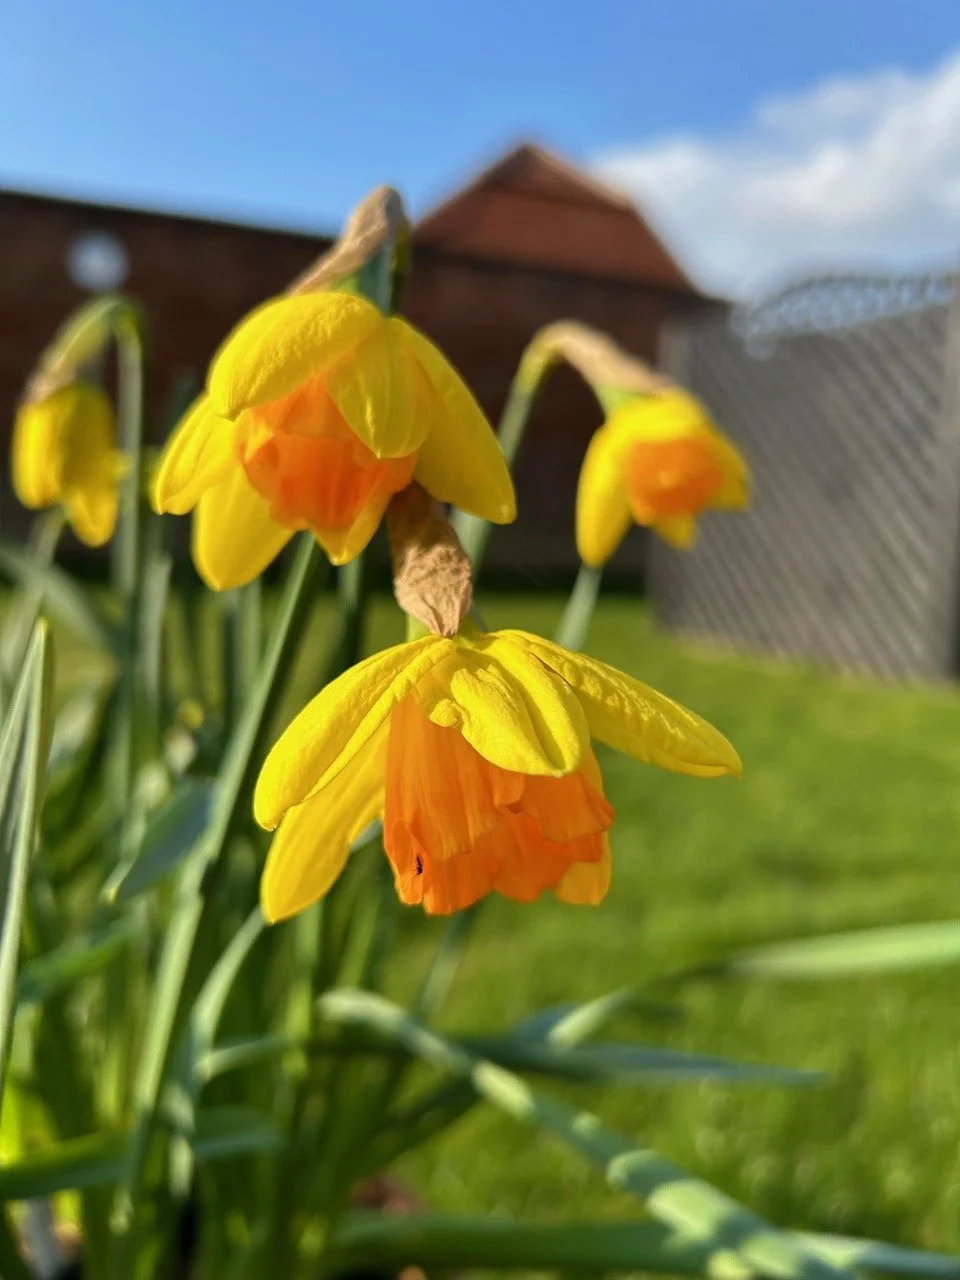
A close up of three daffodils in flower with a blue sky behind them.

You’ll have seen this photo before I’m sure, and I make no apologies for sharing it again as I really like it and it was the first time on ‘daffodil watch’ that I had flowers, the blue skies were an absolute plus too.

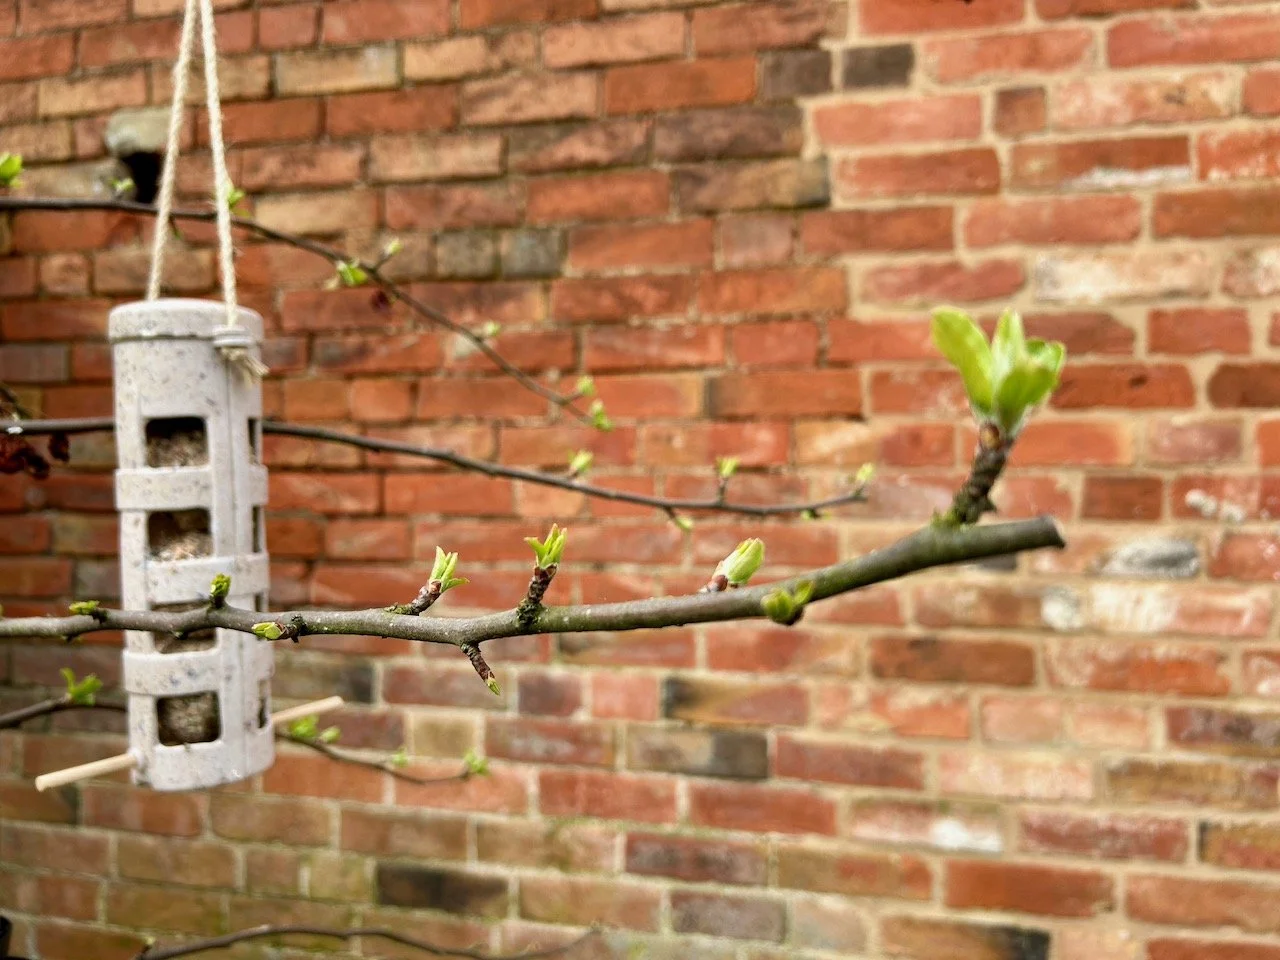
It was good to see the crab apple tree spring back into life too. I’d pruned it at the end of the summer last year, to reduce its size and give it a better shape and over the winter it acquired a bird feeder. Unfortunately the only birds that were interested were a couple of crows who were doing their utmost to get to the fatballs it holds. Not wanting to encourage the crows into my crab apples (there’s a lot of them here, with nests in the taller trees a few gardens away) I moved the bird feeder out of the tree and hung it on the wall, as we’ve nowhere else for it at the moment.

Watching the crows and their confusion on their next visit made me feel bad (briefly), but also they were quite comedic too - they haven’t found where I’ve hung it temporarily yet either, though we do still have a crow or two patrolling the grass every now and then.

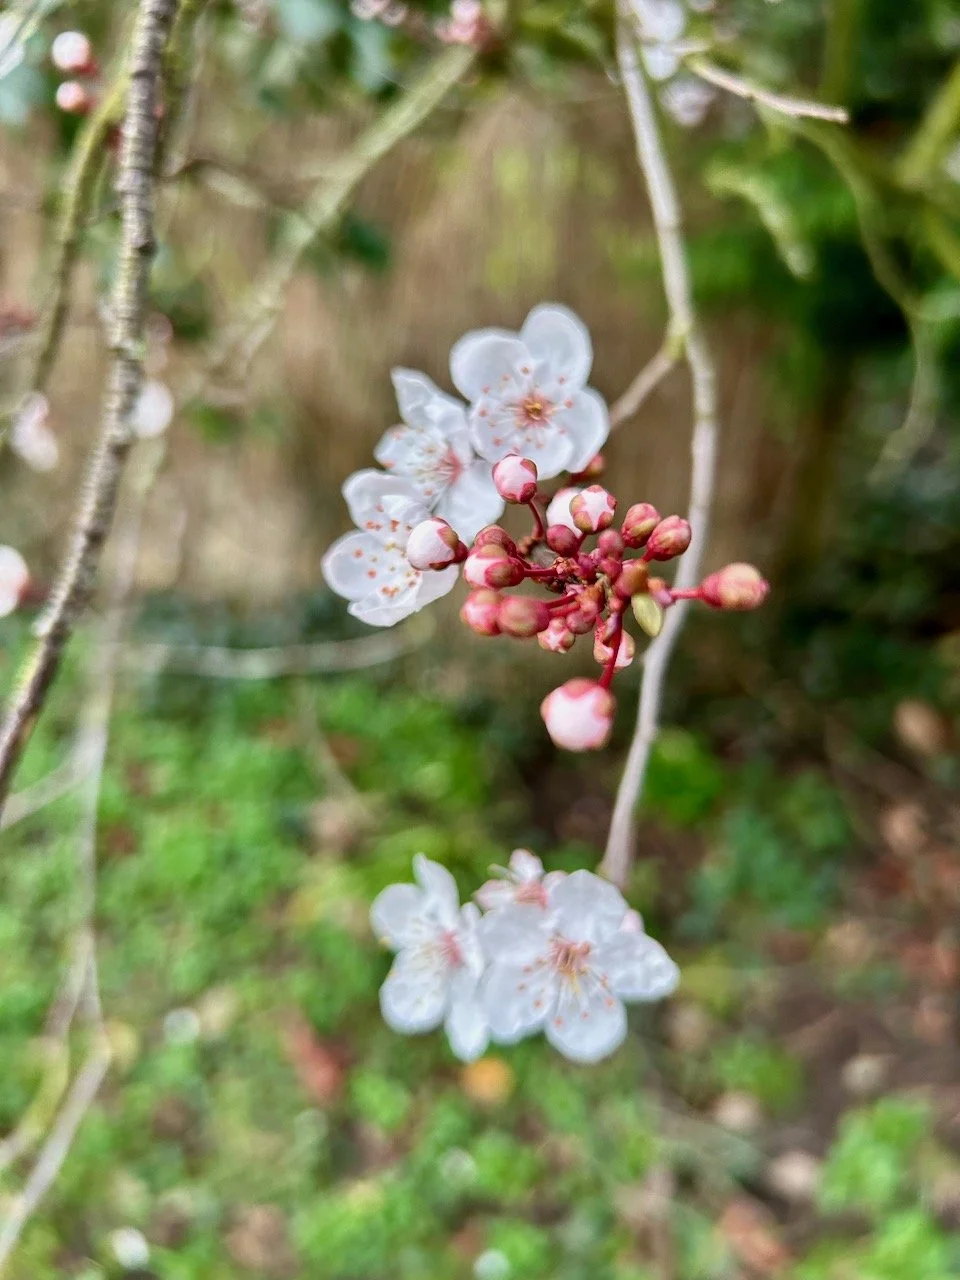
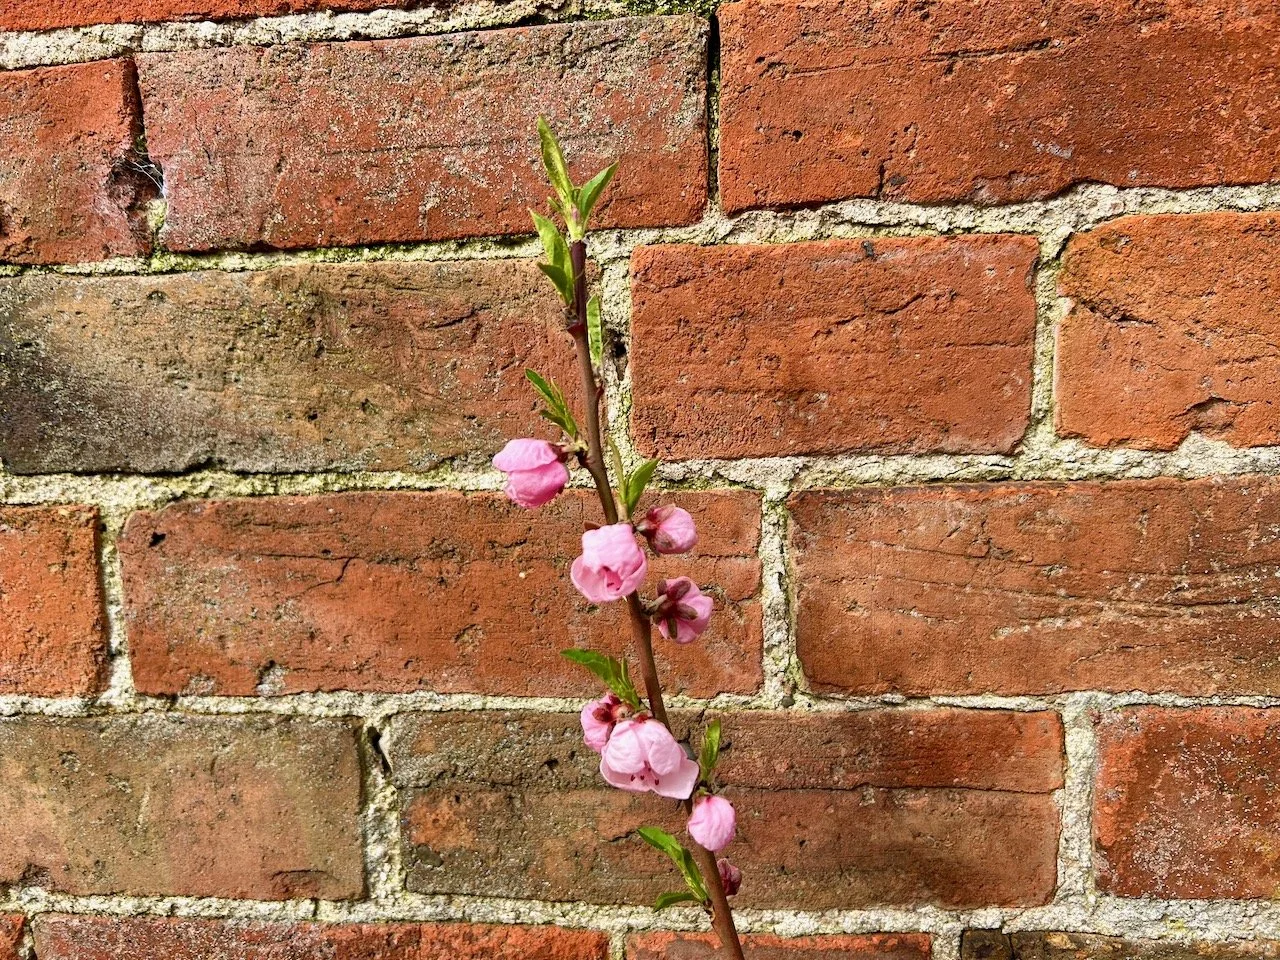
In terms of blossom our small nectarine tree really put on a show. This plant came from dad and it’s our first year of seeing what it gets up to, and so far it’s going well! I repotted it in the autumn and as we want to eventually grow it in front of the wall on a more permanent basis, I’d pruned it so there was a central stem and two branches on each side with the intention of tying it to a cane support. I didn’t get around to that before winter, which given the wind and storms was probably a good thing, and its rewarded me with some early and very pretty blossom - I’m keen to see what it gets up to over the next few months now.

Round pink blossom buds on the upright stem of the nectarine plant (against the brick wall)

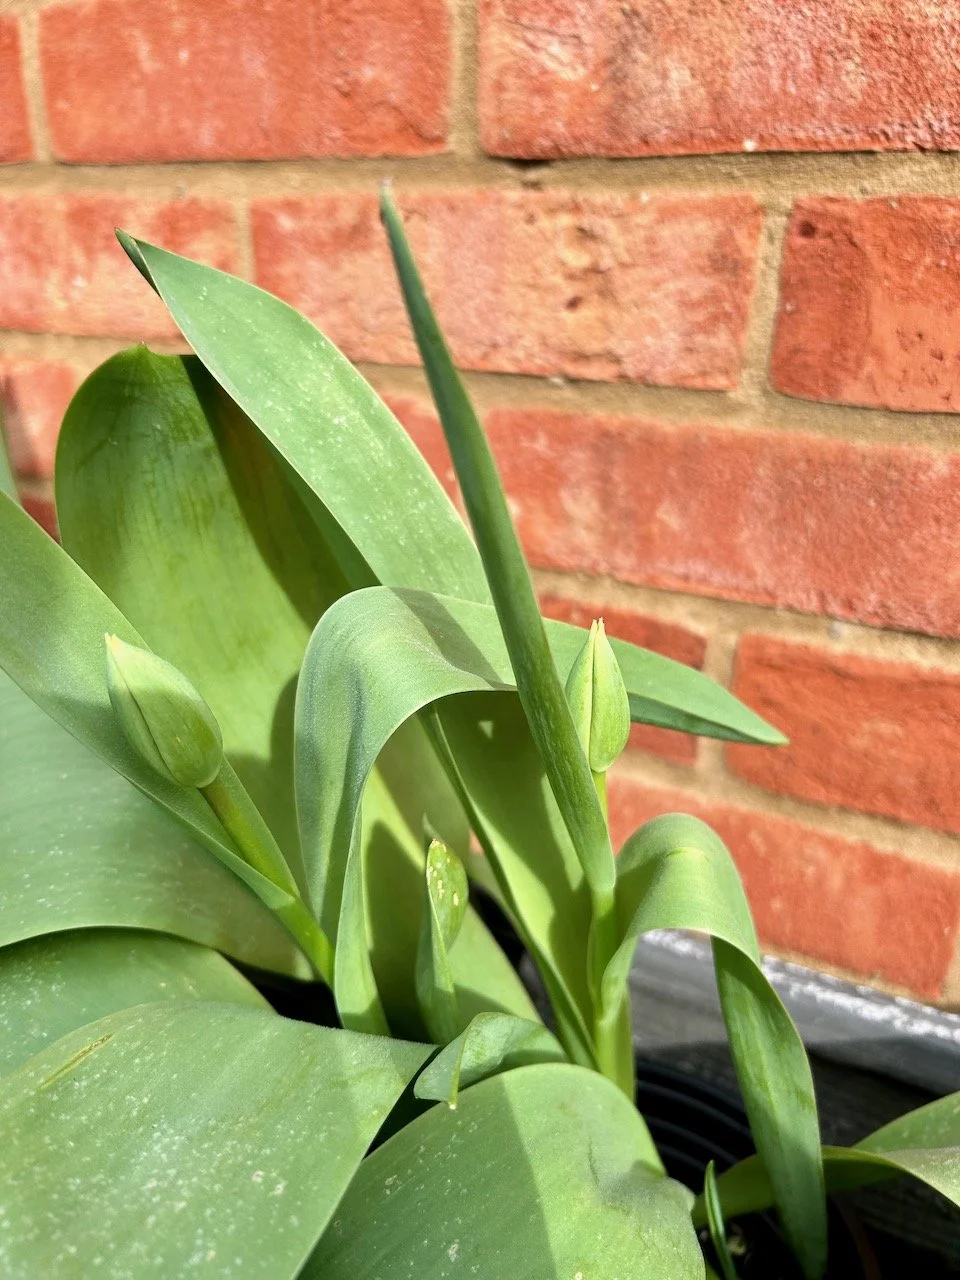
My tulips were also showing signs of promise early in the month, and are clearly happy in their new location - which while windy is also protected and of course they get the heat from the garage wall behind them. I love how they’re so very green when they’re at this stage.

Two tulip buds (still green) amongst the leaves

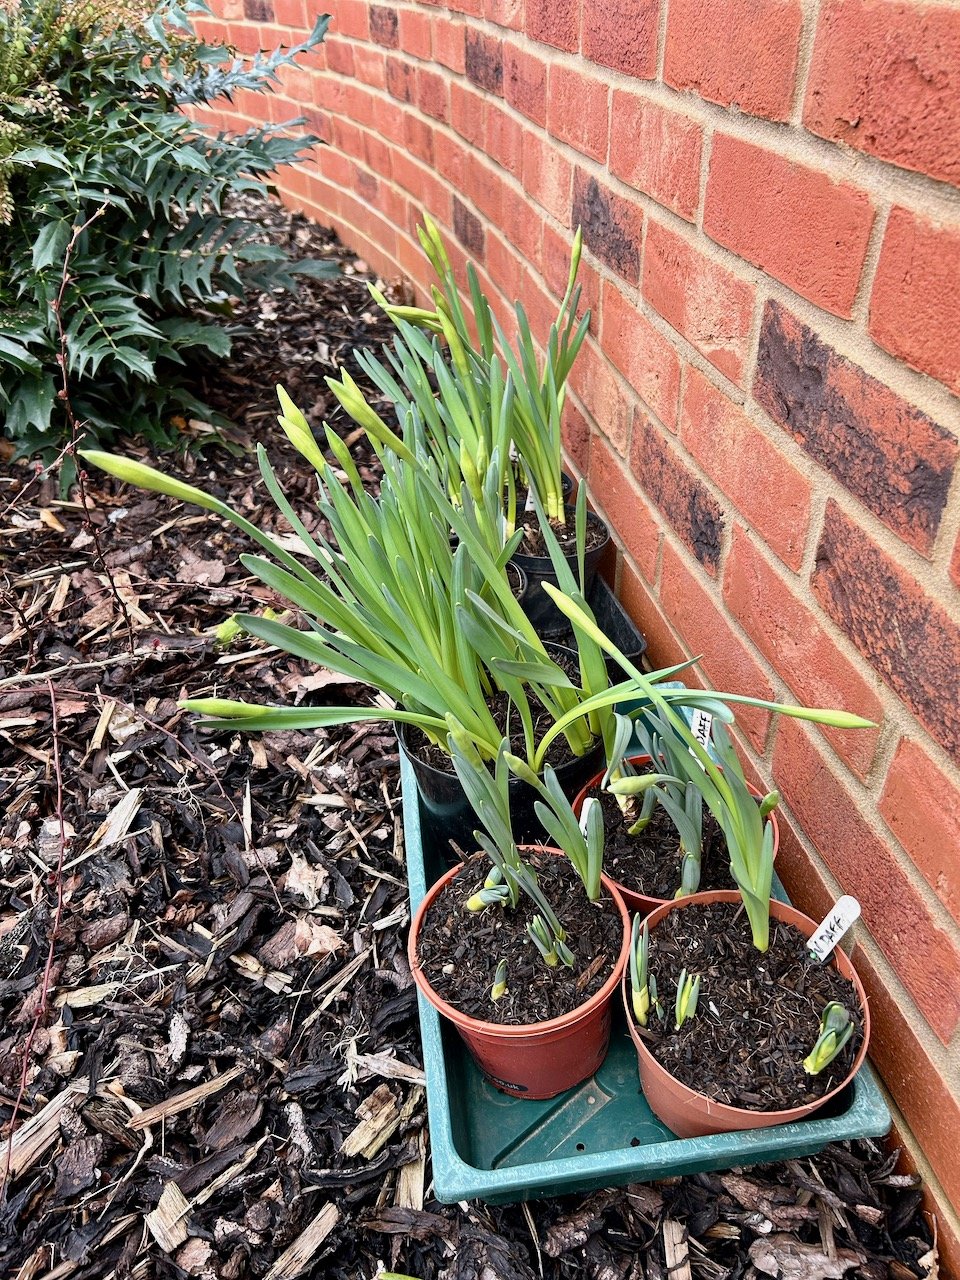
Here’s the errant daffodils, some were quite tall in the end, but some of the others not so much!

The later flowering daffodils nestled against the wall and waiting to flower.

They are much more delicate in their colouring though, and while they’re lovely I much prefer the egg yolk yellow sort!

a pot of daffodils flowering - both varieties on show

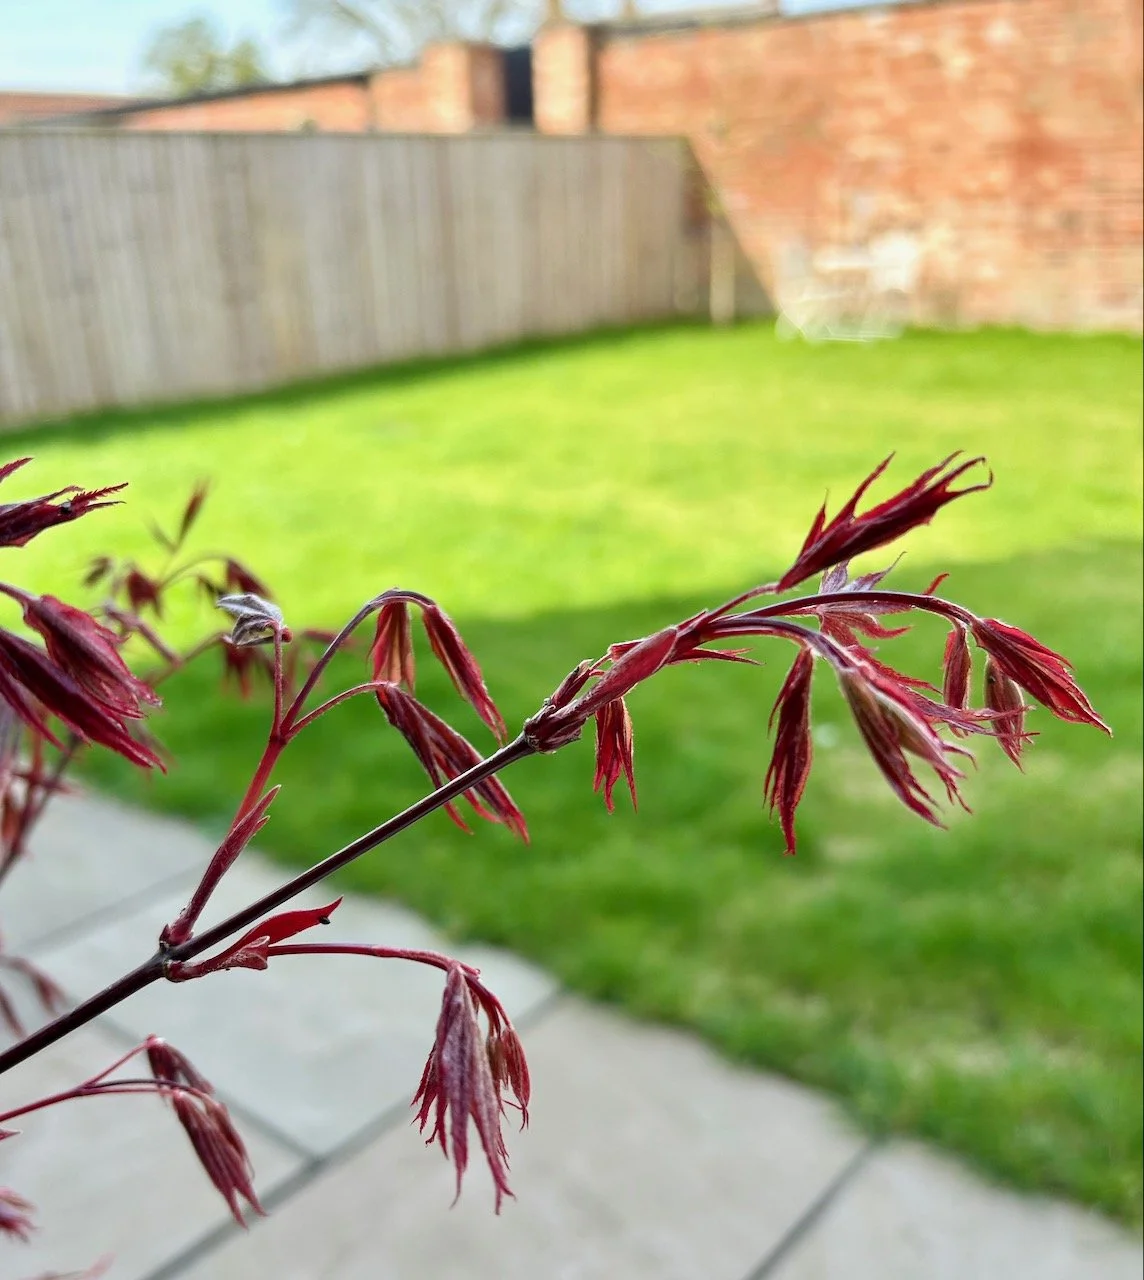
Throughout the month the acer which we brought with us has come back to life too. It started with small buds, which gradually turned into these folded up leaves. It’s great to have the colour back by our back (front) door - and I think there’s more leaves than I remember in previous years.

Our red acer starting to show its small red leaves

Although I’d been keeping an eye on the tulips, they did take me by surprise and were suddenly in full flower. I think they too are enjoying the more open, and sunnier, garden and have come much earlier than they would usually in our previous garden. That gave me a headache though as my patio pots were still full of daffodils, but I didn’t want to miss out on these either.

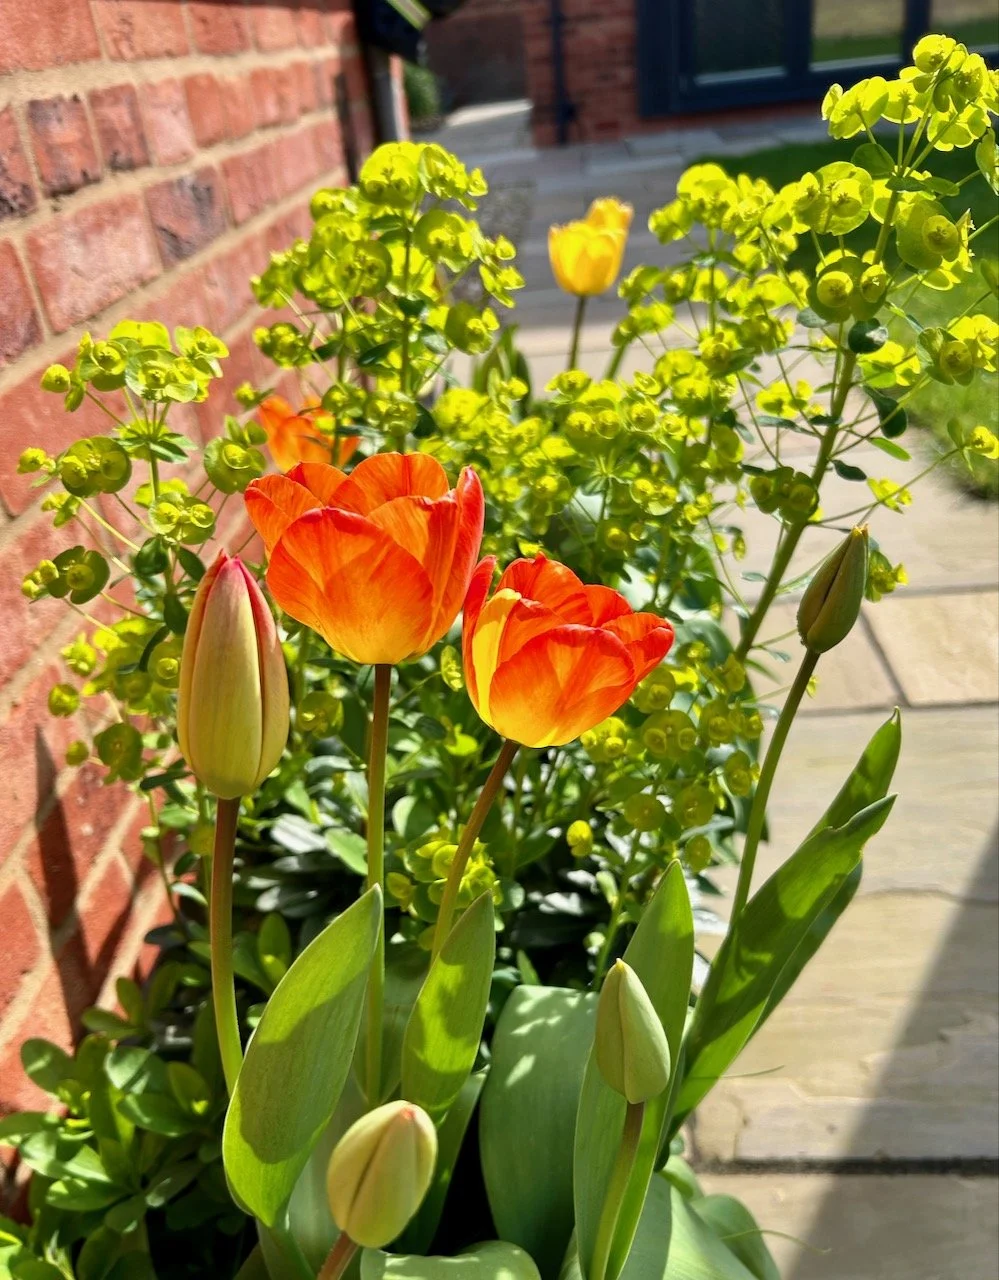
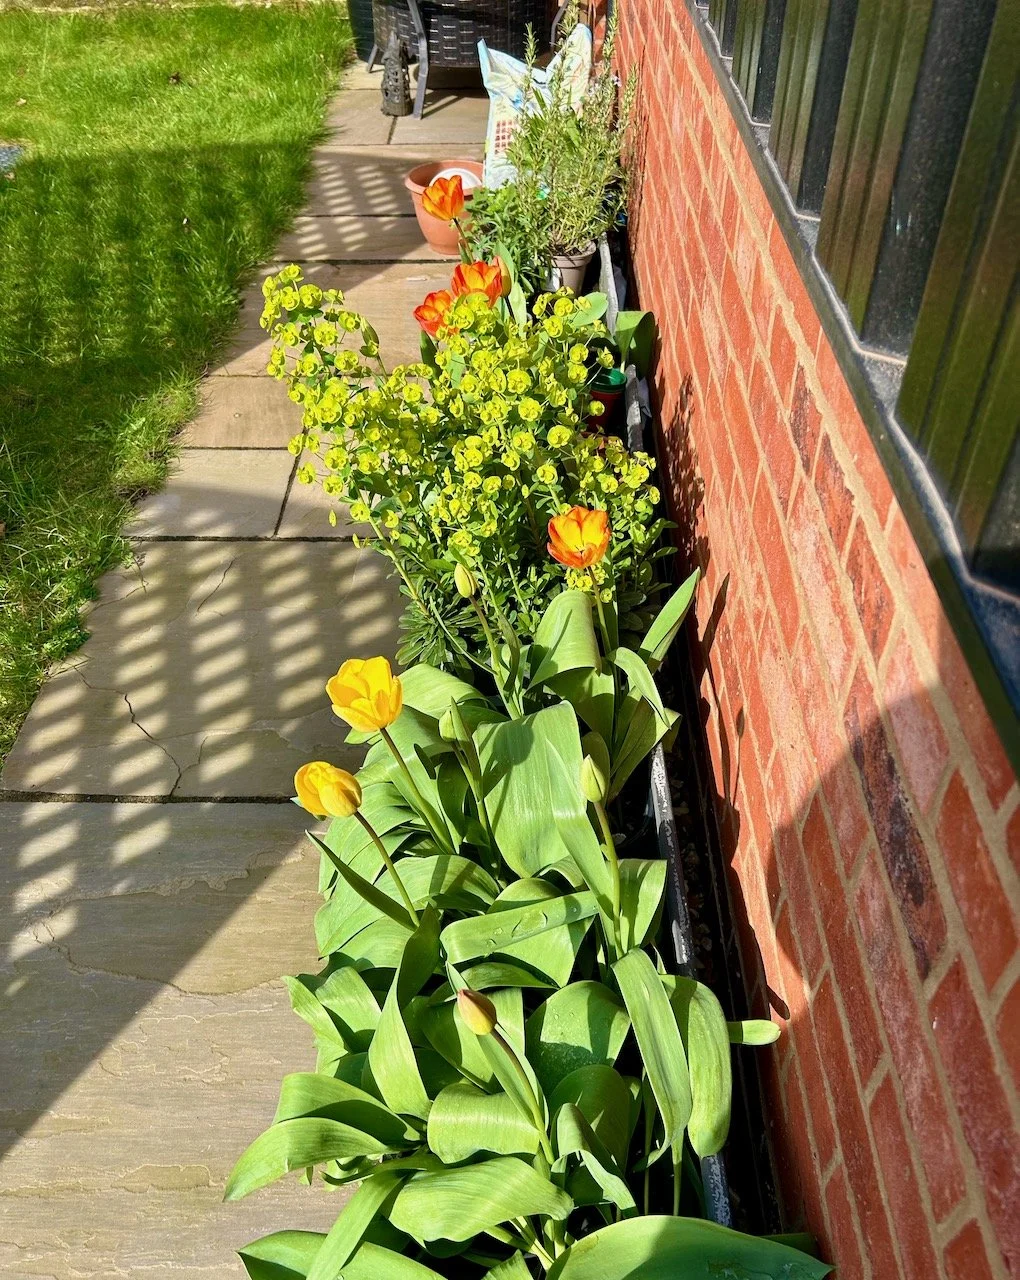
flowering tulips and euphorbias in the trough pots alongside the garage

I soon solved that conundrum by moving the tulips onto the patio and arranging, and rearranging, the daffodil pots in the large border so that we could see them from the house. I also learnt that our soil is saturated, I bought some snowdrops in the green and needed to plant them, but also needed to mix in some compost to the soil so that they stood a chance. Knowing this I was glad I put the daffodils in pots, but now I’m thinking I’ll keep them in pots and half dig them into the border - especially as know I’ve worked out the optimum spot for them all.

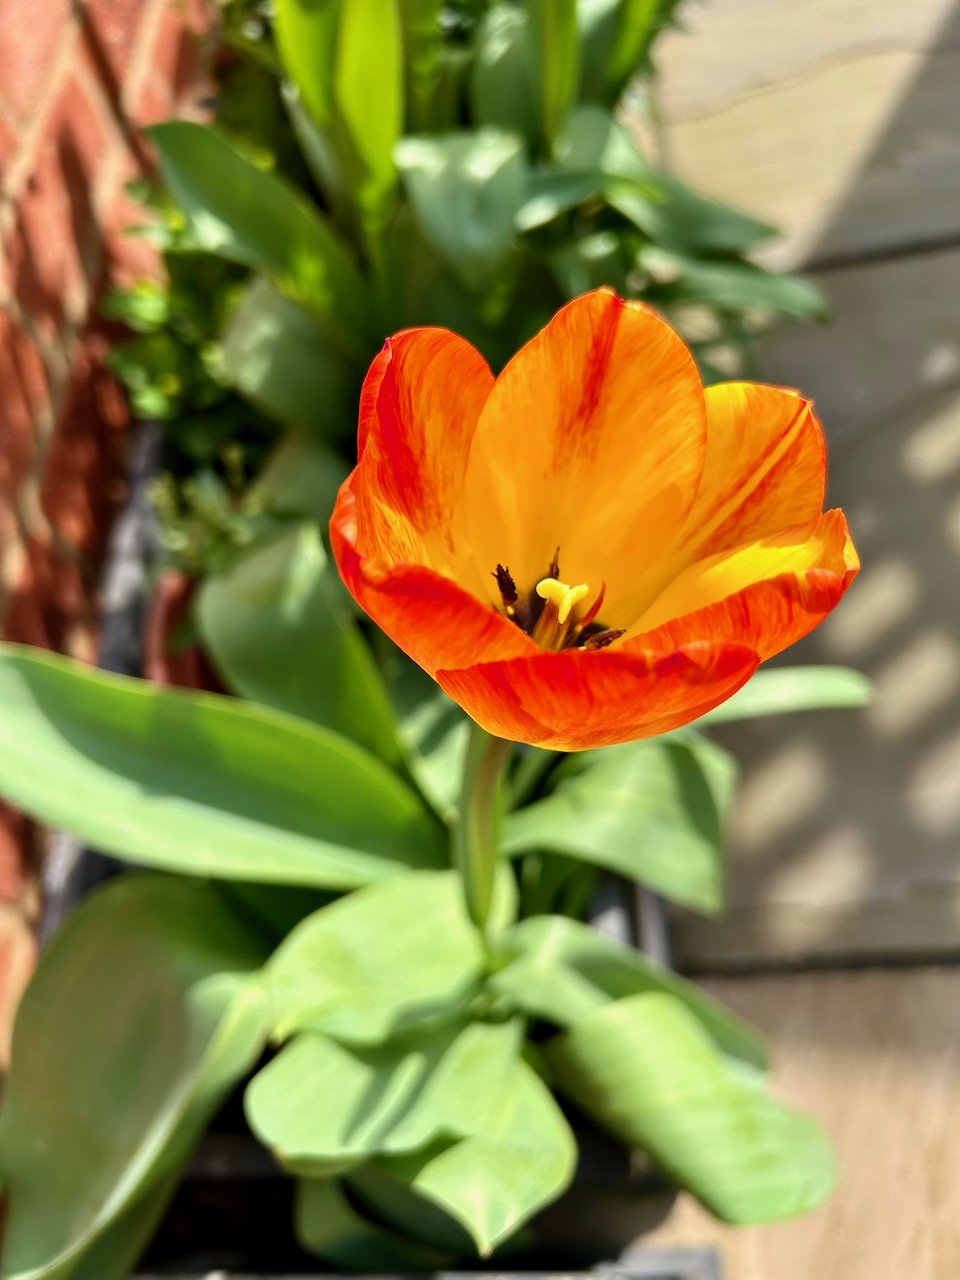
A close up of an orange and yellow tulip
Tulips and euphorbias enjoying the sun - oranges and yellows of the tulips and the lime green euphorbias just make me smile.

So a burst of colour this month - and aren’t the bold tulips against the lime green of the euphorbia just divine? I’m thinking I should pot up some of that euphorbia so I can bring that into the patio pots as a foil for the tulips next year - I know they spread when planted in borders, so maybe this could be a way to keep them more contained!

Other than these pots, we’ve still not been gardening proper this month thanks mostly to the weather - let’s hope April brings better weather and more opportunities to spend time outside in our new garden.

PostCommentLove