


Today is University Mental Health Day, an important day for all university communities and the biggest day of the year for student mental health which as we know from reading the media is an increasing problem for not only students, but all in this age group. At our university we’re using the day to bring our university community together and make mental health a university-wide priority, showcasing ‘self-care’ and the support available in our community.
This post is one of the rare posts where my work-life meets my blog-life, and I’m happy with that because it’s such an important topic. I’m hosting a craft session where people can come along and try crafts such as knitting, crochet and making pom pom sheep or just bring along their own project and craft in company. Those of us that craft regularly know why crafting is good for our mental health, and this session aims to demonstrate that first-hand.
So I thought I really should practice making some pom pom sheep…
If you want to try these too, you’ll need:
Two toilet roll inners
Wool to make a pom pom for the sheep’s body (I used a pistachio green)
Wool to make a smaller pom pom for the sheep’s head, this works best as a dark plain colour (I used black)
Scissors
1 Take the two rolls and catch the wool for the sheep’s body between the two rolls.
Wind the wool around the two tubes until it’s about a centimetre thick.
The more wool you wind around the tubes, the more rotund your sheep will be.

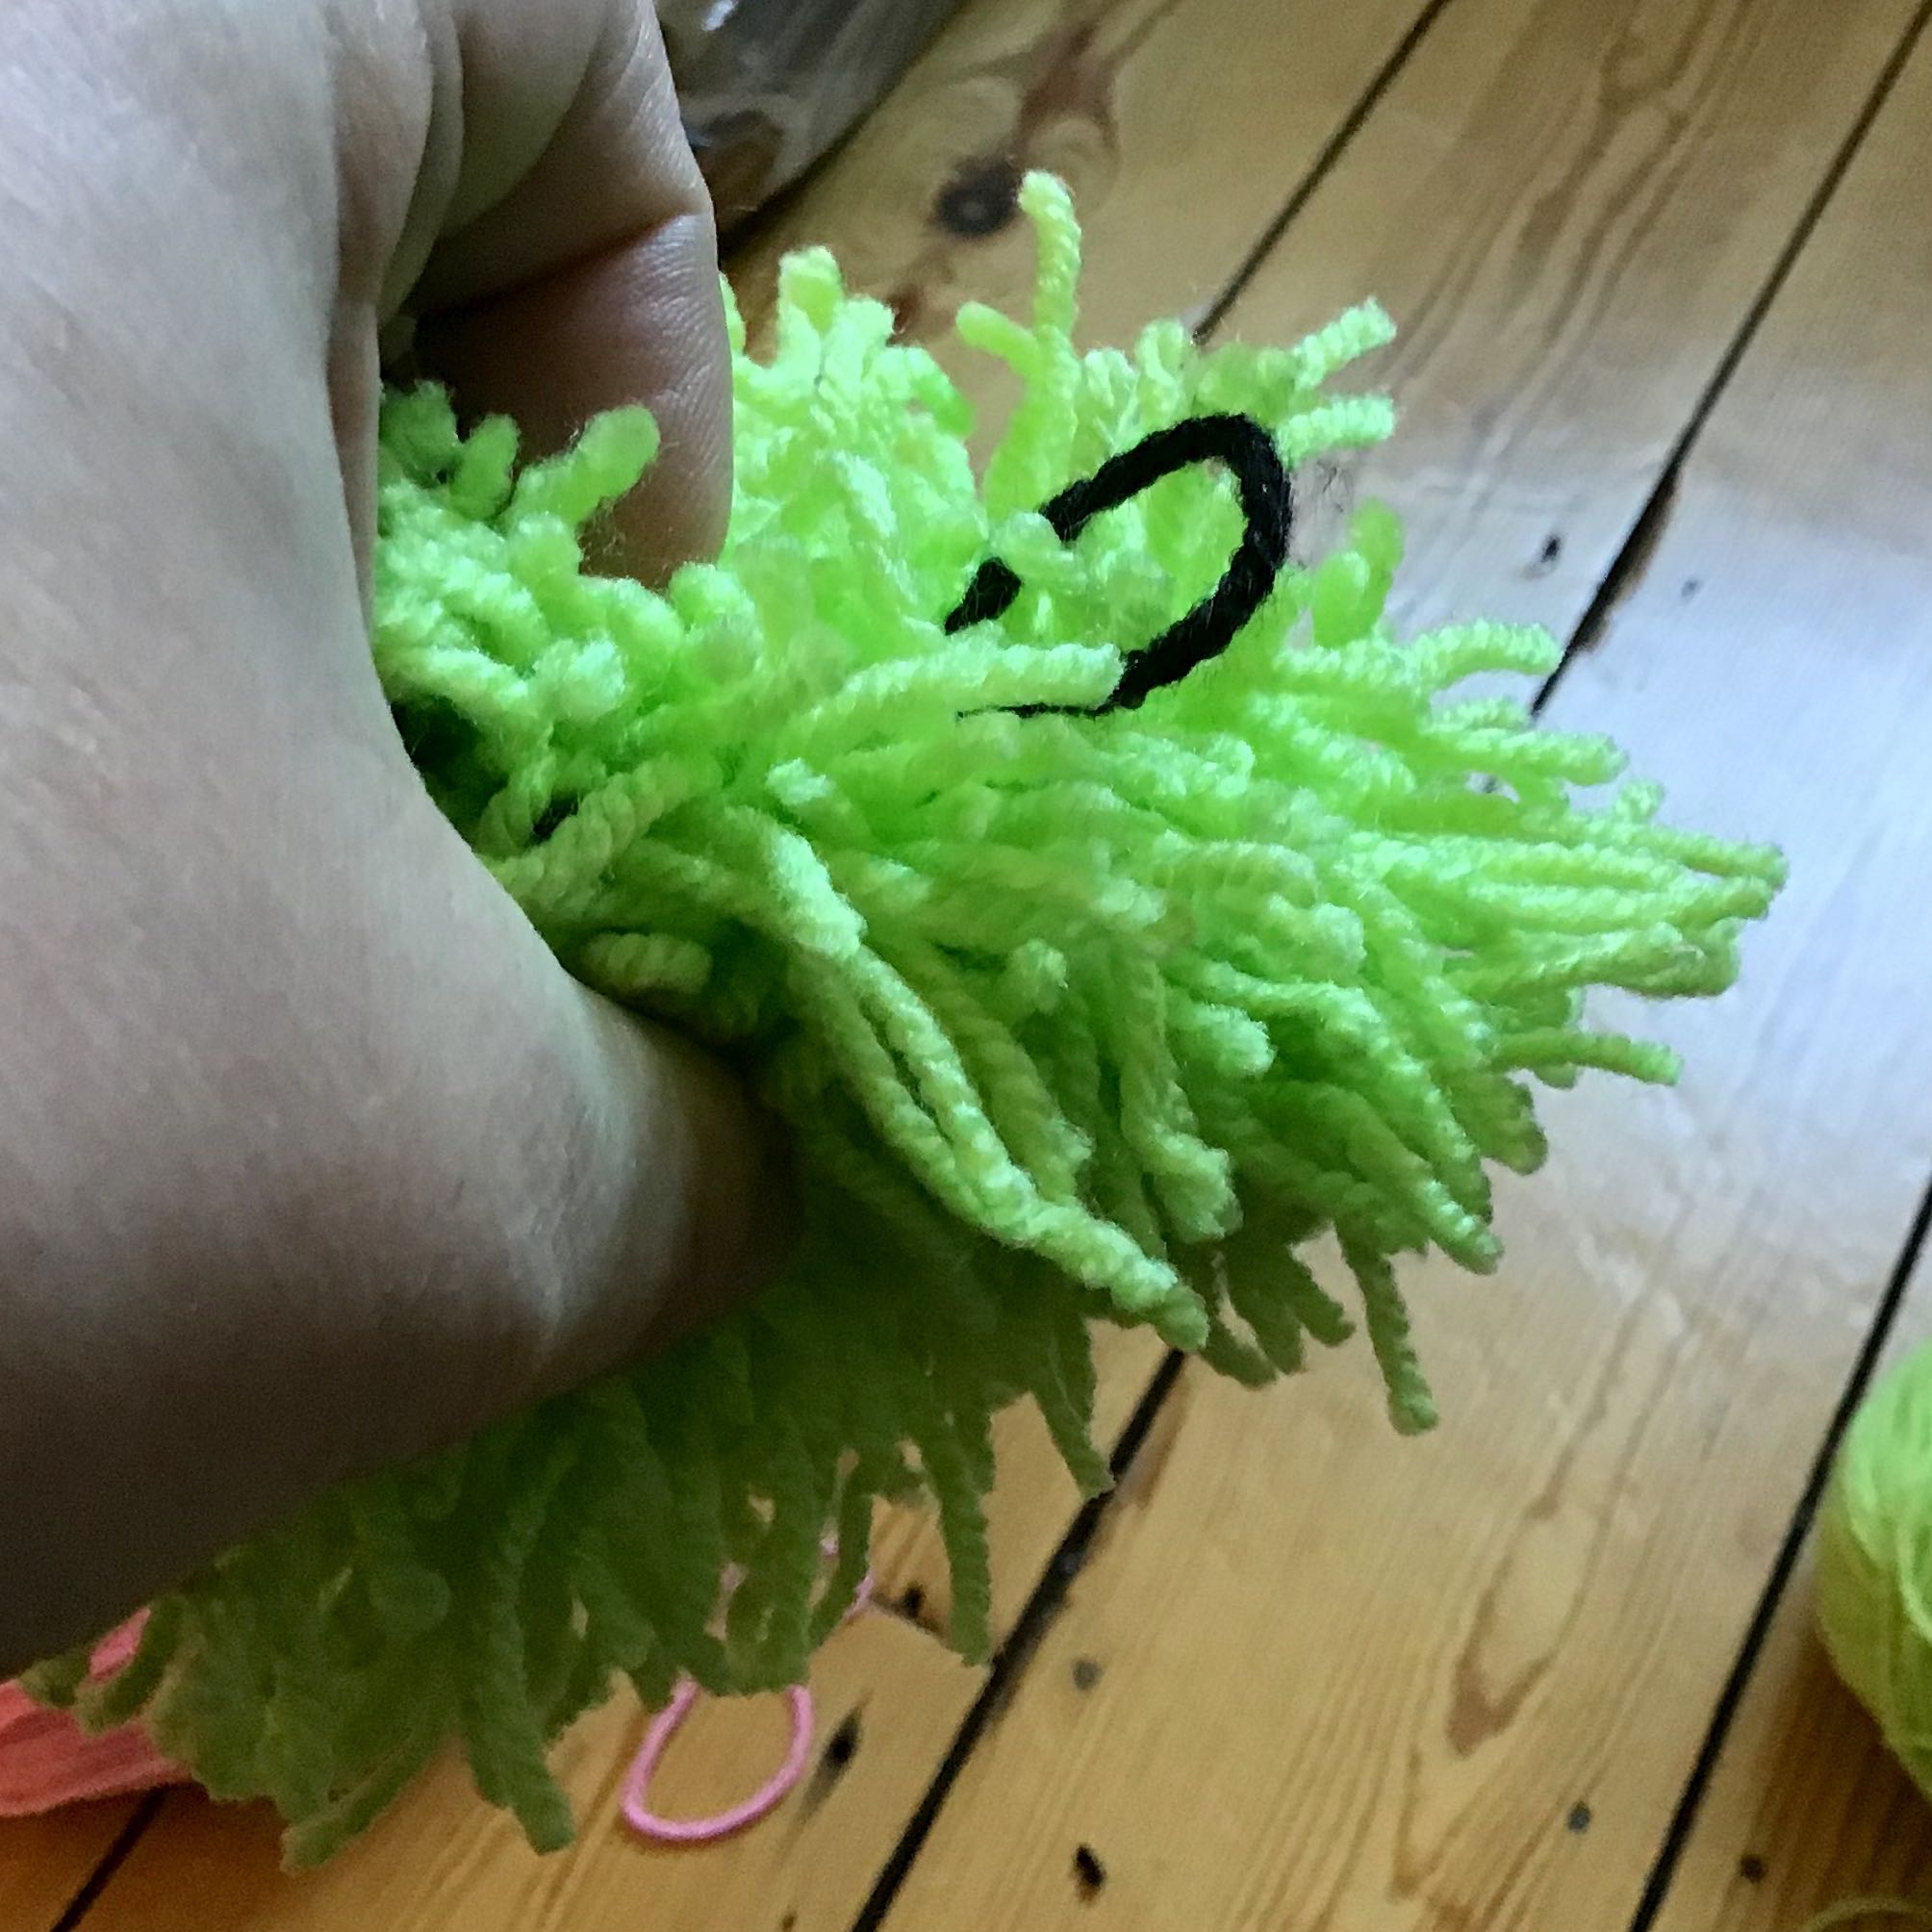
2 Next you’ll need to tie the pom pom together using the darker, plain wool for the sheep’s head.
Tie the black wool loosely between the two tubes, and ease the tubes out carefully.

3 Now tie this tightly, this will form your sheep’s body.
Leave the long ends of the dark wool, you’ll need this to attach the sheep’s head.
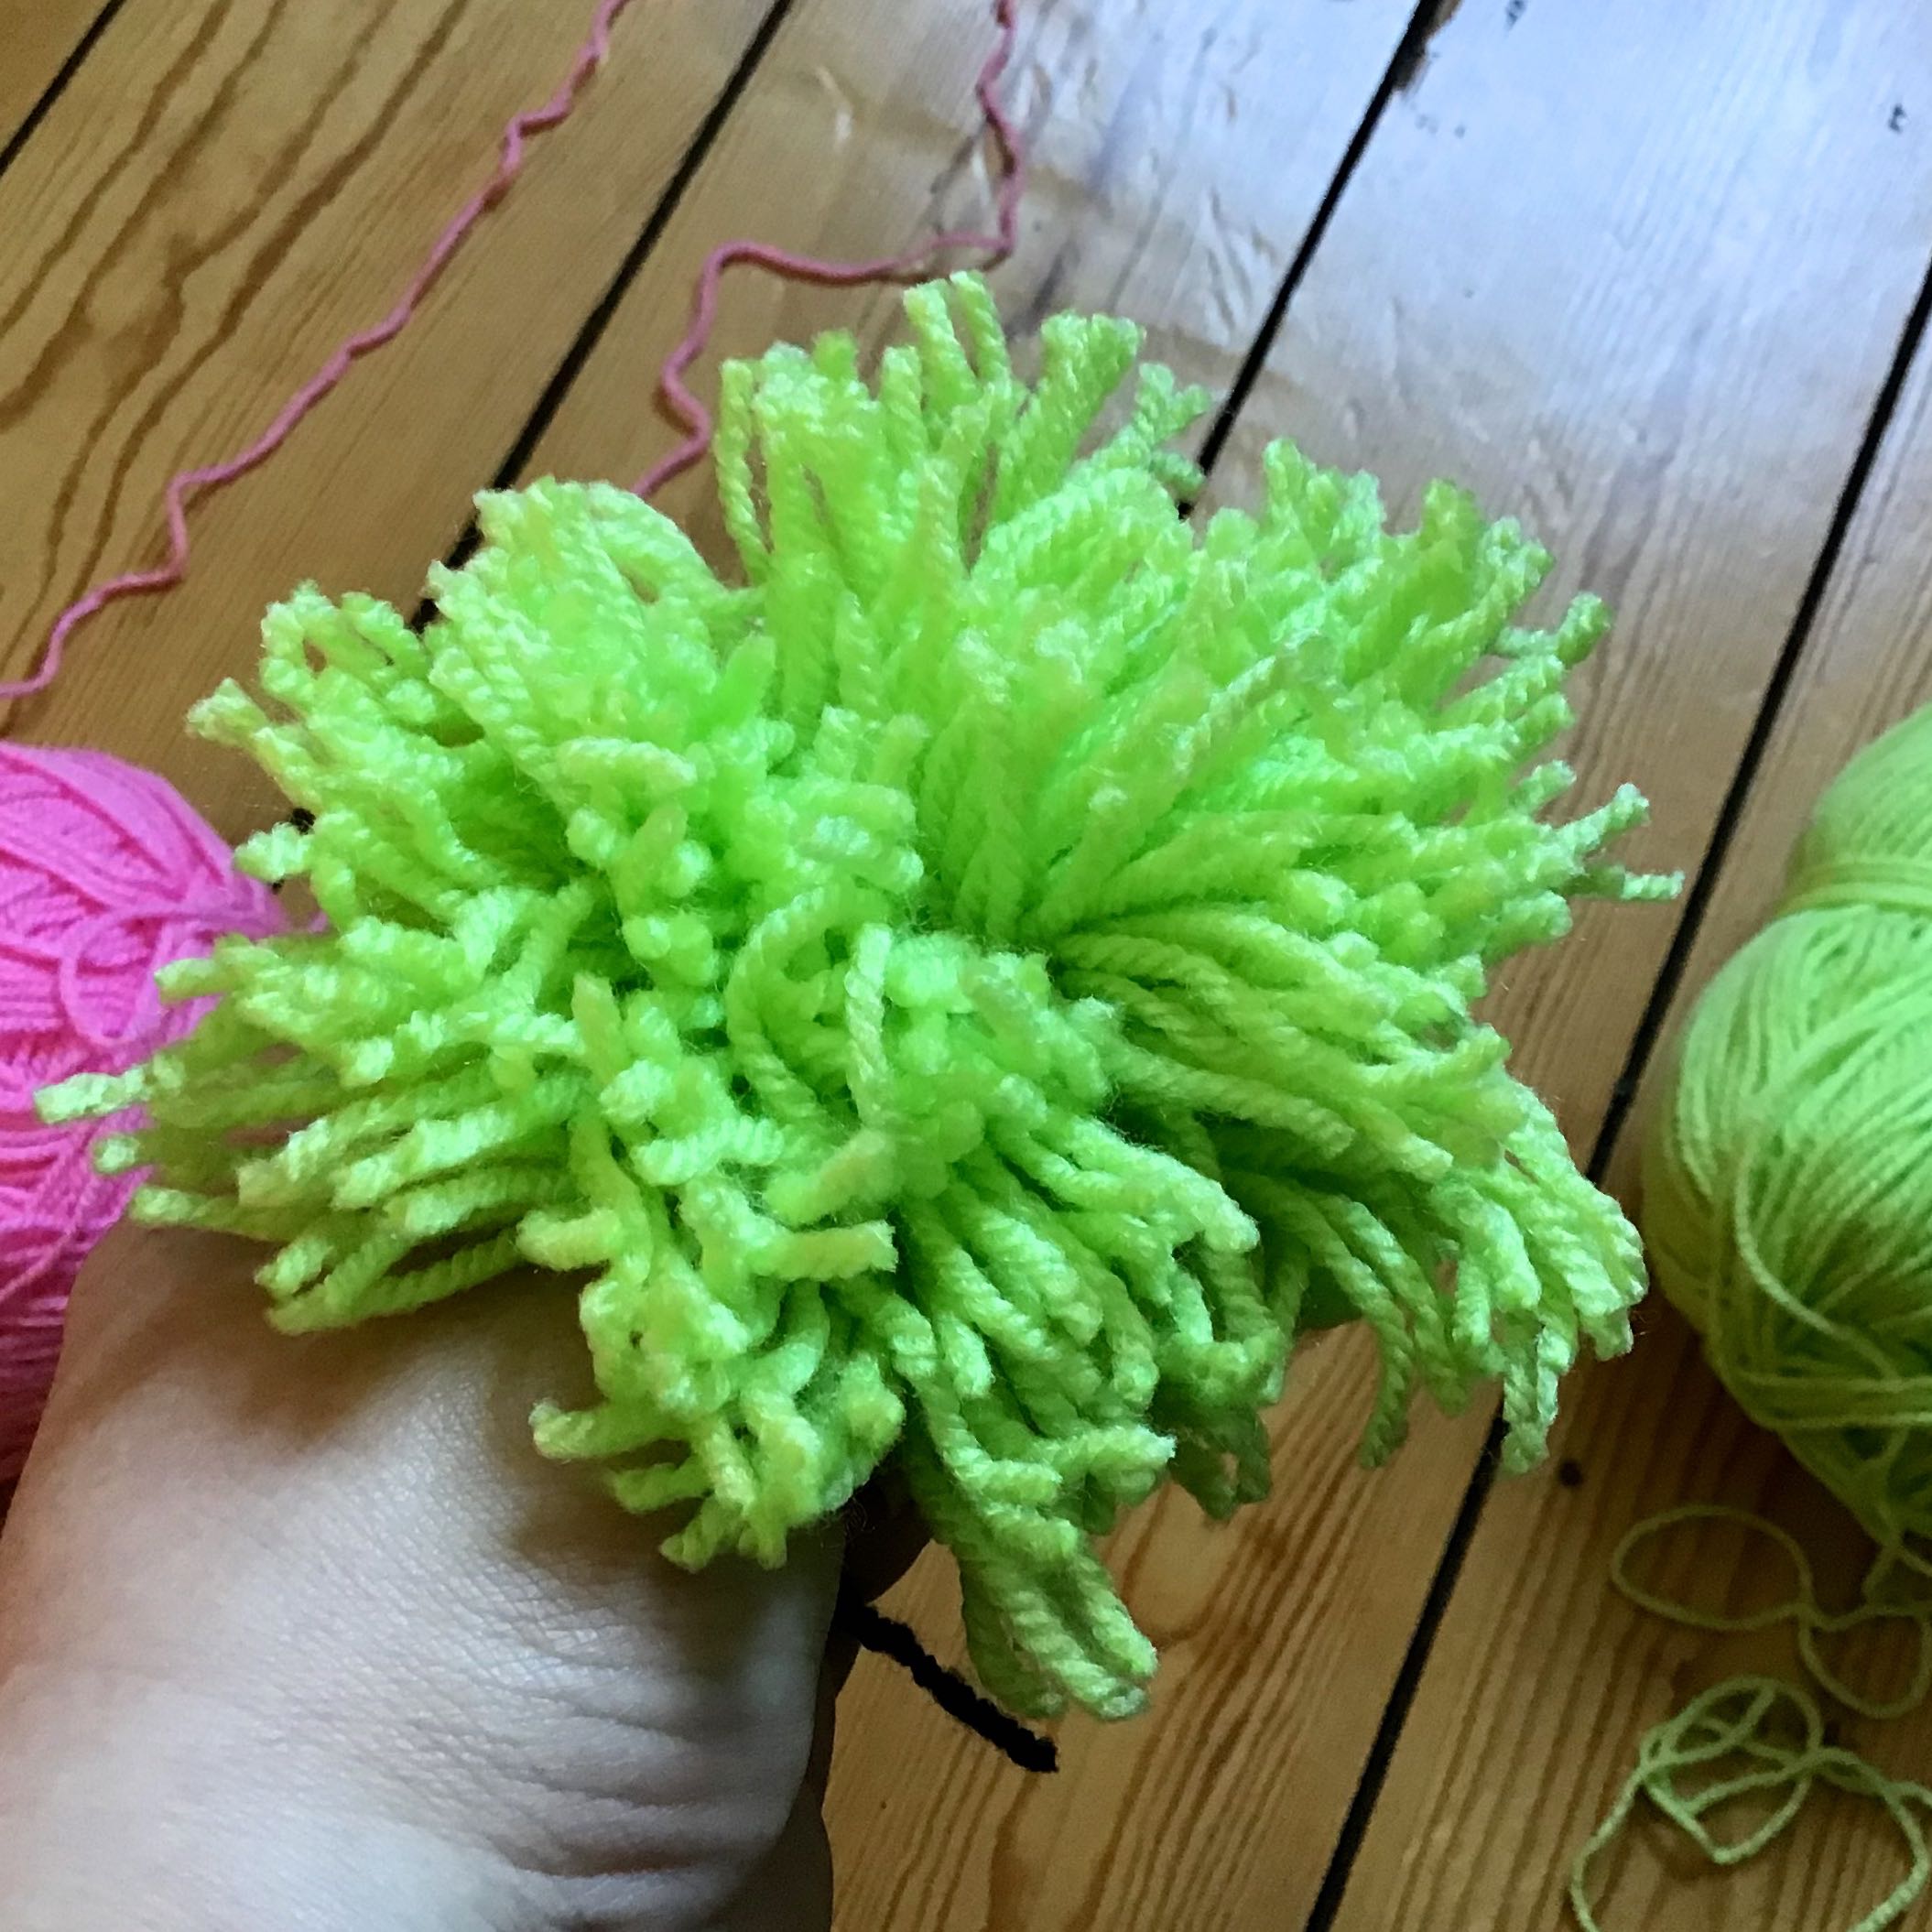
4 Carefully cut the loops, forming your pom pom and sheep’s body.
If you want, trim the shape to form a sphere.
5 Now make a smaller pom pom for the sheep’s head using the dark wool.
Wrap the wool around three of your fingers (not too tightly!)
Slip this off your hand and tie tightly as before, cutting the loops to form a pom pom. This time cut the ends the same length to match the pom pom.

6 Using the long lengths you use to tie the body pom pom, tie the head to the body, then cut the wool so it no longer shows.
7 Add a loop, for hanging up your sheep, and legs.
Cut two lengths of dark wool, one about 30cm and one about 20cm.
Tie a loop in the longer length and tie the length around the body pom pom about a third of the way along the body, closed to the head. Tie the shorter length about two thirds of the way along the body.
Trim the lengths which are hanging below the sheep’s body so they are the same length, adding a knot (for feet) if you wish.
8 Now step back and admire your work!
I made five sheep - two pistachio, two pink and a black sheep.
Well, there had to be one didn’t there? The black one though was by far the hardest, most probably as it was hard to see where to tie the pom poms together.
I think they work better two-toned, and love the bright colours.

You can of course use more traditional natural colours, but I’m rather keen on the pastel versions which have been adorning my bookcase for the past week or so, and will be joining me at the craft session today.

What do you think? Are you giving them a go - send me your pictures if you are, tag me on social media - @lifeat139a - I can’t wait to see your flock!