


I don’t usually struggle for words, but when I’m making cards they’re the one of the things I think I can improve on. And often as they are one of the final elements to be added, it can be make or break, so I’ve been looking at different options. I’m a big fan of brush lettering, but need to practice more to improve both my confidence and the finished result, and honestly it doesn’t work on all cards. I’ve die cuts and stamps for greetings, salutations and even numbers and letters of varying sizes and these work well, but again not for everything. And the longer the phrase or word the more time consuming it becomes.
I’ve tried stickers with mixed results, as I’m less keen on it being such an obvious sticker and the metallic lettering available in packs from well known craft shops again, only takes me so far. I’ve created my own text in Word and printed that, but doing this every time isn’t sustainable and I’m still working my way through a batch of greetings from a good number of years ago!
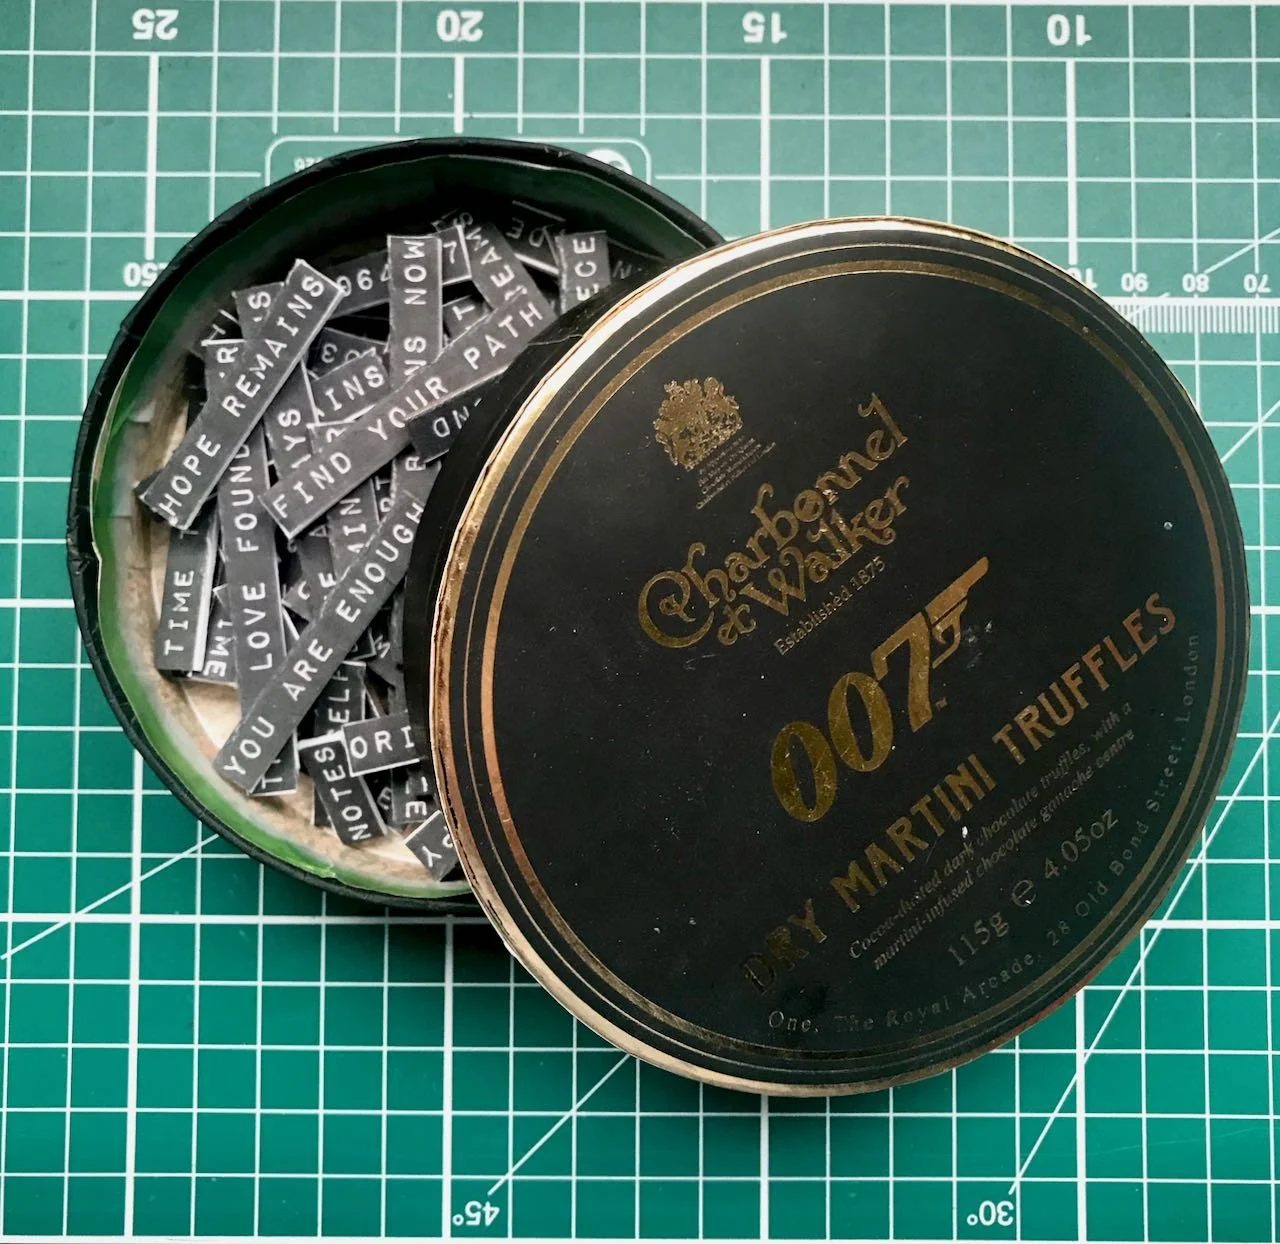
I’ve been watching the multi-media Instagrammers and admiring the phrases they use on their art, as to be fair this is a fair step up from where I currently am, and then inspiration - or rather Etsy-spiration - struck. And I found there was so much to choose from, so spending a few pennies over a pound for a download, I was off. I’ve included a snippet of the download from PixieDustFiles on Etsy below, so you can understand why I was so pleased with my (now obvious) discovery!
From the cards I’ve made recently I know that I prefer the text to be raised slightly, to stand out and add texture. Yes, I could use the sponge adhesive blocks, but I’ve also realised I can add craft foam to the whole piece and use a glue stick, which is a lot less tricky than trying to get the backing paper of such tiny adhesive blocks I can tell you!
So with a patchwork of saved-from-other-projects craft foam stuck on the back of my printed sheet I was almost ready to go. All I needed to do to test my theory was to make sure they’d stuck - hence the random pile of boxes - and to cut them up. I started off with the scissors, and that worked well but was, as you can imagine, slow. So I tried with my guillotine and had some success with that. In the end though I reverted back to the scissors as there was something really mindful about creating these little adornments.
And a tip for cutting things out - which I know sounds obvious - but use the whole length of the scissor’s blade, not just the tip. The less you open and close the ‘jaws’ means the less scope there is for changing your cutting line, so you’ll have straighter, cleaner lines, assuming you position the scissors correctly. And of course this goes for whatever you’re cutting, it really does make a difference,
So now I have a box of ready made adornments for cards and collages, and along the way I spent some time mindfully fully focussed on the task at hand, so a win-win all round.
I’ve learnt too, these used standard paper and printer settings, I’d be keen to try this on card, or even photography paper to see how that works, and I’m also thinking about creating my own text files, so I can get exactly what I want. And not surprisingly the section of foam that was less ‘patchworked’ worked better, and was easier to cut the individual phrases even though I’d tried to make sure the joins were carefully aligned.
A little bit of inspiration goes a long way doesn’t it?