It's a rainbow wrap!

It’s been a while since I shared my rainbow squares on here, 2020 in fact, so quite a while! But I recently rediscovered them, and thought that it probably wouldn’t take me too much effort to finish this project off, and if I got my skates on I could take it on my travels next month.

After this post I shared a layout post on Instagram, convinced that I’d nailed the layout and I’d ‘pinned’ it together with stitch markers to save me having to remember what I’d decided on, which was helpful.

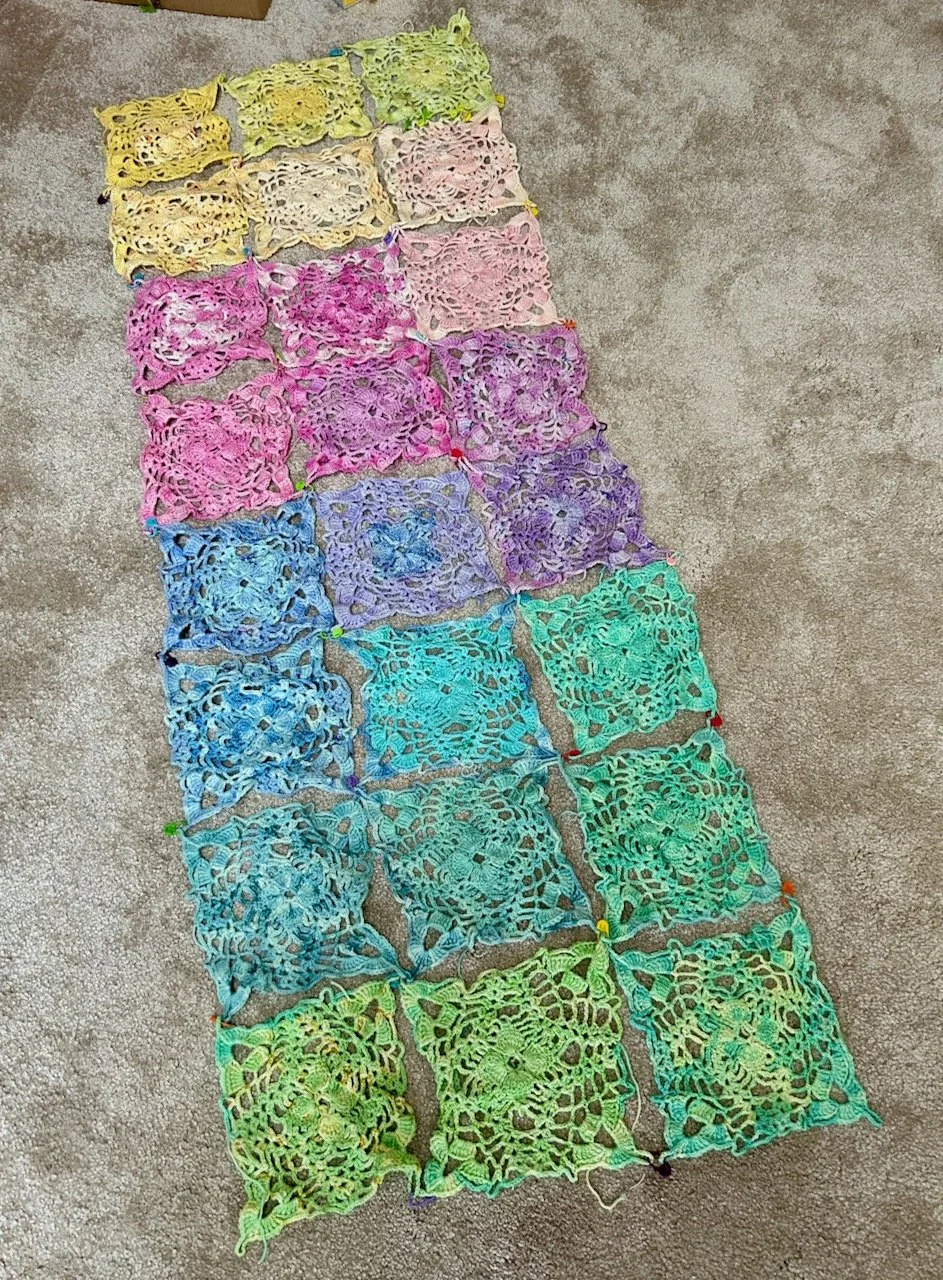
THE ORIGINAL LAYOUT

But the more I looked at this layout, the less convinced I was. And then I realised that with a simple switch I could have a different look - and well, there was no harm in trying was there, if I disliked it I could switch it back again as it’s not like I had attached them permanently.

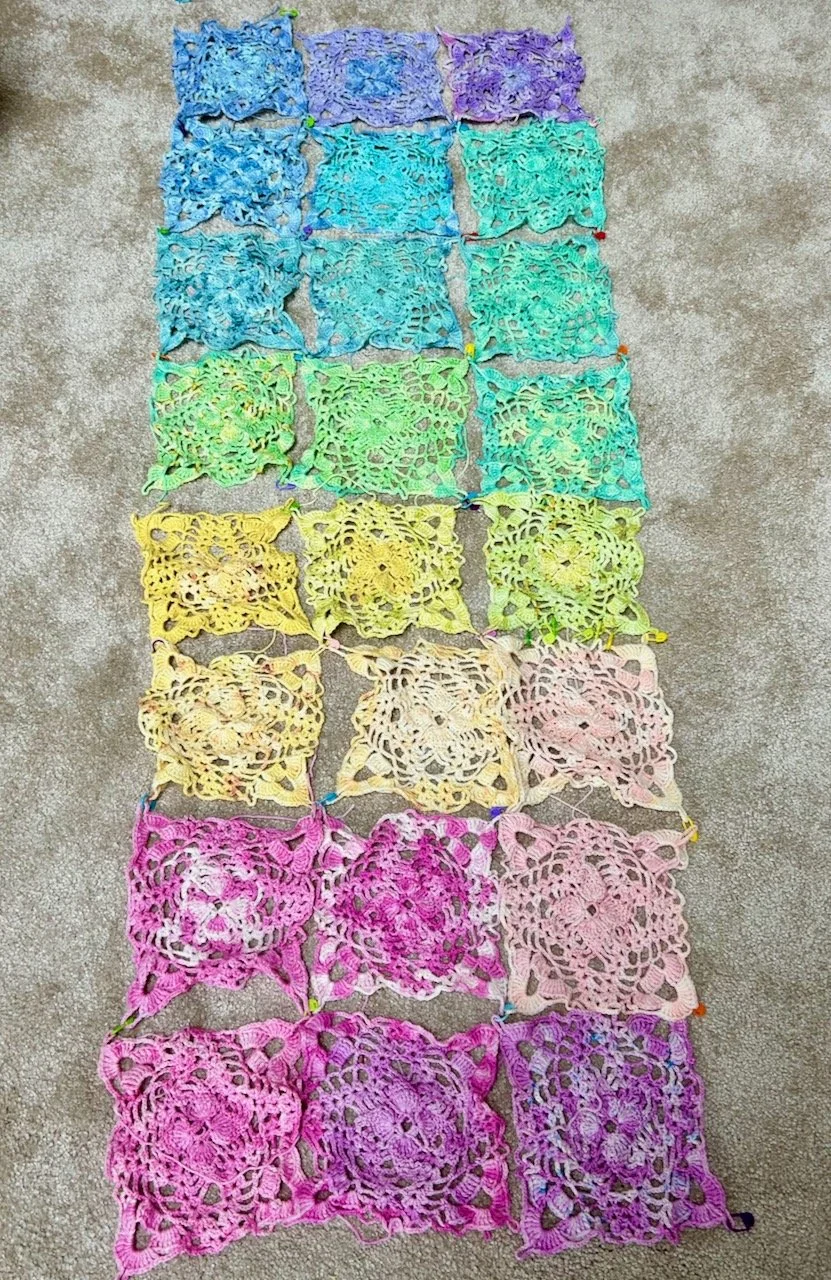
And so I took the yellow and green ‘ends’ and switched them into the middle:

switching colours - now blues and purples at the top, to greens, yellows and ending on pinks

For me this layout just popped, and just this small change made me feel instantly better about the whole thing - and more importantly, it made me want to finish it. Isn’t colour a strange thing?

Anyway to finish it I needed to permanently attach the squares to each other, I’d initially thought I’d do that sewing them together rather than by joining as per the vintage pattern and crocheting. But now that I’d come to actually join them, the sewing together option was a non-starter; I didn’t have leftover wool in each colour and I’d lose some of the laciness, so it was back to the quite sparse instructions in the vintage pattern, and working out a new plan.

That new plan involved a new purchase

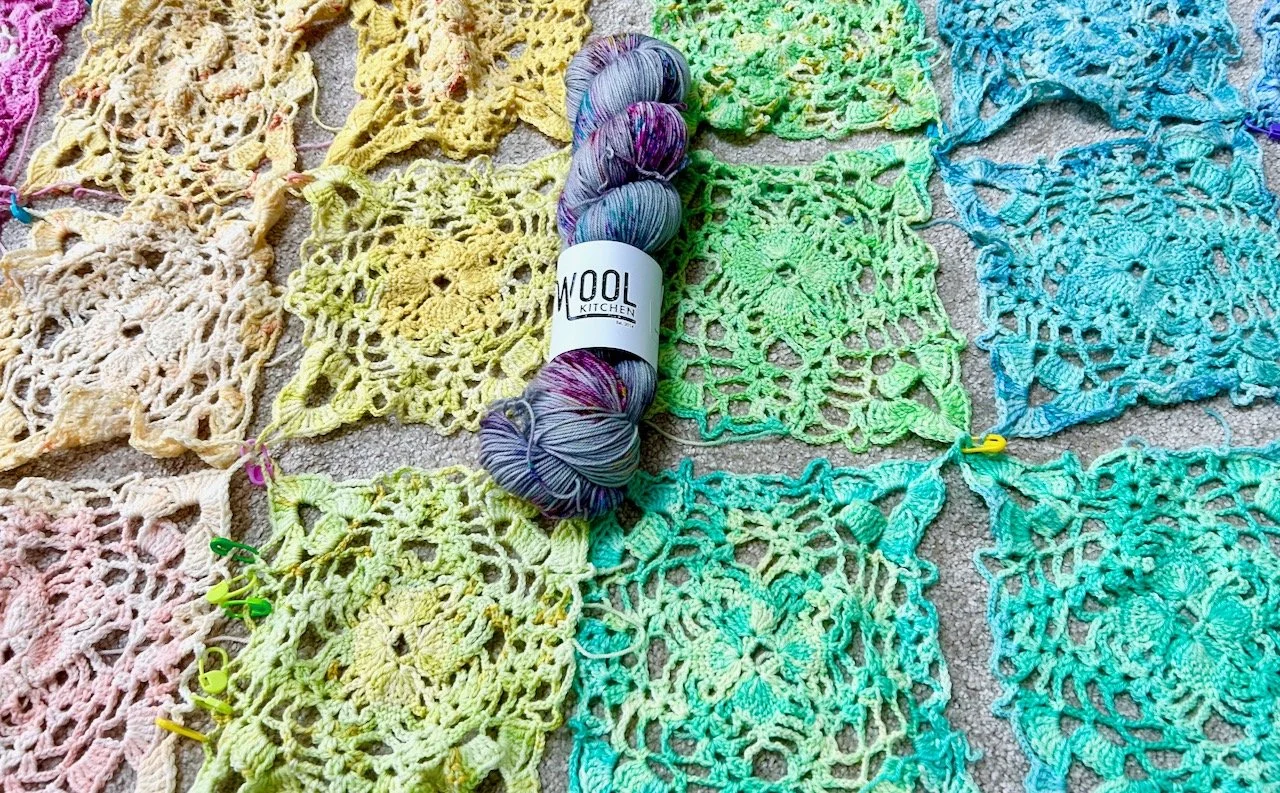
I thought about a white or a silver, but neither grabbed me when I tried those colours alongside my rainbow squares, so I checked out my usual online wool shops and got lucky. This ‘skyfall’ colourway from The Wool Kitchen is a perfect match to the original wool which came as part of the mini-skein club by Vicki Brown Designs.

The new grey & multi colour flecked addition laid in the middle of the yellow and green squares

With a bit more head scratching, lots more ‘pinned’ stitch markers and a bit of trial and error I worked it out, and quite quickly the short lengths and then the longer lengths were attached to each other.

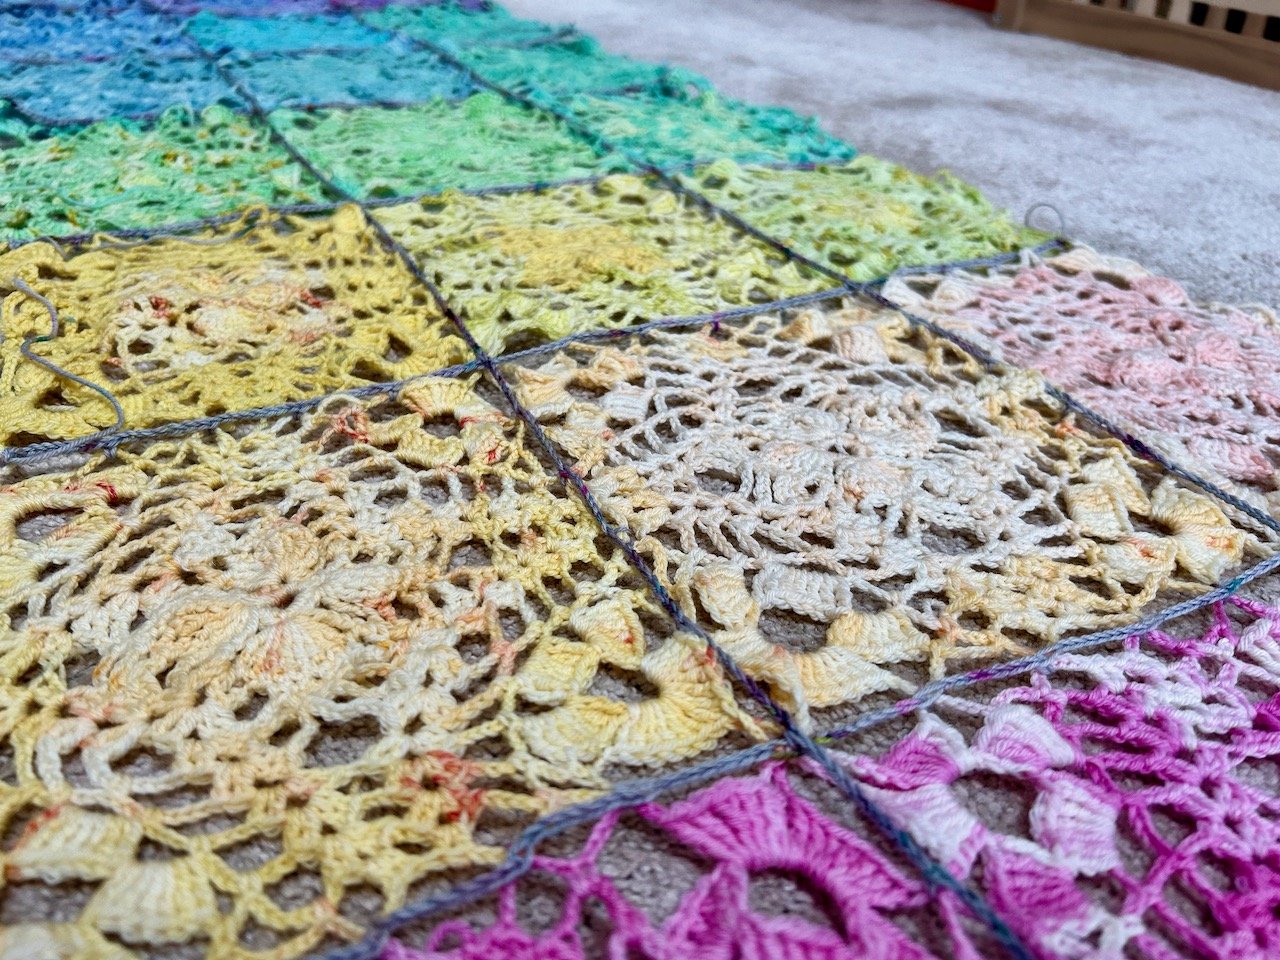
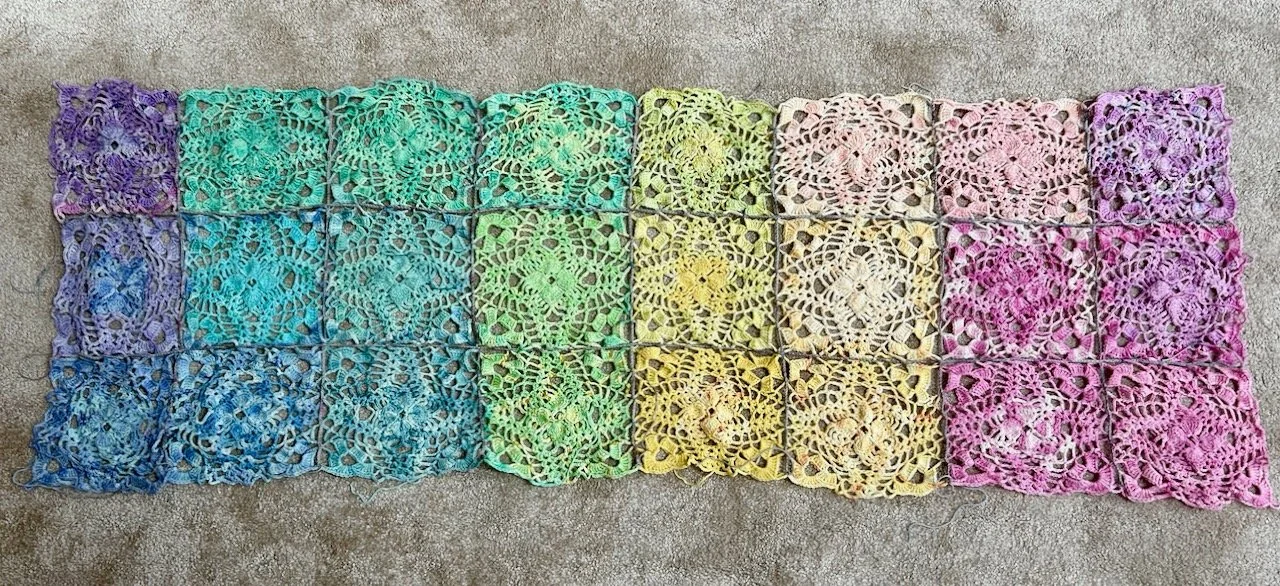
My rainbow squares attached to each other with a light grey chain stitch

ATTACHED!

A CLOSER LOOK AT THE JOIN

It already looks so much better than I could have imagined - and there’s a real chance I may just finish it soon too. I just need to add a row of double crochet around the edge and finish with a row of picot stitches - the pattern for this is just as sparse, but I’m confident it’s within my grasp.

Pepping up the grey

One of the things about moving house is that it unearths your unfinished projects, or as I prefer to call them works in progress. And it seems I have quite a few, so I’m going to tackle that, but only when they call me so that finishing them doesn’t become a chore. That may mean picking them up for a bit, and then leaving them for a bit more - which many of you will realise is pretty much my crafting approach anyway! However many of those I’ve rediscovered, like this variegated grey throw, are so close to being finished, but for one reason or another (and in most cases it’s the making up) they’ve been stored away for another day.

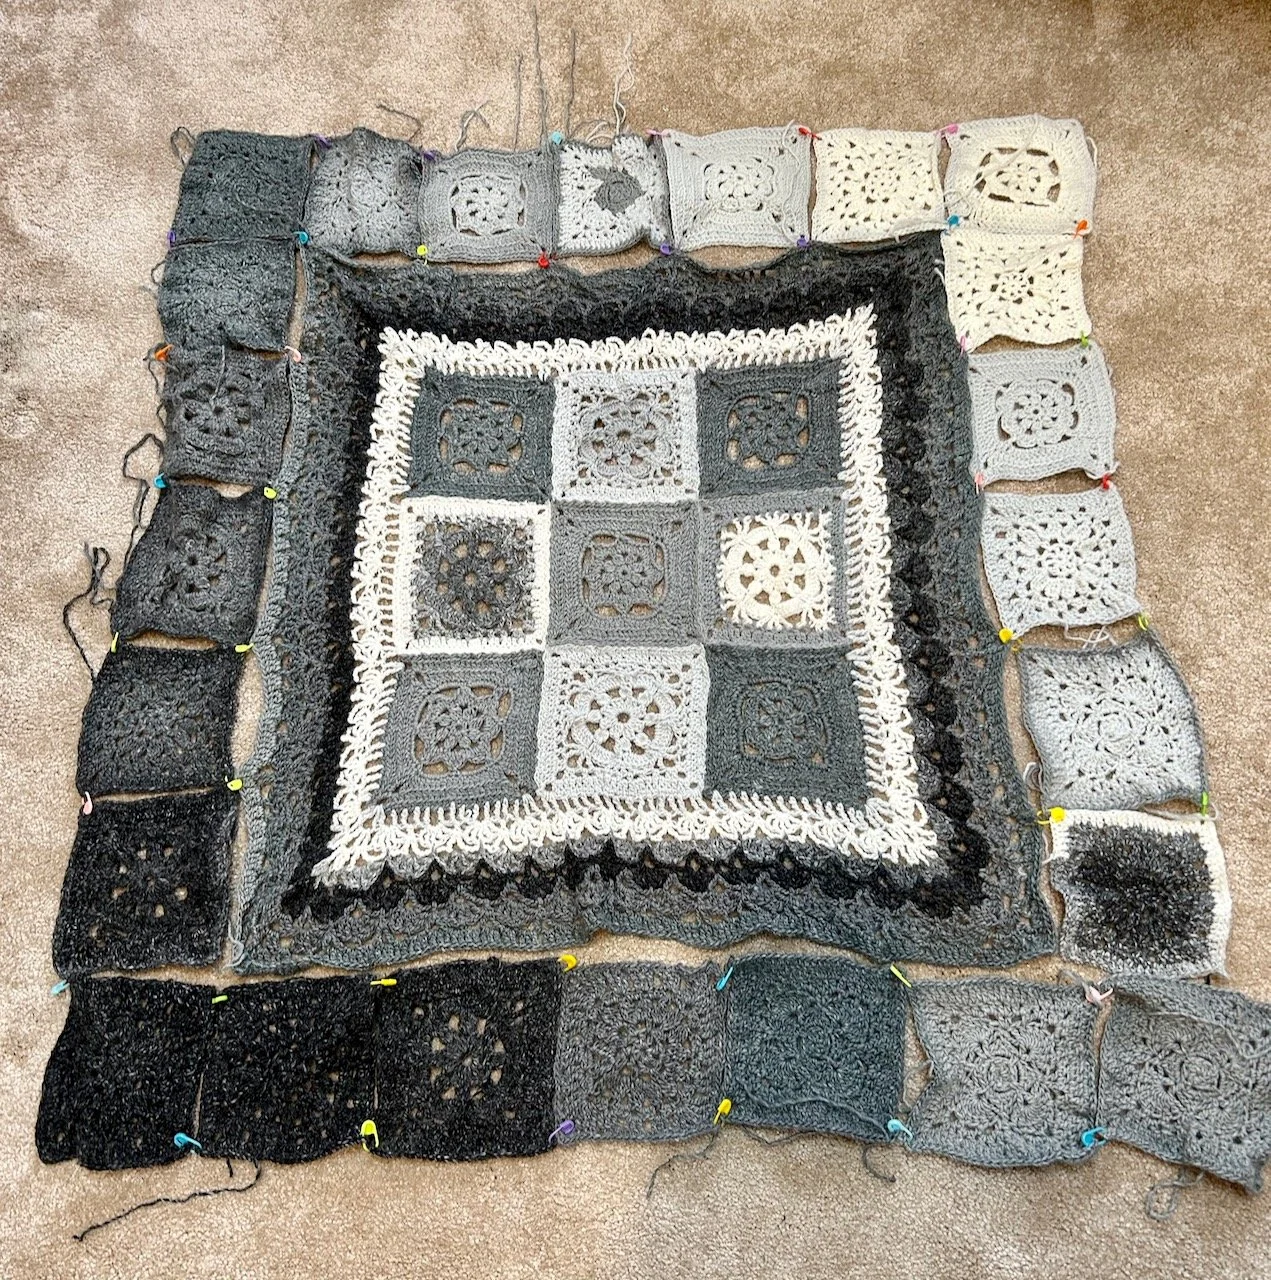
This one I’d carefully laid out and decided on how to place the variegated grey outer squares. And I still like that, so that’s good. But, well, it’s quite grey isn’t it? And the greyness doesn’t really sing to me - the work is good, but it’s still quite grey.

The pattern, and what originally attracted me to it, was based on Portuguese tiles with vibrant blues and yellows. I’ve no idea now why I decided to go grey, so I’ve decided to pep it up by adding some colour.

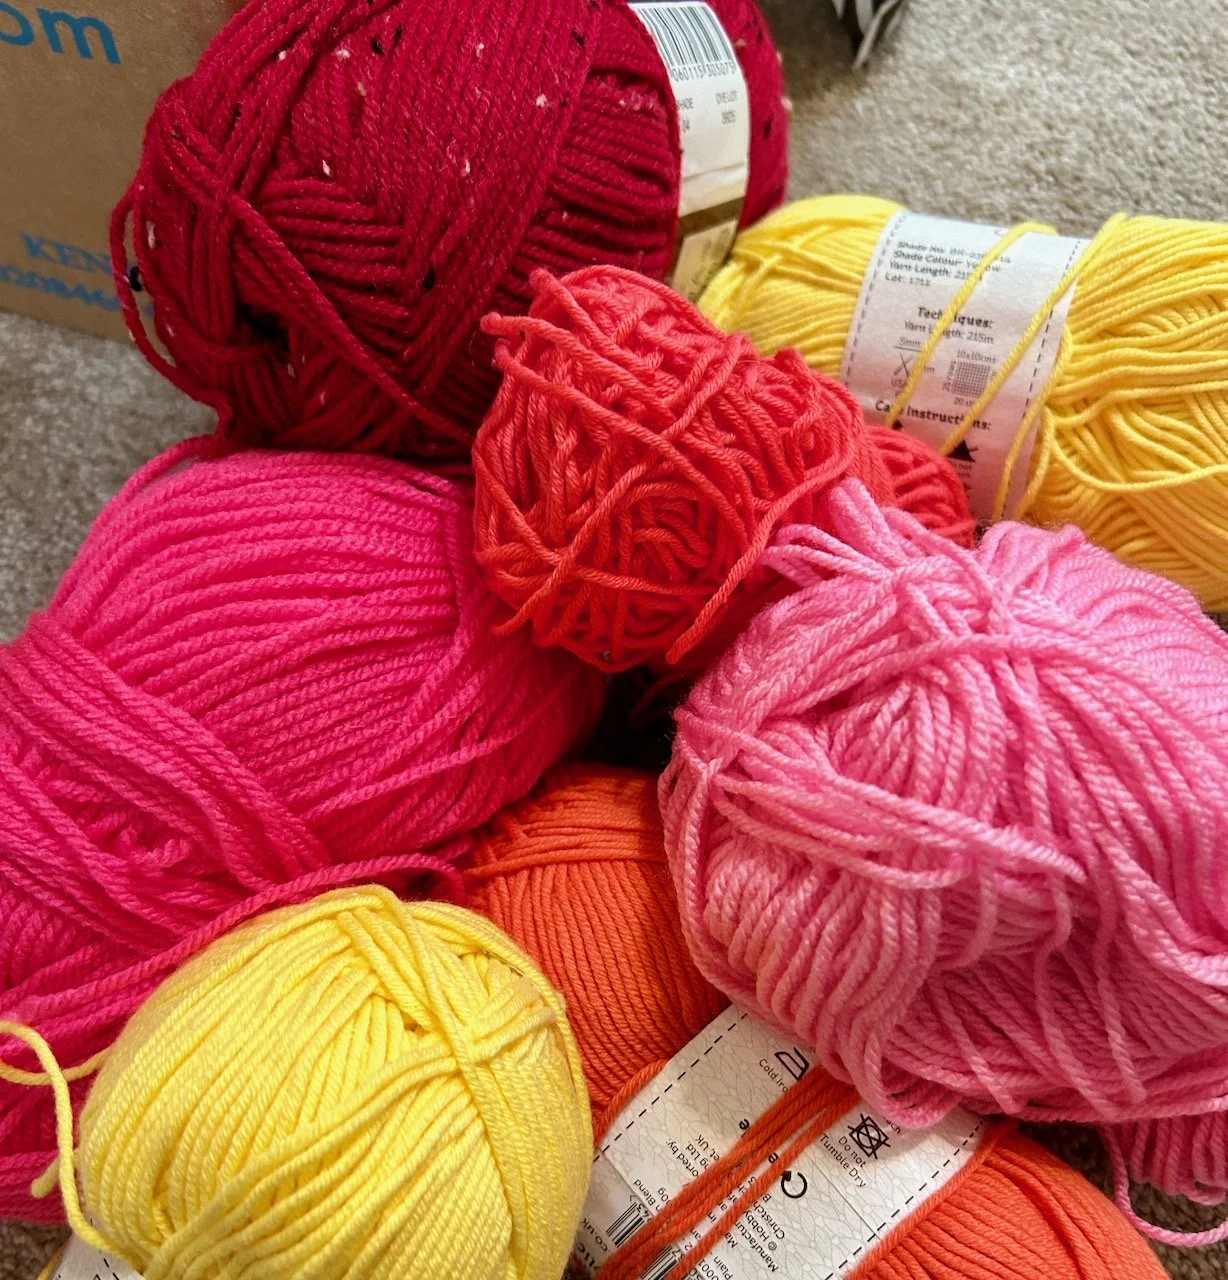
It seems by go to colours for adding colour are pinks, oranges and yellows - and I’ve nothing against using them all together.

Balls of wool on the floor - reds, pinks, orange, coral & yellow

I remembered that I also had a bag of small yellow granny squares that I was also planning on using up somehow. I’d thought about making them into a mat for my new drawers (more on that another day), but it didn’t feel right. But they are right for this project though.

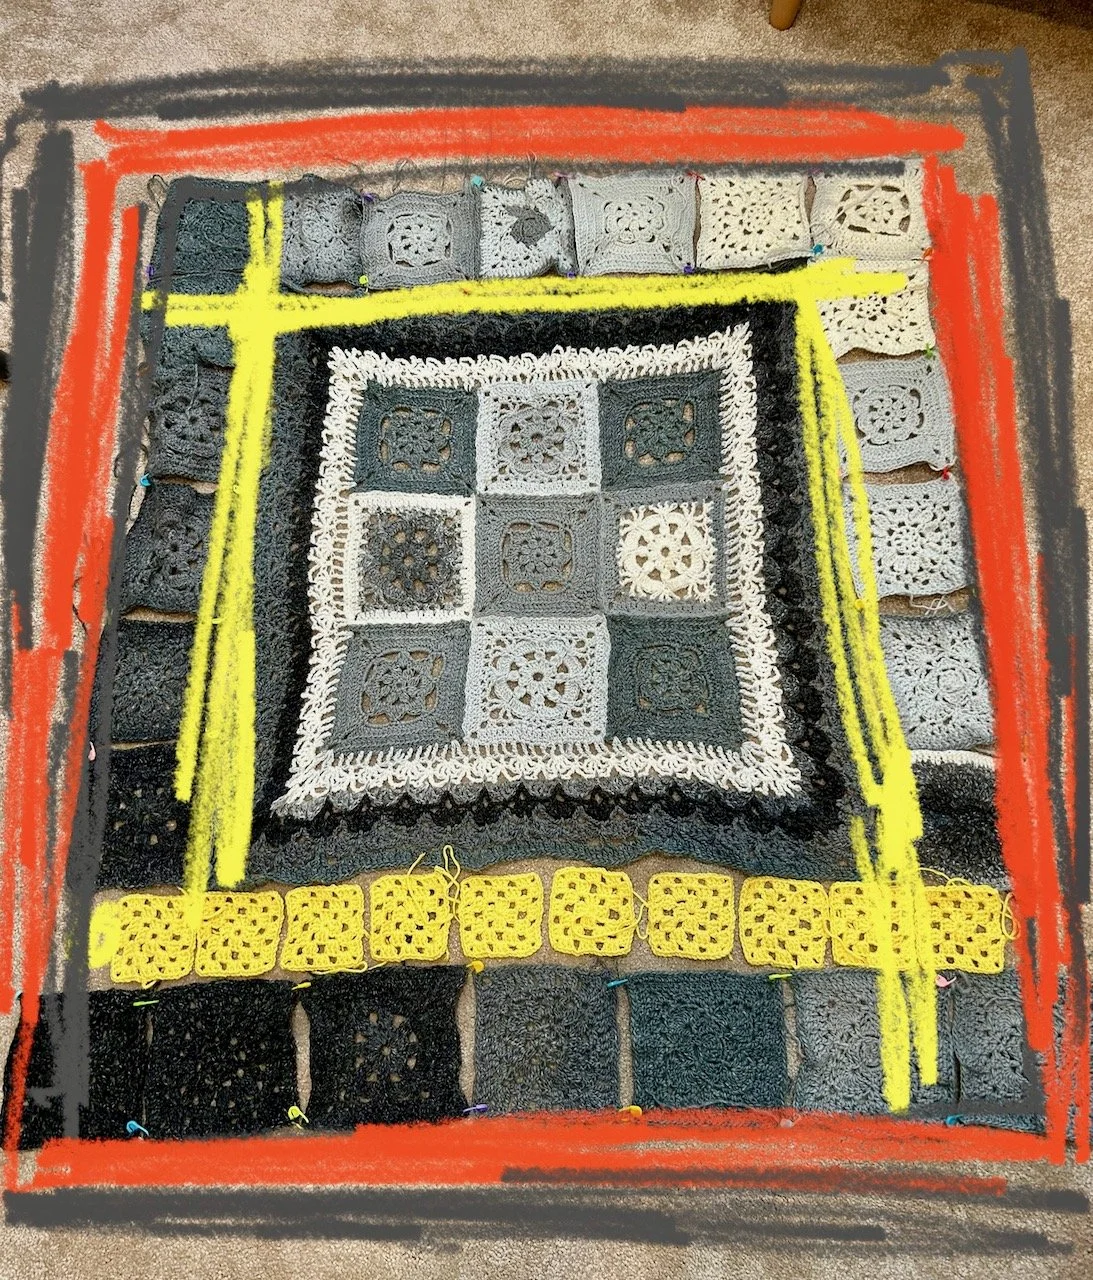
I thought my adding some colour could work something like this, with an inner round of yellow and further colour added on the outside with yet to be made squares - as you can see this is very much a thought in progress type blog post.

A mockup of the grey blanket with an inner yellow border and and outer orange border (drawn on)

I soon realised though that I’d need to amend this slightly so that the grey outer border didn’t have gaps. My revised plan now looked something like this in my head:

A further mock up with the coloured borders, this one has the yellow borders extending around two of the corner grey squares to fill the gaps

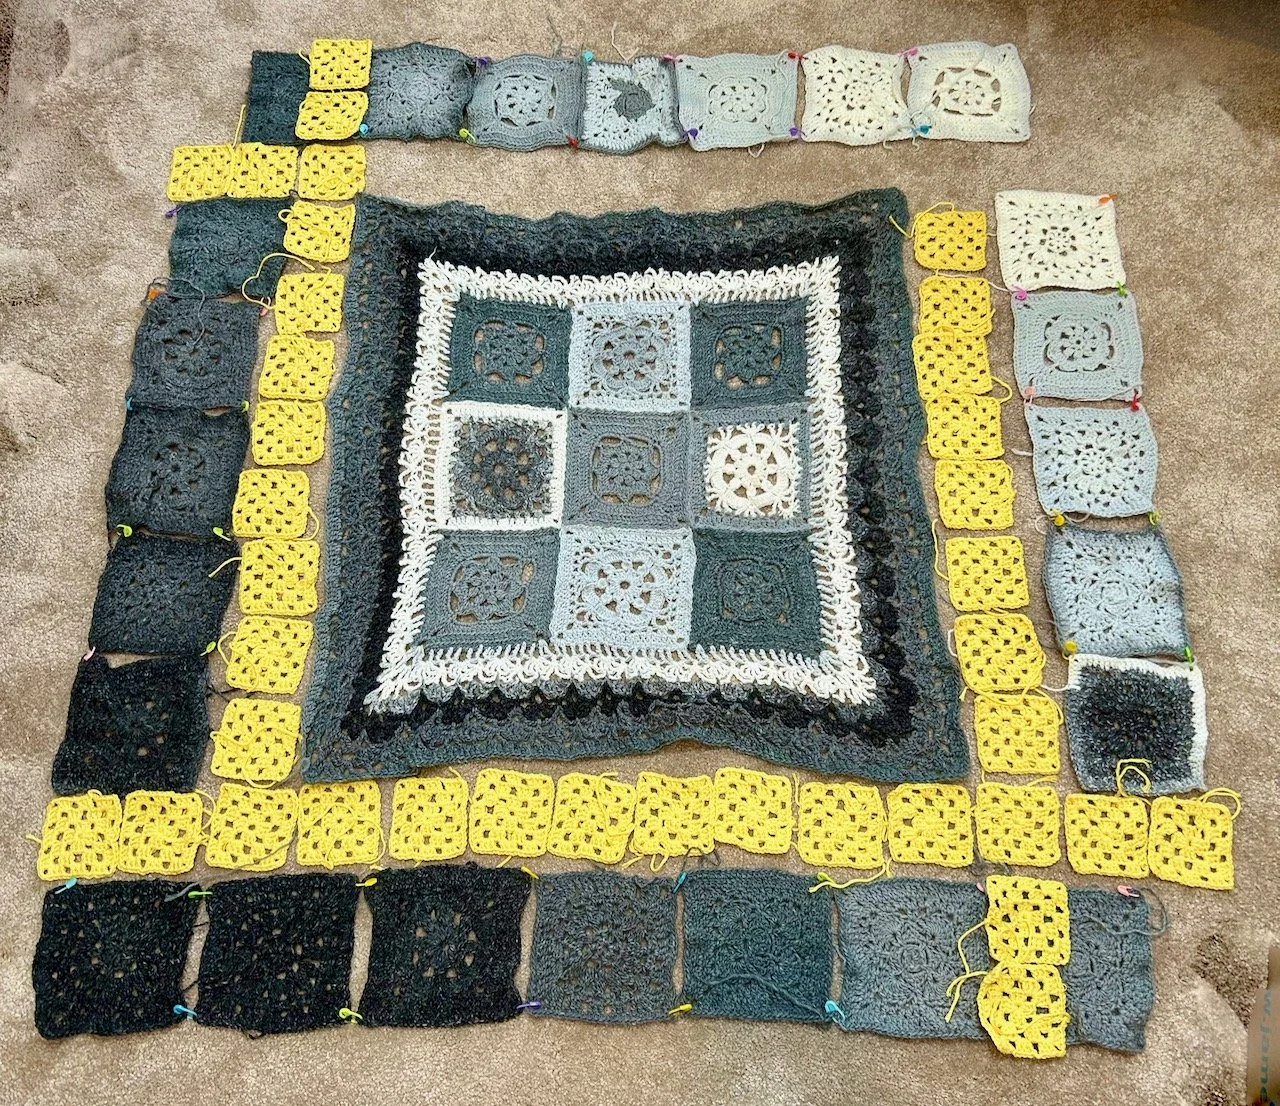
By laying out the actual squares on the floor I worked out I only needed to make about 10 or so more yellow squares, which were the result of what now seems to be very productive lunch breaks while I was working. I’d take my lunch and the wool and hook I kept in my desk drawer and find a bench to sit outside if I didn’t have other plans, and quickly created a pile of small yellow grannies, which I’d bring home a few at a time.

Laying out the actual grey and yellow squares to match the mockup

And so while working on creating the extra yellow squares needed I also started to sew the grey and yellow squares together, still thinking how to incorporate the red, pink and orange wool I’d pulled out. Plain granny squares are easy, but can be a bit dull. I didn’t want full size squares though as I thought having them offset (because of the yellow cross border) would make me twitch.

Then I remembered the vintage sweethearts blanket, which I’d made great inroads on sewing together before we’d moved (but haven’t picked it up since!) and remembered there were some mid-sized squares there which could work.

And I think they could, so once I’d completed the additional yellow squares I started on these.

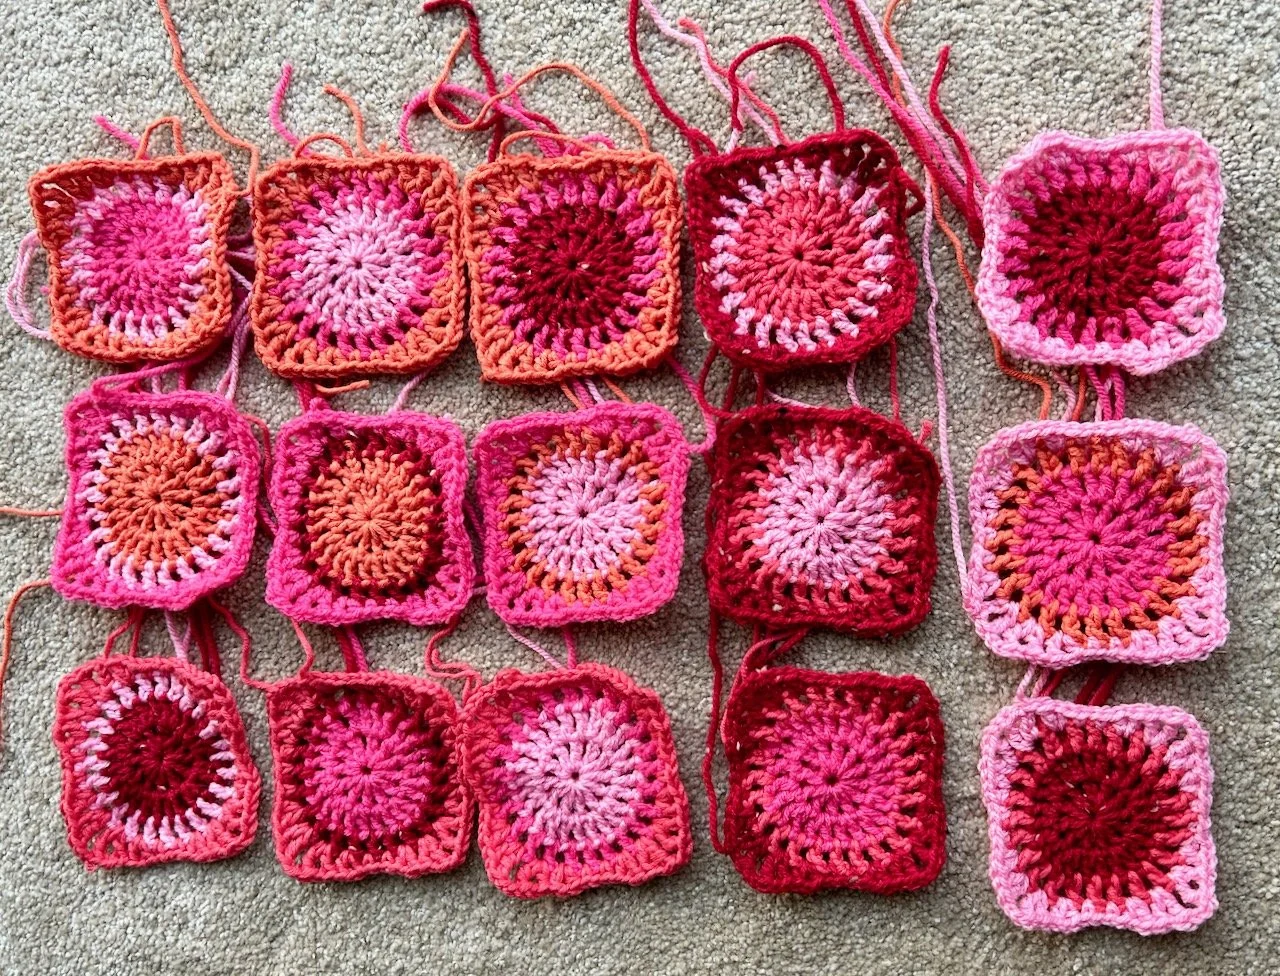
Fifteen mid-sized granny squares in shades of pinks, red and orange - each has a different colour combination with two circles which are then squared off

I’ve chosen three different designs for the pink squares, above is the first design - I’ve already started on the second one, but I couldn’t resist a peek at what the pepped up throw might look like.

It’s feeling a lot less grey, which feels good!

This is also the first time I’ve picked up a crochet hook since my Carpal Tunnel surgery at the start of June - and no ill effects, and that feels good too. Especially as I have the wool for a new knitting project on the way, more on that another day - but needless to say it was love at first sight!

But for now I’m enjoying less grey.

Repurposing a crochet project, and getting it done

Sometimes you start a project and it goes for a while, then it stops. If you’re lucky you may pick it up again and start where you left off and all’s good, but at other times there’s nothing else for it but to start again.

I liked the yarn, and the colour variation that two strands of double knit gave, as well as the thickness which for a laptop cover I was keen to have. I like the pattern. I’d crocheted a baby blanket in this pattern previously - the baby is now two and a half! - but I couldn’t get into the flow for my laptop cover, which I so desperately wanted.

I know right, it didn’t make sense.

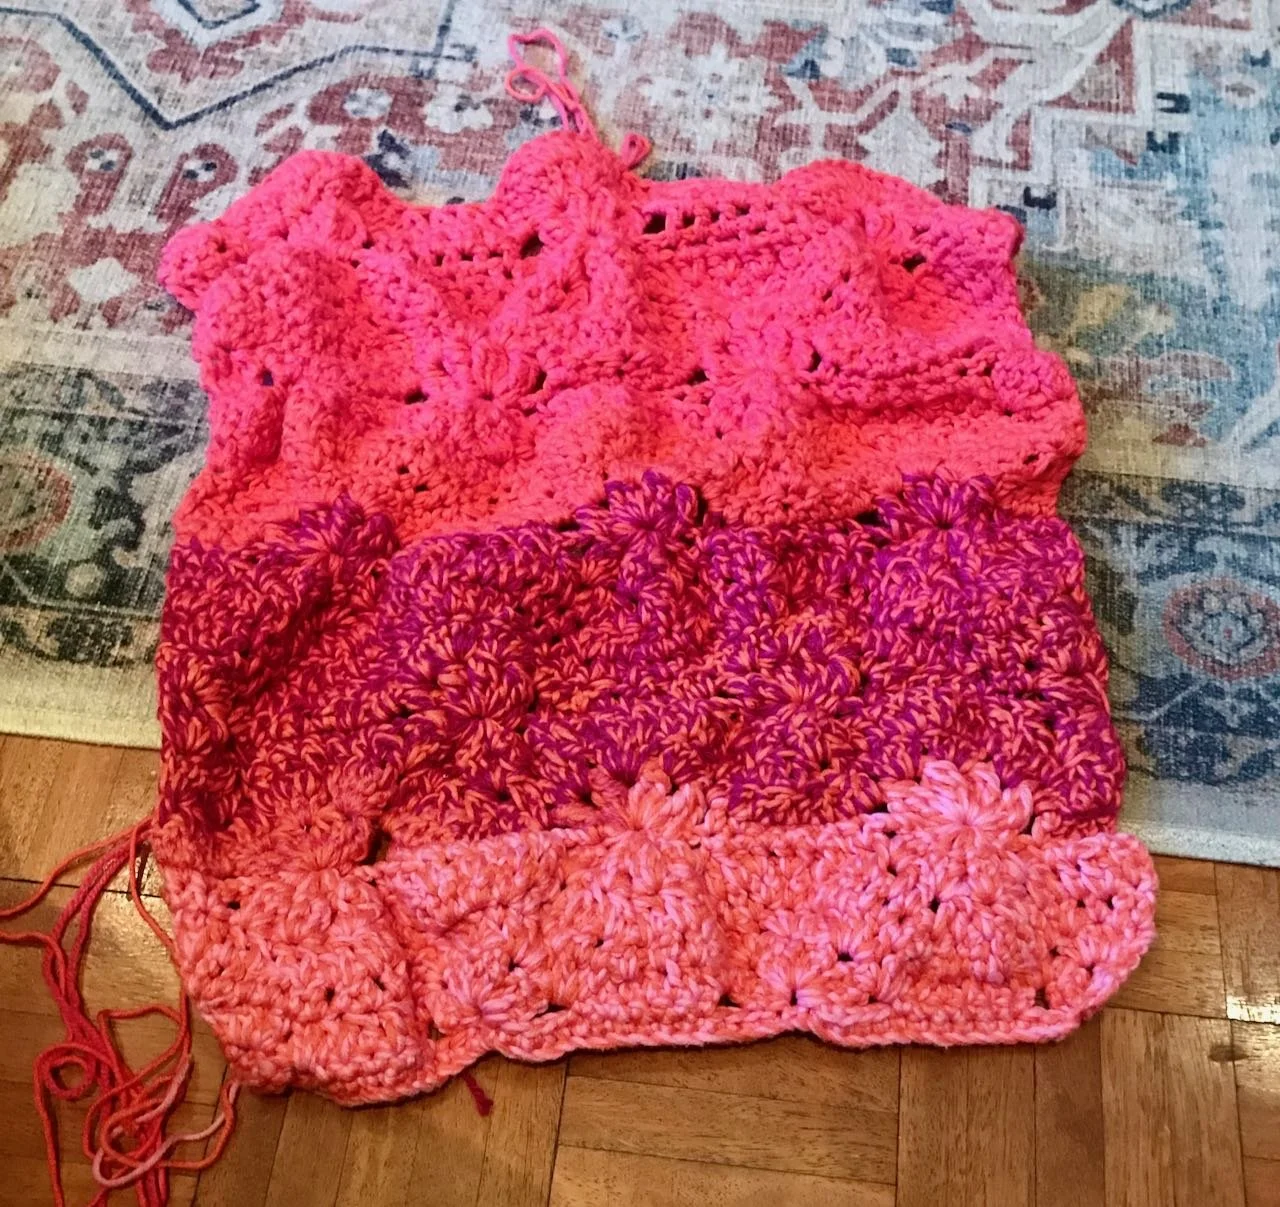
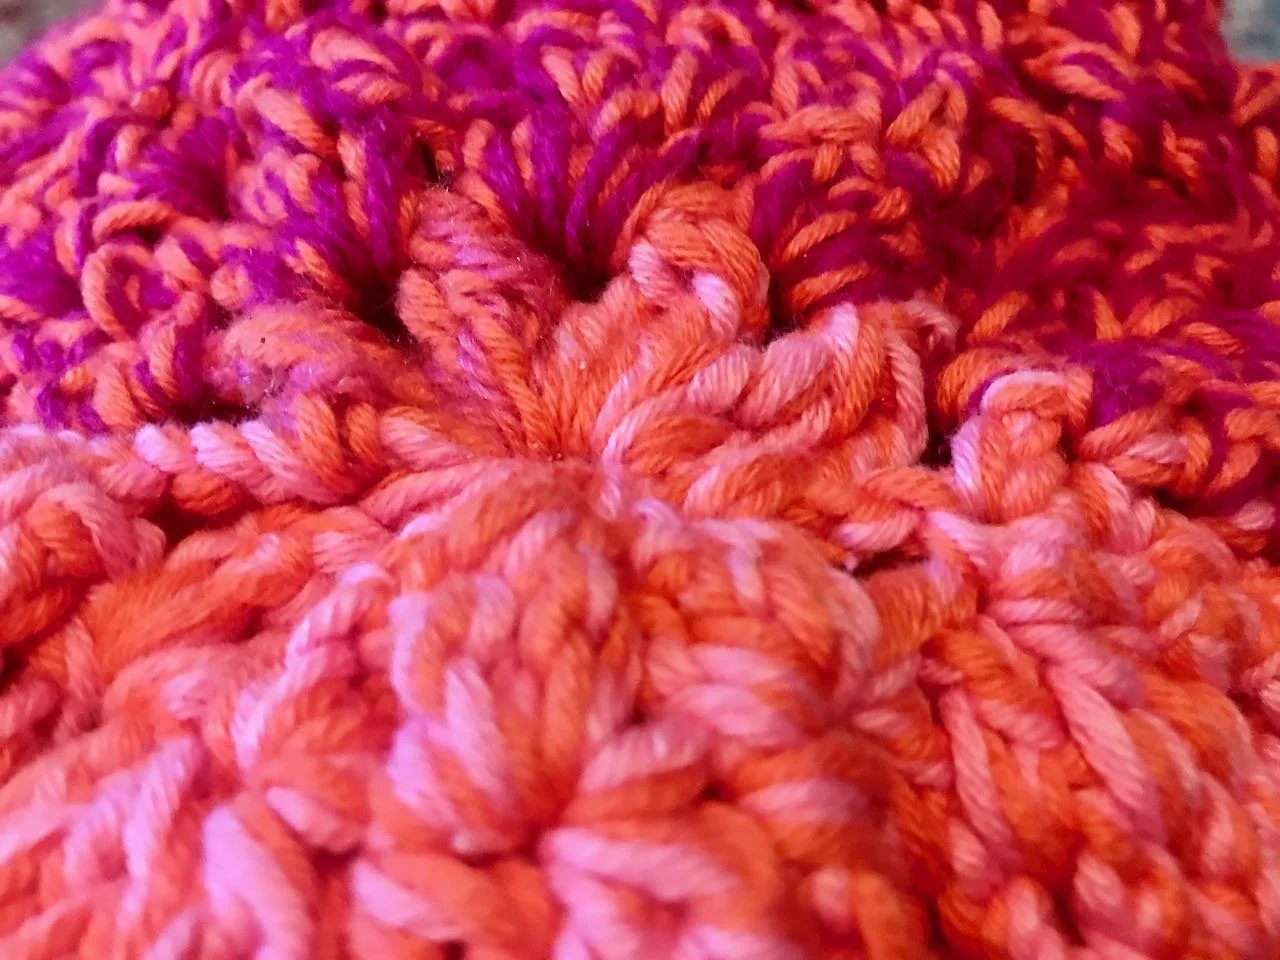
Making slow progress on this crochet work in progress

So I frogged it.

Frogging is a crochet slang for ripping it out - ribbit, ribbit - so frogging it, it makes me smile every time.

So with a large ball of wool, I started a granny square. I wanted something that didn’t take much thinking, and as this was the first time I’d really picked up my hook since last summer, I wanted to see progress quickly.

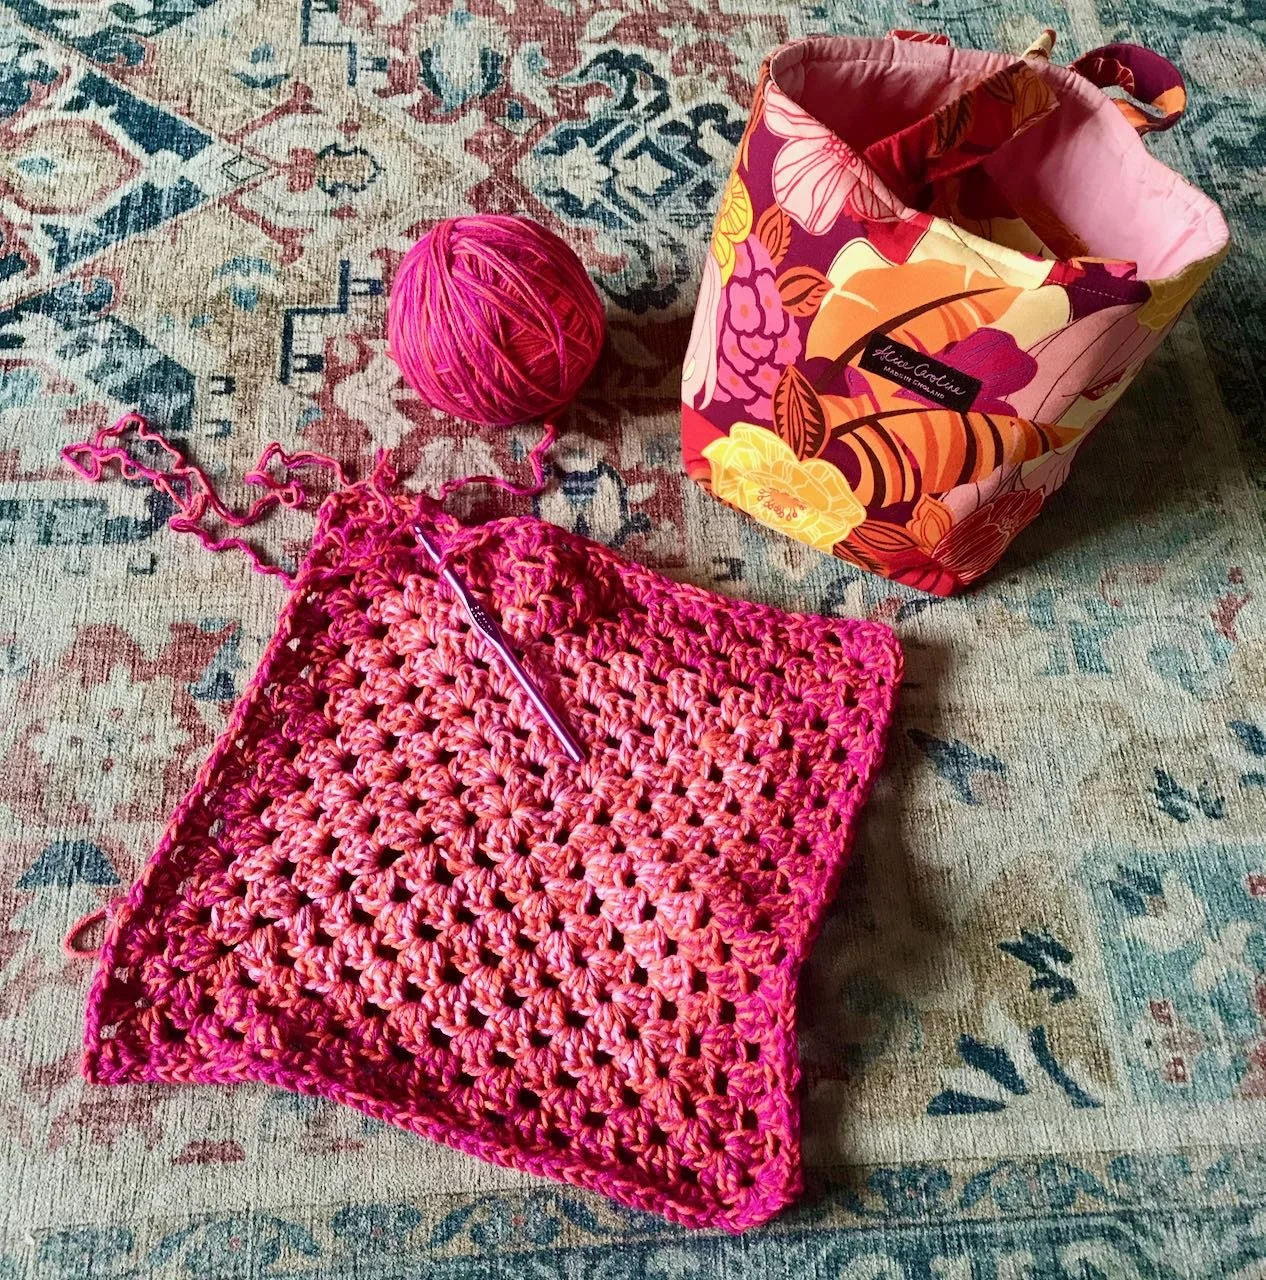
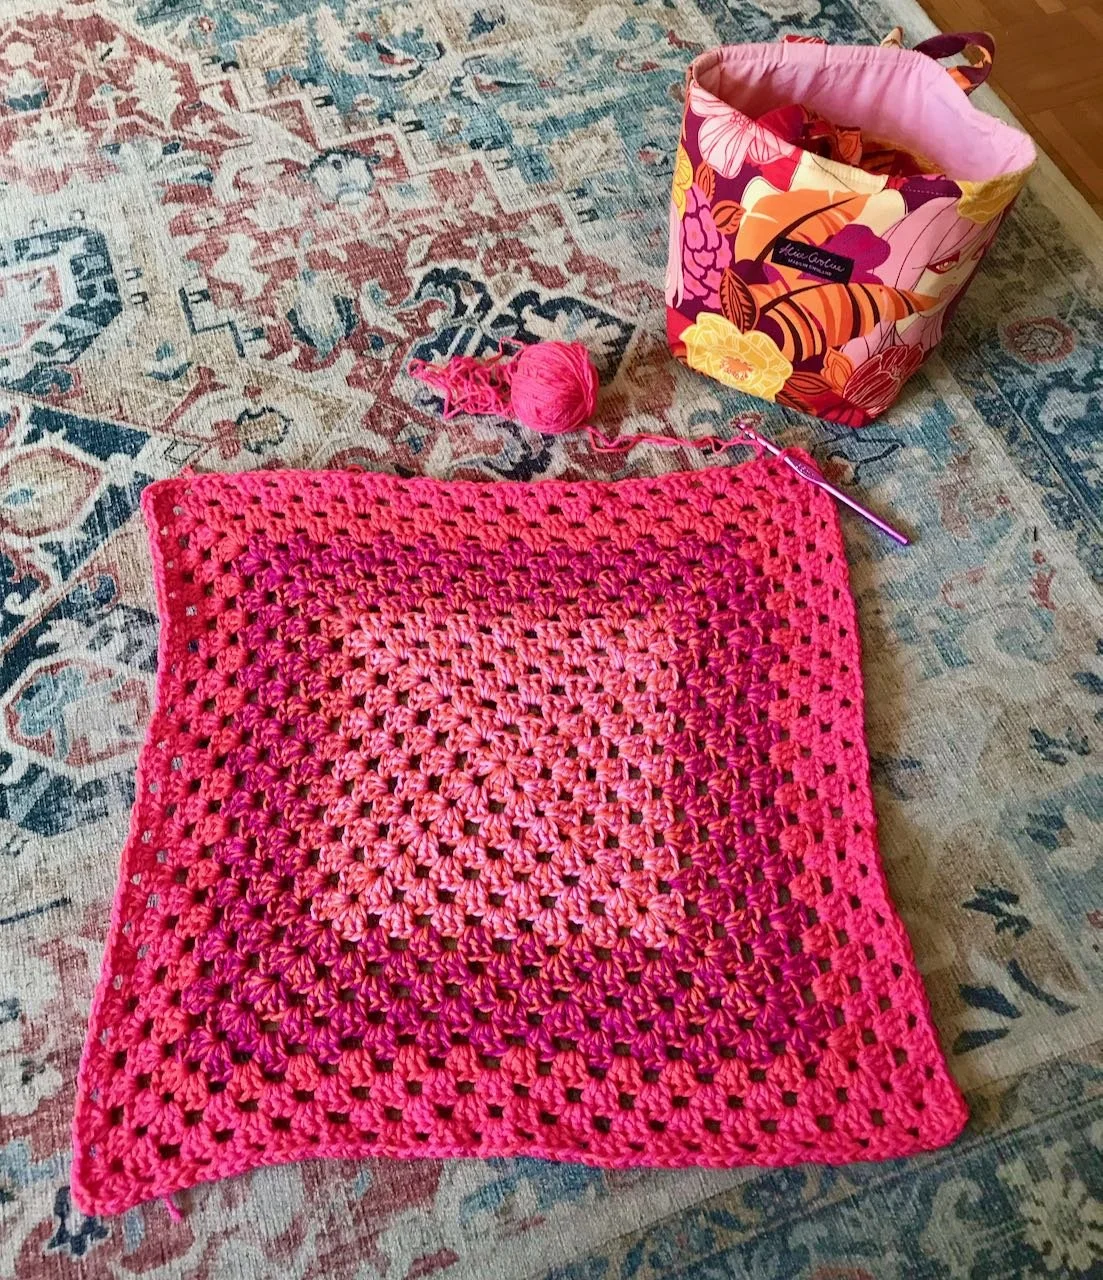
A quick growing granny square, the unwound project as a large ball and my unintentionally matching project bag
the Granny Square grew quickly, the ball of wool shrunk quickly too

And I did.

As it grew the colours by chance formed themselves into pretty even blocks of colour - I’d like to claim I planned this, but it was a fortuitous fluke.

My very loose plan was to make the square big enough so that when folded into an envelope-ish shape it would hold my laptop. As it grew, there was much trying it for size until it was done.
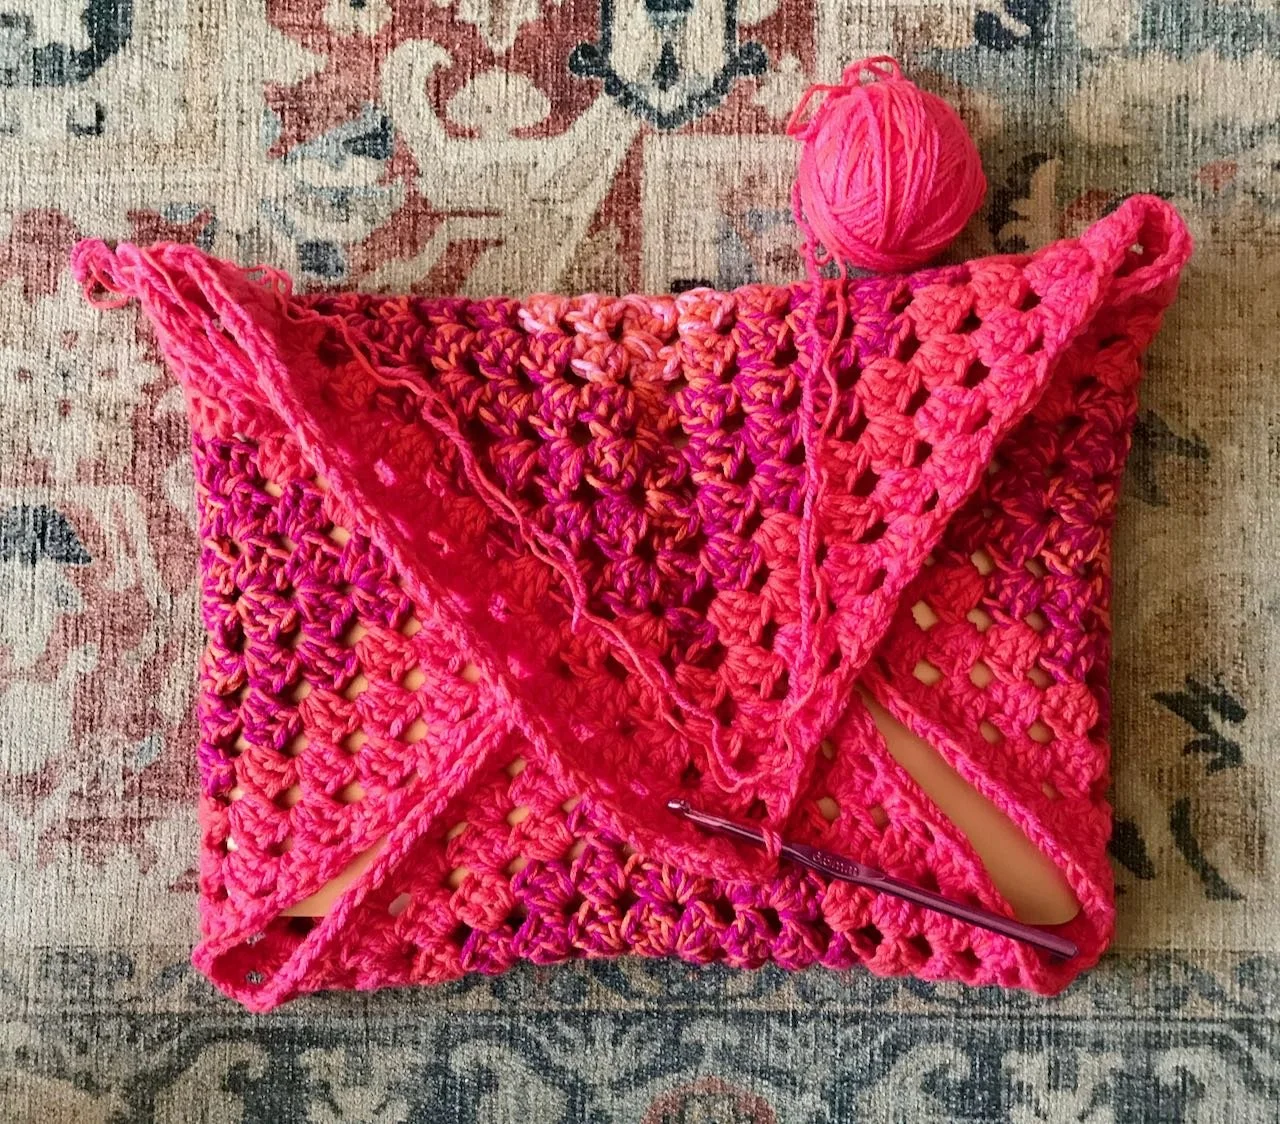
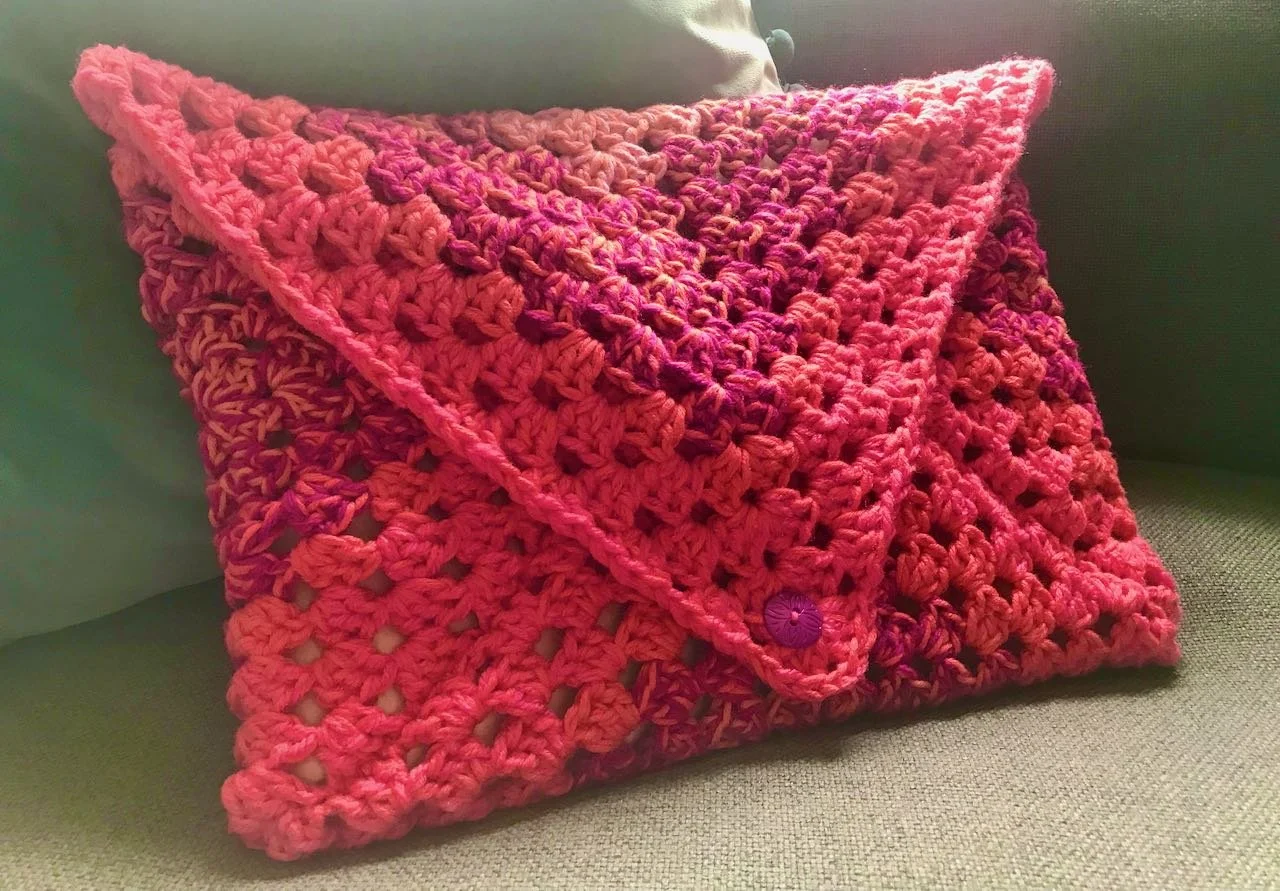
And just look how much wool from the previous project I had left. Clearly granny squares are less yarn hungry than my previous pattern, but thankfully the double thickness yarn gave the padding I wanted. I’ll use this cover when I pack my laptop into a weekend bag, so it doesn’t need to be as robust as if I were carrying it around everyday.

Sewn together and a button added - a granny square envelope laptop cover

With a button sewn on - contrasting of course - it was done, and in super quick time. And I’ve one less Work-in-Progress (WIP) on the go too!