A DIY makeover for my bookshelves

And hopefully a slightly more interesting post than that title sounds!

In our study (aka my craft room) we have two Billy bookcases and two of those shelves are devoted to my collections of Good Food and Olive magazines which are growing. The oldest magazine dates back to 2003, a year after we bought this house and clearly when my recipe know-how was starting to fade a bit...

And with so many magazines, it was getting hard to keep them upright so I had a plan.

I headed off to the big orange DIY store clutching my measurements and managed to get there on a day when the big cutting machine was working. Handing over the sizes I wanted cut I waited for the man to do his stuff and left with lots of smaller bits of MDF!

Back home I got to work to insert the cut MDF as uprights

installing uprights

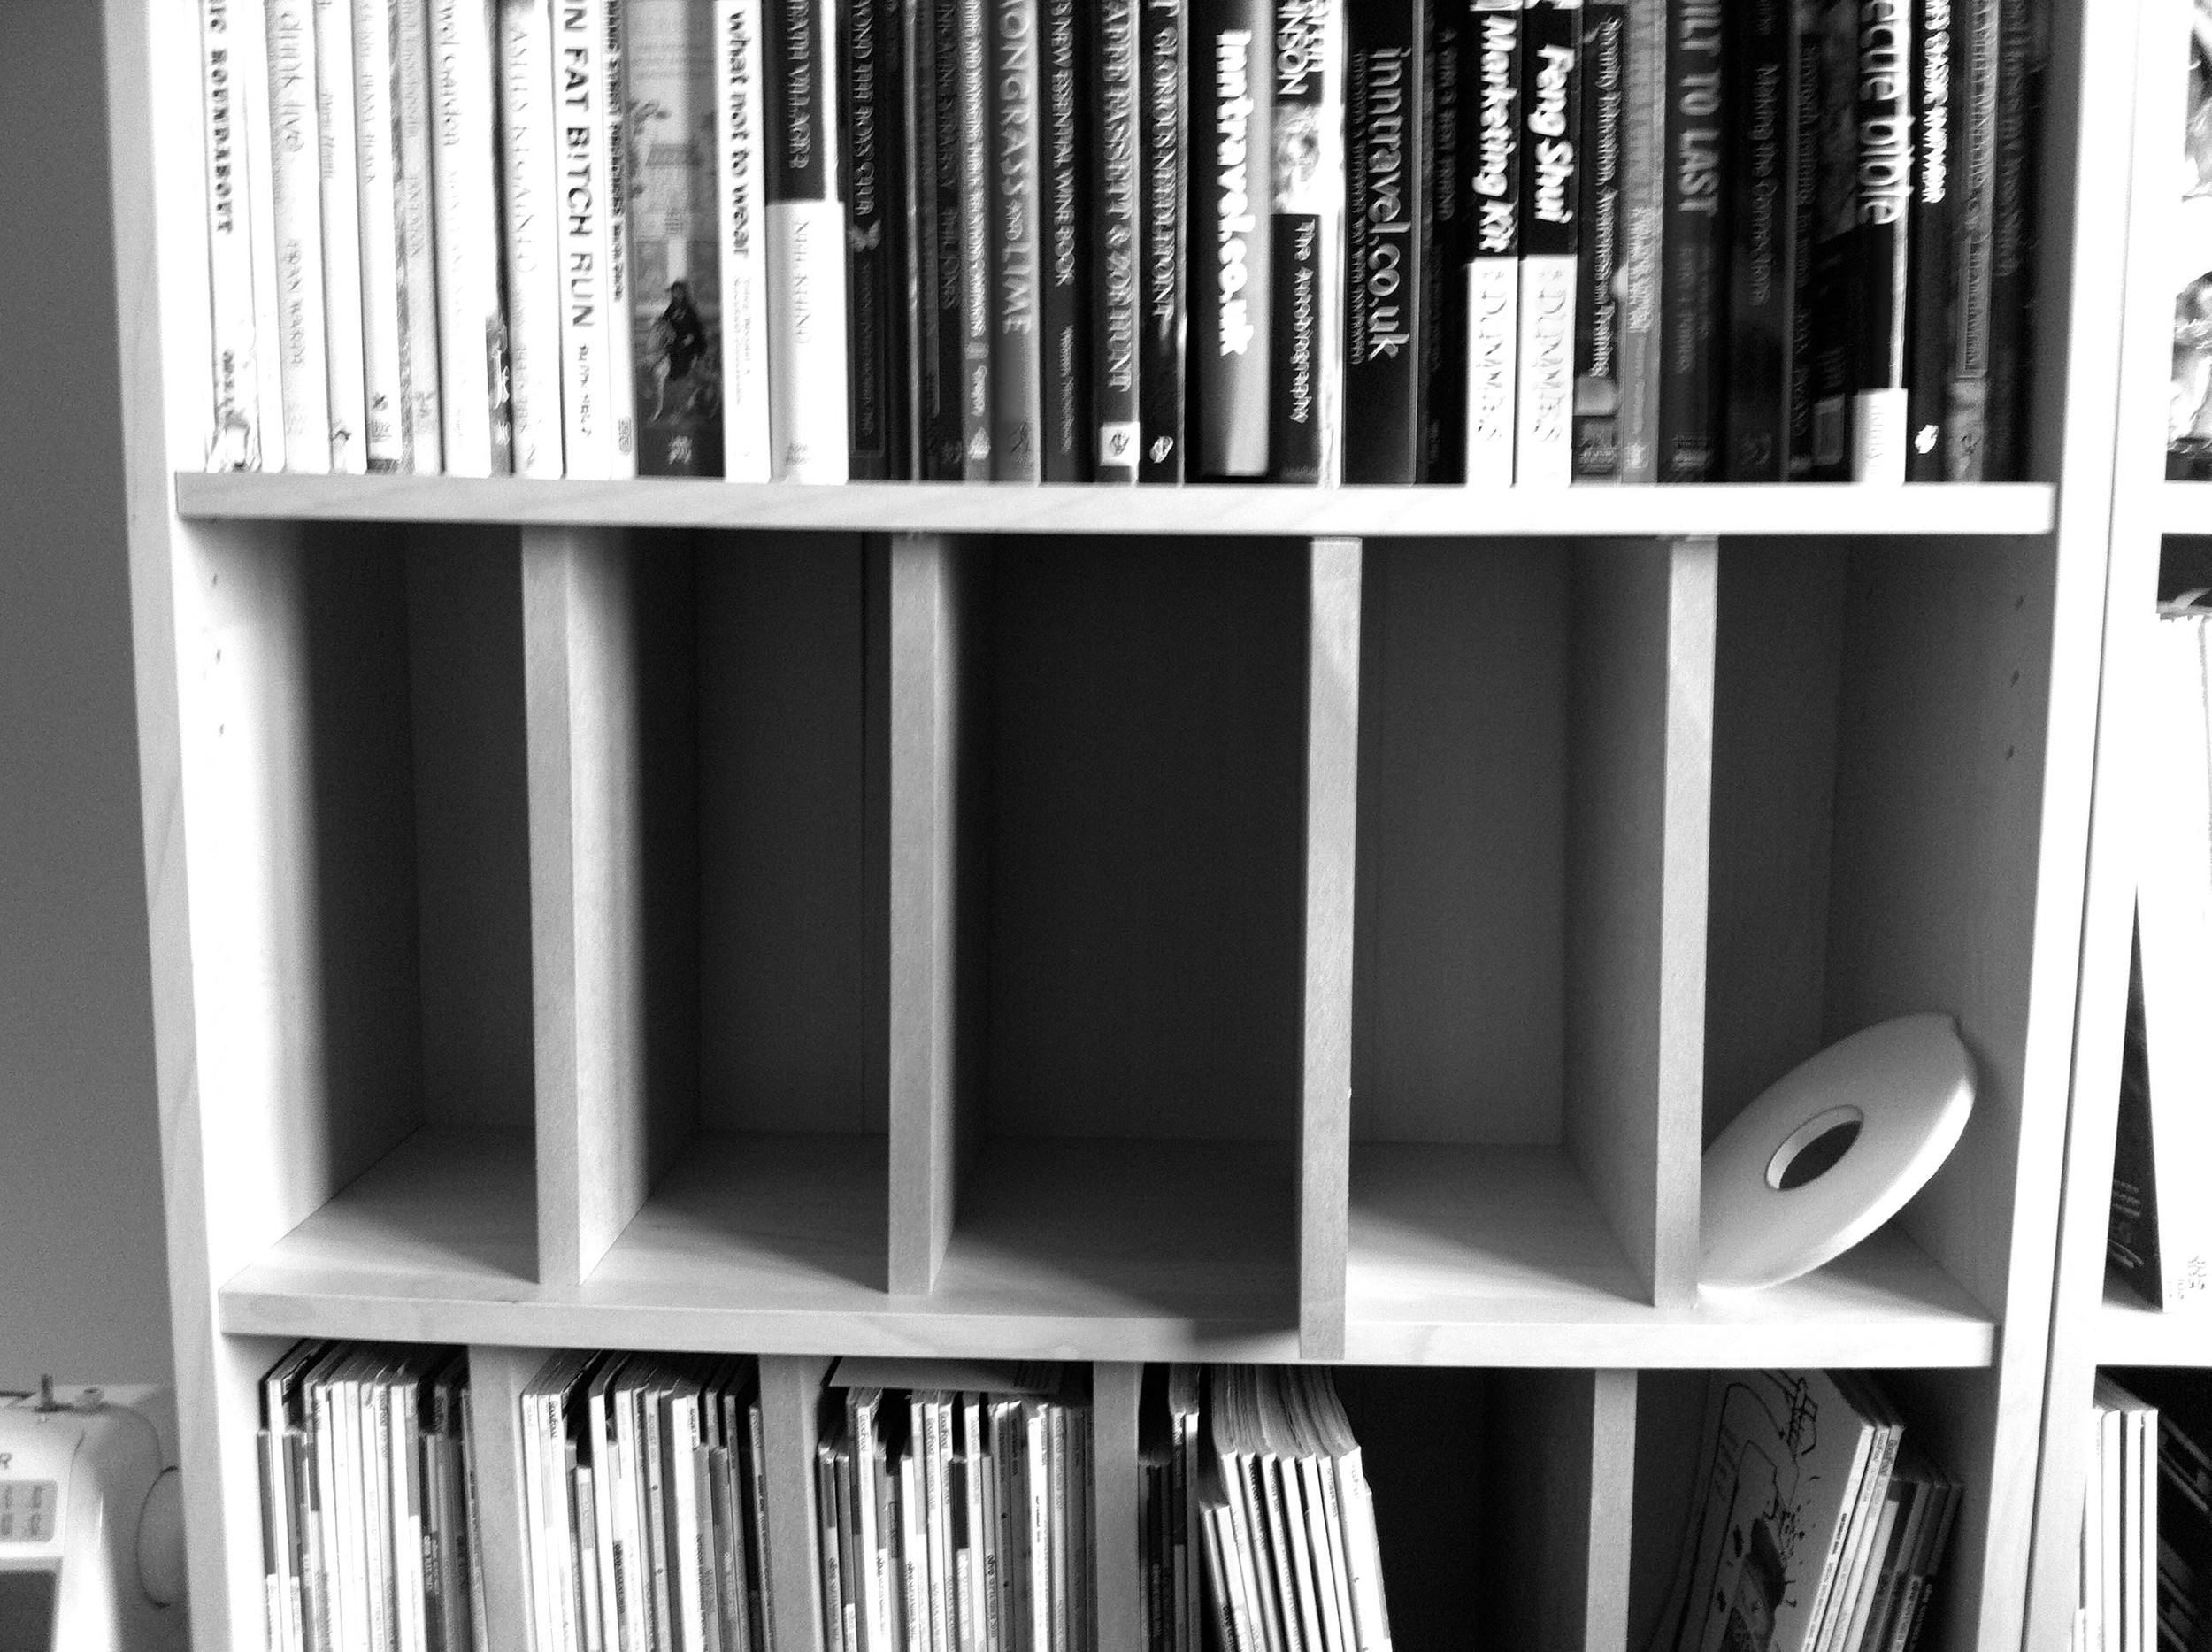
Even though my measuring - and the cutting - was accurate, there were some variations between the space and the MDF upright, so I added some draught excluder to the top of the MDF to help wedge it in place.

filling the gap

This worked well and ensured the uprights stood firm, and I took a moment to work out what to do next.

CONTEMPLATING MY NEXT MOVE

CONTEMPLATING MY NEXT MOVE

uprights installed

That was to carry on and repeat this for the second shelf before putting the magazines back in place.  I've left the MDF unfinished and unpainted as it's already a close match to the colour of the unit, and I think it works well.

With the uprights in place, there was only one thing left to do - and that was to step back and admire my morning's work.

magazines back on the shelf

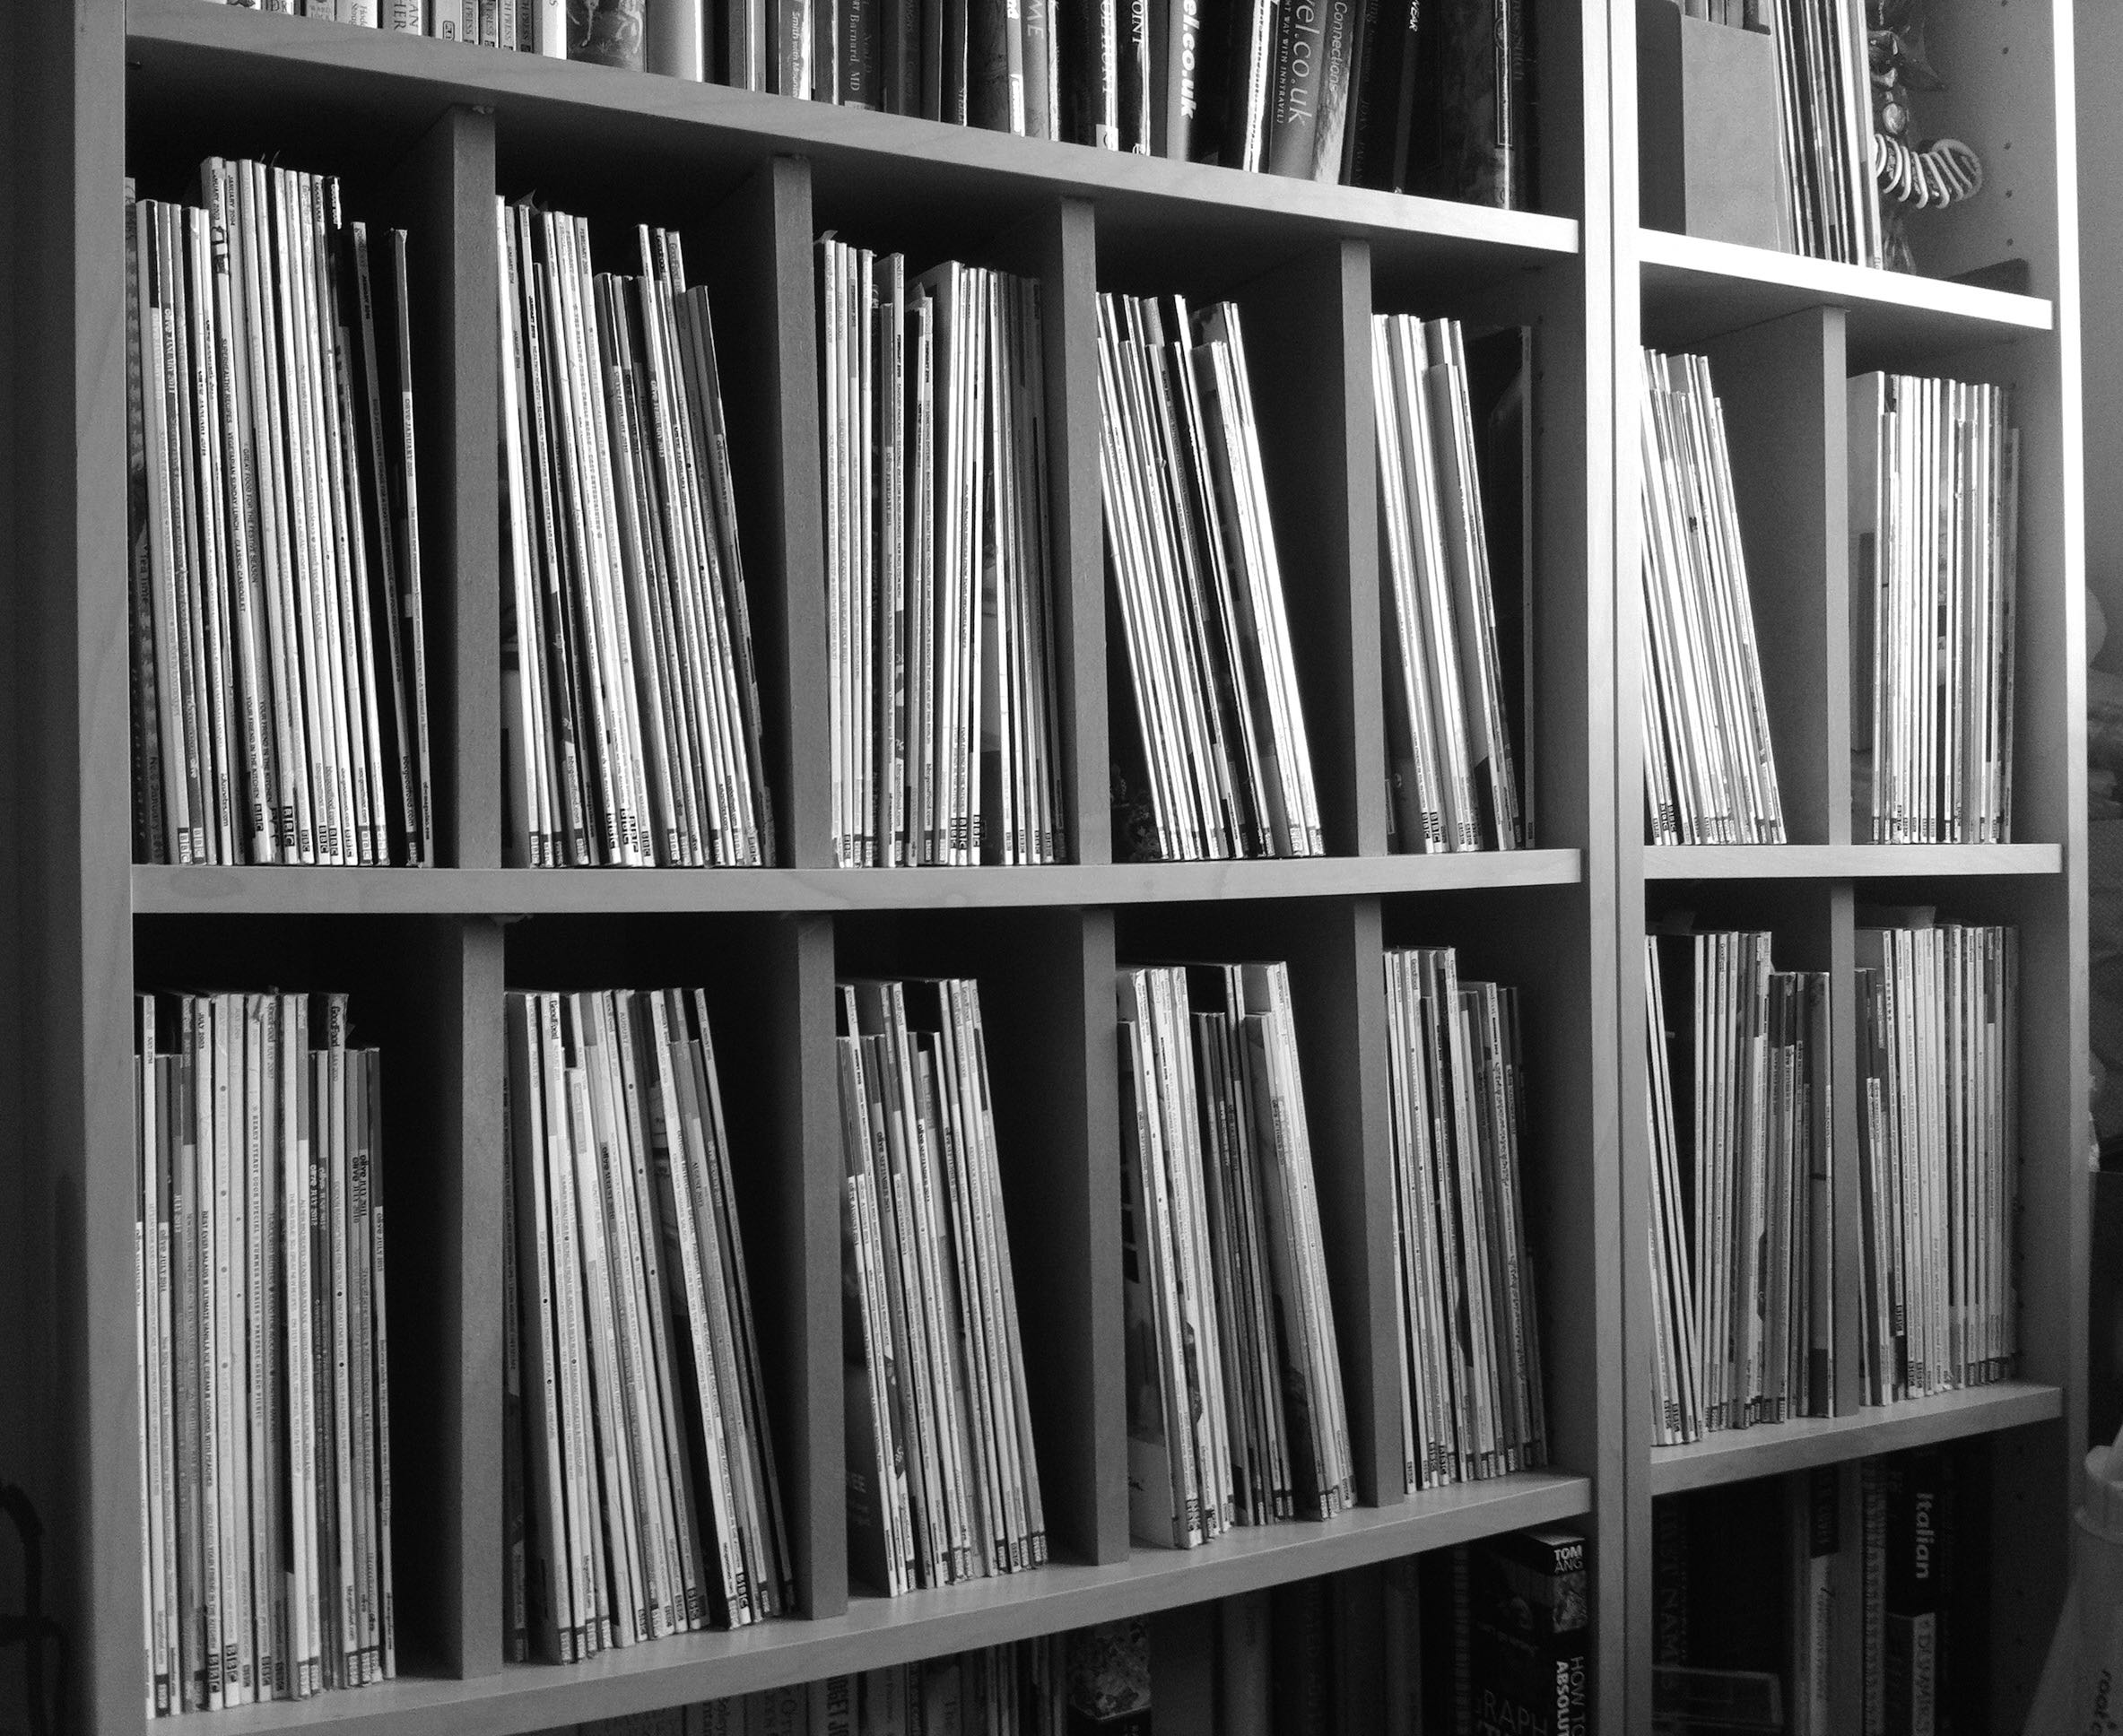
It looks like there's enough space for my subscriptions to carry on for a little while yet!

My IKEA hack: HOL storage table to laundry basket

A while back now I bought an IKEA HOL storage table with the intention of converting it into a laundry basket. When it arrived MOH set to work putting it together, and he did a great job.

And it soon made it upstairs and filled the space in our bedroom, the one that if our bedroom had been a hotel room then it's the place where the suitcase rack would be....

And for a while, that's how it stayed. For quite a while actually until I remembered that one of my aims for this year was to master my sewing machine. That prompted me to dig out my sewing machine and finally get around to sewing a liner.  And in case you're wondering the picture that's resting on it in the photo above now hangs above it on the wall, and is a good match for the colours we have in our bedroom.

On a trip to the large orange DIY store I bought these brackets and some dowel to rest in them. The brackets are actually for a wardrobe but they work just as well here. The dowel was cut so it's easy to lift it out of the bracket.

The liner is made from cream lining fabric and is in essence a rectangular box. I measured and measured and then cut the material to size - one of these days I'll advance to using a pattern I'm sure!

I added three tabs with contrasting stitching to thread the dowels through and to ensure the liner stays in place. Using the pinking shears gives a nice finish and ensures the material won't fray either.  As it's easy to slip on and off the dowels it means if it gets a bit smelly then I can easily wash it too. 

And so, there you have it a fully functioning laundry basket - photographed thankfully sans dirty washing!

How to you adapt your IKEA purchases?