Learning to love my overlocker

At the start of the year I acquired an overlocker - thanks mum - but had little idea of how to use it. While I have all the manuals, I figured it would be easier to book myself onto a workshop to learn all about it - and to remove some of the Fear.

So I did just that and a couple of weekends ago I headed off to Mansfield for the first time - I didn’t see much of Mansfield apart from the one way system, but I’m sure I’ll be back to have a proper look at more than that at some point. My destination for the workshop was Sally Twinkles (aka Sewing Direct) for a workshop led by Tracey Symonds, who was a semi-finalist in series 4 of the Great British Sewing Bee.

After navigating the one way system more than once I got my bearings, found a car park, parked up and dashed over the road with my machine. Once settled I realised that the other workshop participants had their overlocker already threaded - but that at least meant Tracey had a machine she could demo on and I learnt where the threads should go first hand.

My first learning was that the four cones of thread were split into two for needles and two for the loopers - using four different colours for these meant it was easy to track what was doing what, and while mine are mostly pastels I quite like the idea of using different colours. The spool furthest right seems to determine which colour is on show, as long as you’re set up right.

A large part of the workshop was ‘to overcome the Fear’ - and the fear was real!

Tracey had us all testing our machine’s capabilities on different fabrics, encouraging us all to make a note of the settings for each so that once we knew and noted it down, we at least had a starting point - which makes a lot of sense.

We were overlocking, gathering, doing rolled and lettuce hems and flatlock seams like, well not like we’d only just learnt that’s for sure - and all the time building confidence, and reducing the fear. Tracey was a brilliant teacher - as you’d expect, she’s a retired teacher - though I think I was her problem child for the session! She was unflustered though and her ability to switch between the various makes and machines we had brought with and offer expert advice on each was impressive.

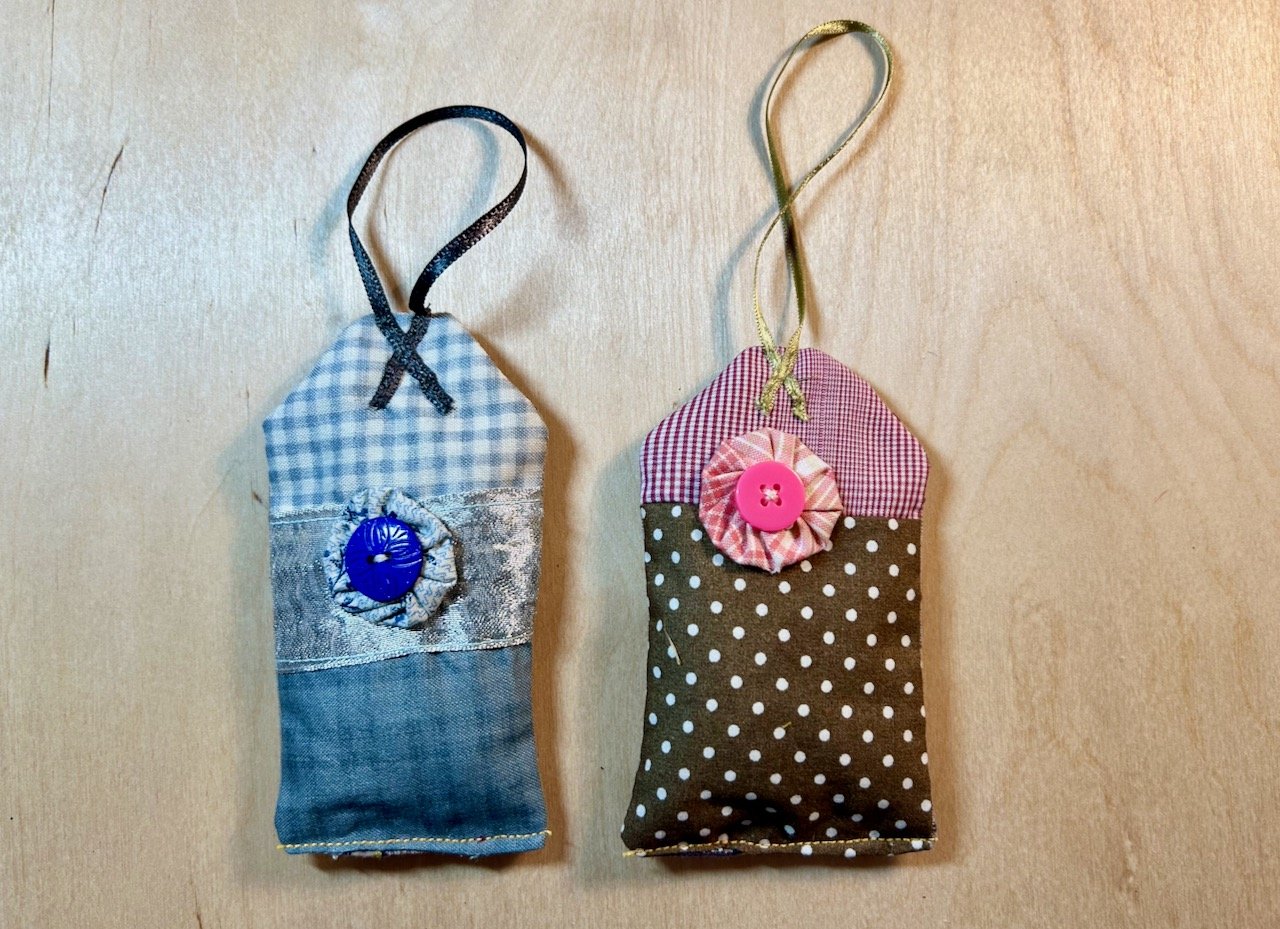
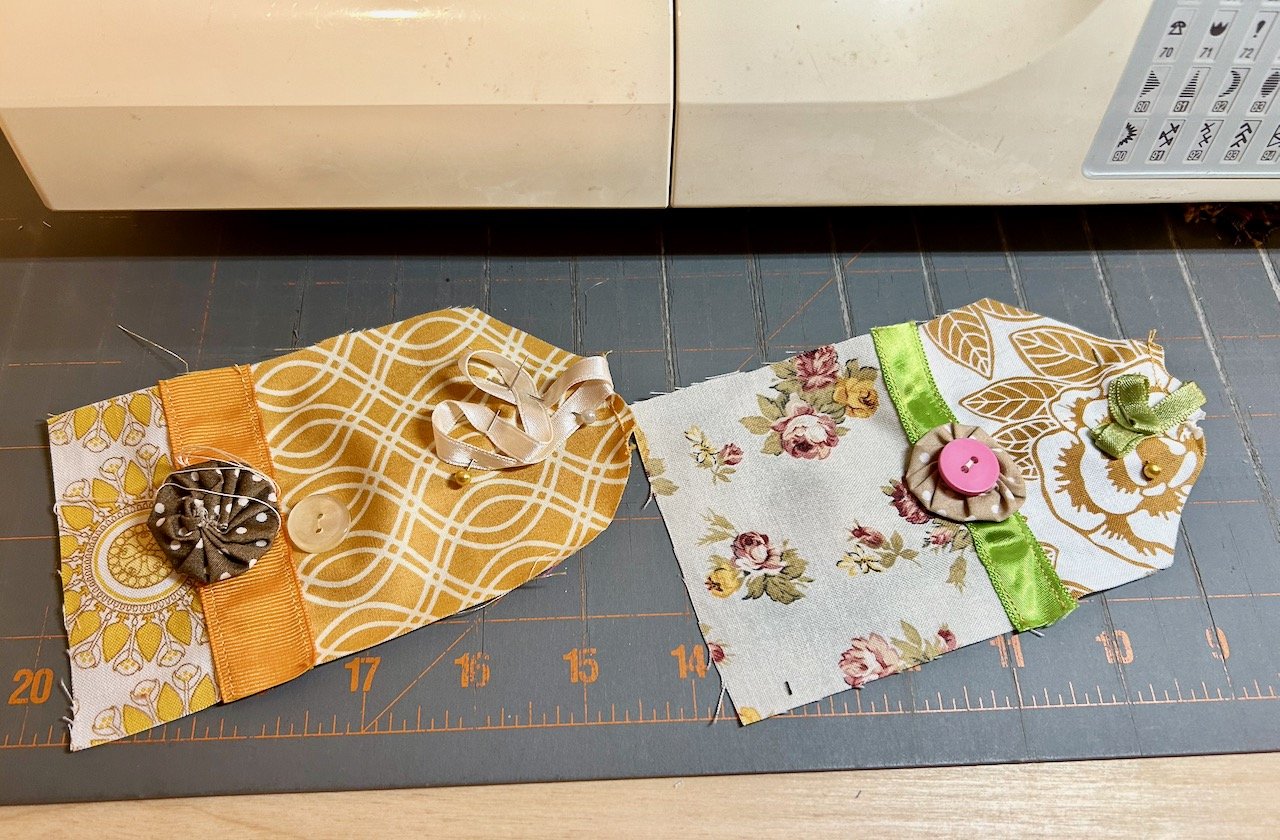
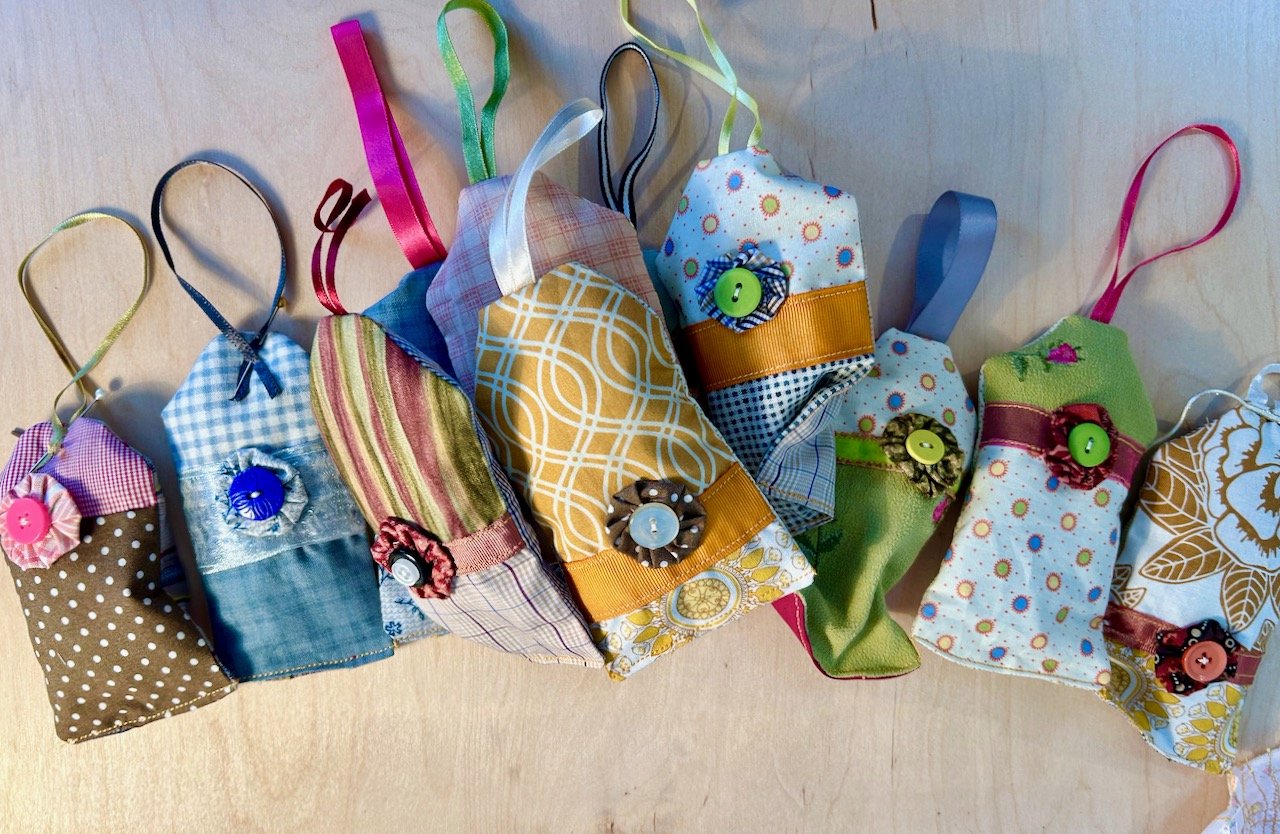
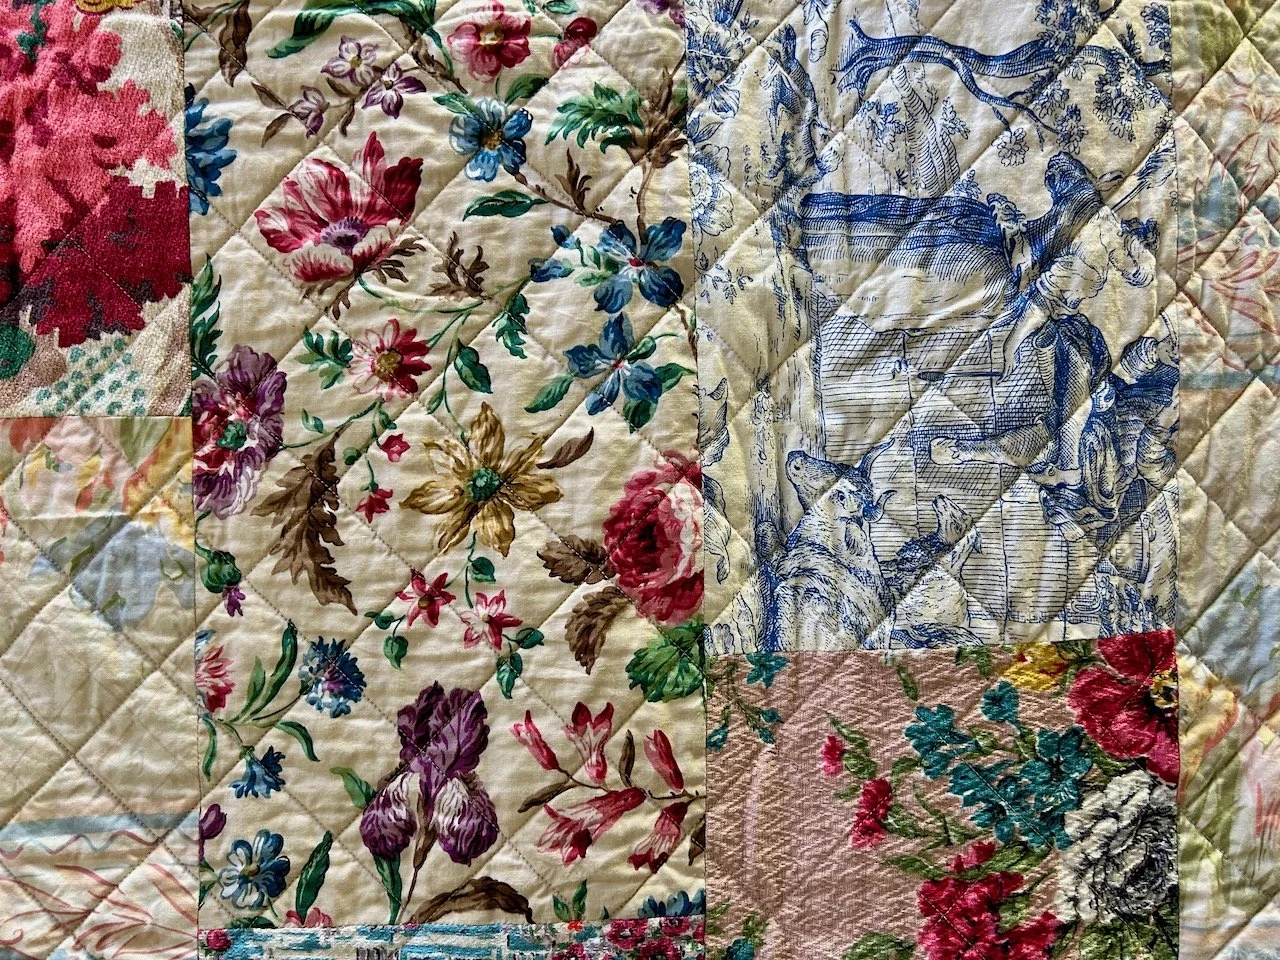
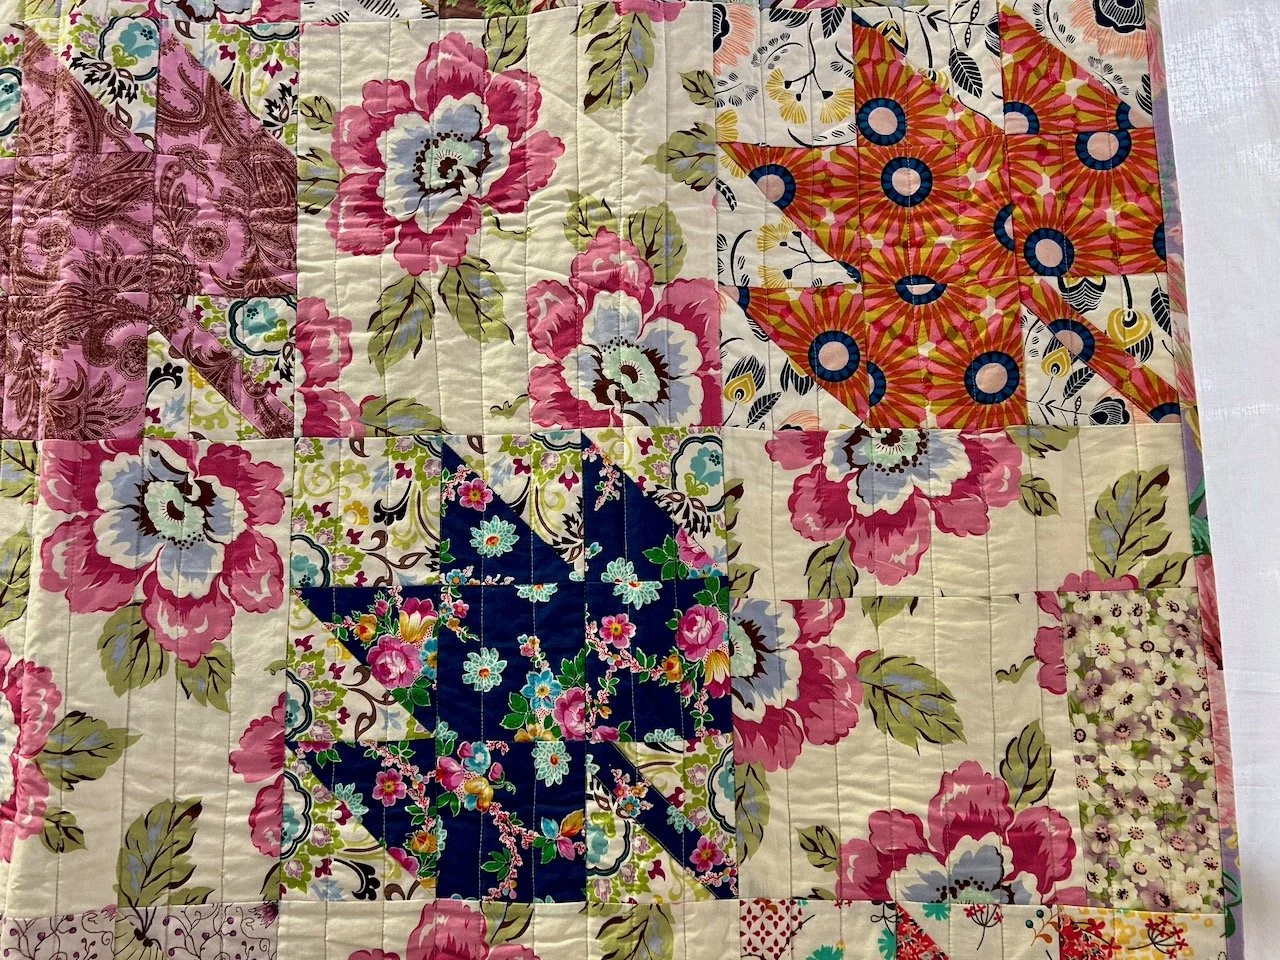
I left the workshop with my examples, which for me were an achievement. However I recognise that the pictures here may seem a little underwhelming, but believe me I wouldn’t have tried half of this had I sat alone with the manuals.

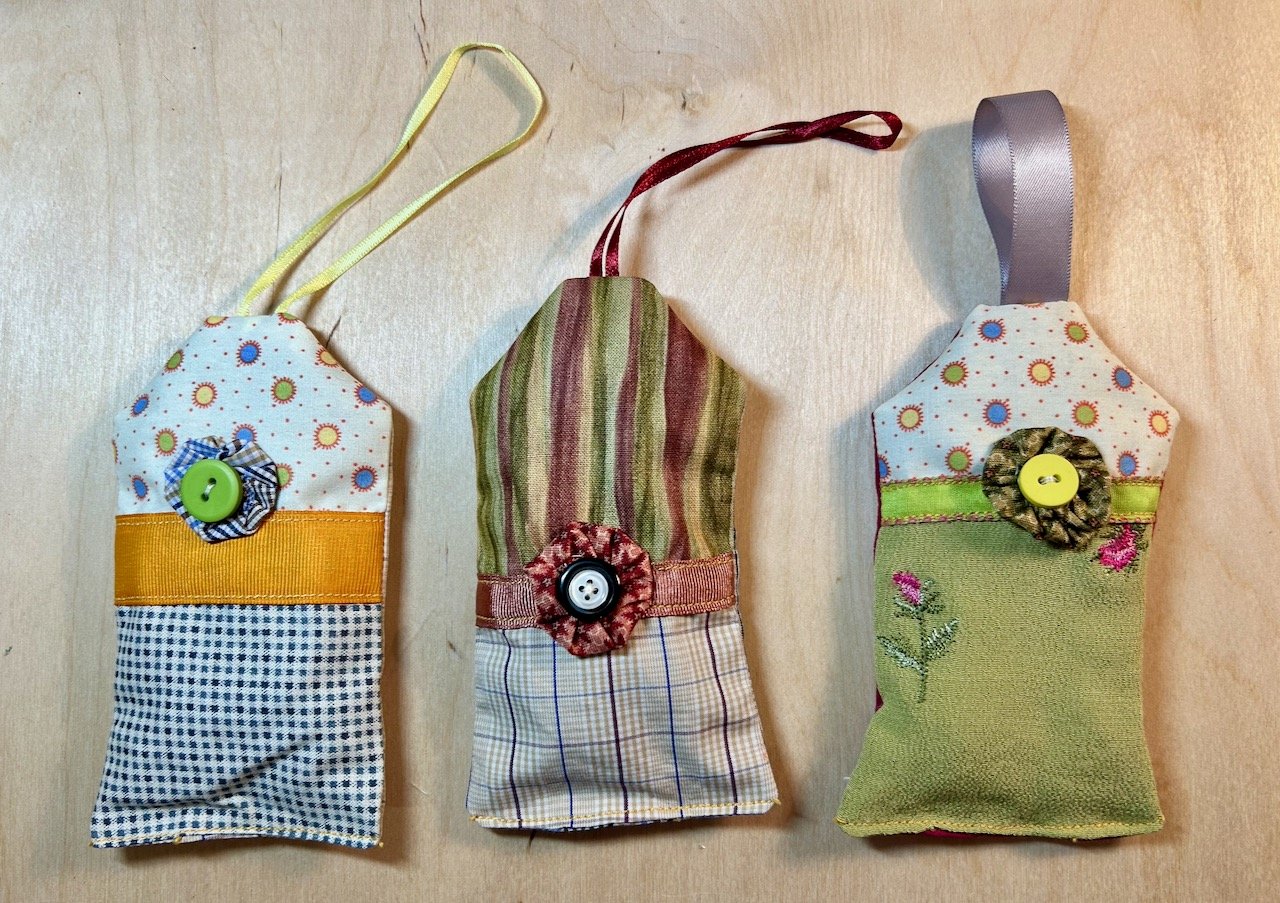
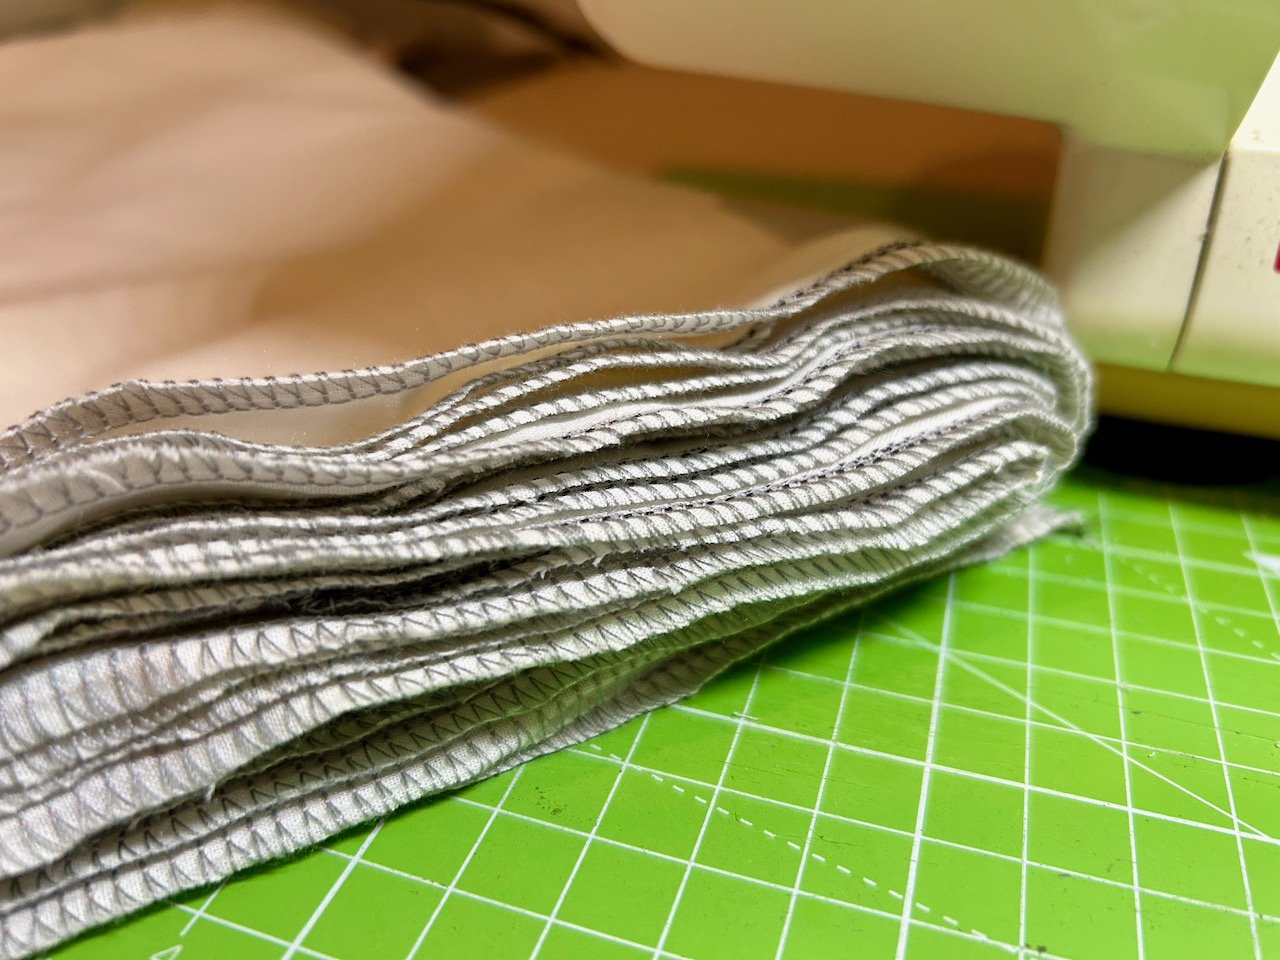
OVERLOCKING ON WOVENS (GREEN), GATHERING (FLOWERY MATERIAL) AND OVERLOCKING ON KNITS (STRIPED)

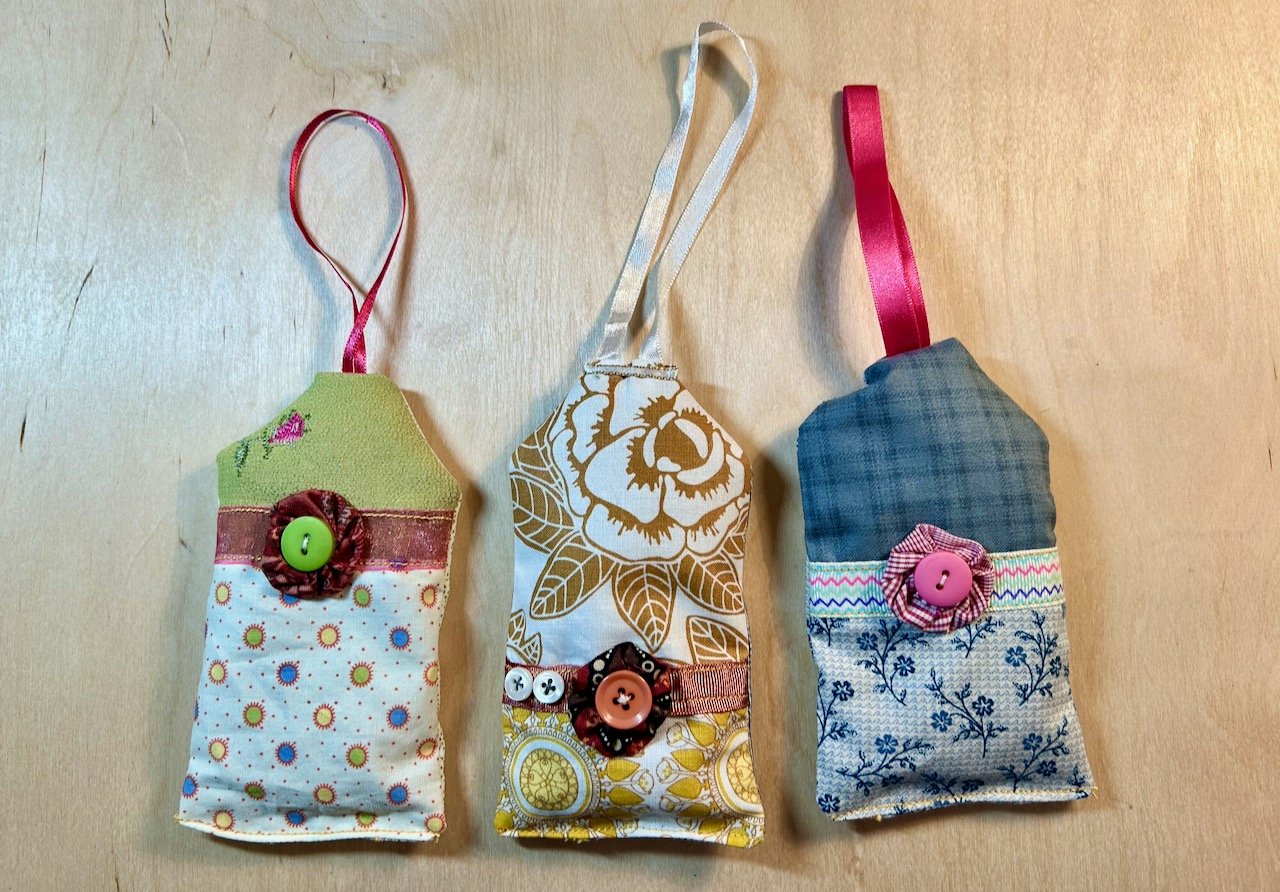
HEMS: LETTUCE (STRIPED) AND ROLLED (FLOWERY)

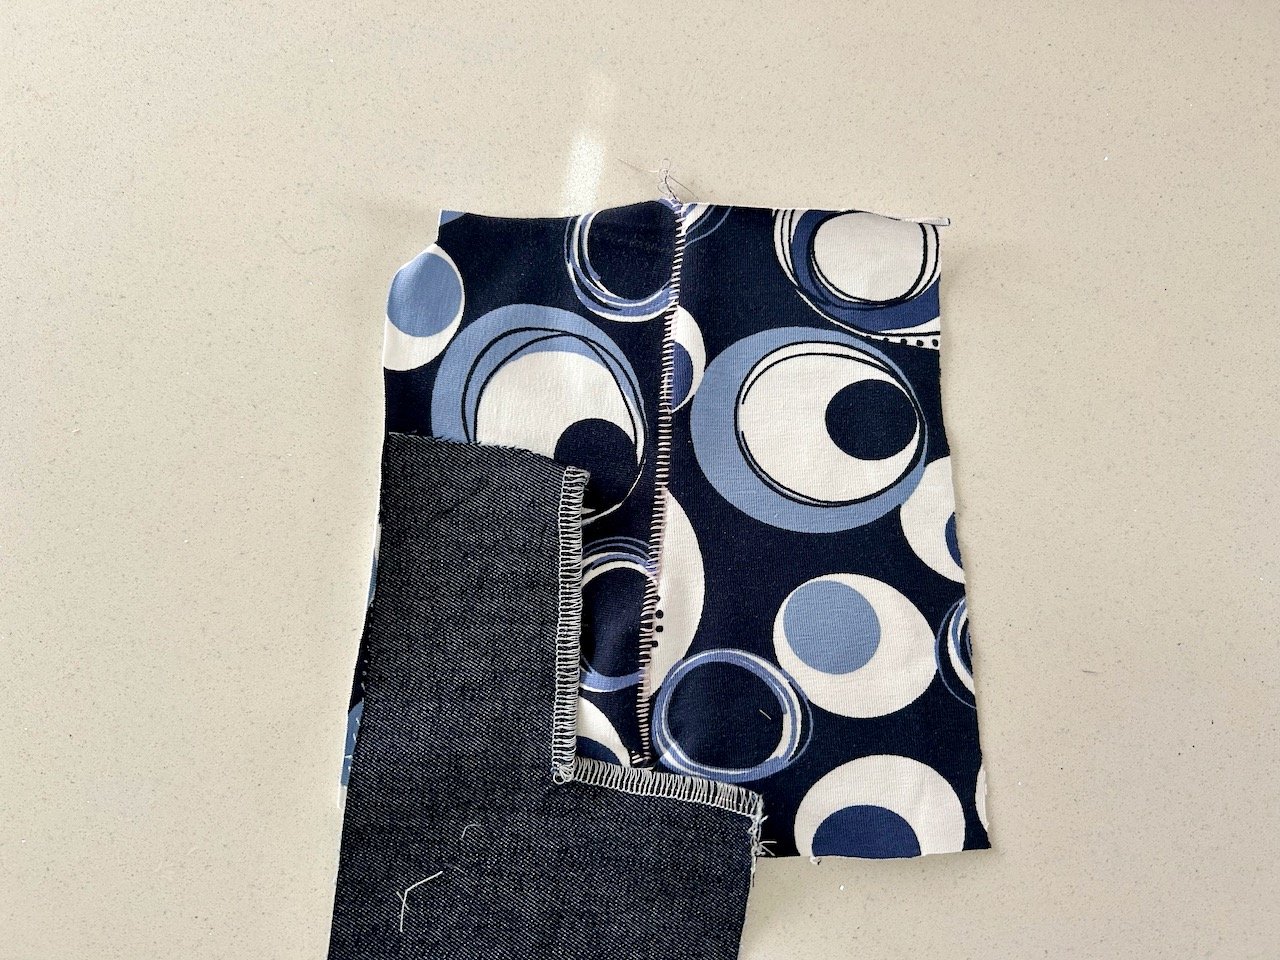
FLATLOCK SEAM (CIRCLES) AND OVERLOCKING A CORNER (DENIM)

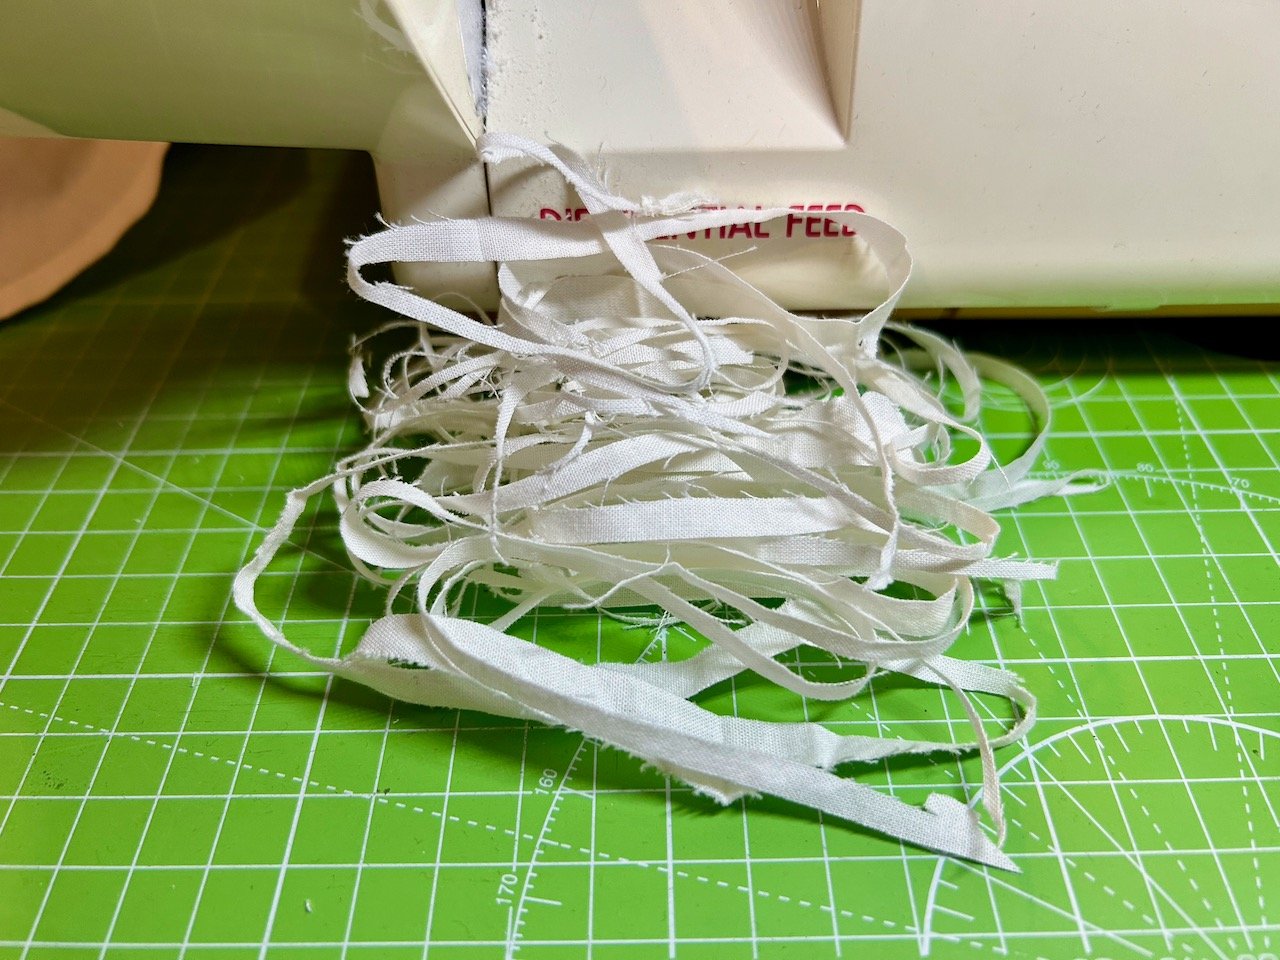
Of course part of the reason there’s not much to show is that the overlocker trims as it goes, so as I went over and over the lengths of fabric my previous attempts were chopped off. Most were binned but some have the potential for use in collages, but I’ve yet to play further with that.

My other key learnings from the workshop, which I’m including here to remind me, were:

  • Chain before starting, and chain at the end - it’s much easier to have a length of overlocked stitching at each end of the fabric, and it saves the machine eating the thread - which means it saves rethreading!

  • The fourth spool is the colour you’ll see the most, so unless you’re very particular you can probably just change this one, however neutrals may work with many fabrics, test it first. Cream and grey are less harsh than white and black, and therefore could be more versatile.

  • Deal with the ends, or they will come undone eventually. If you’re not overlocking at right angles then either zigzag over them using the sewing machine or thread back through with a large sewing needle.

  • No pins near an overlocker ever.

  • For the overlocked corners, move the fabric so it’s in a straight line and though there’ll be some loops which don’t catch, you’ll hardly notice them.

Trying it at home

I knew that if I didn’t try it at home fairly soon afterwards then the workshop would have been a waste of time. So the next day I set it up in my craft room, checked nothing had moved on the journey home and set about trying it for myself. I’m glad I did as even though I’d checked it one of the tension loops had spat out its thread, and my loops were a bit irregular.

But I fixed it - yay! That’s how good the workshop was!

Edging the valance

Then I could set about edging the material for one of my next projects. I’ve signed up for an Indian Block Print & Stitch class and needed to take along some fabric to print on, and they suggested old bedding would be fine. Which is good, as I’ve plenty of that - and when I was sorting out the towels to add to my new bathroom cupboard shelves, I found an old valance sheet which I hadn’t used for years.

Like most valance sheets it was a wotsit to iron, even though it has box pleats rather than frills. So it was repurposed - I cut the frill off, ironed it and set to it with my overlocker.

using my overlocker at home - looking down on the machine, 3 spools are visible along with a ruffle of fabric coming out of the machine, with the edge overlocked
A pile of trimmings cut off by the machine
A folded overlocked length of material ready for one of my next projects

It was a long old piece of overlocking, but it served two purposes - proving to myself I can do this at home, and readying for some future projects. Don’t you just love it when things come together like that?

So if you’ve got an overlocker in your cupboard that you just don’t love (yet) then I can’t recommend highly enough booking yourself on a workshop and finding out what it can do - I bet you surprise yourself, just like I did!

Making some hanging lavender sachets, finally

Way back in 2014 I shared a link and a tutorial to some gorgeous hanging lavender sachets I’d seen and fallen in love with, and clearly had intentions to make some for myself. Well fast forward to our house move and I rediscovered the pieces of material I’d cut in preparation and two sachets which I’d mostly sewn.

THE TWO THAT WERE MOSTLY SEWN, NOW FINISHED

Thankfully I’d left myself enough clues about my original plans, and so with my ever increasing supply of ‘magpied’ ribbons (from clothes, Christmas crackers, chocolates and no doubt many more places) I went through and laid out items to decorate each of the sachets.

They were a great way to get back to being familiar with my sewing machine, after a longer than intended break. They were small, creative enough but not overly challenging, as the majority of sewing was in straight lines. I realised though after completing the two above that adding the hanging ribbon afterwards could be time consuming, and therefore likely to not happen - so I made a change, and pinned the hanging ribbon so it could be part of the seam at the top of the sachet.

And then I motored through them, until it came to finishing them off.

I’d filled them with lavender and pinned the gaps at the bottom closed and they were ready to be hand sewn, and hung. But it was always the job I never quite got to, putting it off - you know the sort. Until I realised that I could sew the gaps closed across the bottom by machine, and then at least they’d be done and no one would be none the wiser (that is until I just told you!)

And so my mini production line was off again.

It was simple really, and I don’t think look any worse for the adjustments I’ve made. Though I’d had my fill of sewing lavender sachets (for the time being anyway) and so I packed the remaining future sachets back into the box, but I know my future self will be pleased that I’ve added yoyos, buttons and ribbons for decorating and hanging so when I’m in need of a simple sewing project, I have one that’s ready made.

I’m really pleased with how the lavender sachets turned out, and have found plenty of wardrobes and cupboards here to hang them in, in fact you may have spotted one of them hanging in the bathroom cupboard with the new shelves.

The final set of three hanging lavender sachets, one blue, one gold, one cream floral

I love that how each of them are different, and how they all use remnants of material either from old clothes that I’ve cut up, or from previous projects alongside the ribbon and buttons I’ve also saved. Plus they smell lovely, and thankfully not too overpowering!

And had you spotted that there are eleven finished sachets? Well it’s totally a coincidence that I finished these in the week leading up to my blog’s eleventh birthday, I picked up this project towards the end of January and while I’d like to say I plan ahead, well that would be a total fabrication! Spooky though hey?

PostCommentLove

Admiring Carolyn Forster's quilts at the Newark Quilt Show

Last Friday I went along to the Newark Quilt Show held at the Newark Showground which is just a short drive away - I think it’s probably the closest-to-me quilt show I’ve ever been to, closer even to those at London’s Excel and that alone was a treat. I’d also not been in to the Newark Showground, though have driven past it several times - it’s on our list to go as they look to have some great shows on there, and the Newark Air Museum, which is also on our list, is also close by.

But they’re for another today, this visit was all about the quilts. I wasn’t quite sure what to expect size-wise, but I knew there’d be some quilts on display and some suppliers also present. Thankfully the show was clearly signposted and I followed a slow trickle of cars into the ground and to the parking area.

I was pleasantly surprised, while the hall wasn’t huge it was plenty big enough and the central section was dedicated to the quilts on display - and there were many. Suppliers, around 60 or so, were positioned around the edge of the quilts on display, and like every other show I’ve been to (and not just craft shows) the aisles were full of people making their way through the plentiful stalls.

You’ll know that I’m a long time admirer of scrappy quilts, and have many plans to make my own - even if many of those plans don’t quite come to fruition every time! And so I was keen to see the ‘Stash Busting Scrappy Quilts’ by Carolyn Forster that were on display.

I took many pictures because they were so lovely, and as future inspiration for myself and while I took pictures of the whole quilts, it’s the details that really appeal to me and so I’m only sharing partial shots of Carolyn’s quilts here.

CAROLYN FORSTER: VINTAGE LINEN QUILTS

The Vintage Linens Quilt is a great way to reuse embroidered linens, especially those with a stain or two - though it needs some bravery to cut those up. I’ve acquired a few old tablecloths myself and I can see this being a good way to get them out of the cupboard and in use. Carolyn has used fabrics that compliment the embroidery to form a repeating block which I think works really well.

The Triplet Block Quilt is one that really caught my eye, I’m not sure I’ve really seen this block much before but spotted it in a couple of Carolyn’s quilts and it’s one that looks really effective repeated over a whole quilt too. I agree with Carolyn that the fabrics here give the quilt a summery feel, but hadn’t spotted that the block is set in alternating directions, until I read the card pinned alongside.

CAROLYN FORSTER: TRIPLET BLOCK QUILT

After that I did spend perhaps more time than actually necessary looking at how the blocks I liked were constructed, and without being mean or taking anything away from Carolyn’s work, they often are what appear to be quite simple shapes. I say what appear to be quite simple shapes, as we know that not everything is always what it appears to be, and there is real skill in not only the sewing but the fabric choices and layout.

Carolyn acknowledges that in the Beach Houses Quilt saying that ‘the simple shape belies the fact that the sewing can be quite challenging. All the rows need to be set0in with the often-dreaded Y-seam!’

CAROLYN FORSTER: BEACH HOUSES QUILT

Beautiful though isn’t it?

The Scrappy Crosses Quilt was another favourite of mine, this was inspired by a vintage quilt. Carolyn says that in this quilt she ran out of the original fabric for some of the centres of each block, but the good thing about scrappy quilts is that most of the time no one notices the substitutions. That’s so true, and a good lesson as I think often we’re so focussed on getting it right, when really a small deviation doesn’t really matter at all.

PART OF THE SCRAPPY CROSSES QUILT USING MULTIPLE FLORAL FABRICS

CAROLYN FORSTER: SCRAPPY CROSSES QUILT

The Hexagon Lozenges Quilt using big hexagons, which is great for stash busting! The quilting design suggests smaller pieces have been used, but look again and it looks like this would be one that would grow quickly, and be relatively simple to do.

CAROLYN FORSTER: HEXAGON LOZENGES QUILT

In the Diamonds and Stars Quilt for me it’s the plain fabric that becomes the star (quite literally) with the patterned fabric playing a supporting role - though the yellow floral fabric in the centre of the picture below looks pretty special. This quilt is based on a 60 degree diamond and an old fashioned block which is simple and effective.

CAROLYN FORSTER: DIAMONDS AND STARS QUILT

There was a good reminder alongside the Curtains Quilt that anything goes, and quilts don’t have to use dress-weight cotton. This one uses old curtains and curtain fabric off-cuts and I’ve no doubt that it would keep you just as cosy as any other quilt.

CAROLYN FORSTER: CURTAINS QUILT

Carolyn started, and finished, the Maple Leaves Quilt during the first Covid lockdown and was inspired by one in the book ‘Unconventional and Unexpected’ by Roderick Kiracofe which gave licence for unusual choices. I love its boldness and larger prints, and I know I’ve plenty of larger prints stashed away which I could use in a similar way (one day!)

CAROLYN FORSTER: MAPLE LEAVES QUILT

So much inspiration here for me, and hopefully for you too - my planned project list is perpetually growing! But if I get close to anywhere near through that list I know I’ll have some beautiful quilts - both fabric and yarn-based - and will have plenty to choose from!

There were plenty more quilts on display at the show and I’ll share my favourites in a separate post soon.

PostCommentLove