


I was given a free sample of these Wool Pots - an alternative to plastic plant pots - to try for myself, and so I’m marking this post as an ad, as usual my views and opinions are very much my own.
It’s been a fair while since I’ve sown some seeds, and far too long really. There’s been a number of reasons why I haven’t, but one of the big factors was the lack of success the last time I tried - well, not with the seeds, but with the actual growing on. That was a lot to do with the lack of light in our old garden given the tree canopy, which because of lockdown was way behind its usual pollarding schedule.
And then we decided to put our house on the market, and our priorities were to sell the house, and naively I thought it would be relatively quick, so I wanted to avoid moving more plants than we needed to - and no, I wasn’t planning on leaving them for the new owners! All in all moving house ran over two growing seasons, and so when we arrived here in July planting seeds couldn’t have been further from my mind.
I don’t have a greenhouse here (yet), so it’s not ideal for sowing seeds but I was keen to get growing again. Dad also gave me some seeds for a multi-headed sunflower and so with seeds, wool pots and the will to get sowing, what could go wrong?
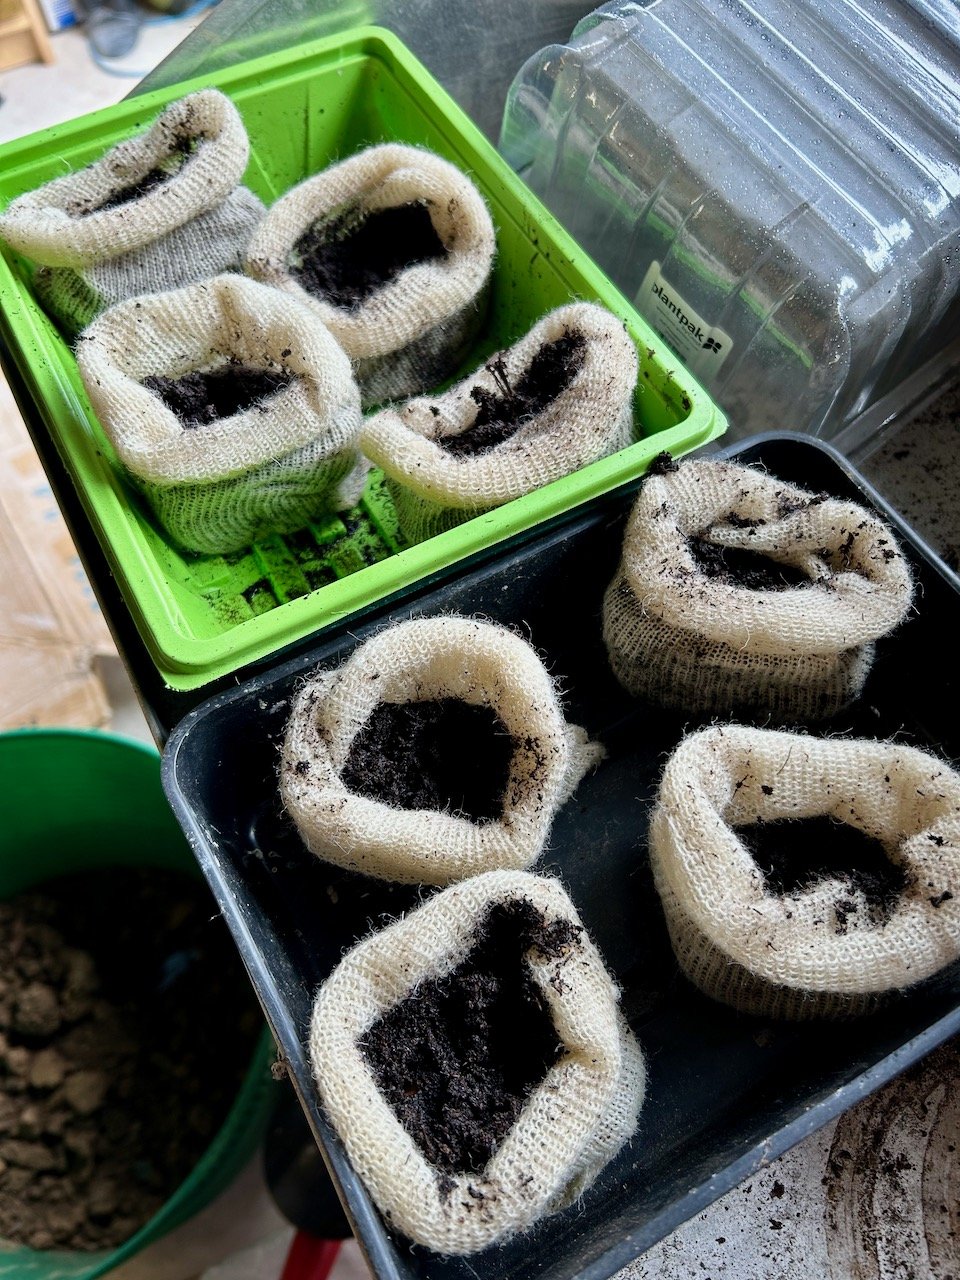
And yes, the wool pots are well named - they are made of wool, and are pots!
They are knitted from washed wool… and while knitting plant pots sounds strange but the makers assure that Wool Pots are strong, naturally biodegradable, environmentally friendly and plants love them. The company aims to raise the awareness of the plastic problem in horticulture and let people know there is an alternative, and show them a solution. Wool pots are also proud members of the Campaign for Wool and are thrilled to be helping farmers find a new market for their wool.
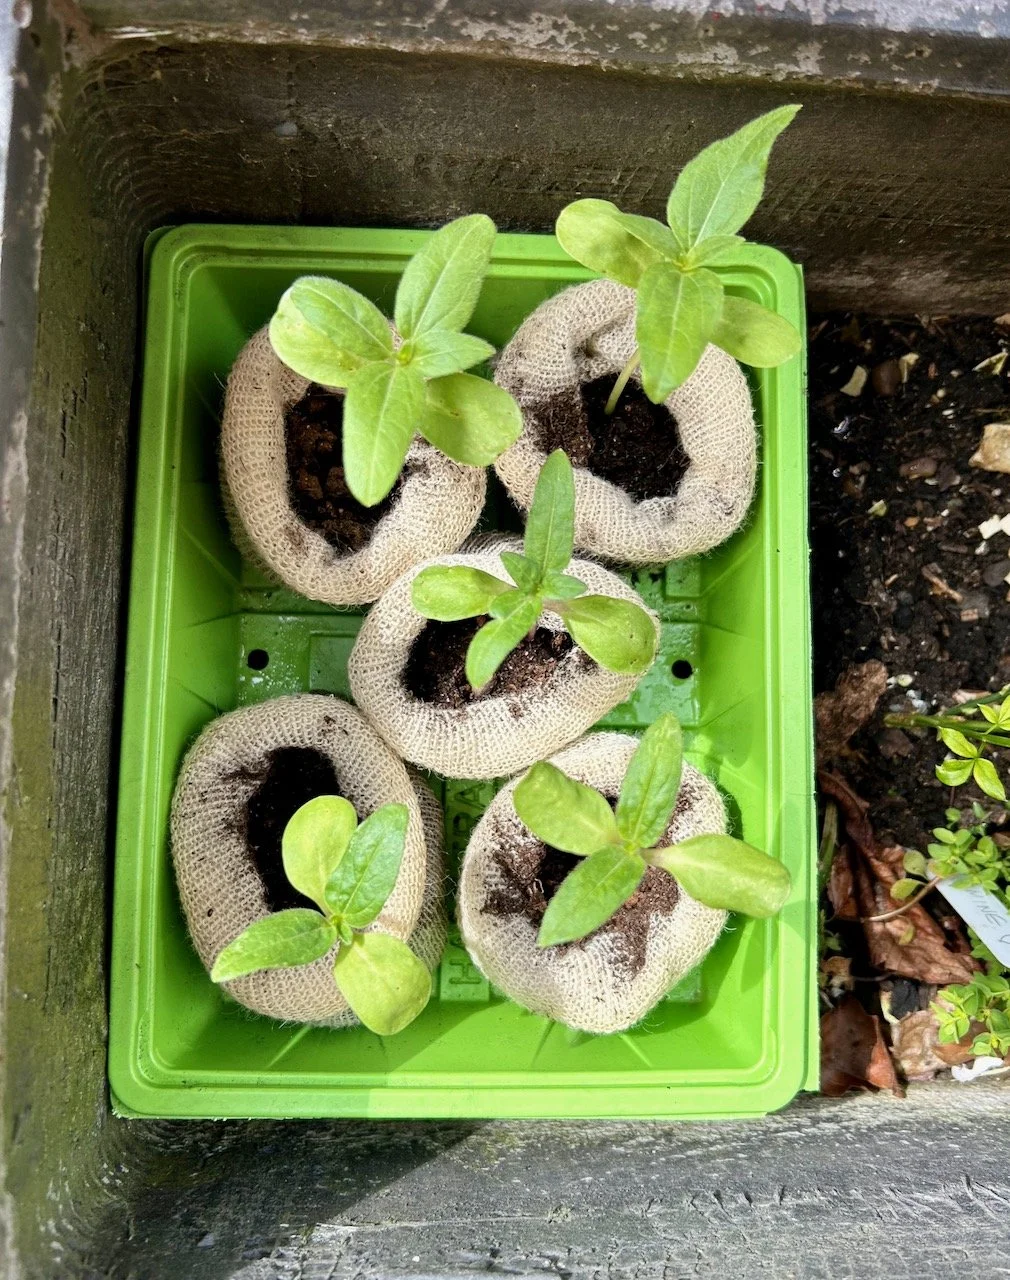
Rather than bring the seeds indoors, which is an obvious way of giving them some heat, I kept them in the garage opting to use my heated propagator, and bring them out into the sun during the day, which was a fair bit of faffing but it did result in a majority germination - with five out of eight pots producing seedlings, though some were slower to germinate than others.
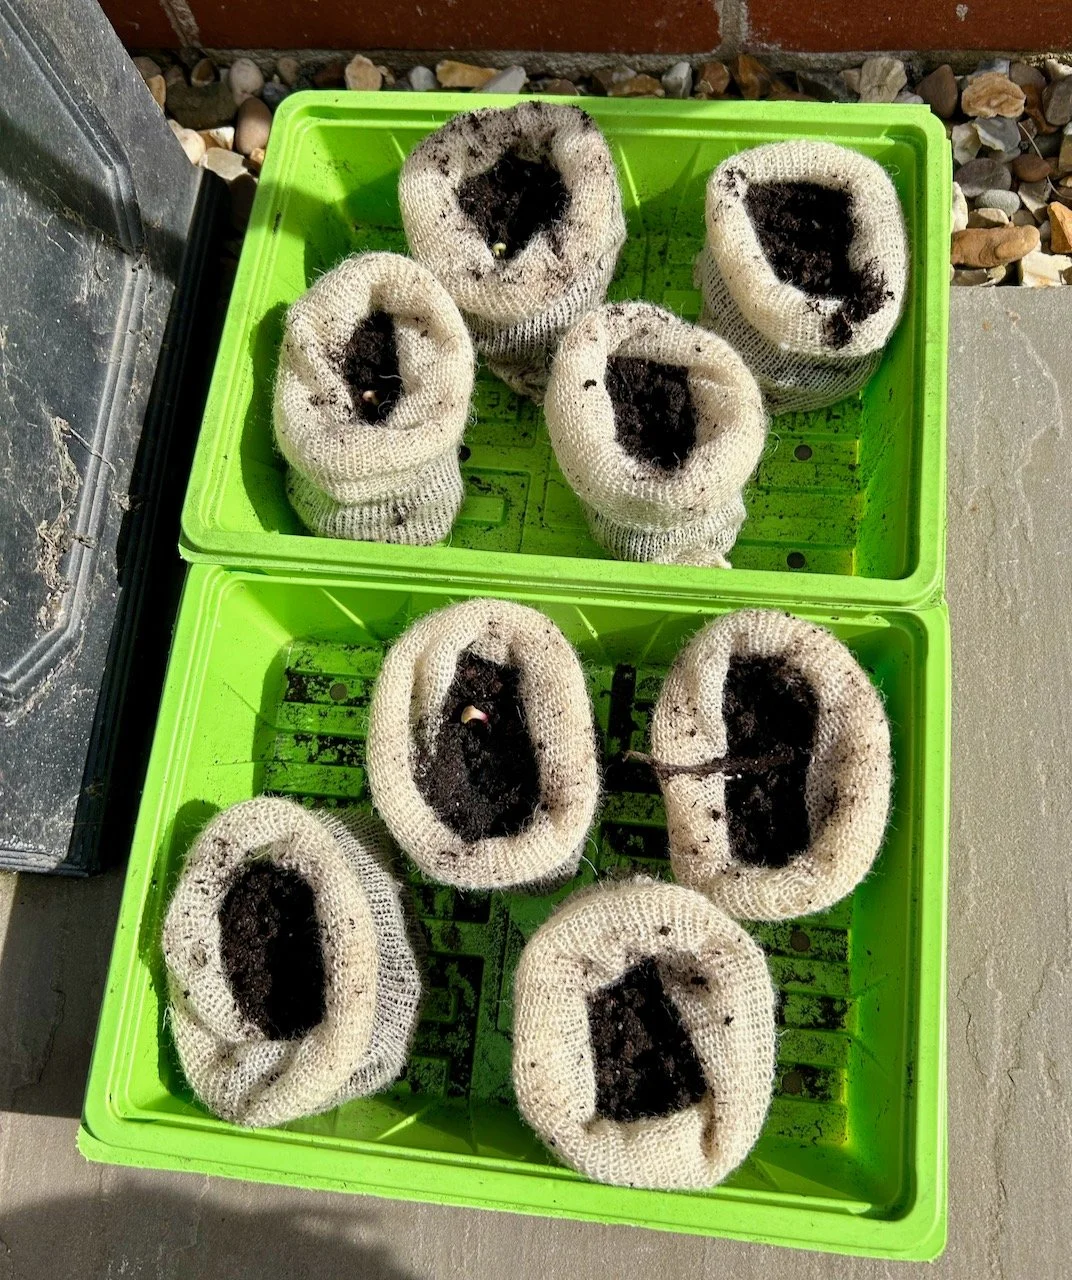
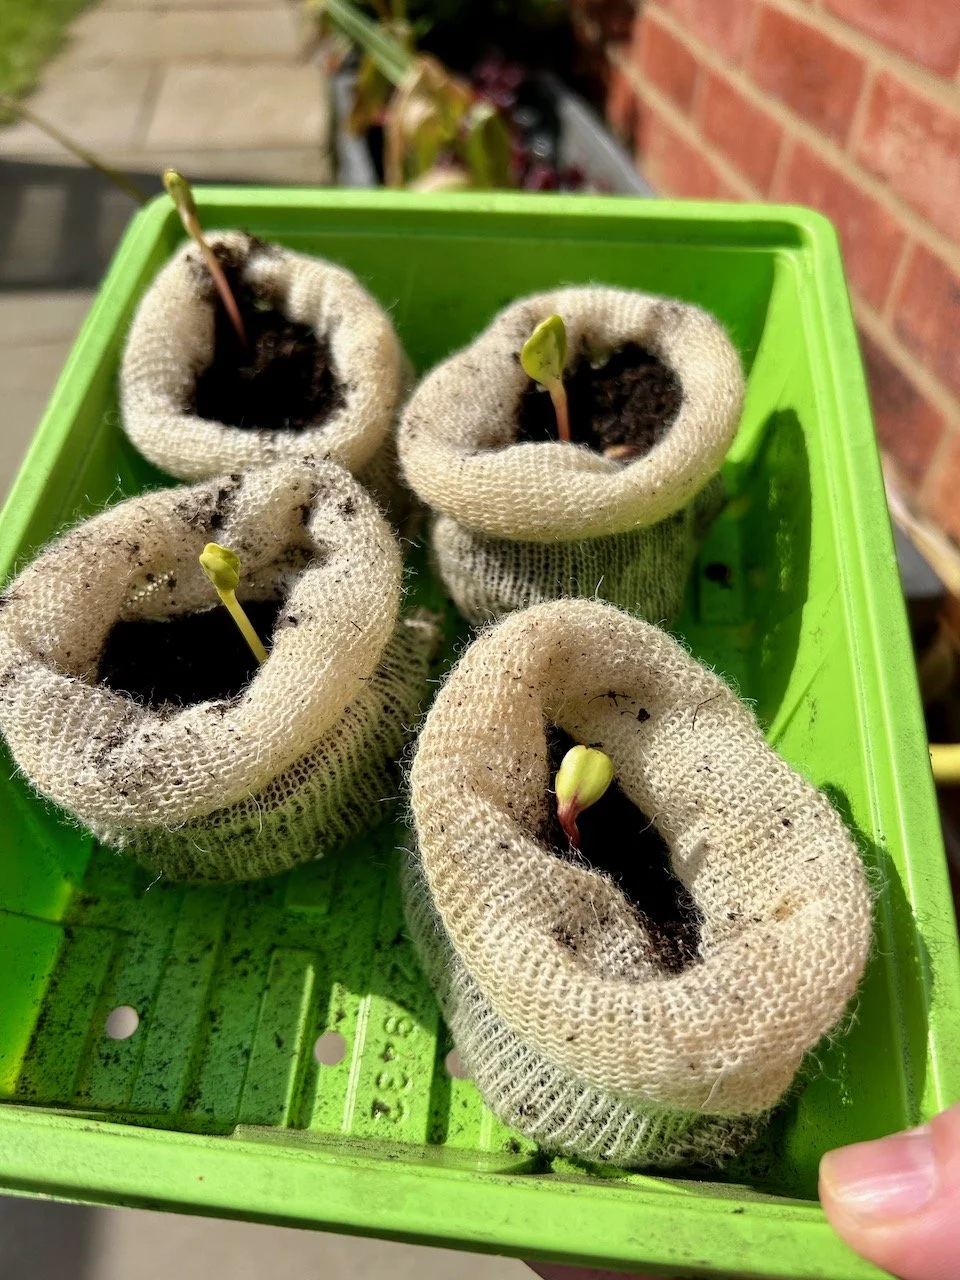
As the days went on, the seedlings started to grow their true leaves, not just the seedling leaves. It’s worth noting that the wool pots should have space between them to prevent the roots merging into each other - the space enables ‘air pruning’ and will make it easier to plant them on when the time comes.
But my biggest concern now that they’d germinated was when to leave them outside, but thankfully the weather decided to improve to help with that. With the seedlings nestled down in one of my currently half-empty pots, and in a more sheltered part of the garden I braved it, and they all survived!
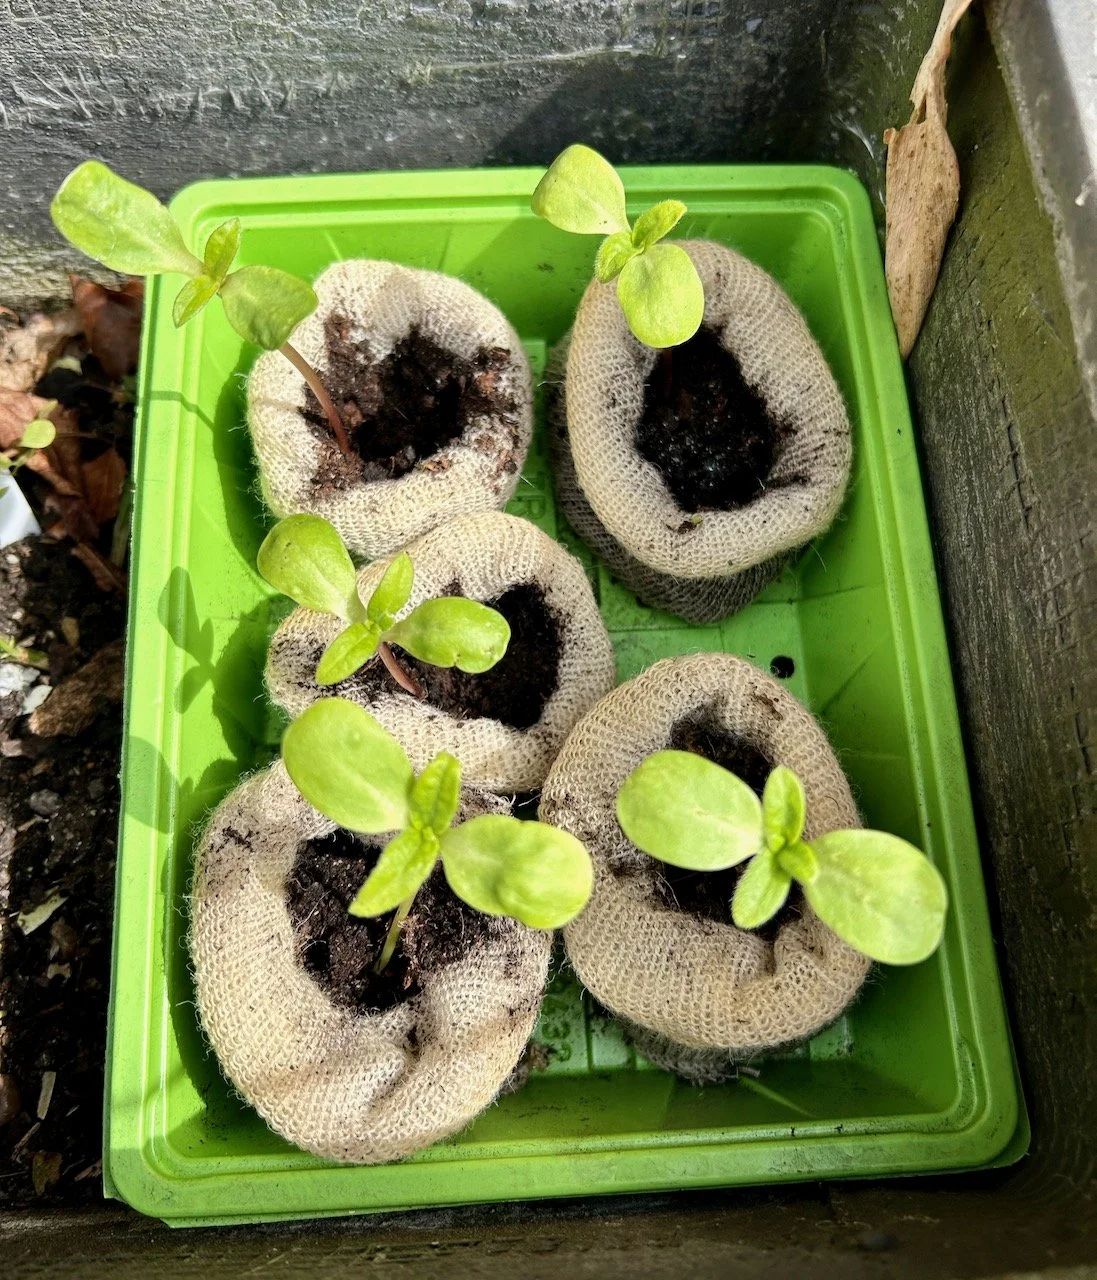
In fact they’re all doing really well, with more leaves developing and getting taller too. Now instead of bringing them out of and into the garage each day, I’m checking that they’re not growing into each other - and so far so good.
I’m sure it won’t be long before I need to work out where to plant them so that they can grow to their full potential. And the best bit, is you can pot on the whole wool pot - I’ll share how I get on when the time comes.
* With thanks to Wool Pots for providing a sample of their innovative project for me to try.