Making some hanging lavender sachets, finally

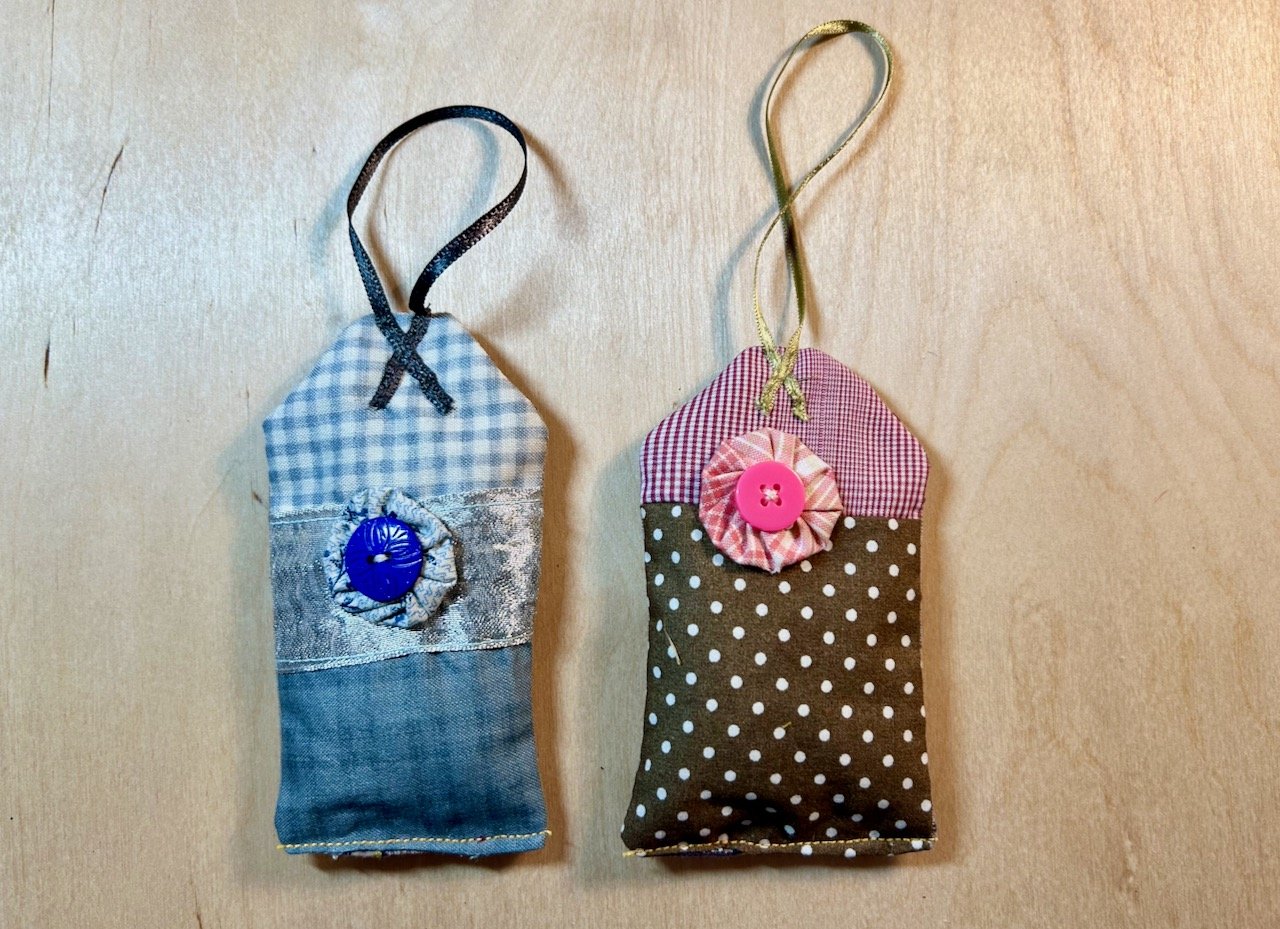
Way back in 2014 I shared a link and a tutorial to some gorgeous hanging lavender sachets I’d seen and fallen in love with, and clearly had intentions to make some for myself. Well fast forward to our house move and I rediscovered the pieces of material I’d cut in preparation and two sachets which I’d mostly sewn.

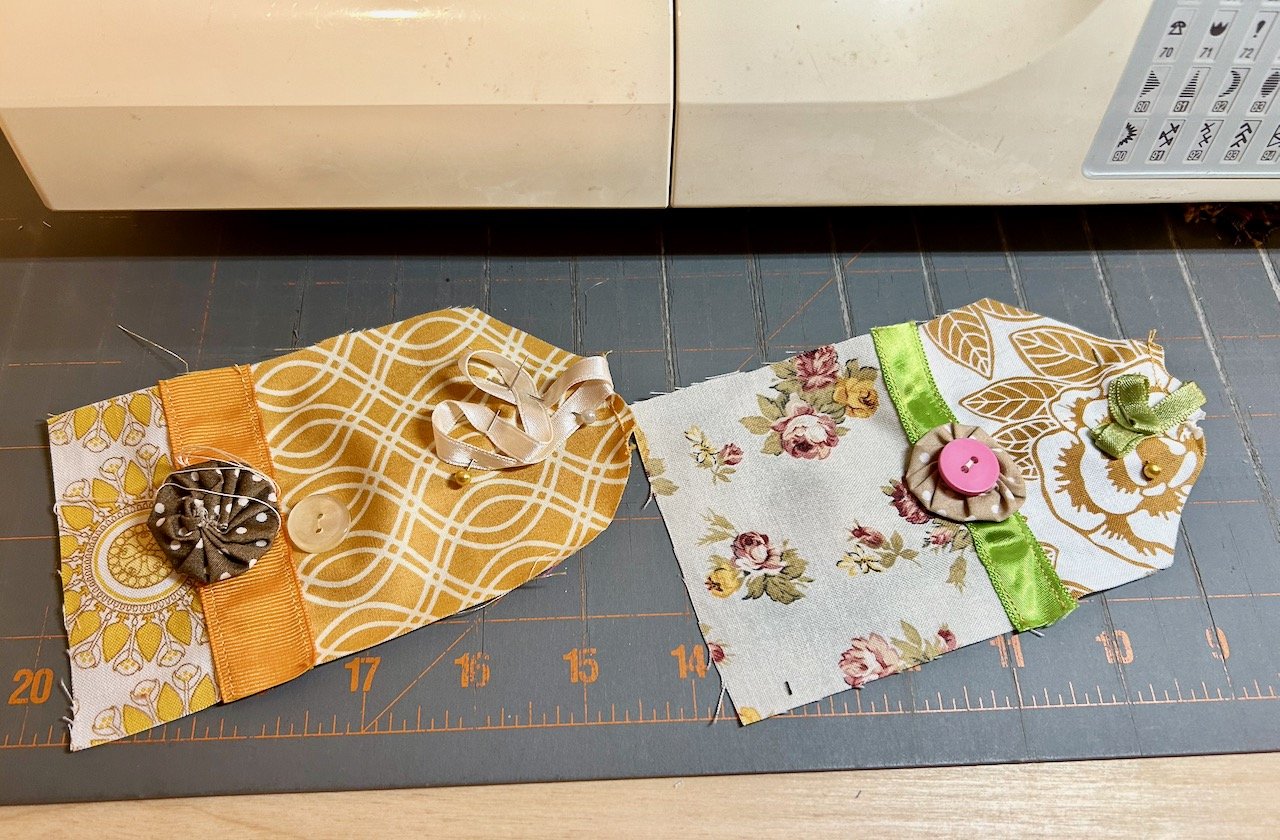
THE TWO THAT WERE MOSTLY SEWN, NOW FINISHED

Thankfully I’d left myself enough clues about my original plans, and so with my ever increasing supply of ‘magpied’ ribbons (from clothes, Christmas crackers, chocolates and no doubt many more places) I went through and laid out items to decorate each of the sachets.

They were a great way to get back to being familiar with my sewing machine, after a longer than intended break. They were small, creative enough but not overly challenging, as the majority of sewing was in straight lines. I realised though after completing the two above that adding the hanging ribbon afterwards could be time consuming, and therefore likely to not happen - so I made a change, and pinned the hanging ribbon so it could be part of the seam at the top of the sachet.

And then I motored through them, until it came to finishing them off.

I’d filled them with lavender and pinned the gaps at the bottom closed and they were ready to be hand sewn, and hung. But it was always the job I never quite got to, putting it off - you know the sort. Until I realised that I could sew the gaps closed across the bottom by machine, and then at least they’d be done and no one would be none the wiser (that is until I just told you!)

And so my mini production line was off again.

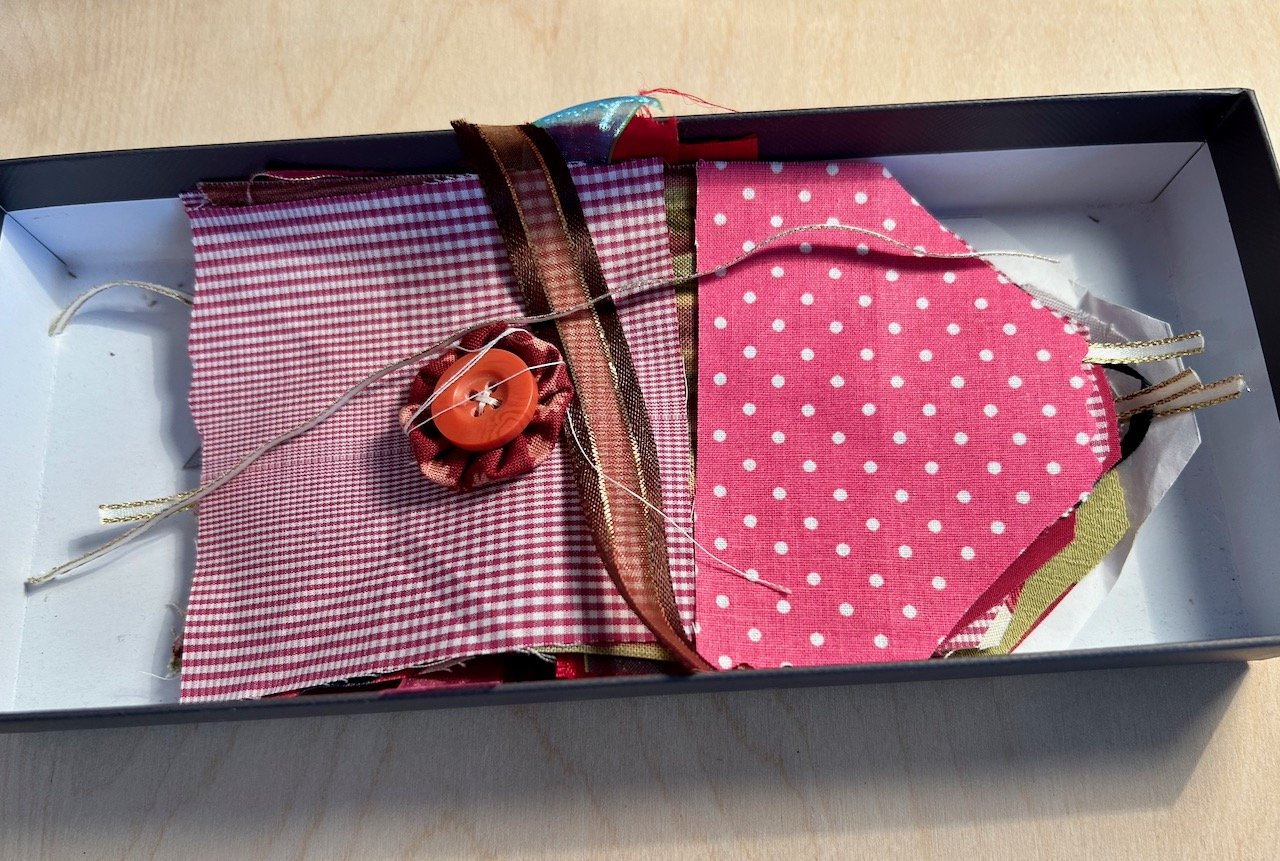
It was simple really, and I don’t think look any worse for the adjustments I’ve made. Though I’d had my fill of sewing lavender sachets (for the time being anyway) and so I packed the remaining future sachets back into the box, but I know my future self will be pleased that I’ve added yoyos, buttons and ribbons for decorating and hanging so when I’m in need of a simple sewing project, I have one that’s ready made.

I’m really pleased with how the lavender sachets turned out, and have found plenty of wardrobes and cupboards here to hang them in, in fact you may have spotted one of them hanging in the bathroom cupboard with the new shelves.

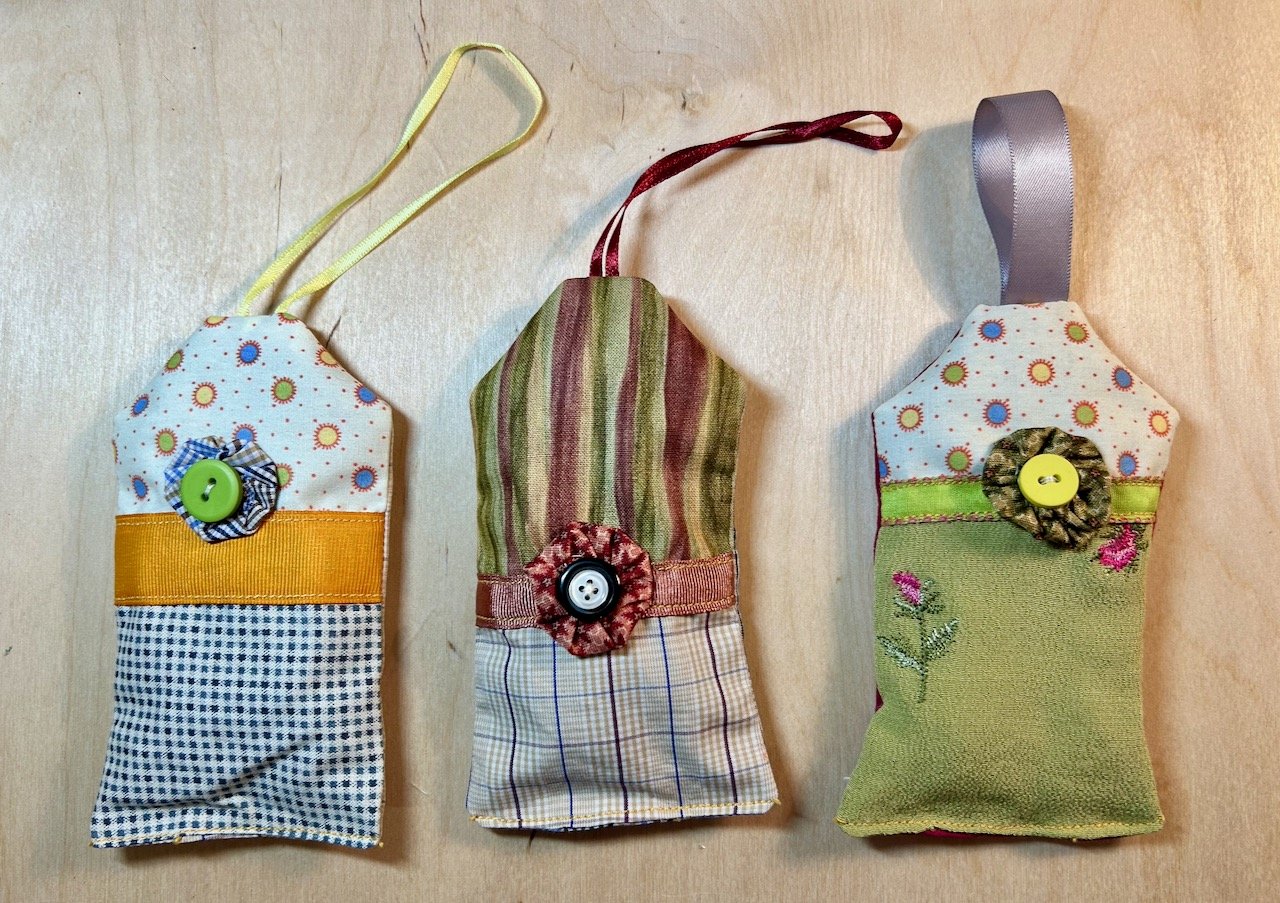
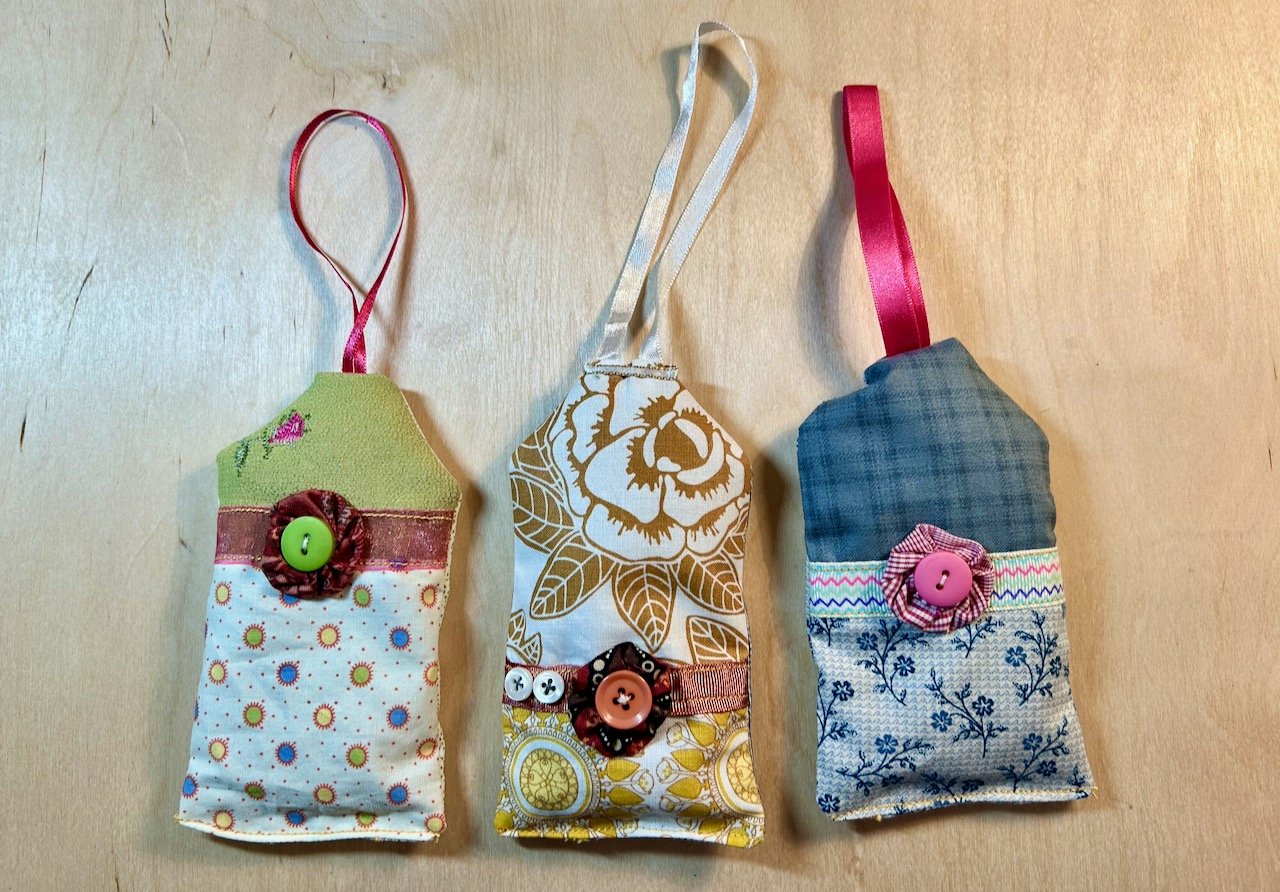
The final set of three hanging lavender sachets, one blue, one gold, one cream floral

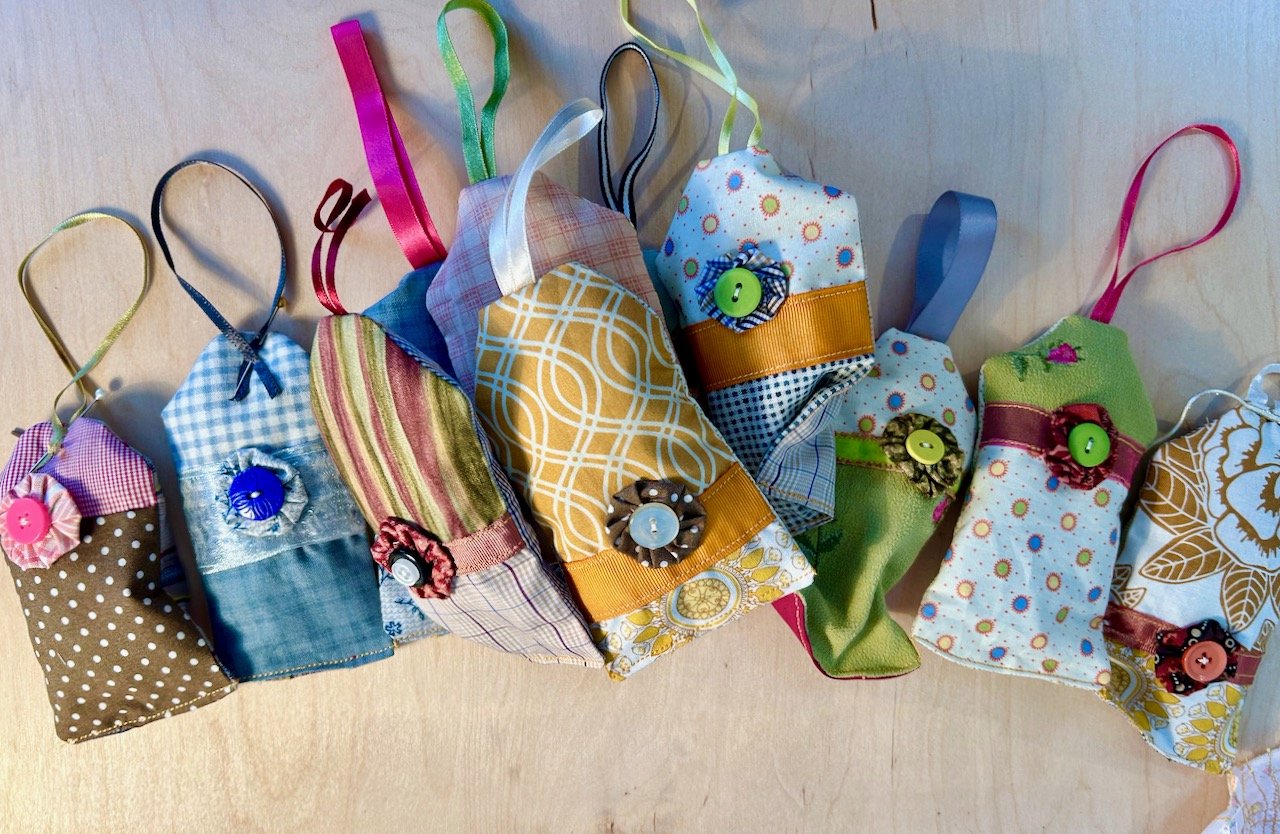
I love that how each of them are different, and how they all use remnants of material either from old clothes that I’ve cut up, or from previous projects alongside the ribbon and buttons I’ve also saved. Plus they smell lovely, and thankfully not too overpowering!

And had you spotted that there are eleven finished sachets? Well it’s totally a coincidence that I finished these in the week leading up to my blog’s eleventh birthday, I picked up this project towards the end of January and while I’d like to say I plan ahead, well that would be a total fabrication! Spooky though hey?

PostCommentLove

Repurposing my autumn wreath

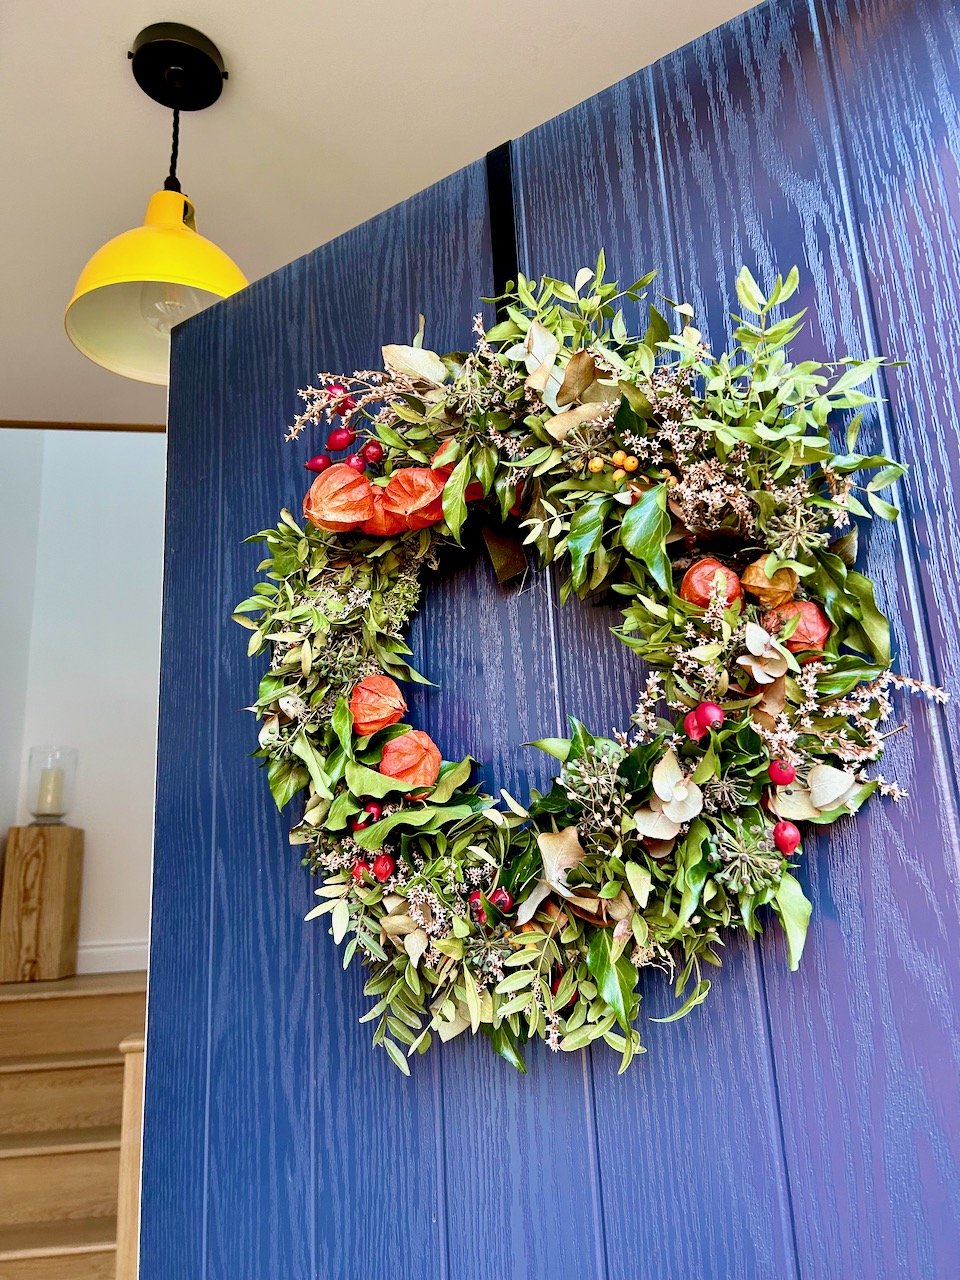
17 October I went to a workshop to make my autumn wreath, and almost a month and a half later it was still looking pretty respectable, if not slightly weather worn, which given the weather we’ve had - rain, wind and snow - isn’t surprising! And with a new workshop, and wreath, booked in for the start of December its days were numbered.

My autumn wreath fading a little on our open door

And while the autumn wreath was fading, it wasn’t completely done - which was just as well as I had plans for it.

Back in 2016 I shared how I’d bleached some pine cones, and how my top tip was to start early - I think I took my own advice there as I’d not used them properly, so by my reckoning eight years is plenty early enough!!

This year was going to be their year

At least I hoped it was.

I brought in the autumn wreath as by now the weather was too chilly to do this outside, and was immediately grateful that I thought to put this on a towel and on paper. It was wet from the recent rain, which was no bad thing as keeping the moss wet helps. The towel soaked some of that up, and the white paper helped easily identify bugs crawling out of it.

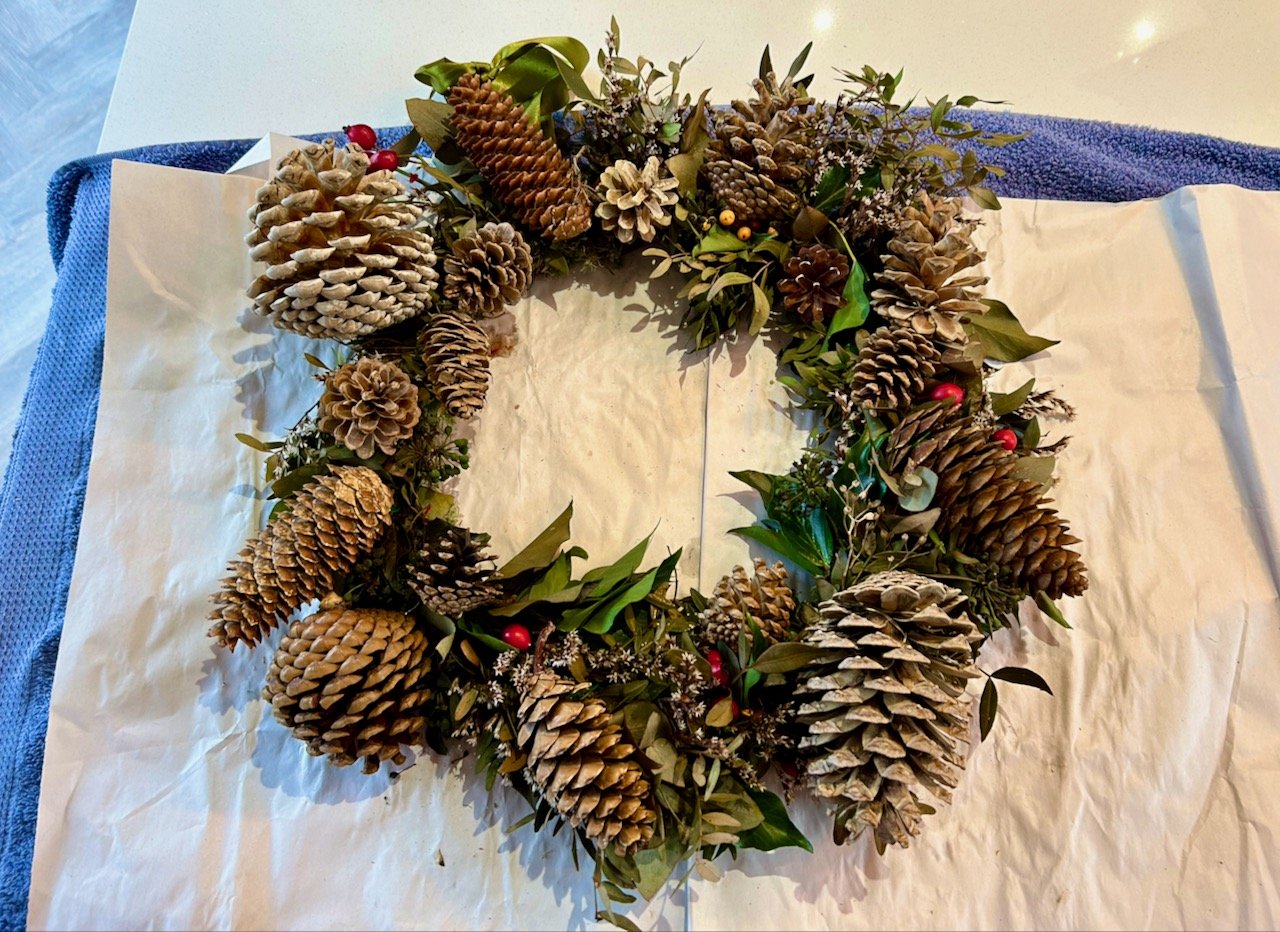
The autumn wreath on my kitchen worktop, plus towel and paper, before trimming the most faded elements.

I snipped off the Chinese Lanterns and some of the more faded greenery and the berries which were past their best, but left as much as I could.

To check the viability of this primping project, I placed my bleached pine cones around the wreath to check I had enough to fill the gaps. I did. So with more optimism than skill I set about wiring them into place. I had thin wire so I think this was harder to use than the thicker short lengths of florist wire which could be more easily pushed through the moss, but I go there and all the pine cones were attached successfully.

It doesn’t look too bad laying down does it?

I knew the proof of the pudding, or at least my newly acquired wreath making skills, would come when I held it vertical - and thankfully none fell off, so I could move to the next phase of the project - putting it on display.

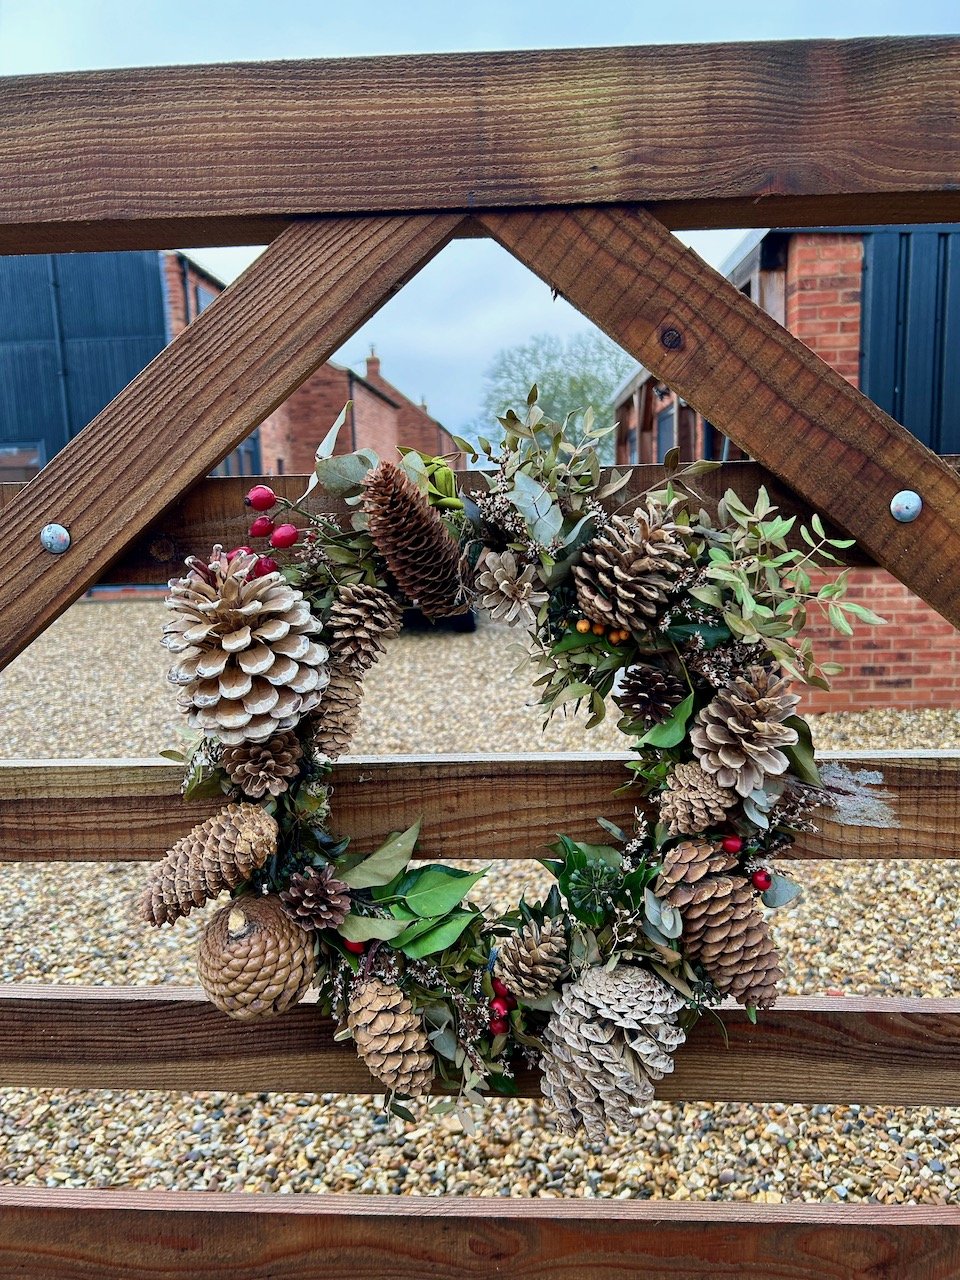
The primped autumn wreath with newly acquired pine cones attached to our gate

Not taking any chances with the wind gusts, I’ve tied this on in four places - top, bottom and both sides - and it’s stayed on the gate, so far. What’s more, the pine cones have also stayed attached to the wreath, so I’m calling that a win - and a pretty and sustainable one at that.

Though this will be its last stand, with the majority of it heading to the compost bin (actually our brown bin as we haven’t sorted new compost bins yet) in the New Year. I’ll be saving the pine cones, and if I can the metal ring, but you’re not surprised by that are you?

This is likely to be my last post before Christmas, so thank you again for continuing to read and support my blog. I hope you have a great time over Christmas celebrating and/or spending time with families or loved ones, and doing what’s important to you.

We’re looking forward to spending the Christmas period with family in our new home. I hope to share a post of my Christmas wreath before the New Year, so I’ll save wishing you a Happy New Year until then.

Repurposing an empty or two

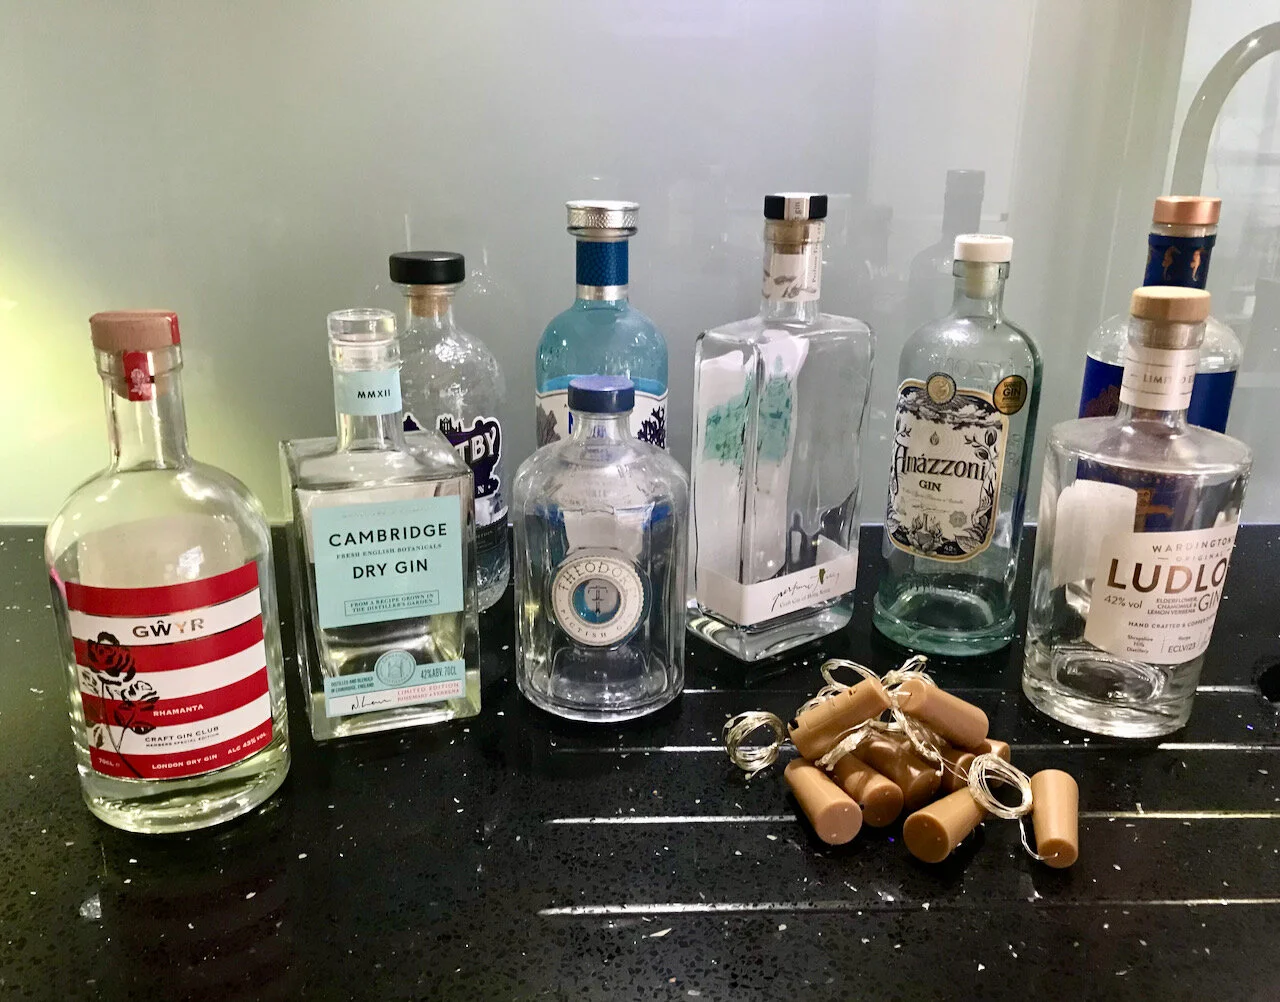
For a while now we’ve been members of the Craft Gin Club, a subscription service which provides a bottle of gin, mixers and nibbles every month. It means we have a fair few bottles of gin, with several on the go at once. But here’s the thing, they’re all generally really pretty bottles and so I was keen to find a way to repurpose them.

I’d seen lights in bottles, and how pretty they were and I bought a box or two much earlier in the summer. They’re easy to fit and use, but that wasn’t my concern. My concern was the slugs and snails slithering over the labels and leaving a trail of destruction. And so, I’ve tried a layer of PVA Glue over them and I’m hoping that will protect the labels for at least a little while.

IMG_6208.jpeg

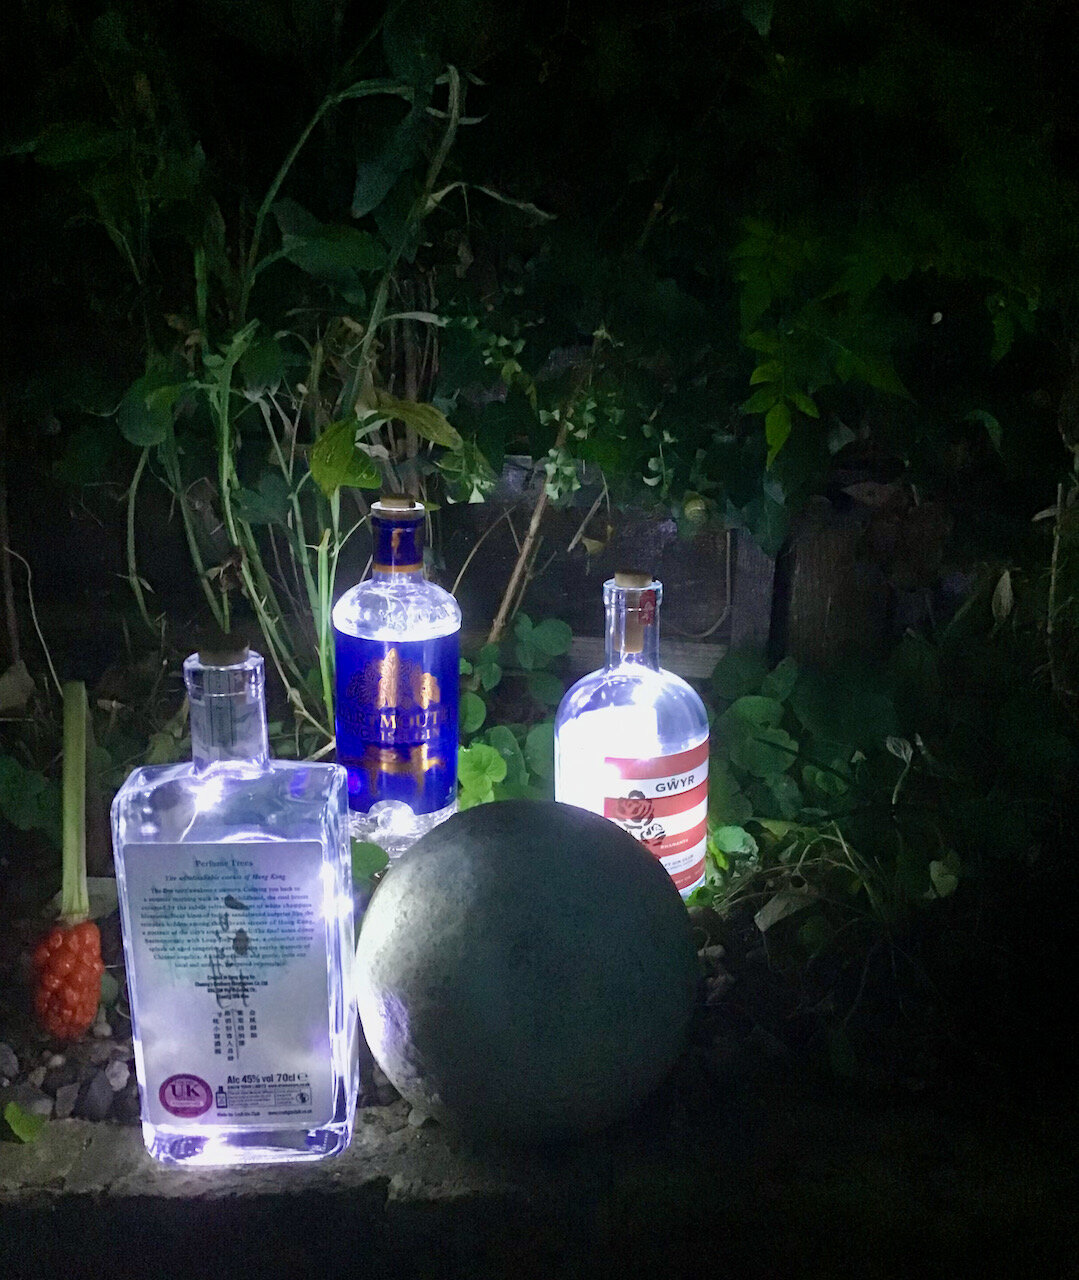
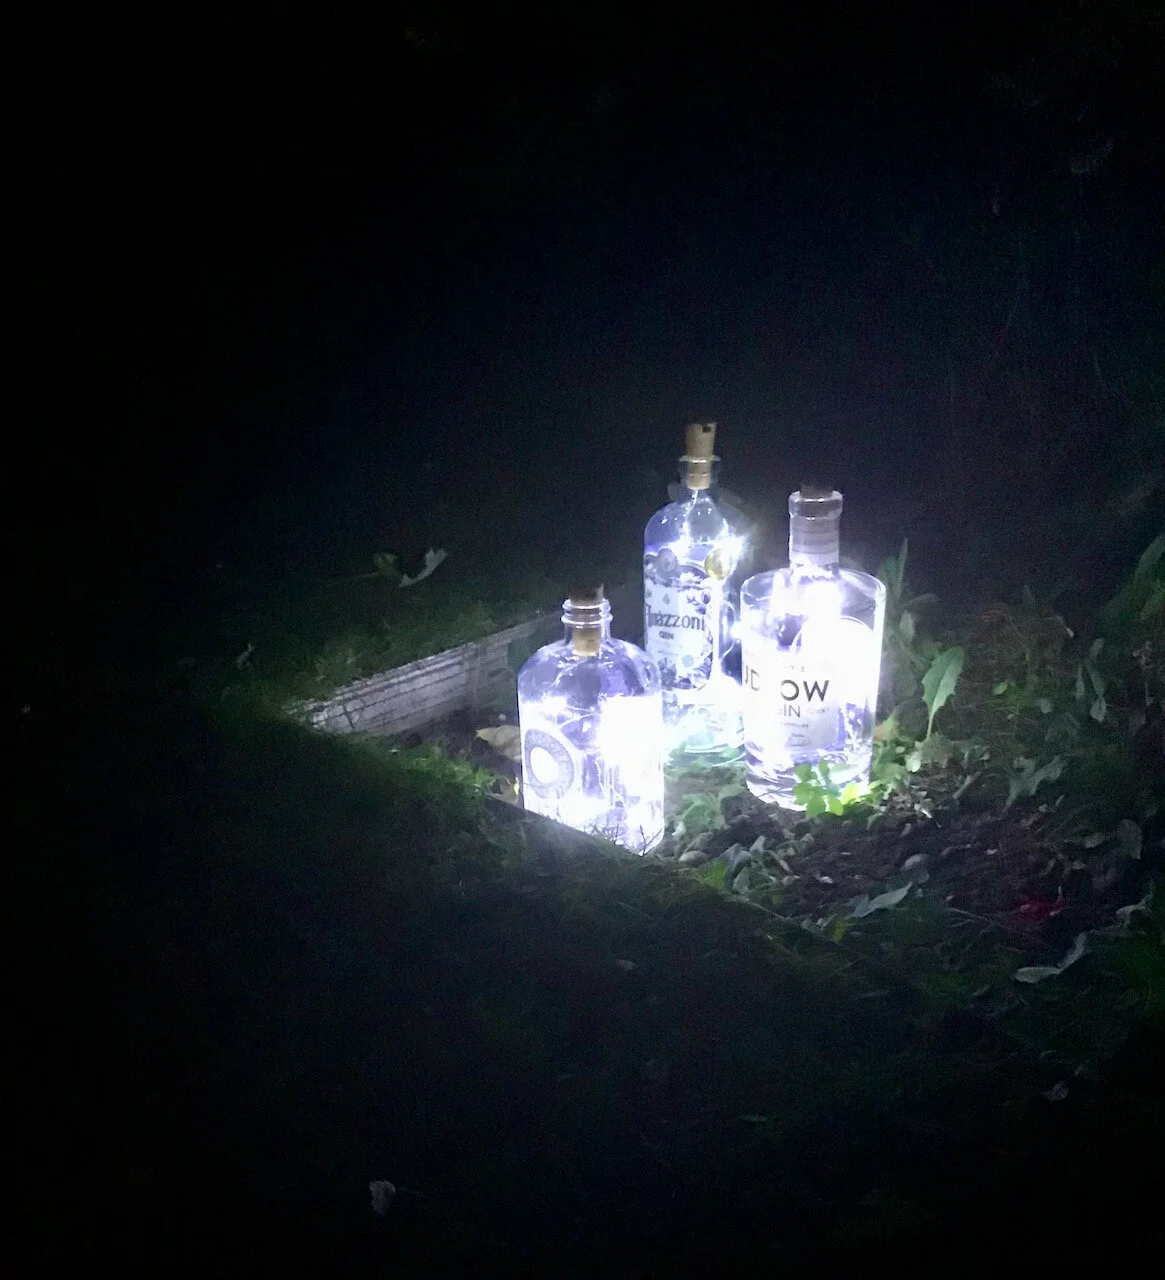
It’s only now though, that the warmer weather is making a brief return that I’ve been able to try them out. And I’m really pleased with how they’ve worked out, and how much light they give out. Don’t they look great?

IMG_1978.jpeg

I’ve used them in groups of three, some on the table but also on the edge of the grass and on the patio. I never expected them to turn out quite so well.

IMG_1979.jpeg
IMG_1982.jpeg

What do you think?

PoCoLo