Please ring the bell

There’s been a couple of things that have led me to post about Hunte’s Garden this week. Some friends are currently in Barbados and visiting this garden was one of my ‘must do’ recommendations, then later in the week after my Access Bars session I was reminded that Hunte’s was probably the most spiritual garden I’ve ever visited. At the time I think I wrote it took my breath away as I descended into the midst of the garden, but in truth it had me at the entrance.

And it’s those photos I’m sharing today while I process the full experience of the treatment session I had in town yesterday. I’ll share more about that in a separate post soon, so look out for that to find out more about it.

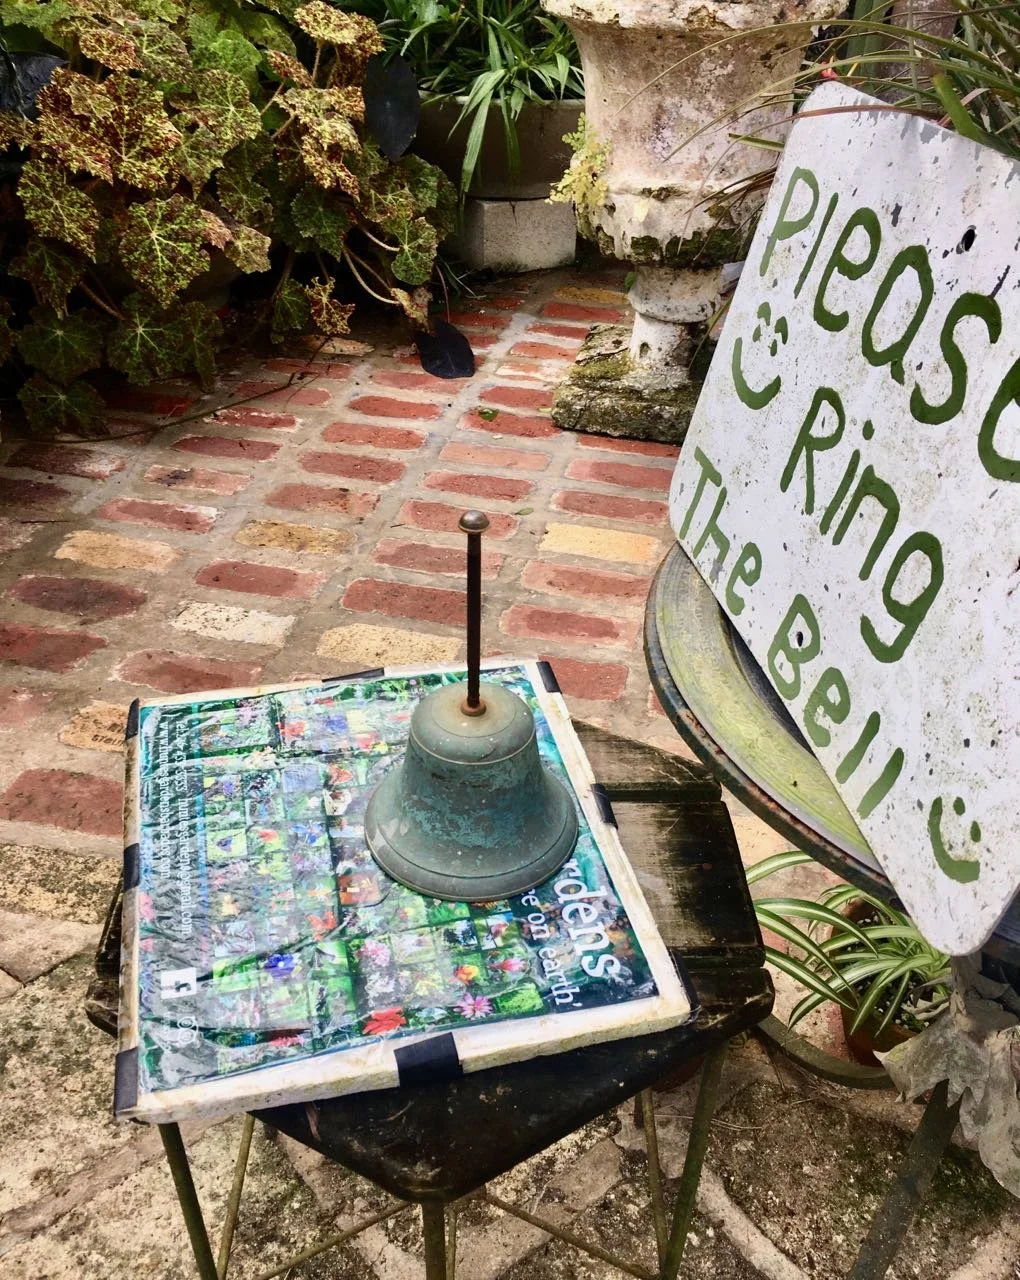
Hunte’s Garden is the first garden we’ve visited where we’ve needed to announce our arrival, though at Bosvigo in Cornwall there was an entirely self-service entry process. And so, we picked up the bell to say we were here.

A handwritten sign on the right asking people arriving to ring the bell, there's a brick floor a stone urn and planting in the background

Our taxi driver had been plenty of times before of course, and was more than happy to sit and wait and enjoy the garden too, while we explored this way and that, up and down and round and round, and even while we enjoyed a small rum. And it was easy to see why even though we hadn’t even scratched the surface of what we were to find.

A wrought iron gate, turning green, with tropical plants in front
a bed full of green and red tropical leaves rising in front of us

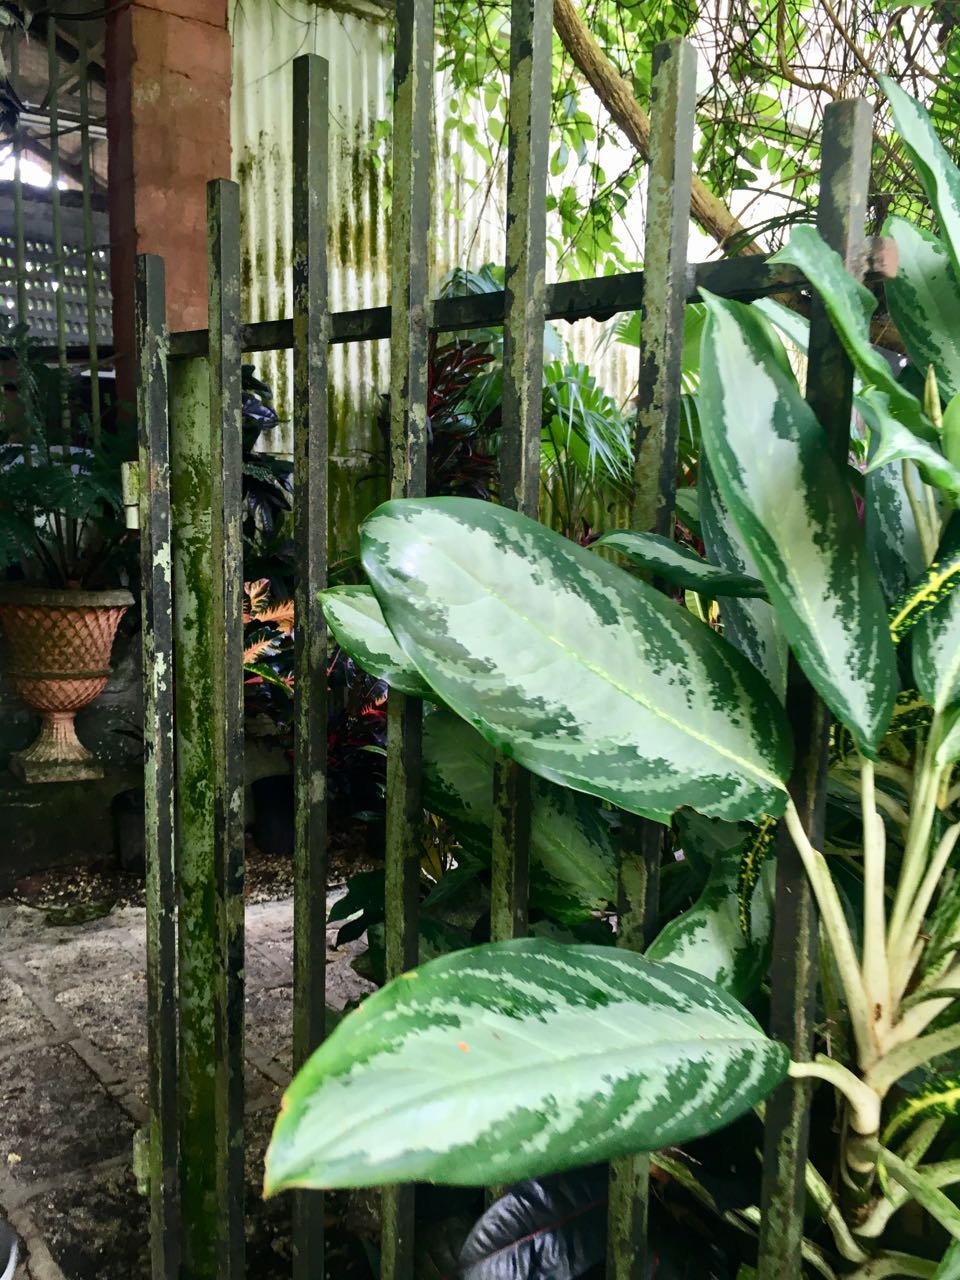
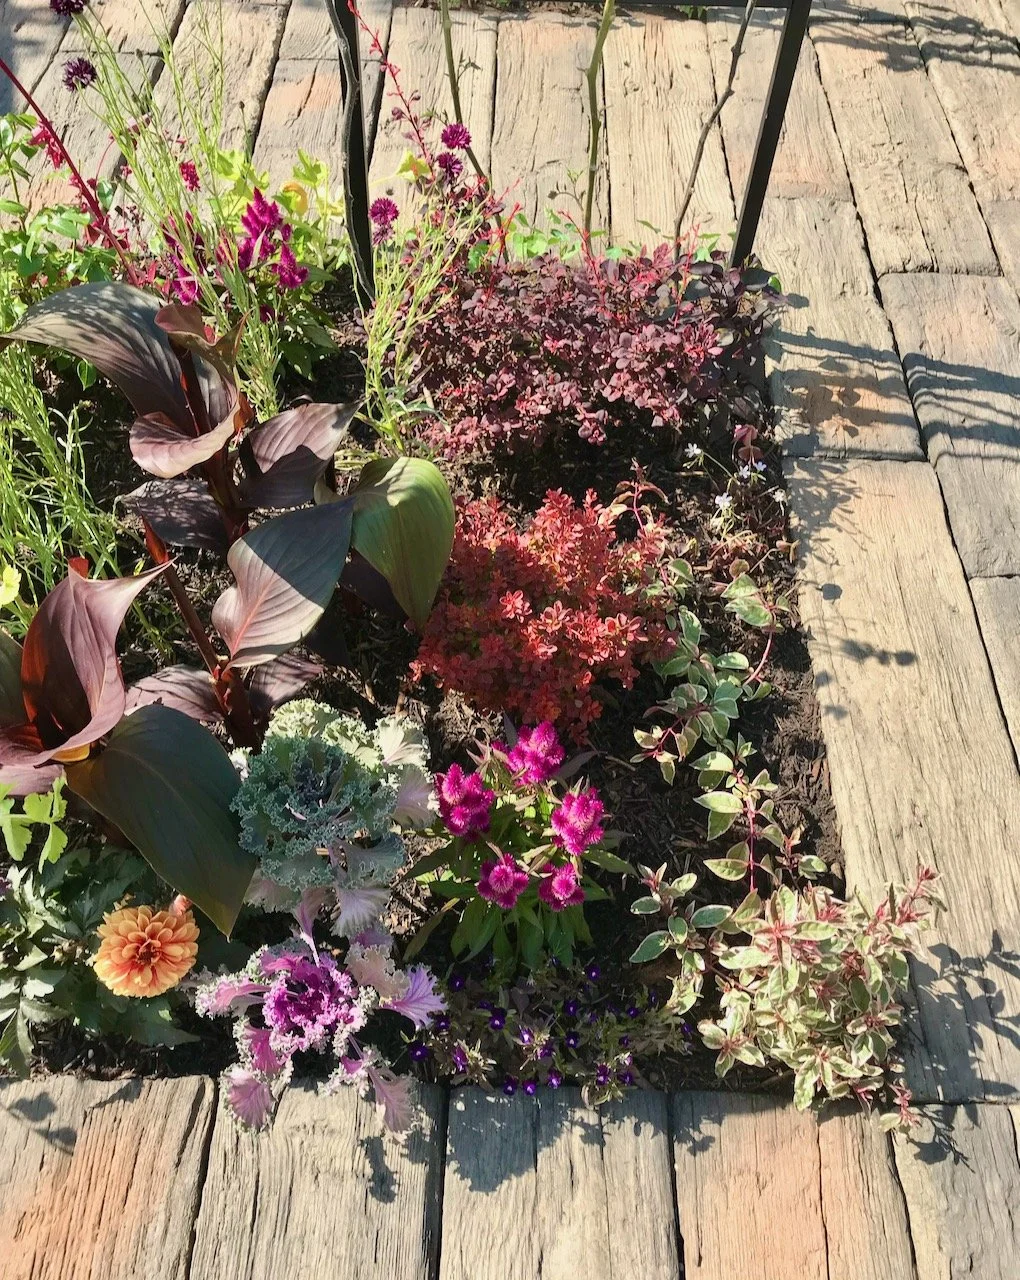
The garden was full of curios, vistas and the most amazing plants. I remember feeling quite overwhelmed as we stepped down into the main part of the garden, a feeling I’ve not previously experienced so strongly. If you said to me I could visit again tomorrow, I’d jump at the chance - though I might negotiate a little on exactly when that visit could take place, as we already have plans for tomorrow!

on the left as you enter there's a large metal sculpture of an old tool (unsure what the tool is) set in among the tropical plants
Ahead of us across a bricked area, standing in the bed is an epauletted man statue beckoning you into the garden further
Another area of the entrance has much history with an iron inlay with the inscription "1917 TO WEIGH 10 000 LBS H POOLEY & SON LTD BIRMINGHAM & LONDON No 525

The weighbridge above has certainly travelled a distance, and I’m sure has a rich history and somehow doesn’t feel out of place here - though I’ll have to admit I had no idea what it was when we first saw it.

The experiences this week have reminded me of how I felt when we visited back in December 2019 - it’s definitely true, you remember how things make you feel, and even looking at the photos those feelings resurfaced. I’ve more photos to share, but in the meantime if you want to see more of the gardens here’s some posts I’ve already shared:

Oh, and before I finish you’ll be pleased to know our friends have been to Hunte’s too - I’ve seen their photos on Facebook. I’m waiting to see if they’ll be going to Fish Friday at Oistins, which was my other ‘must do’. Hopefully they’ll enjoy both recommendations just as much as MOH and I did.

I was featured on Blogger Showcase

My cross stitch marathon

Next weekend it’s the London Marathon and it still seems strange for it to be held in October, rather than April. It changed during the pandemic, and next year will return to its more usual spot in the calendar. I’m not running, and most likely never will - I can see it’s an uplifting experience, but it’s also 26.2 miles which is a long, long way.

My various craft projects are also like marathons, some much longer than others. It could be they take a while as there’s so many on the go at once, who knows. But doing all of one thing doesn’t really appeal, and so with projects that work ‘on the go’ and those that can’t I’ve realised over this summer that I have a new category - hot weather projects. I haven’t picked up a crochet hook for a couple of months, the idea of having wool in my hands or a blanket growing on my lap didn’t really appeal. Over the summer I’ve done more colouring, which has been a joy, and once again picked up my cross stitch.

I last picked this up in 2014, which is a while ago - and its twenty year anniversary, but I put it down again relatively quickly too as to be honest I was struggling to see it properly! Now though my eyes (and most likely my contact lenses) are working much better so this summer I’ve made much more progress than before. Though you’ll see there’s still about half left to do.

brightly coloured roses in cross stitch on a white background with some of the pattern contained within an embroidery hoop
the rose border, teacup and part of the vase of flowers are contained in the embroidery hoop - a closer look at this half of the stitching

I love the bright colours and the detail that goes into each rose, each often using four or five colours, and I’m pleased with the progress I’ve made. It’s never easy picking something up again, but that is also part of the challenge I think, though this time I realised that while I did have the original pattern and two many-folded photocopies, somehow I was missing one of the colours, which is why not all of the ‘flowers’ on the wallpaper are complete. I’m lucky to have mentioned that to my mum who had the colour in her supplies and knew just where it would be too - amazing!

A black and white photocopy of the pattern with its symbols

I’d have been completely lost without the thread key though, the symbols on the chart at times perplexed me and I came quite close to drawing them onto the packs - though not all are in cellophane packs, so that would have thwarted my plans! As well as making some progress it’s gained a pouch for the embroidery threads which is much more pleasing than a plastic bag.

the embroidery thread 'legend' and colour key on the pattern with some skeins alongside

I’ve also realised that these photos show that it has been abandoned for the past week or so and is looking a little more crinkled than I’d like. My plan is to try and get back into this for some afternoon sewing spots, but if I don’t then I must remember to remove the embroidery hoop before setting it down for its next pause.

The progress might not look the greatest, but it also included unpicking a section from my last attempt. I ummed and ahhed about if I should, or if I could work around my earlier mistake but I realised that it would interfere with the alignment, so out it came.

A black zipped pouch with pink wording 'if I can't take my yarn I'm not going' containing embroidery threads

MOH regularly asks what it will be, a question which quite honestly is entirely futile. After 28 years I’m just about half done, but I’m hoping that at some point it will be finished. Which right now seems a lofty ambition! Making it into a cushion cover (the original plan and pattern suggestion), seems a very long way off and not part of my plans just yet. I’m just pleased to have made the progress I’ve made this year and to add it to my list of projects underway.

More bubbles in my sourdough

I’ve long been a sourdough fan and back in 2015 I shared how I made my loaf. It’s always made a fairly dense loaf and that’s been ok. Recently though I’ve been experimenting and have made a bubblier sourdough on more than one occasion, so today’s post is all about that.

It may be different to your sourdough recipe, or those of the sourdough artisan bakers - but this is my new way of making my sourdough. And part of the reason I’m sharing it here is so I can remember the quantities of the ingredients - sadly, true.

The ingredients are:

  • 500g white bread flour

  • 300g water

  • 150g sourdough starter

  • 8-10g salt.

Now having just compared that to my previous recipe I’ve realised that my experimenting has led me to swap the water and sourdough starter quantities. How strangely peculiar.

Anyway, the method is pretty much the same - combine all the ingredients until they come together, and leave in a warm place.

At this stage it is a bit bumpy and lumpy - but don’t lose faith. Every 30 minutes or so I use the flexible dough scraper to “turn” the dough, making sure I scoop from underneath and fold that into the top. I usually count 20 turns on each attempt.

IMG_5707.jpeg

Gradually it looks more like the dough you were expecting. Then I cover it and leave it in a warm place until I’m ready to cook it several hours later. The trick is to leave it long enough so the dough rises, but not too long that it over-prooves, as an example - if I start this around lunchtime, I’ll cook it between 9-10pm. If that tells you anything about me, it tells you I’m a night owl.

For cooking times - I heat the oven to 220 degrees and put a small ramekin of boiling water in the oven once it’s at temperature to help with the crust. I’ve taken to cooking the loaf on baking powder, but mainly so I know it will be easy to get off the small baking tray.

IMG_5713.jpeg

This loaf had a bubble at the top of the dough, and I learnt that that will burn. Next time I’ll make sure the bubbles are less obvious, I think.

It still tastes good though!

IMG_5728.jpeg